How to Make Easy Printmaking Art with Cardboard — Step-by-Step Guide
Discover the magic of easy printmaking by creating your own unique art using simple cardboard shapes. This screen-free activity is perfect for the whole family. Learn to make beautiful prints with just a few basic materials and a little creativity. This guide will walk you through the entire process, from preparing your materials to pulling your final prints, ensuring a fun and rewarding crafting experience for all ages.
Quick answer
To make easy printmaking art, you need sturdy cardboard scraps (like from cereal boxes), scissors, white craft glue, a piece of thick cardstock or thin cardboard for the printing plate (around 5x7 inches), acrylic or tempera paints, paintbrushes, and paper for printing. The process takes about 45 minutes of active crafting time, plus drying time. Start by cutting cardboard scraps into various shapes and gluing them onto your printing plate to create a design. Once dry, paint the surface and press paper onto it to transfer the design. This beginner-friendly activity has 10 core steps and is perfect for families with kids aged 6+.
What you need
Shop on Amazon · As an Amazon Associate we earn from qualifying purchases. Links above are affiliate links — we may earn a commission at no extra cost to you.
Unleash your inner artist with this incredibly accessible and rewarding DIY cardboard relief printmaking project! It’s a fantastic way to introduce the principles of printmaking without needing expensive equipment or specialized knowledge. The tactile nature of cutting and gluing cardboard, followed by the exciting reveal of a painted print, makes this an engaging activity for all ages. Perfect for a rainy afternoon, a classroom art session, or simply a fun family bonding experience, this project transforms everyday materials into unique works of art, fostering creativity and fine motor skills in a screen-free environment.
On this page
Step-by-Step Instructions
- 1
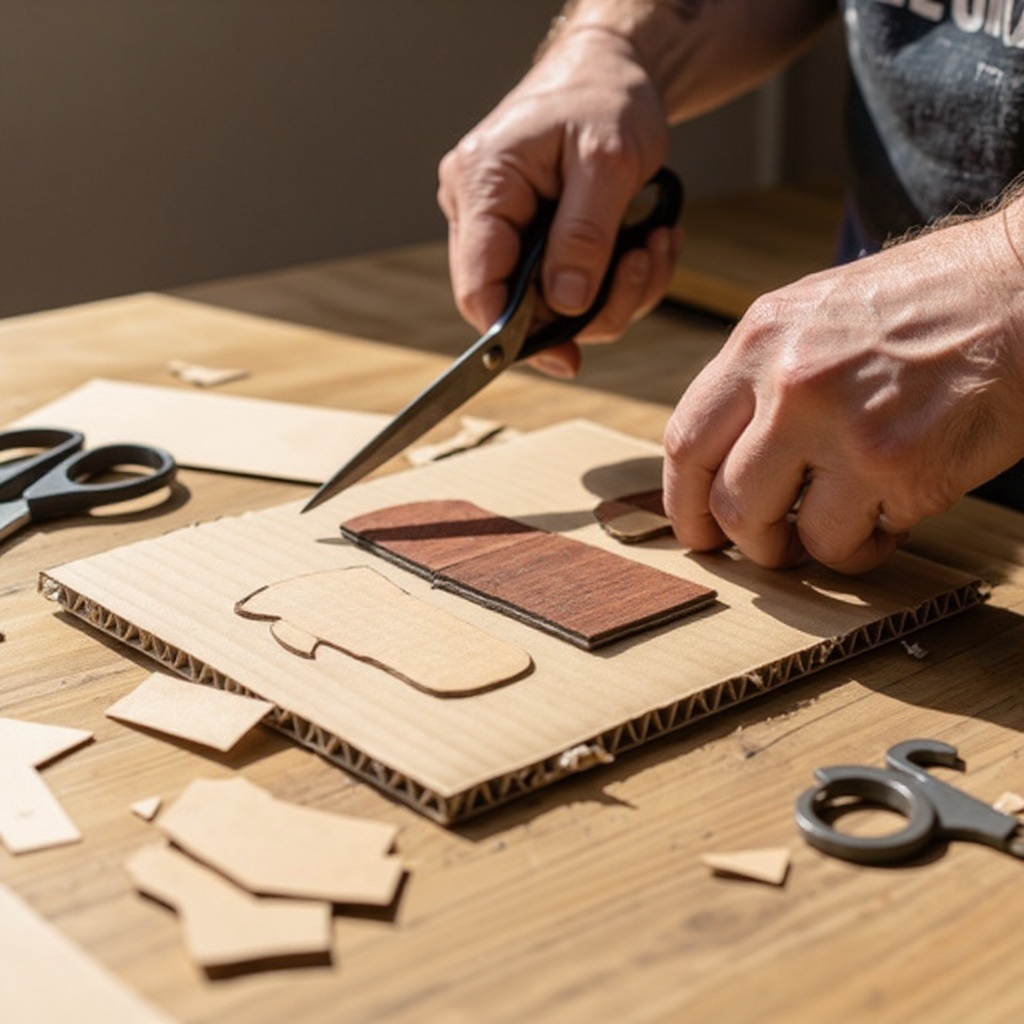
Gather your cardboard scraps and scissors. Ensure you have a variety of thicknesses and textures available, as this will add depth to your prints. If using thicker cardboard like from shipping boxes, you might need adult assistance with cutting.
- 2
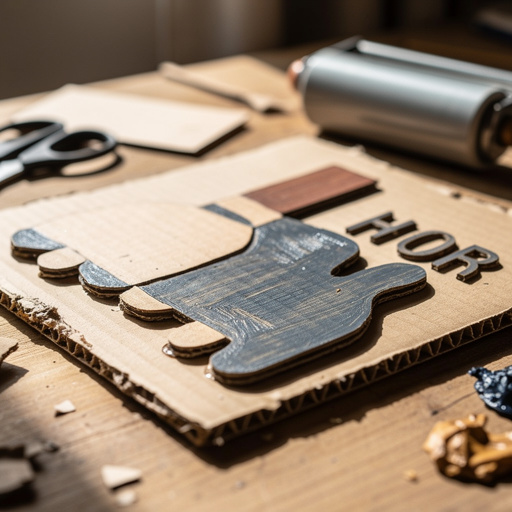
Cut the cardboard scraps into various shapes like lines, squares, circles, or abstract forms. Think about how these shapes will interact when printed. You can also cut out negative spaces or create layered effects by stacking smaller shapes.
- 3
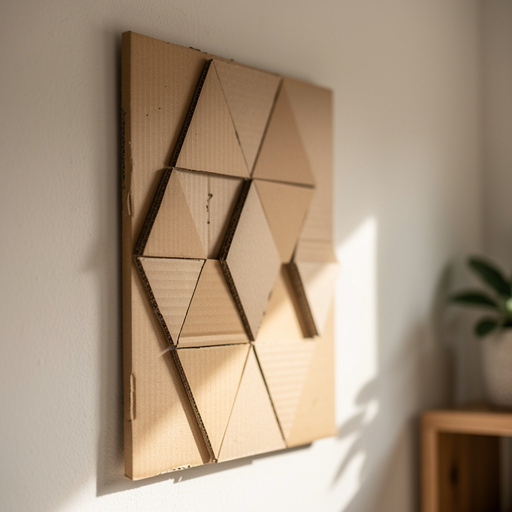
Arrange your cardboard shapes onto the printing plate cardstock to create a design. This is where your creativity shines! Experiment with different compositions, considering balance, repetition, and contrast to build your unique pattern or image. Don't be afraid to overlap shapes.
- 4
Once you are happy with the arrangement of your cardboard shapes on the printing plate, carefully glue each piece down using white craft glue. Apply a generous but not excessive amount of glue to the back of each cardboard shape to ensure a strong bond.
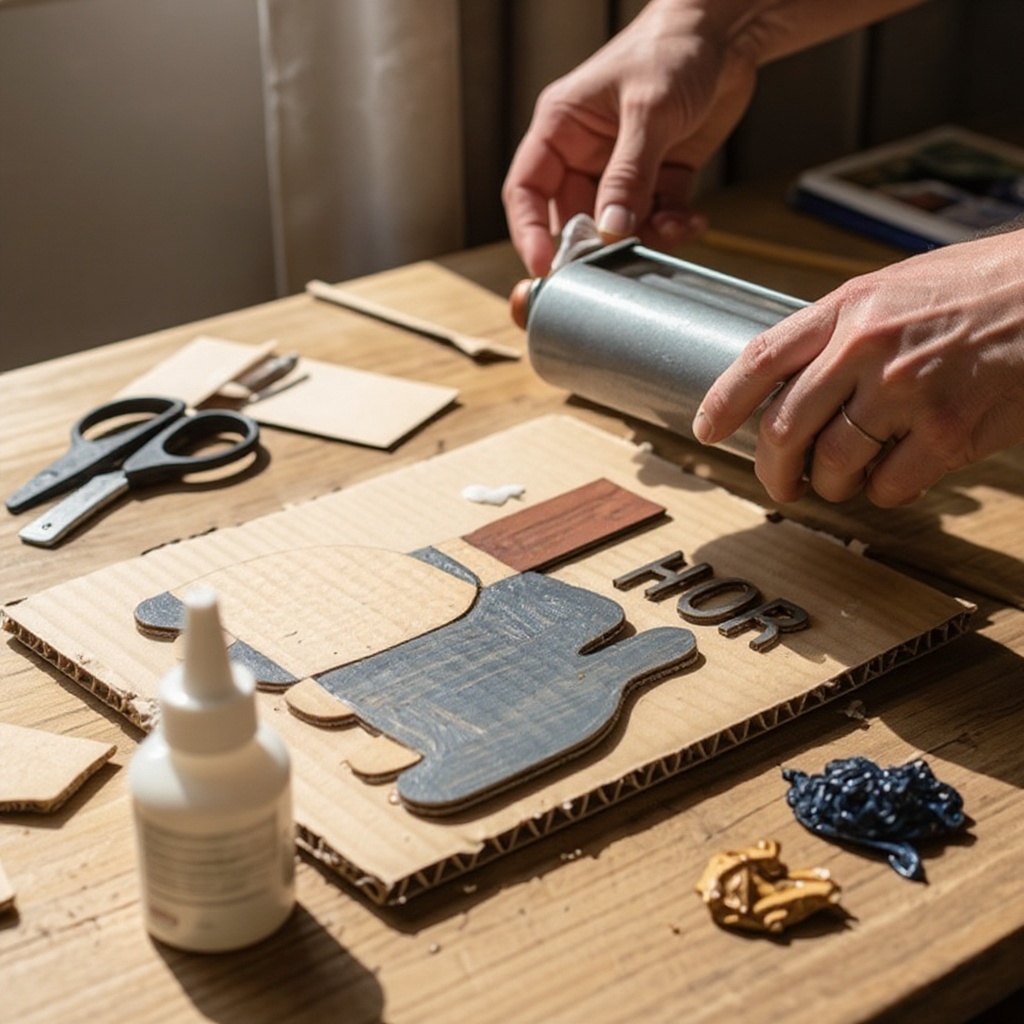
- 5
Press down firmly on each glued shape for a few seconds to ensure it is well-adhered to the printing plate. This is crucial for preventing the shapes from lifting or shifting during the printing process, which could result in smudged or incomplete prints.
- 6
Let the glue dry completely. This is an important step that cannot be rushed; allow at least 30-60 minutes, or even longer if you used a lot of glue or thick cardboard. The shapes must be firmly attached to withstand the pressure of printing.
- 7
Once the glue is completely dry and your cardboard design is securely attached, select your paint colors and pour a small amount onto a palette or old plate. You can mix colors to create custom shades, but start with a few basic colors to keep it simple.
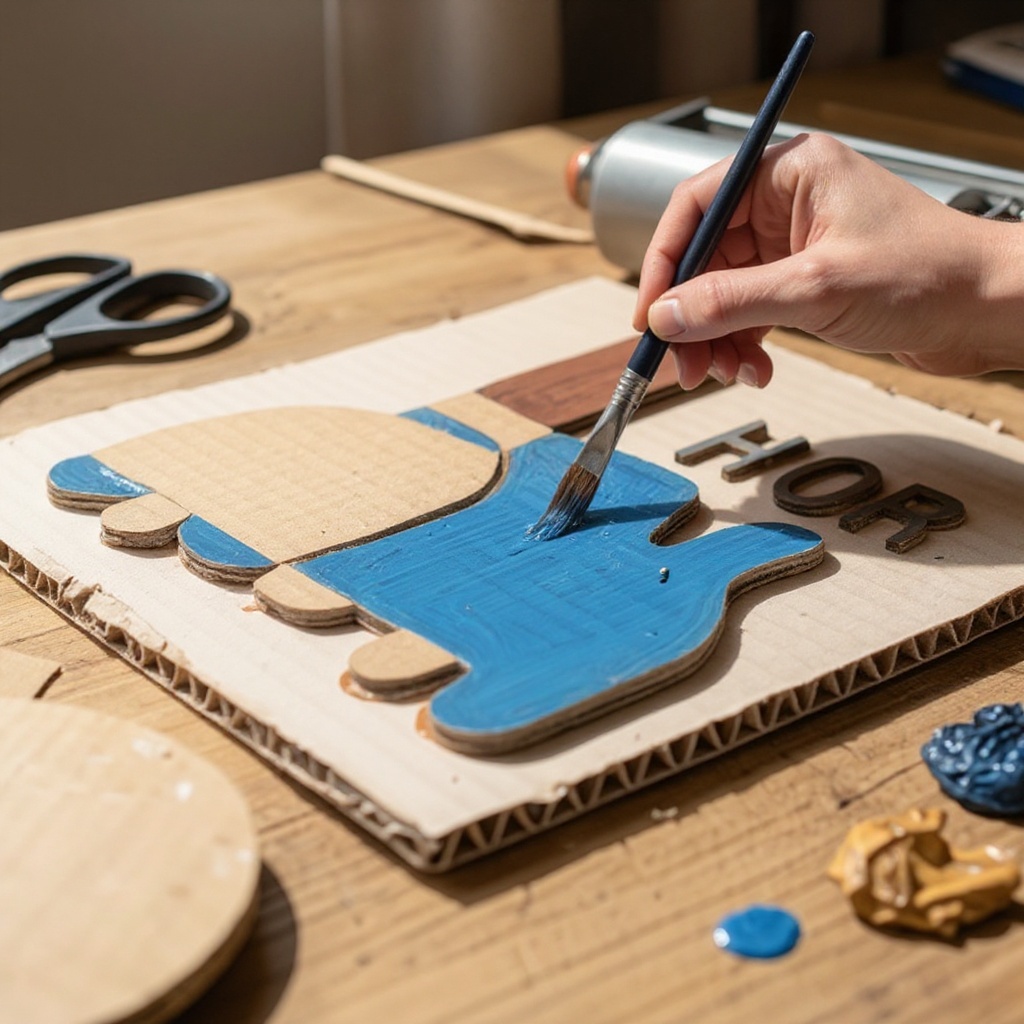
- 8
Using a paintbrush, evenly apply a thin layer of paint over the entire surface of the cardboard design on your printing plate. Ensure all raised cardboard surfaces are covered, but avoid letting paint pool in any recessed areas, as this can lead to muddy prints.
- 9
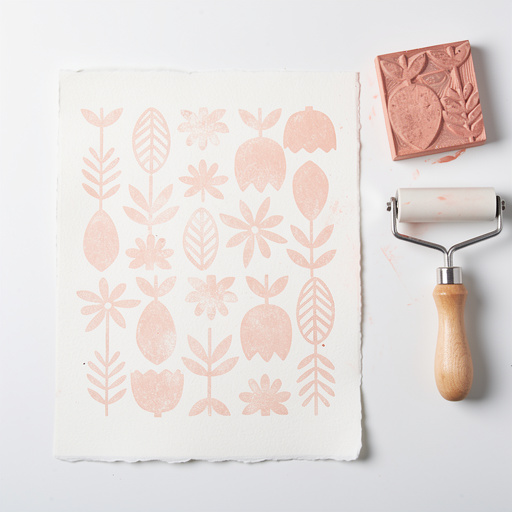
Carefully press a piece of paper onto the painted cardboard surface, smoothing it down gently to pick up the paint. Start from the center and work your way outwards, applying even pressure across the entire surface of the paper. You can use your hands or a clean, dry roller (brayer) for this.
- 10
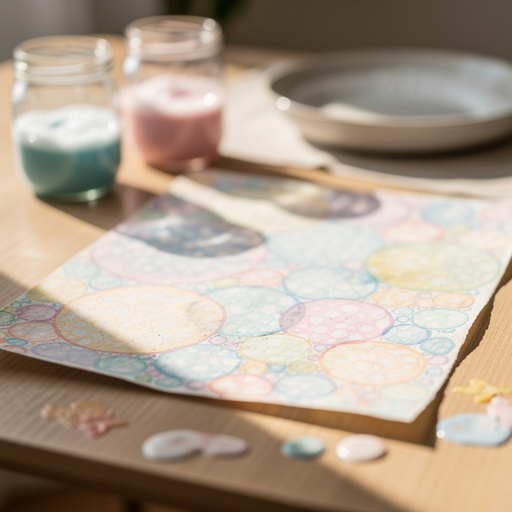
Peel the paper away from the printing plate to reveal your unique print. Lift the paper slowly and steadily from one edge to avoid tearing or smudging the wet paint. Let the print dry completely on a flat surface, away from direct heat or sunlight.
- 11
Repeat the printing process with new sheets of paper and the same painted plate for multiple impressions. You can reapply paint to the plate as needed, or experiment with different colors on the same design. Each print will be slightly different, adding to its unique charm.
- 12
Clean your paintbrushes thoroughly with water immediately after use. This prevents the paint from drying in the bristles, which can ruin your brushes. Rinse until the water runs clear, then gently reshape the bristles and allow them to dry.
Tips & Troubleshooting
- 1If your cardboard shapes are very thin, you can layer them to create more dimension and texture in your prints. For example, gluing a thin strip of cardboard onto a square shape can add an interesting visual element that will be translated into your print.
- 2Experiment with different paint consistencies. Thicker paint will create bolder, more opaque lines and shapes, while thinner paint will create lighter, more translucent impressions. You can achieve thinner paint by adding a tiny bit of water, but be careful not to make it too watery.
- 3For a layered effect, allow the first print to dry completely before applying more paint to the plate and printing again on a new sheet of paper. This technique can create interesting overlaps and color blending, especially if you slightly shift the paper on the second print.
- 4Clean your paintbrushes thoroughly with water after each color or session to keep them in good condition. If paint dries in the bristles, it can become difficult to remove and permanently damage the brush, affecting future painting.
- 5Try using different types of paper for printing. Textured paper like watercolor paper or handmade paper can create interesting variations in your prints, as the paint settles into the paper's surface differently than on smooth paper.
- 6Consider using a brayer (roller) to apply the paint to your cardboard design. A brayer can help ensure a more even and consistent layer of paint across the entire surface, leading to clearer and more defined prints compared to using a paintbrush alone.
- 7Don't be afraid to experiment with negative space in your designs. Cutting out shapes from a piece of cardboard and gluing the remaining frame onto your printing plate can create interesting stencil-like effects in your prints.
- 8For a more professional finish, once your prints are completely dry, you can trim the edges neatly or mount them onto a larger piece of cardstock. This elevates your DIY art and makes it ready for display.
Related Activities You Might Enjoy
Frequently Asked Questions
What is easy printmaking?
Easy printmaking involves creating art by transferring ink or paint from a prepared surface to paper. Unlike traditional printmaking methods that require specialized presses and materials, this DIY version uses simple, readily available items like cardboard and glue. You create a raised design by adhering cardboard shapes to a base, which then acts as your printing plate. When paint is applied to this plate and paper is pressed onto it, the design is transferred, resulting in a unique print. This method is accessible, fun, and allows for a great deal of creative exploration without complex equipment.
Can kids do this easy printmaking activity?
Yes! This DIY cardboard relief printmaking is fantastic for kids. The simple cutting, gluing, and painting steps are engaging and allow for lots of creative freedom, making it a perfect family activity. Younger children can focus on cutting simple shapes and gluing them down, while older children can experiment with more intricate designs and color mixing. It’s a wonderful way to develop fine motor skills, spatial reasoning, and artistic expression in a fun, hands-on manner. Always supervise younger children during cutting and gluing stages.
What kind of paint should I use for cardboard printmaking?
Acrylic paints or tempera paints work best for this project. They provide good coverage on the cardboard and are easy to clean up with water, making them ideal for a family-friendly craft. Acrylics tend to be more vibrant and durable once dry, while tempera paints are often more budget-friendly and easier for very young children to handle. Avoid oil-based paints as they are harder to clean and may not adhere as well to the cardboard surface without special mediums.
How do I get a good print from my cardboard design?
To get a good print from your cardboard design, apply an even, thin layer of paint to your cardboard relief. Ensure all the raised surfaces are covered without letting paint pool in the recessed areas. Then, press the paper firmly and evenly onto the painted surface, smoothing it down from the center outwards to ensure good contact. Peel the paper away carefully and slowly from one edge to reveal your impression. Consistent pressure and an even paint application are key to achieving clear, well-defined prints.
What are the benefits of using cardboard for printmaking?
Using cardboard for printmaking offers several significant benefits, making it an ideal choice for beginners and families. Firstly, it's incredibly economical and readily available; most households have access to cardboard scraps from packaging. Secondly, it's easy to cut and manipulate, allowing for a wide range of textures and shapes to be incorporated into the design. Thirdly, the process is forgiving, meaning minor imperfections can often add character to the final print. Finally, it provides a wonderful tactile experience, engaging children and adults alike in a hands-on creative endeavor that fosters imagination and problem-solving skills.
How can I make my cardboard relief prints more interesting or complex?
To make your cardboard relief prints more interesting and complex, consider layering different thicknesses and types of cardboard to create varied heights and textures in your design. You can also incorporate other materials like string, fabric scraps, or even textured paper glued onto the base. Experiment with different paint application techniques, such as using a sponge or a roller for varied coverage, or even trying dry brushing for a textured effect. Furthermore, explore creating multi-color prints by applying different colors to separate sections of your cardboard design, or by overprinting dried prints with new colors.
What Next?
Congratulations on creating your own beautiful cardboard relief prints! Don't stop here; explore variations by using different types of cardboard, like corrugated cardboard for a more pronounced texture, or even fabric scraps for a mixed-media approach. Consider creating a series of prints with a consistent theme or color palette. Once dry, your prints can be framed, used for greeting cards, or incorporated into larger mixed-media art pieces. Store your printing plates carefully in a flat, dry place for future use, and enjoy the satisfaction of your handmade artistic creations!
Free: 10 Paper Crafts Anyone Can Make in 5 Minutes
Get our beginner guide + new craft ideas weekly.
No spam. Unsubscribe anytime.
Did you complete this activity?
Related