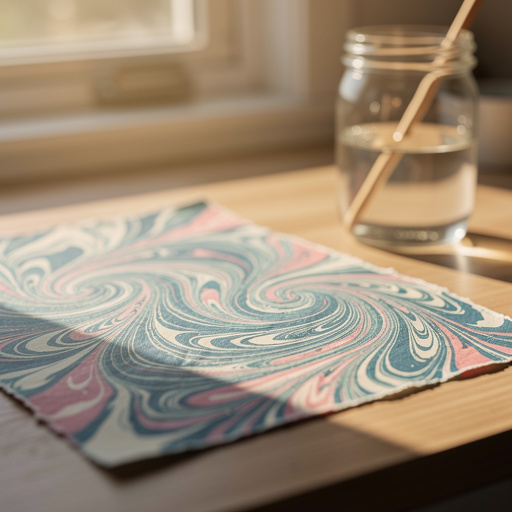
How to Create Beautiful Paper Marbling Art Prints — Easy Step-by-Step Guide
Transform plain paper into mesmerizing marbled masterpieces with this simple and fun technique. Create unique art prints perfect for gifts or decorations.
Quick answer
To make paper marbling art prints, you need shaving cream, food coloring, and cardstock, taking about 30 minutes. Start by spreading shaving cream in a tray. Add drops of food coloring and swirl. Press paper onto the surface. This beginner-friendly activity has 10 steps and is perfect for families.
What you need
Shop on Amazon · As an Amazon Associate we earn from qualifying purchases. Links above are affiliate links — we may earn a commission at no extra cost to you.
On this page
Step-by-Step Instructions
- 1
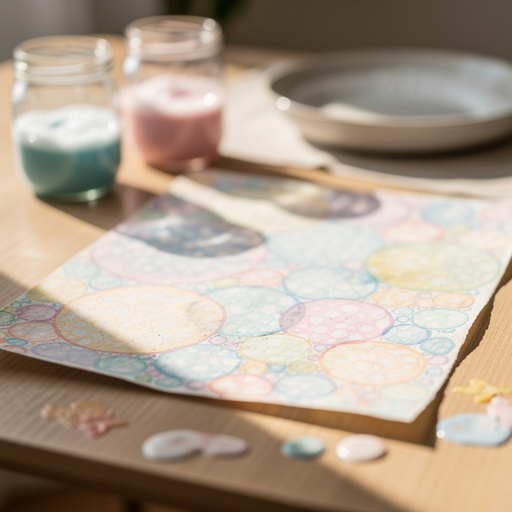
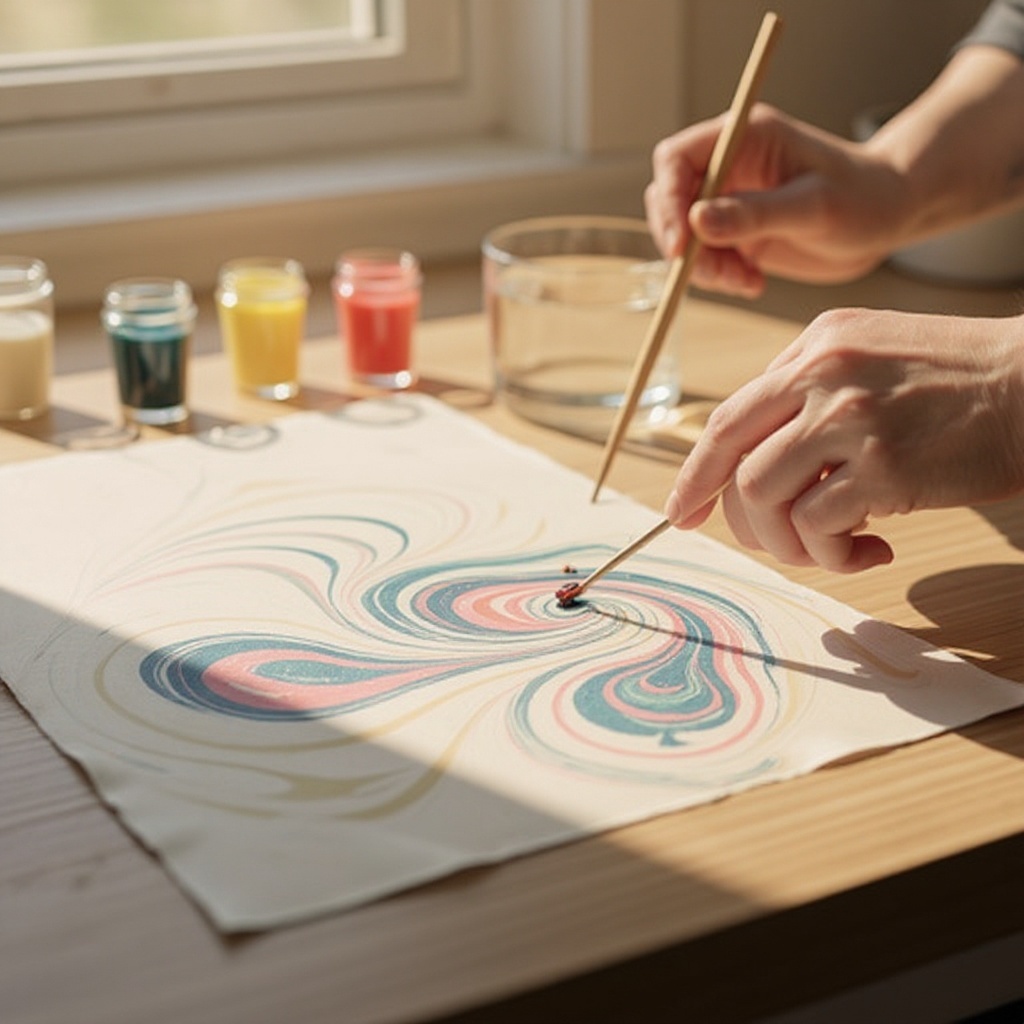
Generously spray white shaving cream into the shallow tray, filling it about 1-2 inches deep.

- 2
Add several drops of different food coloring onto the shaving cream. Don't overdo it; a little goes a long way.
- 3
Use a toothpick or skewer to gently swirl the colors together. Create patterns by dragging the toothpick through the colors.
- 4
Be careful not to over-mix; you want distinct swirls and patterns, not a muddy mess.
- 5
Take a piece of cardstock and carefully lay it flat on top of the colored shaving cream, pressing down gently to ensure full contact.
- 6
Let the paper sit on the shaving cream for about 30 seconds to absorb the color.
- 7
Carefully lift the paper from the tray.
- 8
Using a squeegee or ruler, gently scrape off the excess shaving cream from the paper. Work from one edge to the other.
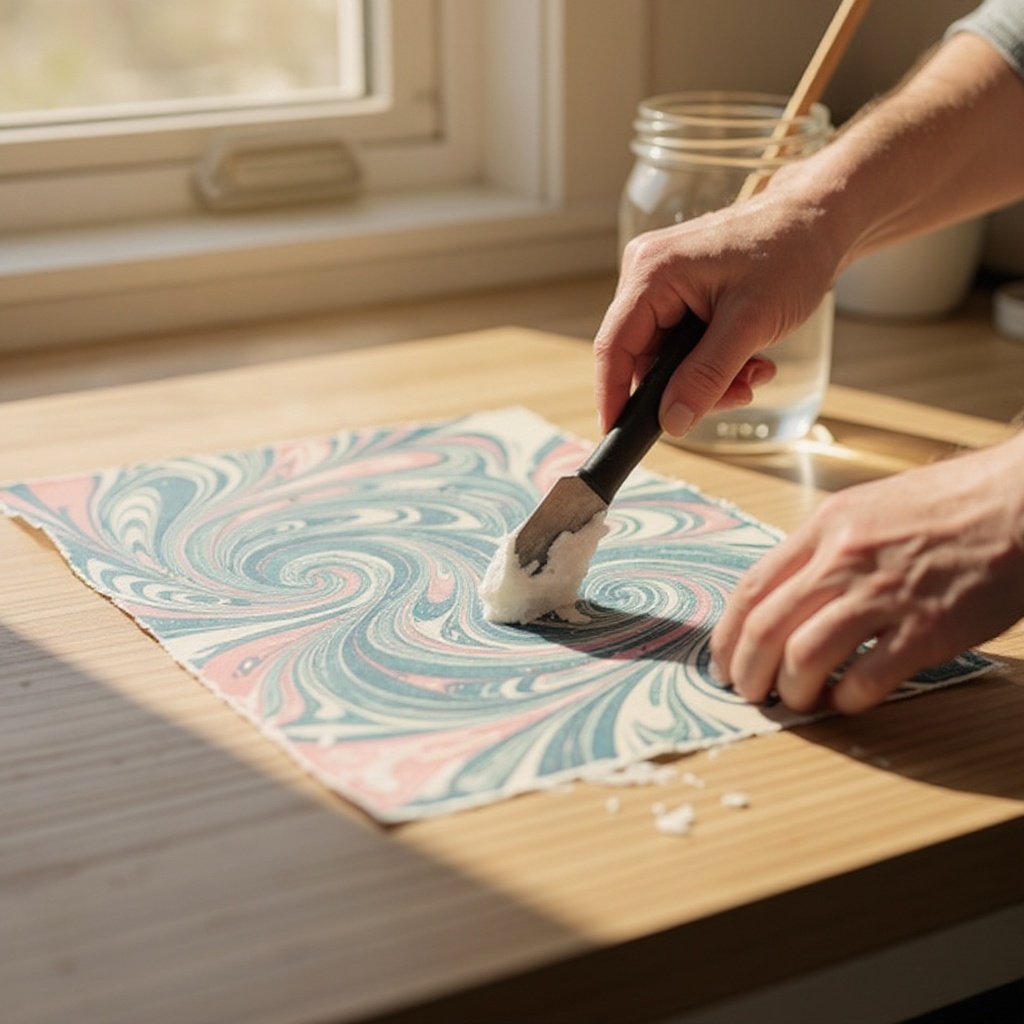
- 9
Place the scraped paper onto a clean surface or a drying rack.
- 10
Allow the marbled paper to dry completely. This may take a few hours.
- 11
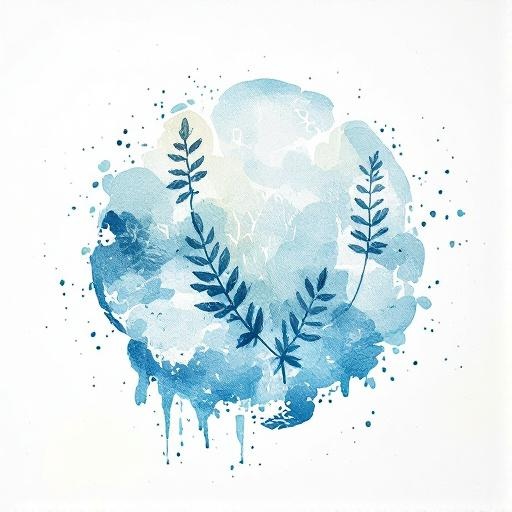
Once dry, admire your unique paper marbling art prints!
Tips & Troubleshooting
- 1If your colors look too muddy, you may have over-swirled. Try using fewer colors or swirling less next time.
- 2Experiment with different swirling techniques. You can create straight lines, zig-zags, or more intricate patterns.
- 3For bolder colors, let the paper sit on the shaving cream for a minute longer, but watch out for the shaving cream drying.
- 4Clean the tray thoroughly between color changes to prevent colors from mixing unintentionally.
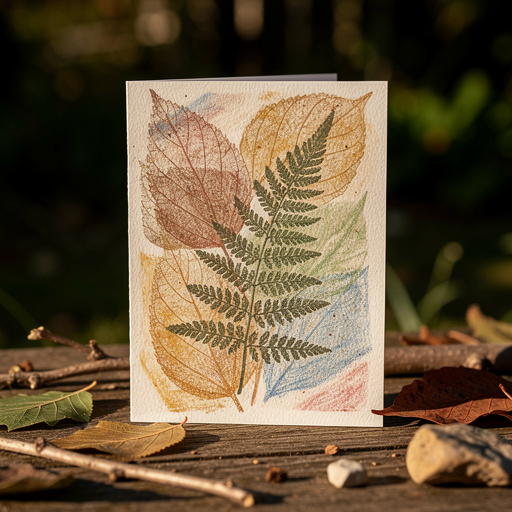
- 5These marbled papers are beautiful on their own or can be used for card making, scrapbooking, or covering journals.
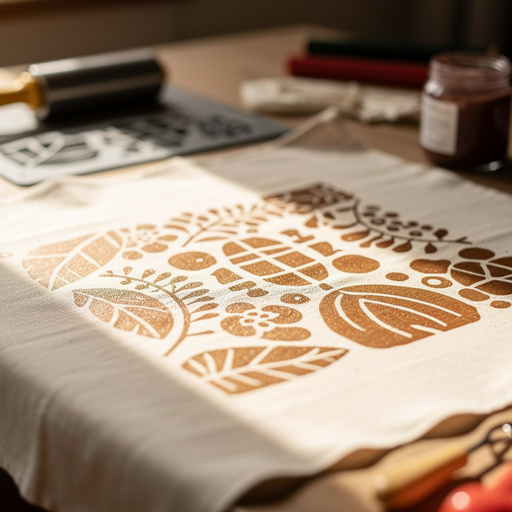
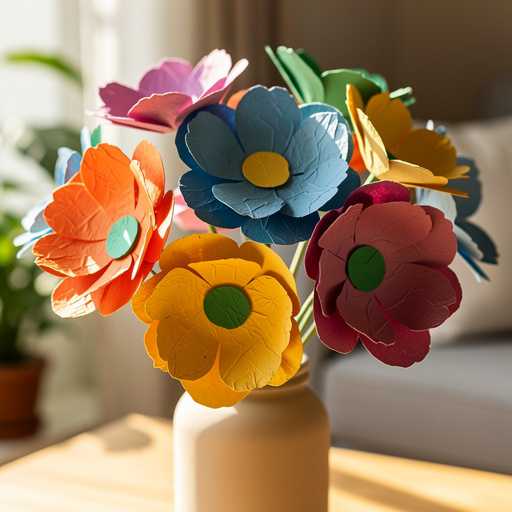
Related Activities You Might Enjoy
Frequently Asked Questions
Is paper marbling messy?
This craft can be a little messy due to the shaving cream and food coloring. It's best to do it in an area that's easy to clean, like a kitchen or outdoors, and have paper towels handy.
What kind of paper works best for marbling?
Cardstock or heavy art paper works best as it can withstand the moisture from the shaving cream without becoming too warped. Lighter papers may wrinkle.
Can I use paint instead of food coloring?
While food coloring is recommended for its vibrant colors and ease of use, you could experiment with watered-down acrylic paints. However, they might not swirl as effectively and could create a thicker residue.
How do I get distinct patterns in my marbling?
The key to distinct patterns is to swirl the colors gently and not over-mix them. Use a toothpick to create deliberate lines and shapes, and avoid stirring too vigorously.
Free: 10 Paper Crafts Anyone Can Make in 5 Minutes
Get our beginner guide + new craft ideas weekly.
No spam. Unsubscribe anytime.
Did you complete this activity?
Related