How to Create Beautiful Nature Embossed Paper — Easy Step-by-Step Guide
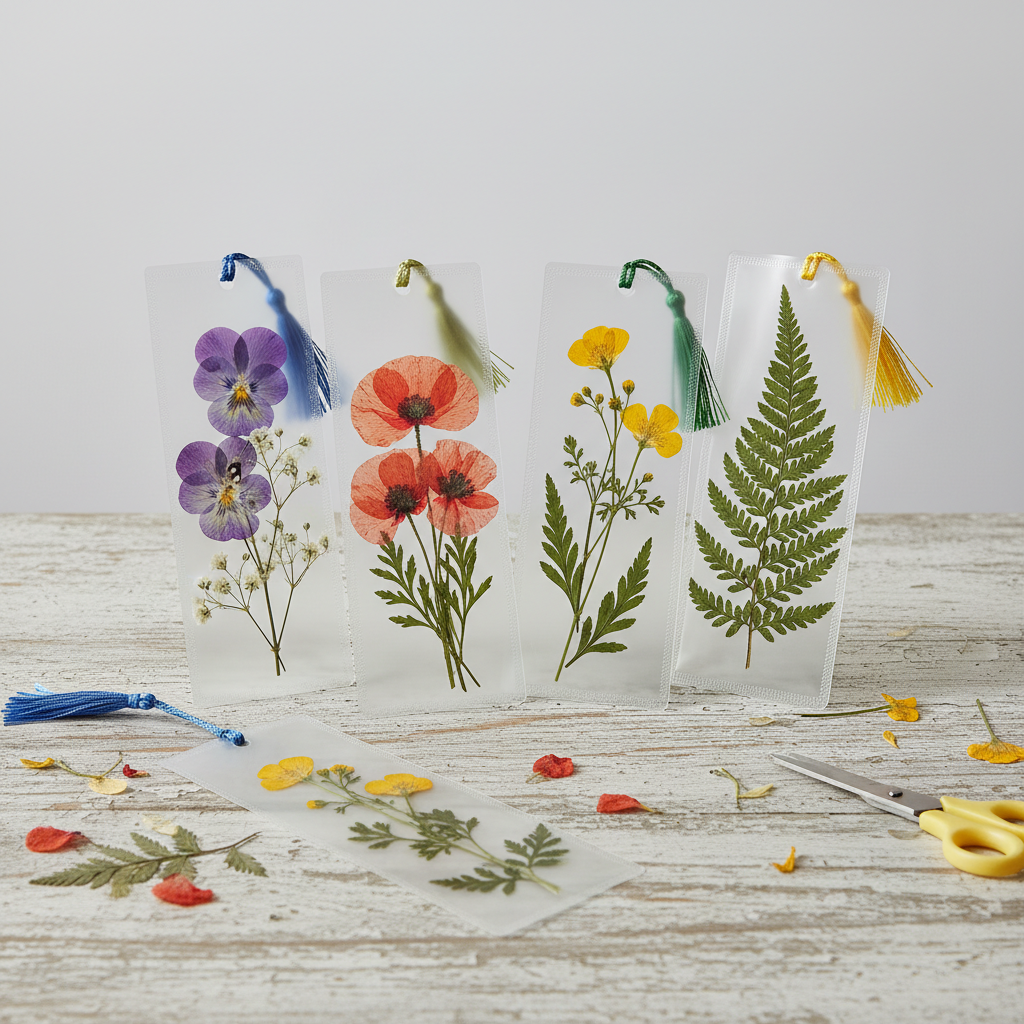
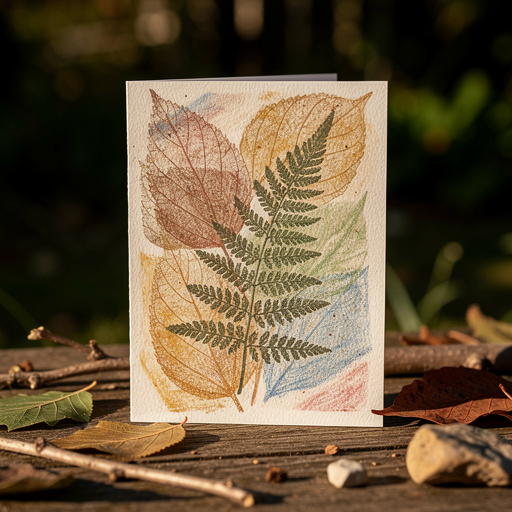
Transform delicate natural elements into stunning, textured artwork with this simple embossing technique. A beautiful way to preserve nature's beauty.

Quick answer
To make embossed nature paper, you need pressed leaves/flowers, cardstock, and a brayer, taking about 45 minutes. Start by arranging your botanicals on cardstock. This beginner-friendly activity has 10 steps and is perfect for adults and older children.
What you need
Shop on Amazon · As an Amazon Associate we earn from qualifying purchases. Links above are affiliate links — we may earn a commission at no extra cost to you.
Discover the magic of transforming the delicate beauty of nature into tangible art with this simple yet elegant embossing technique. Creating nature embossed paper is a wonderfully accessible craft, perfect for anyone looking to add a unique, textured touch to their projects. It's an ideal activity for a quiet afternoon, a creative session with older children, or a way to preserve the fleeting beauty of your garden or a nature walk. The process is meditative, allowing you to connect with the natural world while producing stunning results that feel both sophisticated and deeply personal.
On this page
Step-by-Step Instructions
- 1
Gather your collection of pressed and thoroughly dried leaves and flowers. Ensure they are completely flat and brittle; any remaining moisture can lead to tearing or staining the cardstock and will prevent a clean emboss.
- 2
Select a piece of heavyweight cardstock for your base. Choose a color that complements your botanicals, as the embossed design will subtly show through, influencing the final aesthetic.
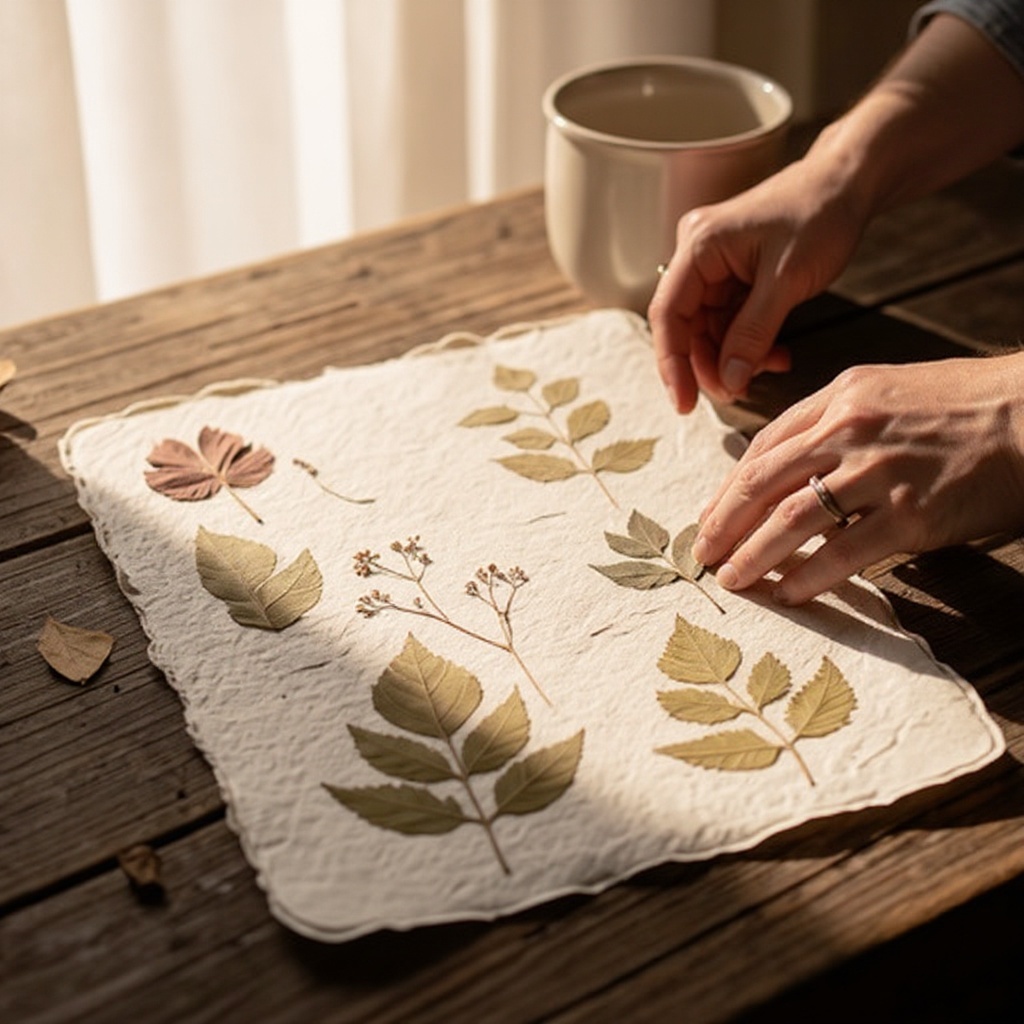
- 3
Arrange your chosen botanicals onto the surface of the cardstock, creating your desired design. Think about composition, layering, and how the shapes will interact when embossed, ensuring elements are not overlapping too much for a clearer imprint.
- 4
Carefully place a sheet of smooth, hard paper over the arranged botanicals and cardstock. This protective layer is crucial as it will distribute the pressure evenly and prevent the brayer from snagging on the delicate plant material, which could tear your botanicals or cardstock.
- 5
Using the brayer, gently and evenly roll over the top sheet of paper. Apply consistent pressure, starting from the center and working your way outwards to ensure the entire design is pressed.
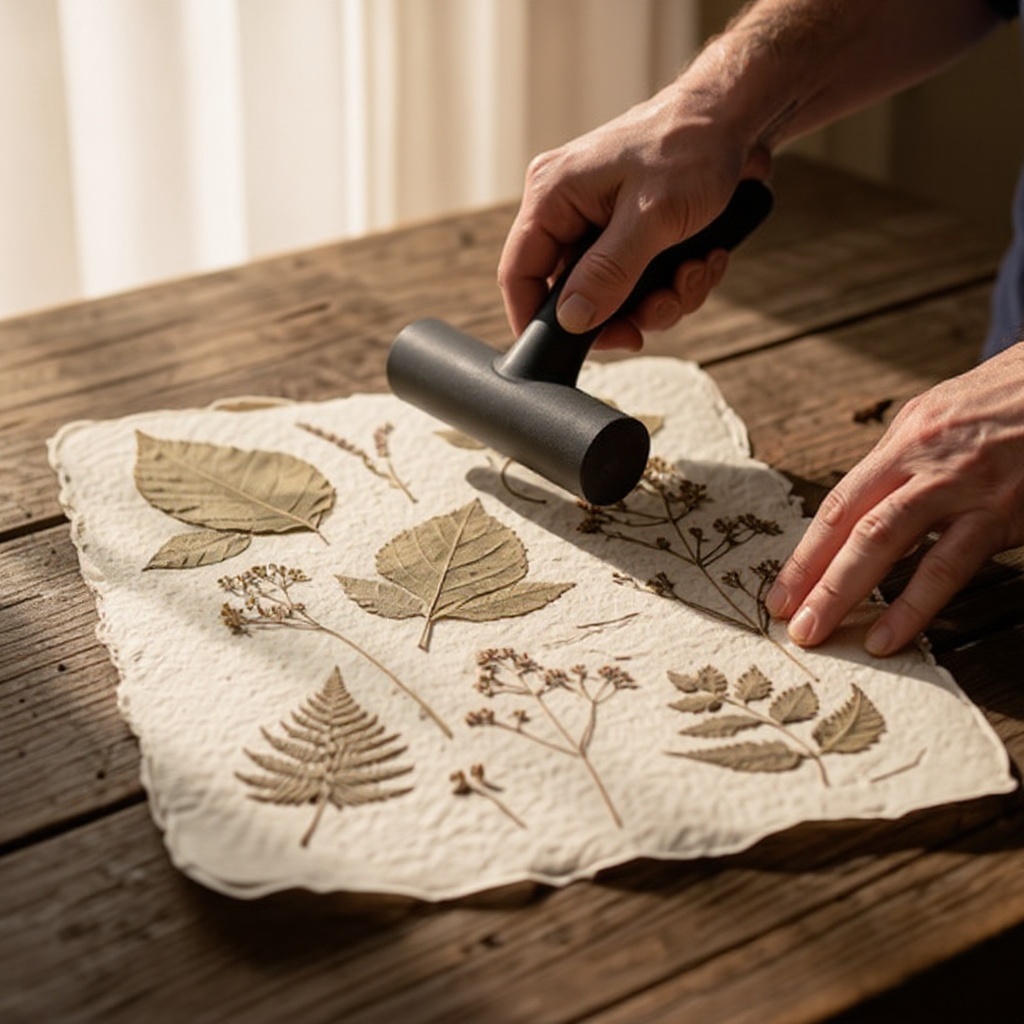
- 6
Continue rolling in different directions, ensuring you cover the entire surface where the botanicals are placed. Listen for the subtle change in resistance as the brayer presses the botanicals into the cardstock; a slight 'give' indicates the material is being impressed.
- 7
Gently lift the top sheet of paper to reveal the embossed design. Take your time to avoid disturbing the delicate embossed patterns, especially around the edges of the botanicals.
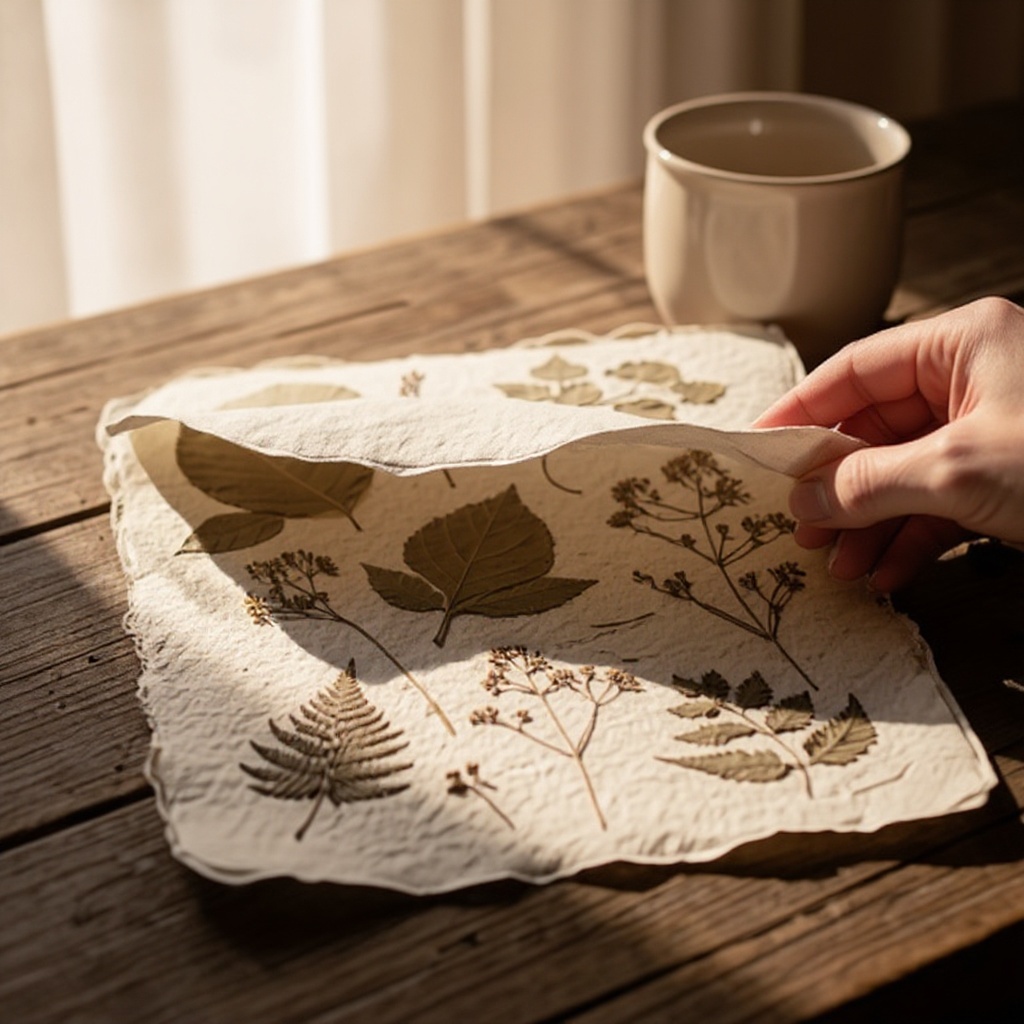
- 8
Feel the texture of the botanicals pressing through the cardstock by gently touching the top paper. You should start to feel the raised outlines and veins of your chosen natural elements, indicating a successful emboss.
- 9
If some areas are not as defined as you'd like, carefully replace the top sheet of smooth paper and re-roll over those specific areas with slightly more pressure. Be cautious not to overdo it, which could tear the cardstock or crush the delicate botanical details.
- 10
For areas needing extra definition, consider placing a thin piece of felt or a microfiber cloth between the smooth top paper and your cardstock before rolling again. This adds a bit of cushioning and can help achieve a deeper impression without damaging the paper.
- 11
Inspect your embossed paper for any stray botanical fragments or smudges. You can gently brush these away with a soft brush or use tweezers for precise removal, ensuring a clean and polished final product.
- 12
Allow the embossed paper to air dry completely. Although this technique doesn't involve wet materials, the pressure can sometimes create slight indentations that benefit from settling and flattening out over time.
- 13
Your beautiful, textured nature embossed paper is now ready to be used for cards, art, or decoration. Trim to size if needed using a craft knife and ruler for clean edges, ensuring your final piece is perfectly presented.
Tips & Troubleshooting
- 1Ensure your botanicals are completely dry and well-pressed before starting. Moisture is the enemy of this technique; it can cause the delicate plant material to tear, leave unsightly stains on your cardstock, or prevent a clean emboss, so patience during the pressing stage is key.
- 2Experiment with different types of cardstock to see how they affect the emboss. Thicker, higher-poundage cardstock (like 100lb or 110lb) will yield a more pronounced and deeper emboss, while lighter weights might tear or create a subtler effect, offering a range of textural possibilities.
- 3For very delicate flowers or leaves, use tweezers to place them precisely and to lift the top paper slowly and carefully. This minimizes the risk of crushing or tearing these fragile natural elements during the embossing process, preserving their intricate details.
- 4Try layering different botanicals for a more complex and dimensional effect. Overlapping leaves or placing smaller flowers on top of larger ones can create intricate patterns and a richer, more detailed embossed outcome, adding depth and visual interest.
- 5This technique works best with flatter botanical elements that have distinct shapes and textures. Avoid bulky items like thick seed pods or very fleshy petals, as they are difficult to press evenly and may not yield a clear embossed impression, leading to uneven results.
- 6Consider the color of your cardstock in relation to your botanicals. Lighter cardstock will showcase the embossed texture more prominently, while darker cardstock can create a more subtle, elegant effect where the light catches the raised areas, offering different moods and styles.
- 7Apply pressure with the brayer in a consistent and deliberate manner. Avoid jerky movements, as this can lead to uneven embossing or damage to your botanicals. Think of it as a gentle, firm massage for your paper, ensuring even pressure distribution.
- 8If you find the embossing isn't deep enough after the first attempt, you can try placing a thin piece of felt or a microfiber cloth between the top smooth paper and the cardstock before rolling. This can add a bit more cushioning and help achieve a deeper impression without risking damage to the paper.
Related Activities You Might Enjoy
Frequently Asked Questions
What is the best way to press flowers for embossing?
The most effective method for pressing flowers and leaves for embossing is to place them between sheets of absorbent paper, such as newspaper, blotting paper, or paper towels. Then, sandwich these between the pages of heavy books, ensuring the botanicals are not overlapping. Leave them undisturbed for a minimum of 1 to 3 weeks, or until they are completely dry, flat, and brittle. This thorough drying process is crucial to prevent any residual moisture from transferring to your cardstock during the embossing, which could lead to tearing or unwanted marks and ensure a crisp imprint.
Can I use fresh flowers for this craft?
No, it is absolutely crucial to use only pressed and thoroughly dried flowers and leaves for this nature embossing technique. Fresh botanicals contain a significant amount of moisture, which will prevent the embossing process from working correctly and result in a smudged or absent impression. This moisture can also cause your cardstock to become damp, leading to tearing, warping, or leaving unwanted stains and marks on your beautiful paper. Always ensure your natural elements are completely dry and flat before you begin to achieve the best results.
What kind of paper is best for nature embossing?
For the best results in nature embossing, it's highly recommended to use heavyweight cardstock, with a minimum weight of 80lb. Ideally, opt for cardstock that is 100lb or even 110lb. This thicker, sturdier paper is essential because it can withstand the firm pressure applied by the brayer without tearing or becoming overly flimsy. Heavier cardstock also holds the embossed detail more effectively, resulting in a deeper, more pronounced, and visually striking impression of your botanicals, making the texture truly stand out.
How can I make the embossed design more visible?
To achieve a more visible and pronounced embossed design, several factors come into play. Firstly, ensure your botanicals are exceptionally well-pressed and completely dry; this is paramount for a clean imprint. Secondly, apply even, firm pressure with your brayer, rolling in multiple directions to ensure all parts of the botanicals are pressed into the cardstock. Using thicker cardstock, as mentioned previously, is also a key factor. Finally, consider the contrast between your botanicals and the cardstock; lighter cardstock often makes the raised texture stand out more prominently.
What if my embossed design isn't deep enough?
If your embossed design lacks the desired depth, don't worry! You can try a few things to enhance it. Carefully replace the top sheet of smooth paper and re-roll over the areas that need more definition, applying slightly more pressure. Be cautious not to apply excessive force, which could damage the cardstock or crush the botanicals. Another effective method is to place a thin layer of felt or a soft microfiber cloth between the top smooth paper and your cardstock before rolling. This adds a bit of cushioning and can help achieve a deeper impression.
Can I use different types of natural elements besides leaves and flowers?
While leaves and flowers are the most common and effective for this technique due to their relatively flat structures, you can experiment with other natural elements, though results may vary. Very thin, flat pieces of bark, delicate fern fronds, or even pressed grasses could potentially work. However, avoid anything bulky or three-dimensional, such as seed pods, thick stems, or berries, as these are unlikely to press evenly and will not create a clear embossed effect. The key is for the natural element to be able to flatten significantly under pressure to leave a distinct mark.
What Next?
Your beautifully embossed nature paper is now ready to inspire! Consider using it for handmade greeting cards, unique stationery, framing as delicate wall art, or even as decorative elements in scrapbooking and mixed media projects. For variations, try using different colored cardstocks or experimenting with a wider array of pressed botanicals. You could also explore adding a subtle wash of watercolor or ink to highlight the embossed details after the process is complete. Store your creations flat in a protective sleeve or portfolio to maintain their crisp texture and prevent damage.
Free: 10 Paper Crafts Anyone Can Make in 5 Minutes
Get our beginner guide + new craft ideas weekly.
No spam. Unsubscribe anytime.
Did you complete this activity?
Related