How to Create Beautiful Block Prints on Paper — Easy Step-by-Step Guide
Discover the art of block printing on paper! This screen-free activity allows families to create custom designs and artwork using simple tools and paint. It's a wonderfully tactile and rewarding craft that brings a touch of handmade charm to any project.
Quick answer
To make block prints on paper, you need carving tools, linoleum blocks, ink, and paper, taking about 60 minutes for a single print. Start by carving your design into the linoleum block. This beginner-friendly activity has 10 core steps and is perfect for families with children aged 8+, offering a screen-free creative outlet.
What you need
Shop on Amazon · As an Amazon Associate we earn from qualifying purchases. Links above are affiliate links — we may earn a commission at no extra cost to you.
Embark on a creative journey with the satisfying art of DIY block printing on paper. This accessible craft transforms simple linoleum blocks into unique canvases for your imagination, offering a tactile and screen-free alternative to digital design. It's an ideal activity for families looking to bond over a shared project, fostering creativity and fine motor skills in children as young as eight. Whether you're creating personalized stationery, unique artwork, or decorative elements for gifts, block printing provides a rewarding way to produce beautiful, handmade prints with a distinct artistic flair.
On this page
Step-by-Step Instructions
- 1
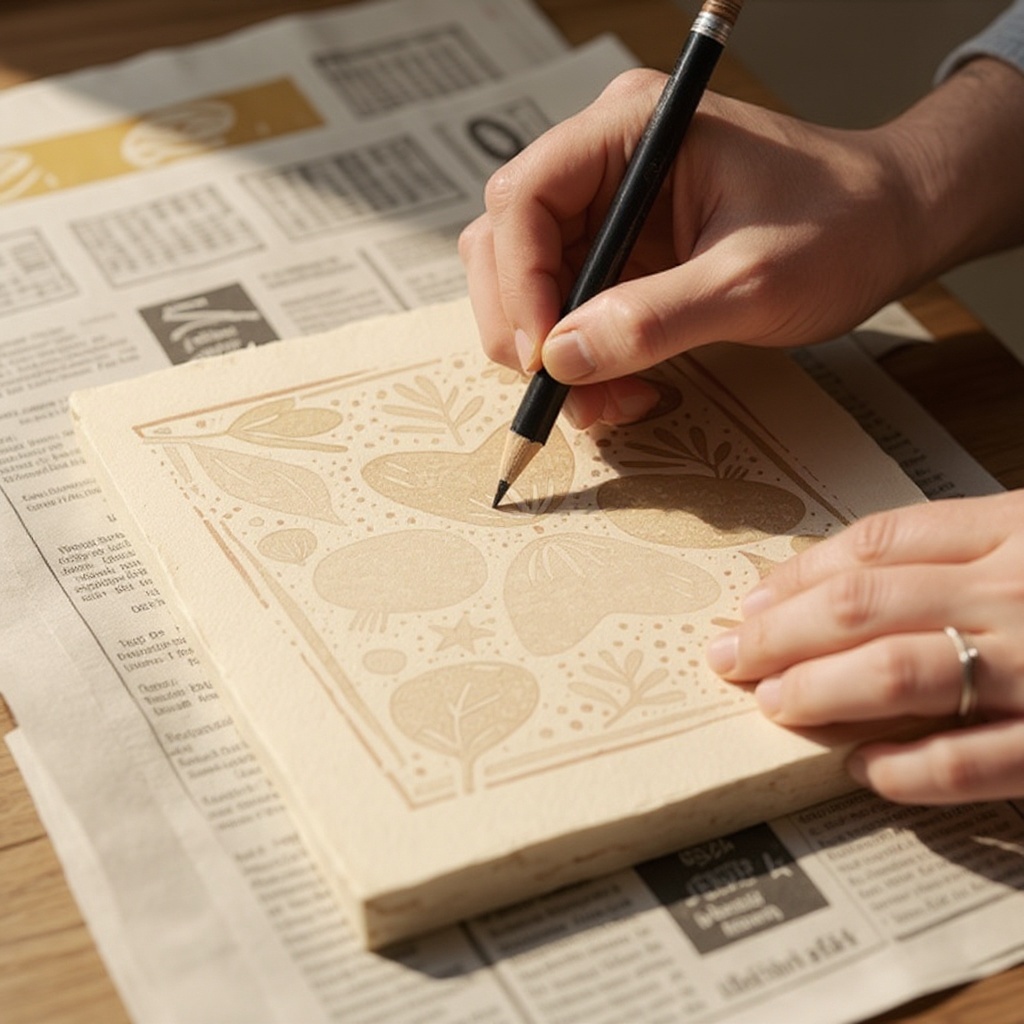
Cover your workspace with newspaper or a protective cloth. This step is crucial for protecting your surfaces from ink stains and carving debris, ensuring a clean and enjoyable crafting experience.
- 2
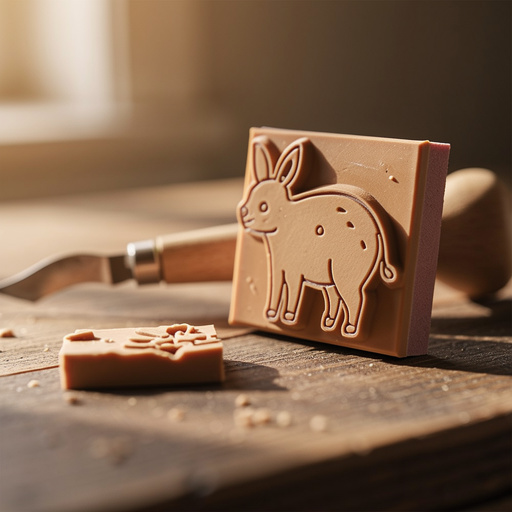
Using a pencil, lightly sketch your design onto the surface of the linoleum block. For beginners, start with simple shapes, bold lines, and clear contrasts, as these translate best to block printing.
- 3
Consider using tracing paper for more intricate designs. Trace your desired image onto tracing paper, then flip the tracing paper over and rub the back with a pencil. Place the traced side down onto the linoleum block and trace over the design again to transfer it to the block's surface.
- 4
Select your carving tools. Begin with a larger V-shaped or U-shaped tool for removing larger areas of linoleum. These tools are efficient for clearing out negative space and establishing the basic form of your design.
- 5
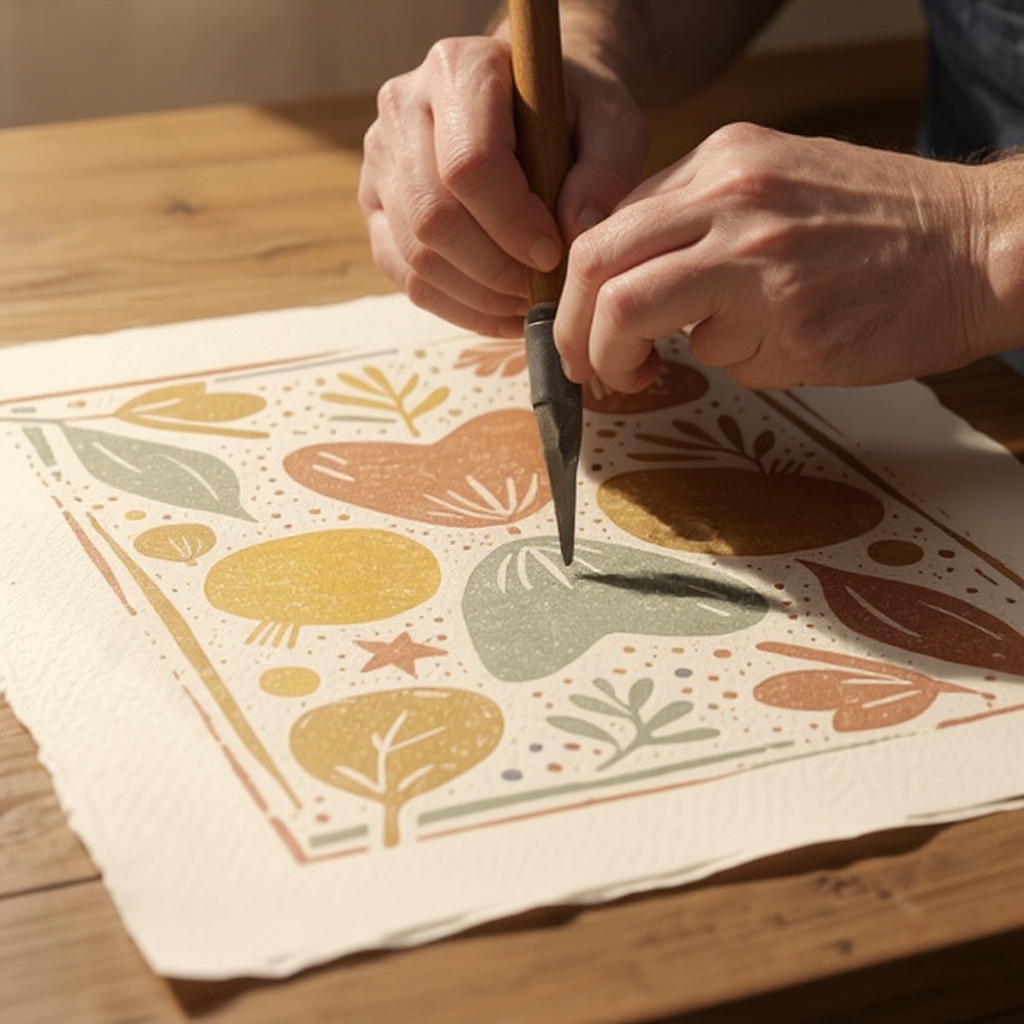
Carefully carve away the areas of the linoleum that you *do not* want to print. Remember, the raised areas will hold the ink and form your printed image. Think of it as sculpting the negative space around your desired image.
- 6
Maintain a consistent carving depth to ensure even ink coverage. Avoid carving too deeply, as this can lead to weak lines or areas that don't print well. Aim for a depth of about 1/8 inch for most linoleum blocks.
- 7
Switch to finer carving tools for details. Use smaller V-gouges for thin lines and delicate details, and flat chisels for smoothing larger areas or creating texture. Take your time with these finer cuts to achieve precision.
- 8
Always carve away from yourself and keep your fingers clear of the cutting path. This is a paramount safety rule to prevent accidental cuts. If using a bench hook, ensure the block is securely held against it.
- 9
Once carving is complete, clean any dust or debris from the block with a dry paper towel. Gently brush away any loose particles to ensure a clean surface for inking.
- 10
Squeeze a small amount of block printing ink onto your palette or disposable plate. Start with a dollop about the size of a quarter; you can always add more if needed.
- 11
Roll the brayer evenly over the ink until it has a thin, smooth coating. The ink should make a soft 'hissing' sound as you roll it. Avoid overloading the brayer, as this can lead to blotchy prints.
- 12
Gently roll the inked brayer over the raised surface of your carved linoleum block, ensuring even coverage. Roll in multiple directions (horizontally, vertically, and diagonally) to ensure all raised areas are coated with a thin, consistent layer of ink.
- 13
Carefully place your paper onto the inked block, aligning it as desired. You can use registration marks on your workspace or the block itself to ensure consistent placement for multiple prints.
- 14
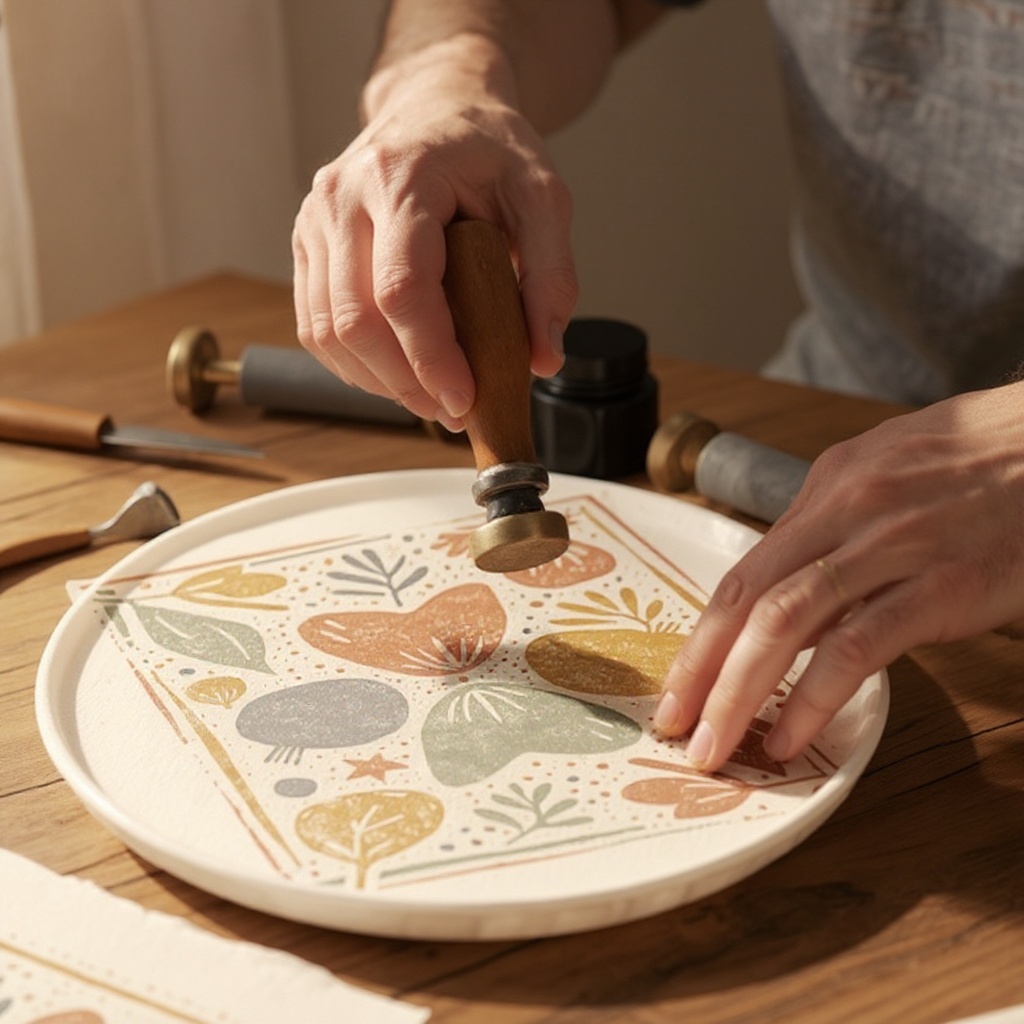
Press firmly and evenly over the entire surface of the paper using your hands or a brayer to transfer the ink. You can use the palm of your hand, your fingers, or even the back of a spoon to apply pressure, ensuring all inked areas make contact with the paper.
- 15
For a more even transfer, you can use the brayer again, rolling it over the back of the paper. Apply firm, consistent pressure to ensure the ink transfers cleanly from the block to the paper.
- 16
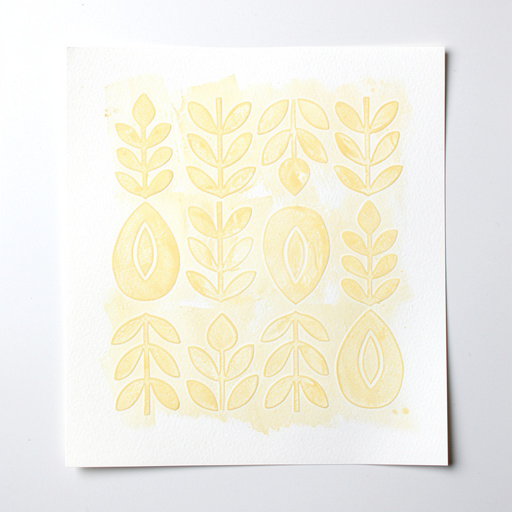
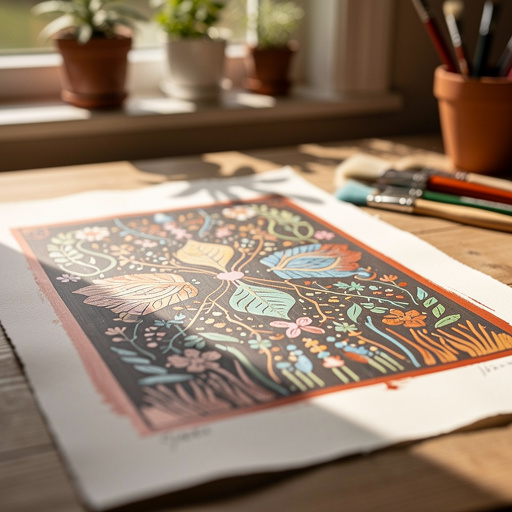
Carefully lift the paper from the block to reveal your print. Start lifting from one corner and peel it back slowly to avoid smudging any wet ink.
- 17
Let the print dry completely. Depending on the ink and paper type, this can take anywhere from 15 minutes to several hours. Avoid touching the inked areas until they are fully dry to prevent smudging.
Tips & Troubleshooting
- 1If you make a mistake while carving, such as an accidental cut or an unwanted mark, don't despair. You can often fill small errors with a bit of white acrylic paint after the ink is dry, allowing it to dry completely before re-carving or simply covering the mistake in your next print. For larger errors, consider using a carving tool to carefully remove the mistaken area and then fill it with a small piece of linoleum or even modeling clay before re-carving.
- 2Experiment with different types of paper to see how they affect the print. Thicker papers like cardstock or printmaking paper can handle more ink and are less likely to tear, offering a smooth surface for detailed prints. Thinner papers, such as drawing paper or even some textured papers, can offer a different tactile quality and may show more of the paper's texture through the ink, creating a unique aesthetic.
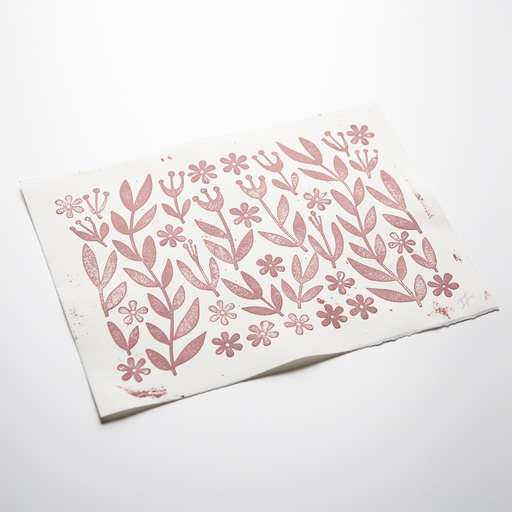
- 3For a multi-color print, allow the first color to dry completely before inking and printing the next layer. This prevents colors from bleeding into each other. You can also carve separate blocks for each color, carefully registering each block to ensure the colors align perfectly for a professional look.
- 4Always carve away from your body and keep your fingers out of the path of the carving tool. This is the most critical safety precaution. Using a bench hook or a non-slip mat can add extra stability and safety by preventing the block from shifting unexpectedly during carving.
- 5Store your carved blocks in a safe place, such as a sturdy box or a dedicated storage container. They can be reused many times to create more prints, making them a sustainable and long-lasting crafting material. Ensure they are clean and dry before storing to prevent damage.
- 6Consider the 'negative space' in your design. The areas you carve away are just as important as the areas you leave raised. Think about how the negative space will contribute to the overall composition and impact of your print.
- 7When inking your brayer, aim for a thin, even layer. Too much ink will result in fuzzy edges and a loss of detail, while too little ink will create faint prints. Practice rolling the brayer on a scrap piece of paper to test the ink coverage before applying it to your block.
- 8For a more textured print, try dabbing the ink onto the block with a sponge instead of using a brayer, or experiment with different types of ink, such as metallic or iridescent inks, for a unique visual effect.
Related Activities You Might Enjoy
Frequently Asked Questions
What is the best type of paper for block printing?
The best type of paper for block printing depends on the desired effect and the type of ink you are using. For crisp, detailed prints, smooth, heavier papers like cardstock or specialized printmaking paper (such as Stonehenge or Rives BFK) are excellent choices as they hold ink well and are less prone to tearing. For a more rustic or textured look, you might experiment with drawing paper or even handmade papers. Thicker papers generally offer a more durable surface and can handle more ink without becoming oversaturated or tearing, while thinner papers can sometimes allow the texture of the paper itself to become a visible element of the print.
How do I clean up block printing ink?
Cleaning up water-based block printing ink is generally straightforward. Immediately after you finish printing, wash your hands, brayer, palette, and any tools with warm water and soap. For stubborn ink residue on your brayer or palette, a bit of rubbing alcohol or a specialized printmaking ink cleaner can be very effective. Wipe down your workspace with damp paper towels to remove any stray ink marks. It's best to clean up as soon as possible, as dried ink can be more difficult to remove. Store your brayer and tools properly after cleaning to ensure their longevity.
Can I carve my own designs for block printing?
Absolutely! The beauty of block printing lies in its versatility and the ability to create your own unique designs. You can start with simple geometric shapes, bold outlines, or even abstract patterns. As you gain confidence and familiarity with the carving tools, you can gradually attempt more complex designs, including detailed illustrations or intricate patterns. Sketching your design directly onto the linoleum block is a common approach, or you can transfer a design from paper using tracing paper for more precise results. Don't be afraid to experiment and let your creativity guide you.
What are the safety precautions for block printing?
The primary safety concern in block printing revolves around the sharp carving tools. It is paramount to always carve away from your body and keep your fingers and hands clear of the blade's path. Using a bench hook or a non-slip mat is highly recommended as it provides a stable surface for your linoleum block, reducing the risk of it slipping during carving. For younger children participating in this activity, close adult supervision is essential to ensure they understand and follow all safety guidelines. Always store carving tools safely when not in use.
How many prints can I expect to get from one carved block?
With proper care and using water-based inks on linoleum blocks, you can typically achieve a significant number of prints, often ranging from dozens to hundreds, from a single carved block. The exact number depends on factors such as the depth and detail of your carving, the quality of the linoleum, the type of ink used, and how well you clean and store the block between uses. For very fine details or shallow carvings, the block might show wear sooner than a block with bold, deep cuts. Regular cleaning and careful handling will maximize the lifespan of your carved blocks.
What is the difference between water-based and oil-based block printing inks?
Water-based block printing inks are the most common choice for beginners and home crafters due to their ease of use and cleanup. They dry relatively quickly, are non-toxic, and can be cleaned up with just soap and water. Oil-based inks, on the other hand, offer a richer color saturation and a longer working time, allowing for more manipulation. However, they require specialized solvents for cleanup and can take longer to dry. For most DIY projects, especially those involving children, water-based inks are the preferred and safer option.
What Next?
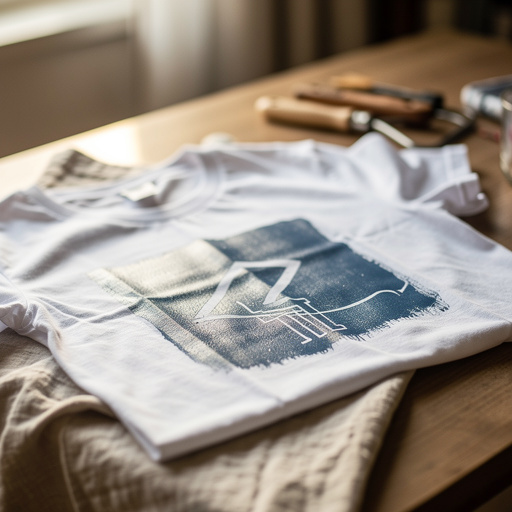
Once your block prints are dry, the possibilities for their use are endless! Frame them as standalone art pieces, use them to embellish greeting cards, create custom fabric patterns by printing on suitable textiles, or even design your own wrapping paper. Store your carved blocks carefully in a cool, dry place; they are durable and can be used to create countless more prints. For your next project, consider exploring multi-block printing for more complex designs, experimenting with different ink colors, or even trying out wood block printing for a different texture and feel.
Free: 10 Paper Crafts Anyone Can Make in 5 Minutes
Get our beginner guide + new craft ideas weekly.
No spam. Unsubscribe anytime.
Did you complete this activity?
Related