How to Create Magazine Scrap Story Collage — Easy Step-by-Step Guide
Transform old magazines into captivating visual stories with this easy collage art technique. A fun, screen-free activity for the whole family!
Quick answer
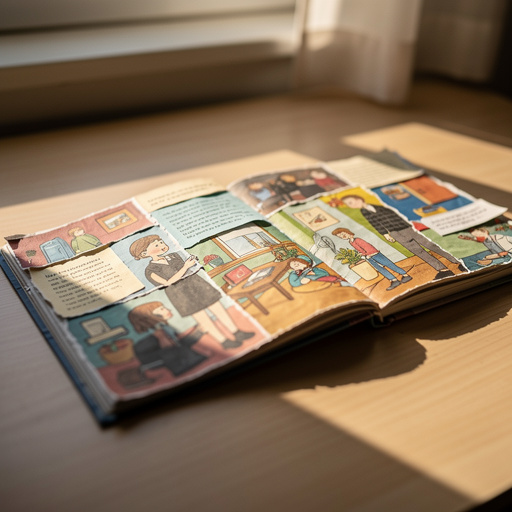
To make magazine scrap story collage, you need magazines, scissors, glue, and paper, taking about 45 minutes. Start by gathering interesting images and words. This beginner-friendly activity has 10 steps and is perfect for families with kids aged 6+.
What you need
Shop on Amazon · As an Amazon Associate we earn from qualifying purchases. Links above are affiliate links — we may earn a commission at no extra cost to you.
Dive into the wonderfully tactile world of collage art with this engaging magazine scrap story project! In an age dominated by screens, this craft offers a refreshing, hands-on experience that sparks creativity and storytelling. It's a fantastic way to repurpose old magazines, turning discarded pages into vibrant visual narratives. This project is incredibly accessible, making it perfect for families looking for a shared creative outlet, art enthusiasts seeking a new medium, or anyone wanting to explore their artistic side without needing specialized skills. Get ready to unleash your imagination and craft a unique story, one scrap at a time!
On this page
Step-by-Step Instructions
- 1
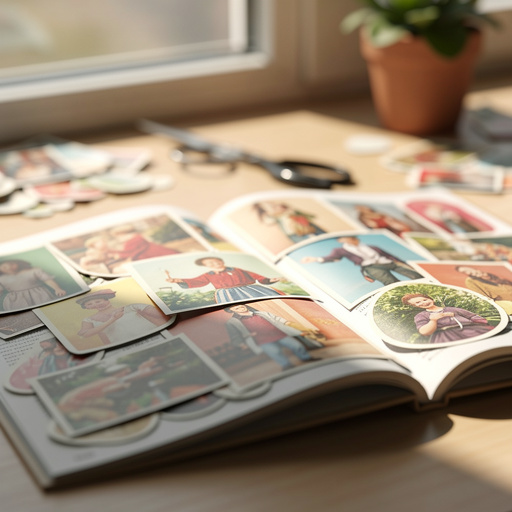
Gather a variety of old magazines. Look for different colors, textures, and types of images. The more diverse your magazine selection, the richer your palette of visual elements will be, offering a wider range of colors, patterns, and subject matter to choose from.
- 2
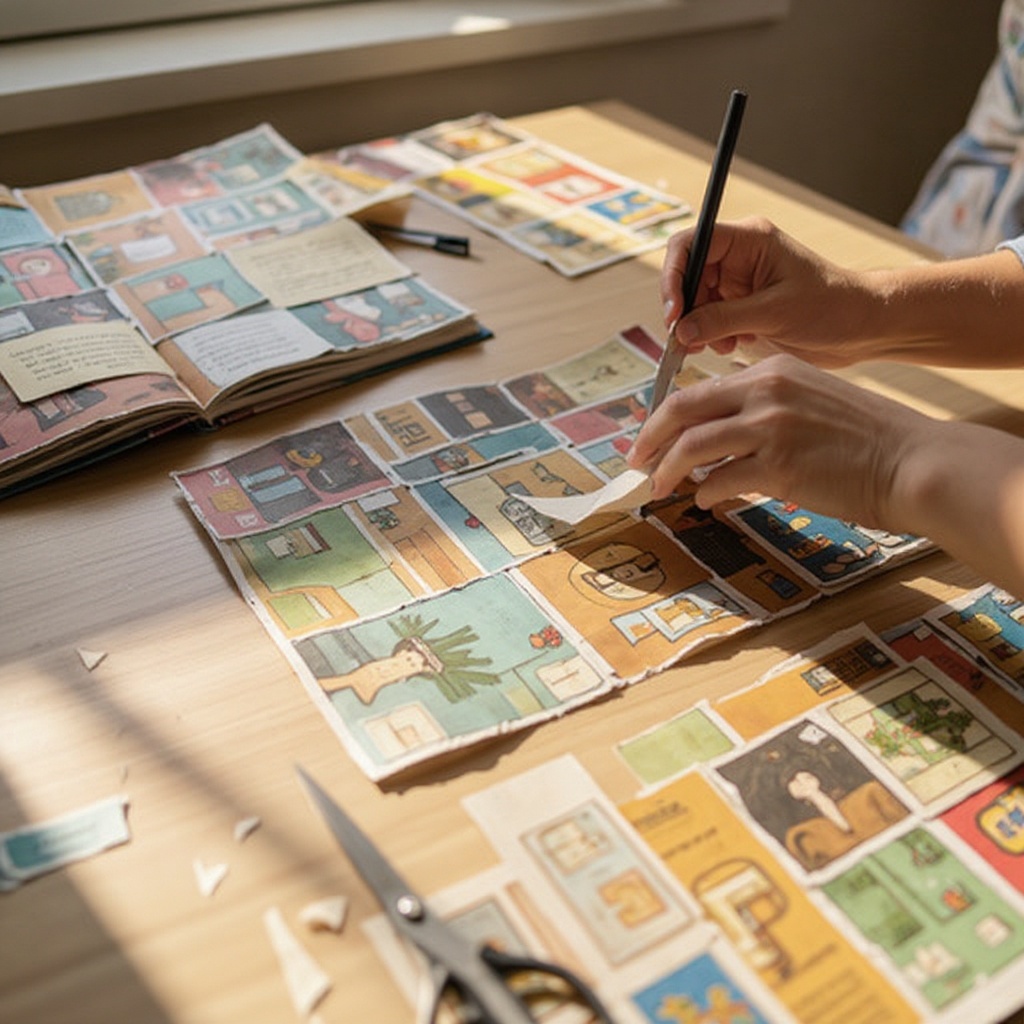
Flip through the magazines and tear out or cut out interesting images, words, and patterns that catch your eye. Don't worry about a specific theme yet; focus on collecting elements that are visually appealing or emotionally resonant to you, like a striking color, an intriguing texture, or a word that sparks an idea.
- 3
Begin thinking about a simple story or feeling you want to convey. It could be about nature, a dream, a favorite activity, or just a mood. Consider what kind of narrative you want your collage to tell – is it a peaceful scene, an exciting adventure, a whimsical fantasy, or a reflection of a personal emotion?
- 4
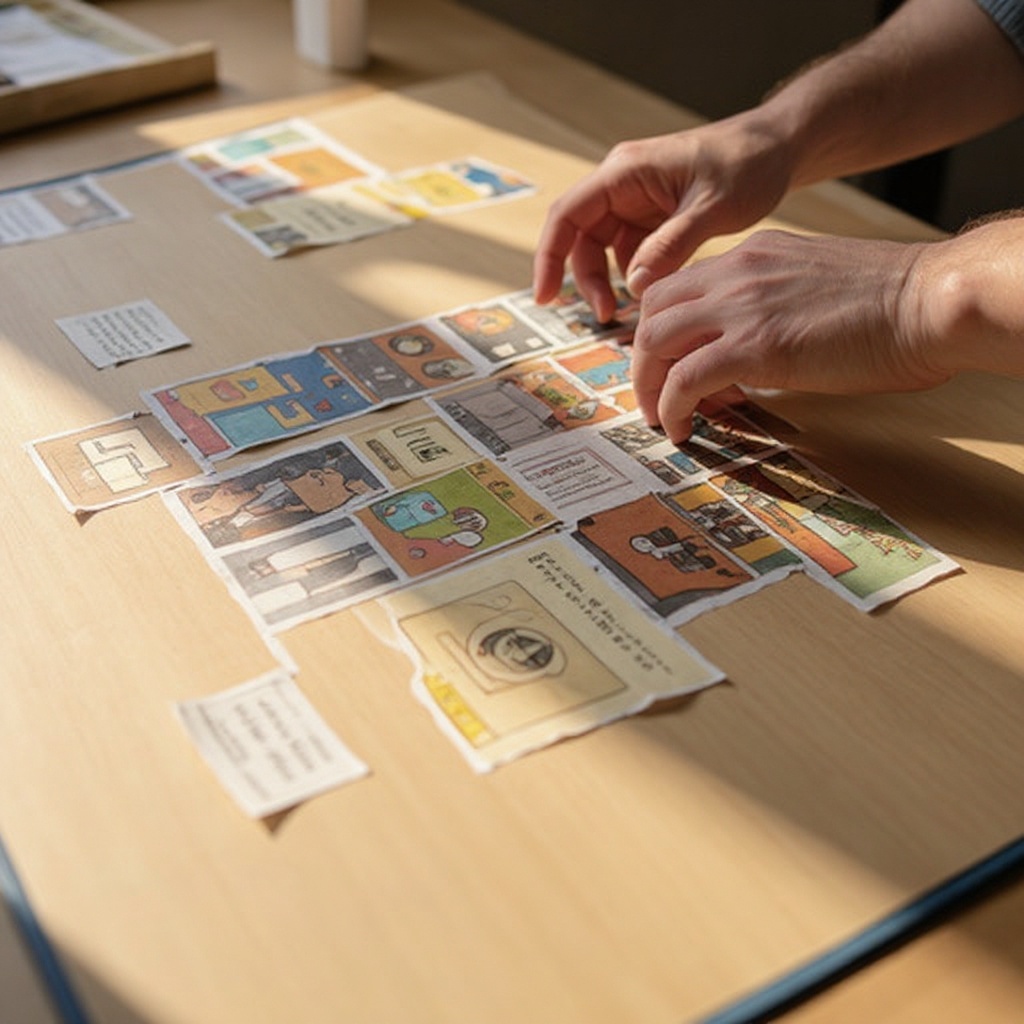
Start arranging your collected scraps on your cardstock without gluing. Experiment with different placements to see what looks good. This is the crucial planning stage where you can freely move pieces around, trying out various compositions and seeing how different elements interact with each other.
- 5
Focus on creating a focal point for your collage. This could be a central image or a combination of elements that draws the viewer's eye first. Think about what element you want to be the main subject or the anchor of your story.
- 6
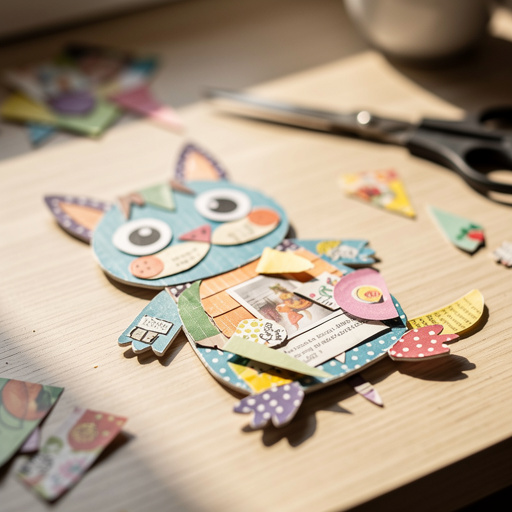
Layer smaller pieces over larger ones to add depth and interest. Overlapping elements creates a sense of dimension, making your collage feel more dynamic and less flat. This technique can also be used to obscure or reveal parts of images, adding a sense of mystery or progression.
- 7
Use words and letters to add titles, captions, or to enhance the story you're telling. Look for words that complement your images or add a narrative layer. You can also use individual letters to spell out words or create abstract typographic designs.
- 8
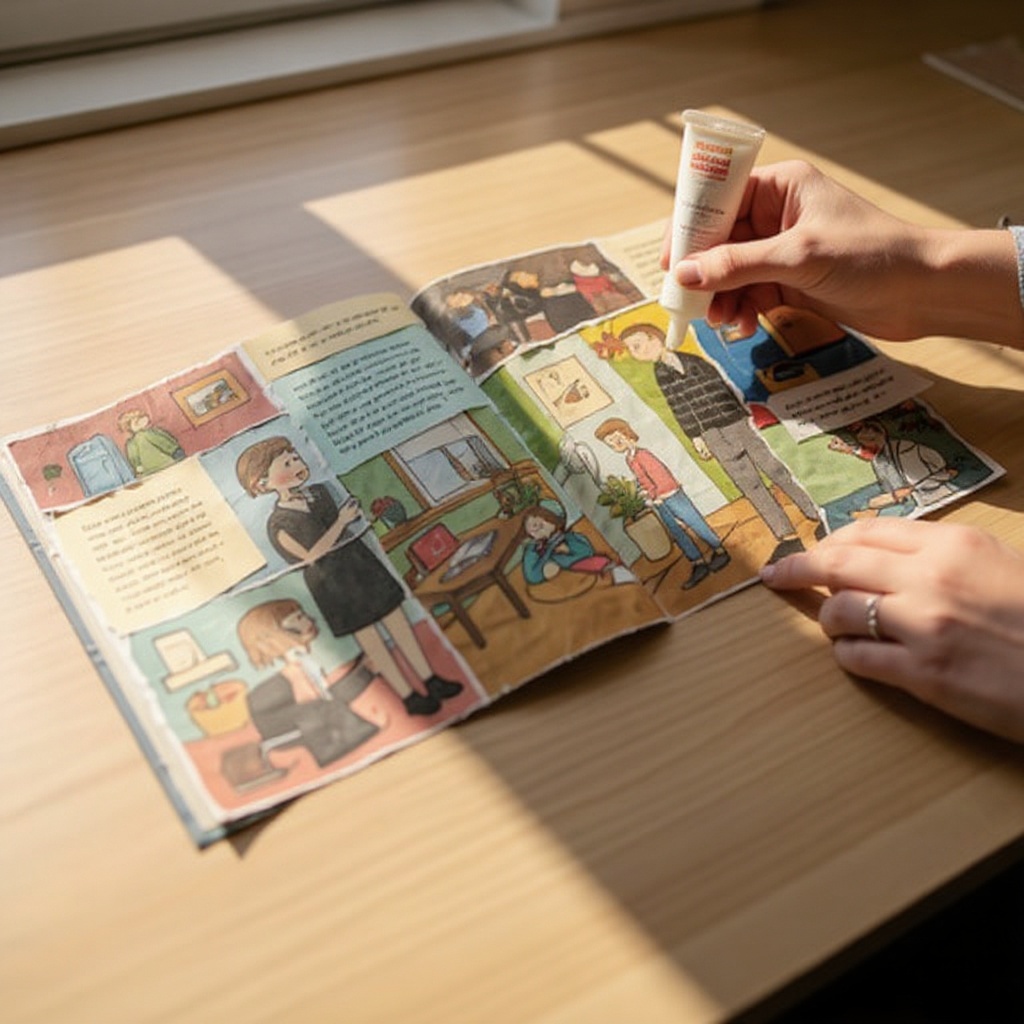
Once you're happy with the arrangement, start gluing down your pieces, working section by section. Begin with the background elements and work your way forward, ensuring each piece is securely adhered before moving on to the next. This methodical approach prevents accidental shifting of already placed elements.
- 9
Smooth down each glued piece to ensure it adheres well and to avoid air bubbles. Use your fingers, a clean cloth, or the back of a spoon to gently press down on each glued element, paying special attention to the edges to prevent them from peeling up later.
- 10
Continue adding and gluing until your collage is complete and you're satisfied with the visual story. Take your time, step back occasionally to assess your progress, and don't be afraid to make adjustments as you go. The goal is to create a cohesive and compelling visual narrative.
- 11
Consider the background of your collage. You can leave the cardstock as is, cover it entirely with larger pieces of magazine paper, or even create a painted or textured background before you start adding your story elements.
- 12
Experiment with different cutting techniques. Beyond simple straight cuts, try tearing paper for a softer, more organic edge, or use a craft knife for very precise shapes and details, especially for smaller elements.
- 13
Build your story by thinking about narrative flow. How do you want the viewer's eye to move across the collage? Consider using directional elements, like lines or arrows, or arranging images in a sequence that suggests a beginning, middle, and end.
- 14
Don't be afraid to deconstruct images. Sometimes, cutting out just a part of an image – a face, a hand, a specific object – can be more powerful than using the entire picture, allowing you to integrate it into your story in unexpected ways.
- 15
Add texture and dimension by layering different types of paper. Combine glossy magazine images with matte newspaper clippings or even small pieces of fabric if you're feeling adventurous, creating a richer tactile experience.
- 16
Refine your color palette. As you build your collage, pay attention to the overall color scheme. You can intentionally choose images that create a harmonious or contrasting palette to enhance the mood and impact of your story.
- 17
Once all elements are glued down and dry, you can add final touches. This might include outlining certain elements with a marker, adding small painted details, or even incorporating glitter for a touch of sparkle, if it fits your story.
- 18
Allow your collage to dry completely. This is especially important if you've used liquid glue or if you plan to seal your artwork. Patience at this stage will ensure a durable and professional-looking final piece.
Tips & Troubleshooting
- 1Don't be afraid to overlap pieces significantly. This is how depth and interest are created in collage art. Overlapping elements can create a sense of foreground and background, making your composition feel more three-dimensional and visually engaging.
- 2If you're struggling to find specific images, try cutting out colors or textures that evoke a certain feeling and build from there. Sometimes, abstract shapes and colors can be more powerful in conveying emotion than literal representations, allowing your imagination to fill in the gaps.
- 3Consider using a theme for your collage to make the selection process easier, or let the images inspire the theme as you go. Having a theme can provide direction, but sometimes the most interesting collages emerge organically from the serendipitous discovery of unexpected image combinations.
- 4Cut out extra letters and words from different fonts and sizes to add variety to your text elements. A mix of bold headlines, small print, and handwritten-looking fonts can add visual interest and help to convey different tones within your story.
- 5For a more polished look, trim the edges of your collage to create a clean border. This can be done with scissors or a craft knife and cutting mat, giving your finished piece a professional and finished appearance.
- 6Think about the negative space in your collage. The areas that are left empty can be just as important as the elements you include, helping to guide the viewer's eye and create balance within your composition.
- 7If you're working with children, encourage them to tell you about the story they are creating as they build their collage. This verbal storytelling can help them develop their narrative ideas and add another layer of meaning to their artwork.
- 8Don't discard small scraps of paper. Even tiny pieces can be used to add detail, texture, or color accents to your collage, especially in smaller areas or to fill in gaps.
Related Activities You Might Enjoy
Frequently Asked Questions
What are some collage art examples?
Collage art is incredibly diverse, offering a vast spectrum of creative possibilities. Classic examples include Henri Matisse's vibrant 'cut-outs,' where he used colored paper to create dynamic compositions, and Kurt Schwitters' 'Merz' collages, which incorporated found objects and ephemera to create abstract and often political statements. More contemporary examples might feature landscapes meticulously constructed from magazine clippings, striking portraits assembled from torn paper fragments, or abstract designs that play with color, texture, and form using a variety of materials. Narrative collages, like the one you're creating, tell a story through the juxtaposition of images and text, inviting viewers to interpret the visual dialogue.
What materials are needed for collage art?
The beauty of collage art lies in its accessibility, requiring minimal specialized materials to get started. At its core, you'll need a base surface, such as sturdy paper, cardstock, canvas board, or even wood. The primary 'paint' for collage often comes from printed materials like old magazines, newspapers, postcards, photographs, or even fabric scraps. Essential tools include scissors for cutting and a reliable adhesive, such as glue sticks, liquid craft glue, or Mod Podge, to secure your elements. For more advanced or precise work, you might also consider a craft knife, cutting mat, and various embellishments like paint, ink, or textured materials.
How do you start a magazine collage?
Starting a magazine collage is a wonderfully intuitive process. Begin by gathering a diverse collection of magazines – the more variety, the better for a rich selection of images, colors, and text. Next, immerse yourself in flipping through these magazines, tearing or cutting out anything that visually appeals to you or sparks an idea, without immediate concern for a theme. Once you have a pile of collected scraps, select a sturdy base paper or cardstock. Then, the playful part begins: arrange your collected pieces on the base without any glue, experimenting with different compositions, layering, and focal points until you're happy with the visual narrative or design. Only then do you start adhering them permanently.
What is the difference between collage and mixed media?
While the terms 'collage' and 'mixed media' are often used interchangeably, there's a subtle but important distinction. Collage, in its purest form, refers to the art of assembling different materials, typically paper-based like magazine clippings, photographs, or text, onto a surface. It's about the juxtaposition and adhesion of these disparate elements. Mixed media, on the other hand, is a broader category that encompasses any artwork created using more than one medium. This can certainly include collage elements, but it also extends to incorporating paint, ink, pastels, fabric, found objects, digital elements, or even three-dimensional components, creating a richer, more complex artistic expression.
Can I use other paper materials besides magazines for collage?
Absolutely! While magazines offer a fantastic and readily available source of diverse imagery and text, the world of collage is wide open to other paper materials. Consider incorporating elements from old books (be mindful of copyright if you plan to sell your work), newspapers for their unique textures and headlines, colorful junk mail, old maps, greeting cards, wrapping paper, or even your own handmade papers. Even personal ephemera like ticket stubs, old letters, or photocopies can add a deeply personal touch to your collage. The key is to experiment with different textures, colors, and patterns to create visual interest and depth in your artwork.
How do I make my magazine collage last a long time?
To ensure your magazine collage stands the test of time, several steps can be taken. Firstly, use a high-quality, acid-free adhesive like a glue stick specifically designed for paper crafts or a good quality liquid craft glue that dries clear and flexible. Avoid using too much glue, which can cause paper to warp, and ensure all edges are well-adhered to prevent peeling. Once your collage is completely dry, consider applying a clear sealant or spray varnish. This protective layer shields the artwork from dust, UV light (which can cause fading), and moisture, preserving the vibrancy of the colors and the integrity of the paper for years to come. Store your finished collage away from direct sunlight and extreme humidity.
What Next?
Congratulations on creating your unique magazine scrap story collage! This project is just the beginning of your collage journey. Consider experimenting with different themes, such as abstract emotions, fantasy worlds, or even recreating famous artworks using magazine scraps. For a more durable finish, you can seal your collage with a clear acrylic medium or spray varnish once the glue is completely dry. Display your masterpiece proudly on a wall, frame it for a special gift, or even incorporate it into a larger art journal. The possibilities are endless, and the satisfaction of creating something beautiful from everyday materials is immense!
Free: 10 Paper Crafts Anyone Can Make in 5 Minutes
Get our beginner guide + new craft ideas weekly.
No spam. Unsubscribe anytime.
Did you complete this activity?
Related