How to Create Magazine Collage Art Images — Easy Step-by-Step Guide
Transform old magazines into captivating collage art images with this fun and easy family activity. Unleash your creativity by cutting and pasting!
Quick answer
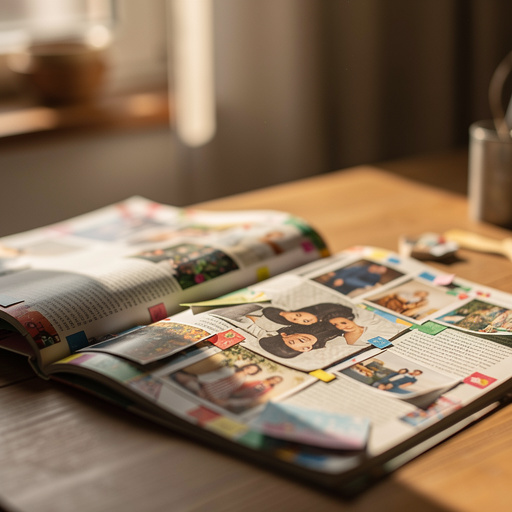
To make collage art images, you need magazines, scissors, glue, and paper, taking about 45 minutes. Start by gathering interesting images. This beginner-friendly activity has 8 steps and is perfect for families with kids aged 6+.
What you need
Shop on Amazon · As an Amazon Associate we earn from qualifying purchases. Links above are affiliate links — we may earn a commission at no extra cost to you.
Dive into the vibrant world of paper crafts with this incredibly accessible magazine collage art project. It’s a fantastic way to breathe new life into old magazines, transforming discarded pages into unique visual stories. This activity is not only budget-friendly but also a powerful tool for sparking imagination and developing fine motor skills, making it an ideal choice for family bonding time or a relaxing solo creative escape. Prepare to be amazed at the captivating artwork you can create with just a few simple materials and a dash of imagination.
On this page
Step-by-Step Instructions
- 1
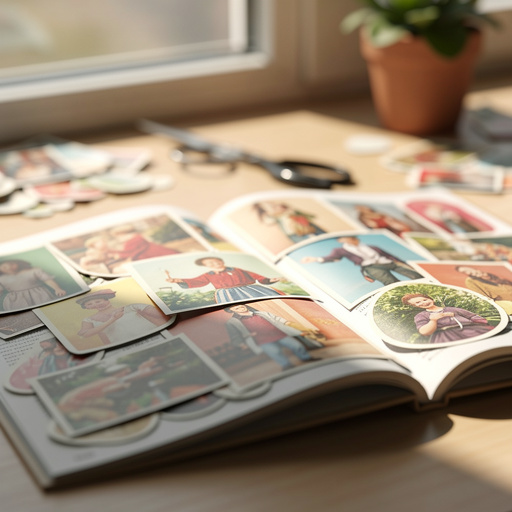
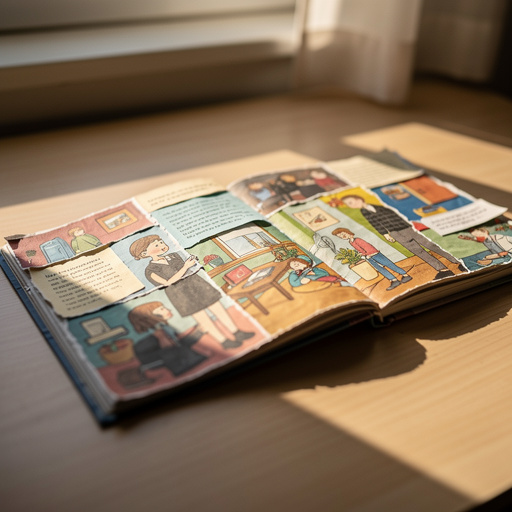
Gather a selection of old magazines. Flip through them and look for interesting textures, colors, patterns, and specific objects or people. Don't be afraid to explore different types of magazines, from glossy fashion publications to informative news journals, as each offers a unique visual vocabulary.
- 2
Begin by selecting a few magazines that appeal to you. Gently tear out pages that catch your eye, focusing on areas with vibrant colors, intriguing patterns, or compelling imagery. This initial selection process is about discovery and collecting potential building blocks for your artwork.
- 3
Decide on a theme or subject for your collage. This could be anything from animals and nature to abstract designs, a favorite story, or even a portrait. Having a general idea can help guide your image selection, but don't feel constrained; sometimes the best collages emerge from spontaneous inspiration.
- 4
If you like, lightly sketch a basic outline of your subject onto the sturdy paper with a pencil. This is optional and can help guide your image placement, especially if you're aiming for a representational piece. For abstract collages, this step can be skipped entirely.
- 5
Begin cutting out the images and elements you find appealing from your gathered magazine pages. Don't worry about perfection; focus on shapes and colors that catch your eye and feel right for your composition. Experiment with different cutting techniques, from precise shapes to rough, torn edges.
- 6
Start arranging the cut-out pieces on your paper without gluing them down. This is a crucial step for visualizing your final artwork. Experiment with different combinations and placements, moving pieces around until you achieve a composition that feels balanced and visually engaging.
- 7
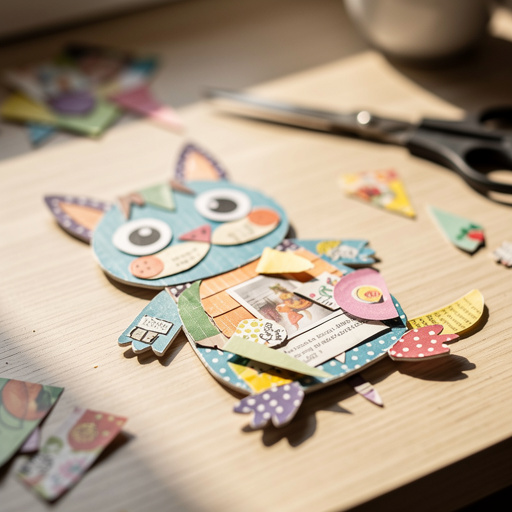
Once you are happy with the arrangement, begin gluing down the pieces. Start with the background elements and work your way forward, layering pieces to create depth and visual interest. Apply a thin, even layer of glue to the back of each piece to ensure it adheres well without excessive mess.
- 8
Continue adding and gluing pieces until your collage art image is complete. Overlap pieces for depth and interest, allowing some elements to partially obscure others. This layering technique adds a professional touch and a sense of dimension to your artwork.
- 9
Refine your collage by adding smaller details or filling in any gaps. You can cut out tiny elements for finer points or use strips of color to create borders or transitions. This stage is about enhancing the overall composition and ensuring every part of the canvas is thoughtfully considered.
- 10
Carefully trim any excess paper or uneven edges around your glued pieces if you desire a cleaner, more defined look. This step can significantly elevate the professionalism of your collage, making the individual elements appear more integrated into the overall design.
- 11
Allow the glue to dry completely. This is a vital step to ensure all your carefully placed pieces are securely adhered and won't shift or lift. Rushing this process can compromise the longevity and appearance of your artwork.
- 12
Once dry, your unique magazine collage art image is ready to be displayed! Admire your creation and the transformation of everyday materials into a piece of art.
Tips & Troubleshooting
- 1Don't be afraid to tear or cut images into smaller pieces to create unique textures and shapes. Layering is key for adding depth and visual interest, allowing elements to build upon each other and create a more complex and engaging composition.
- 2If you're struggling to find specific images, try focusing on color palettes. You can create abstract collages by simply combining colors you love, using blocks of color, gradients, or contrasting hues to evoke emotions and create a visually striking piece.
- 3For a more polished look, trim the edges of your glued pieces to create clean lines. You can also use a glue stick for less mess, especially when working with children, as it provides a more controlled application and dries relatively quickly.
- 4Consider using different types of magazines – glossy fashion magazines offer vibrant colors and sleek imagery, while newspapers provide interesting text, grayscale images, and a more textured feel, allowing for a diverse range of visual elements in your collage.
- 5Store finished collages flat to prevent them from bending or the glued pieces from lifting. Placing them under a heavy book (with a protective layer in between) or in a portfolio can help maintain their pristine condition over time.
- 6Experiment with different adhesive techniques. While glue sticks are great for kids, liquid glue can offer a stronger bond for larger pieces or when you want to ensure maximum durability. Just be mindful of applying it thinly to avoid warping the paper.
- 7Think about the negative space in your collage. The areas left blank can be just as important as the glued elements, helping to define shapes and guide the viewer's eye through the composition. Sometimes less is more.
- 8Don't be afraid to get messy! Collage is a tactile art form. Embrace the process of cutting, tearing, and gluing. The imperfections can often add character and a handmade charm to your final piece.
Related Activities You Might Enjoy
Frequently Asked Questions
What are collage art images?
Collage art images are created by assembling and gluing together various pieces of paper, such as magazine clippings, photographs, painted paper, or fabric scraps, onto a surface to form a new image or design. The term 'collage' comes from the French word 'coller,' meaning 'to glue.' This art form allows for immense creativity, enabling artists to combine disparate elements to tell a story, evoke an emotion, or explore abstract concepts. It's a versatile medium that can range from simple, playful compositions to complex, thought-provoking artworks, making it accessible to artists of all skill levels and ages.
What materials do I need for magazine collage?
To create magazine collage art, you'll primarily need old magazines, which serve as your source of visual elements. You'll also require scissors for cutting out these elements; kid-safe scissors are recommended for younger participants, while sharper craft scissors can offer more precision. A reliable adhesive is essential, such as white craft glue or a glue stick, with glue sticks often being less messy for children. Finally, you'll need a sturdy surface to work on, like white cardstock or heavy paper, which can withstand the glue and the layering of magazine pieces. An optional pencil can be useful for sketching a preliminary design.
Can kids make collage art images?
Absolutely! Magazine collage is a fantastic activity for kids, offering numerous developmental benefits. It helps develop fine motor skills as they practice cutting and precise placement of small pieces. It also fosters creativity, encouraging them to see potential in everyday materials and to express themselves visually. Furthermore, it helps them develop an eye for composition and color. Adult supervision is recommended, especially when younger children are using scissors, to ensure safety and to assist with any tricky cutting or gluing techniques. It's a wonderful way to engage children in art and storytelling.
How do I make my collage art look professional?
To make your collage art look professional, focus on a cohesive theme or color scheme, which provides a sense of unity and purpose to your artwork. Experiment with layering and overlapping pieces strategically to create depth and visual interest, mimicking the way elements might interact in a real scene. Ensure your glued elements are flat and securely adhered to prevent peeling or a messy appearance. Trimming the edges of your cut-out pieces can add clean lines and a more finished look, making the individual components appear more integrated into the overall design. Consider using a consistent type of adhesive for a uniform finish.
What are some common mistakes to avoid when making a magazine collage?
A common mistake is using too much glue, which can cause the paper to wrinkle or warp, creating an uneven surface. Another pitfall is not planning the composition before gluing; it's best to arrange pieces first to ensure a balanced and aesthetically pleasing layout. Overcrowding the collage with too many elements without considering negative space can also make it appear chaotic. Additionally, not allowing the glue to dry completely before handling or displaying the artwork can lead to pieces lifting or shifting. Finally, being too rigid with the theme can stifle creativity; sometimes unexpected combinations yield the most interesting results.
Can I use other paper materials besides magazines?
Yes, absolutely! While magazines are a primary source, you can enhance your collage by incorporating a variety of other paper materials. Consider using old book pages for a vintage feel, colorful tissue paper for translucent layers, textured craft paper for added dimension, or even printed photographs for a personal touch. Fabric scraps can also be glued down to introduce different textures and patterns. The key is to experiment with materials that have varying colors, textures, and opacities to create a rich and dynamic visual experience in your collage artwork.
What Next?
Once your masterpiece is complete and thoroughly dry, it’s time to showcase your creativity! Consider framing your collage for a polished look or mounting it onto a larger piece of cardstock. For a truly unique display, you could even create a series of collages around a common theme. This project is just the beginning; explore other paper crafts like decoupage or mixed media to further expand your artistic horizons. Remember to store your finished collages flat to preserve their integrity and enjoy your beautiful, handcrafted art!
Free: 10 Paper Crafts Anyone Can Make in 5 Minutes
Get our beginner guide + new craft ideas weekly.
No spam. Unsubscribe anytime.
Did you complete this activity?
Related