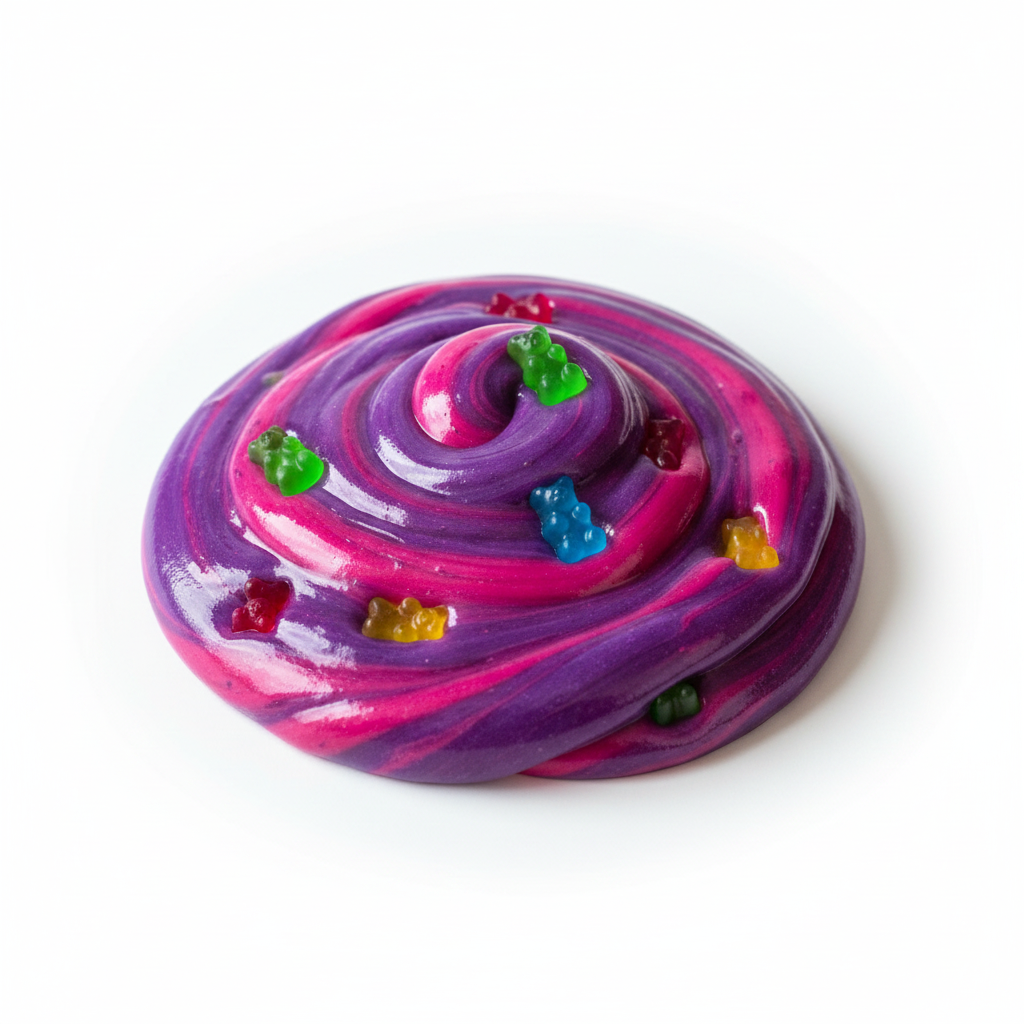
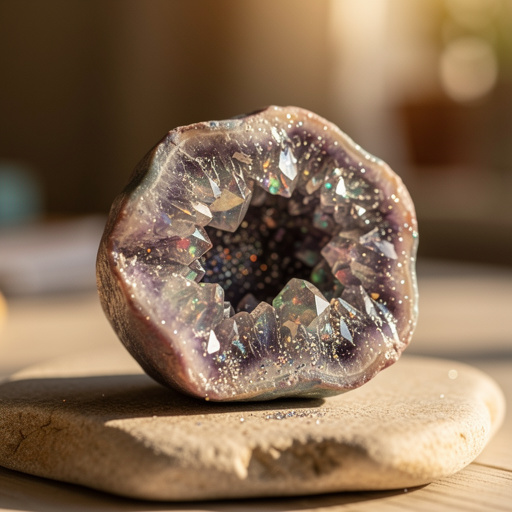
How to Make a Sparkle Glue Slime Kit — Easy Step-by-Step Guide
Whip up your own custom sparkle slime with this easy DIY kit! Gather your ingredients and get ready for some stretchy, glittery fun. This guide provides everything you need to create a fantastic sparkle slime, perfect for a fun afternoon activity or a creative gift.
Quick answer
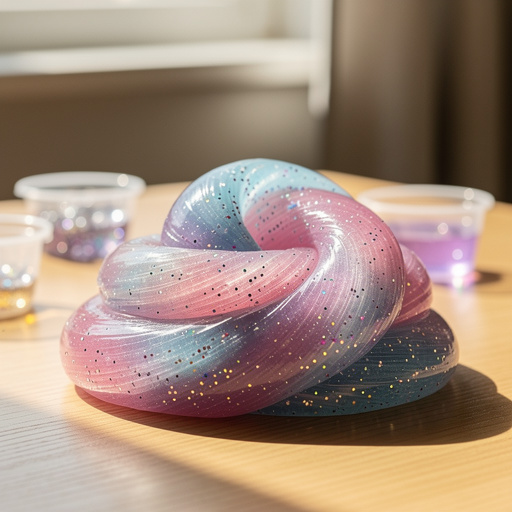
To make a Sparkle Glue Slime Kit, you need PVA glue, baking soda, contact lens solution, glitter, and optional food coloring, taking about 20 minutes. Start by mixing glue and glitter. This beginner-friendly activity has 10 steps and is perfect for kids aged 6+. The key to successful slime is the right activator and proper mixing techniques, ensuring a satisfyingly stretchy and glittery end product.
What you need
Shop on Amazon · As an Amazon Associate we earn from qualifying purchases. Links above are affiliate links — we may earn a commission at no extra cost to you.
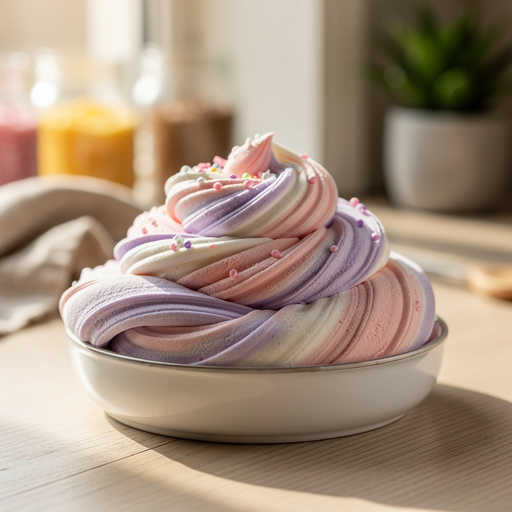
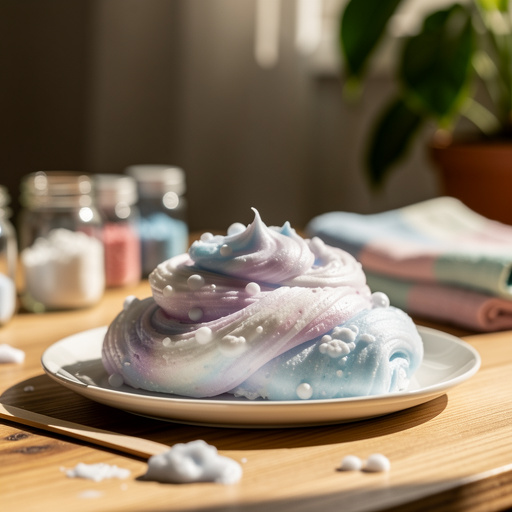
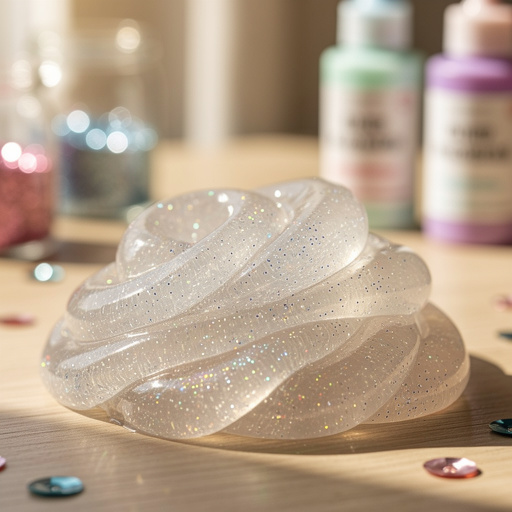
Dive into a world of shimmering fun with our Sparkle Glue Slime Kit! This project is more than just making slime; it's an engaging sensory experience that sparks creativity and scientific curiosity. Perfect for young crafters, budding scientists, or anyone looking for a delightful way to unwind, this DIY kit transforms simple household ingredients into a mesmerizing, glitter-infused masterpiece. Get ready to stretch, squish, and sparkle your way to hours of entertainment with this incredibly easy and rewarding craft.
On this page
Step-by-Step Instructions
- 1
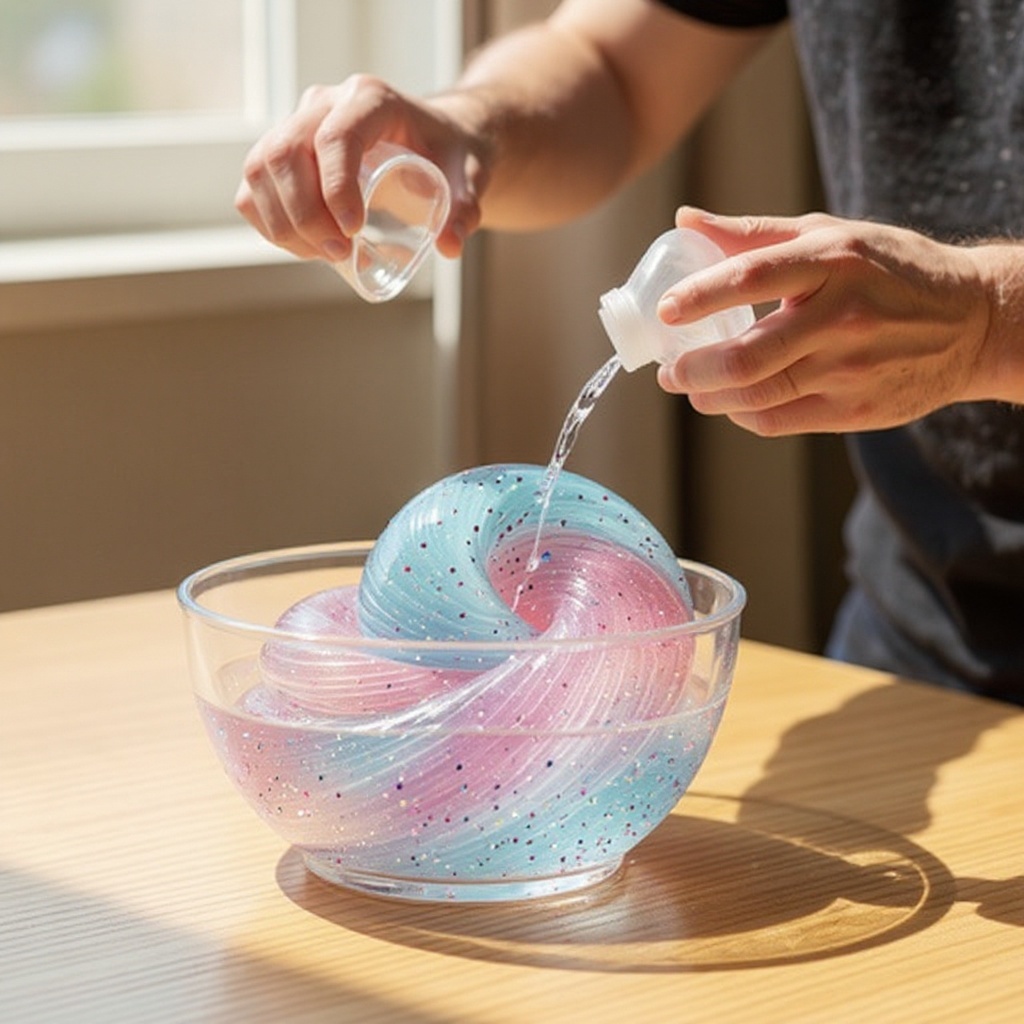
Begin by carefully pouring the entire 4 oz bottle of clear PVA school glue into your mixing bowl. Ensure you get all the glue out of the bottle, as this forms the base of your slime.
- 2
Next, add the 1/2 teaspoon of baking soda to the glue. Stir this mixture thoroughly with your spatula or spoon until the baking soda is completely dissolved and well combined with the glue, ensuring no clumps remain.
- 3
If you've decided to add a splash of color, now is the time to introduce 1-2 drops of food coloring. Mix gently until the color is evenly distributed throughout the glue and baking soda mixture, achieving your desired hue.
- 4
Now for the sparkle! Add the 1/4 cup of fine glitter to the glue mixture. Stir vigorously until the glitter is dispersed evenly throughout the entire batch, creating a beautiful, shimmering effect.
- 5
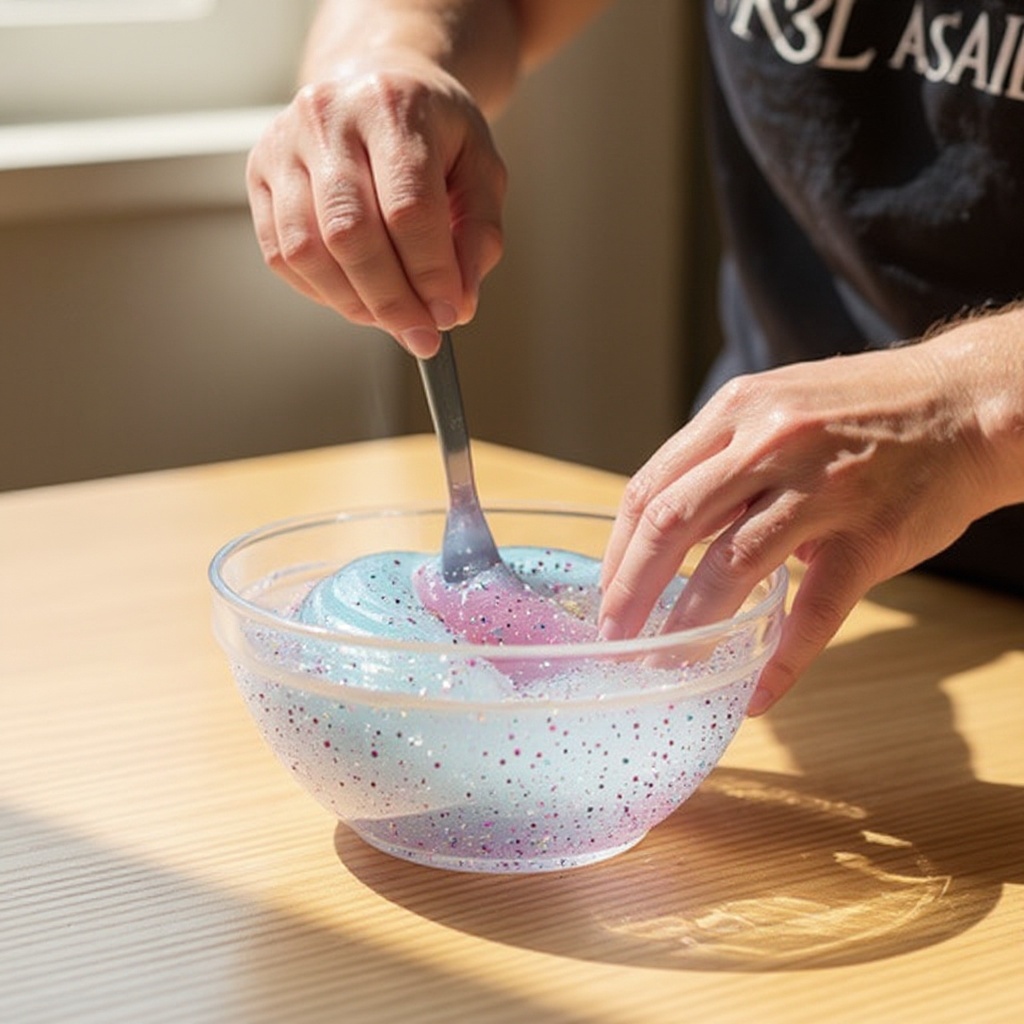
Gradually introduce the contact lens solution, starting with the recommended 1 tablespoon. As you add it, begin stirring continuously. This is where the magic happens, as the activator begins to react with the glue.
- 6
Continue stirring as the slime mixture starts to thicken and pull away from the sides of the bowl. You'll notice it transforming from a liquidy glue mixture into a more cohesive blob.
- 7
If, after initial stirring, the slime still feels excessively sticky and clings too much to the bowl, it's time to add a little more activator. Add another 1/2 teaspoon of contact lens solution and continue stirring vigorously.
- 8
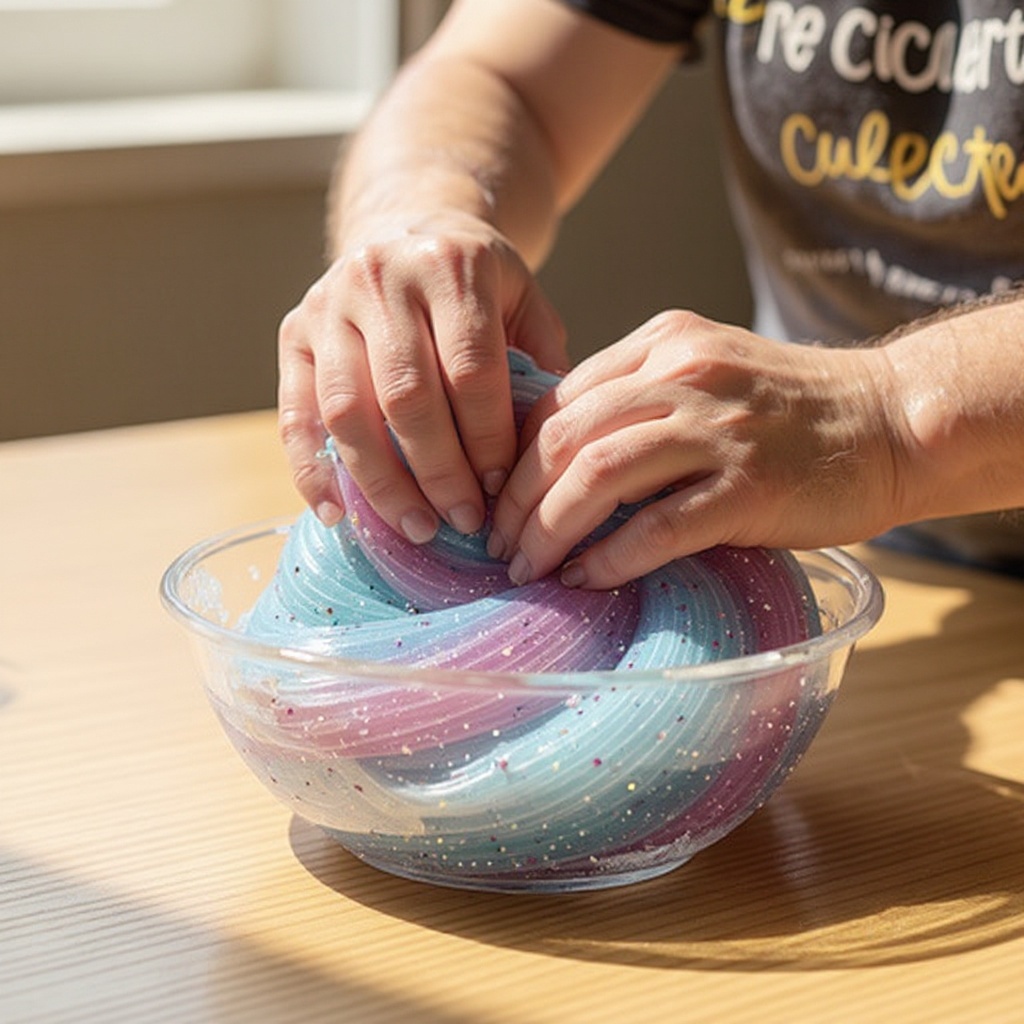
Once the slime is no longer sticking to your hands or the sides of the bowl, it's time to get hands-on. Remove the slime from the bowl and begin kneading it with your hands for about 2-3 minutes. This process develops its texture, making it smooth and wonderfully stretchy.
- 9
If, during kneading, your slime feels too stiff or breaks easily, it might need a tiny bit more moisture. Add just a few drops of contact lens solution and knead it in thoroughly. Be cautious not to add too much, as this can make it tough.
- 10
To ensure your amazing creation stays fresh and pliable for future play, carefully transfer the finished sparkle slime into an airtight container. Press down to remove any air pockets before sealing the lid tightly.
- 11
Before you begin mixing, it's a good practice to cover your workspace with paper towels or a disposable tablecloth. This will make cleanup much easier, especially if any ingredients spill or get a bit messy.
- 12
As you stir the glue and baking soda, pay attention to the consistency. You want a smooth, uniform mixture before adding the glitter and activator. Any unmixed baking soda can affect the final texture of your slime.
- 13
When adding the glitter, don't be afraid to be generous! For an even more dazzling effect, consider using multiple colors of glitter or a mix of fine and chunky glitter.
- 14
When adding the contact lens solution, do so slowly and incrementally. Adding too much at once can cause the slime to become stiff and rubbery, making it difficult to achieve the desired stretchiness.
- 15
Kneading is a crucial step for developing the perfect slime texture. It helps to fully incorporate the activator and align the polymer chains in the glue, resulting in a smooth, elastic slime.
- 16
If your slime is still a bit sticky after kneading, try adding a tiny bit more contact lens solution, just a drop or two at a time, and continue kneading. Alternatively, a very small amount of baby oil or lotion can sometimes help reduce stickiness.
- 17
To achieve a different visual effect, you can add your food coloring *after* you've added the glitter. This can sometimes create a more marbled or layered color appearance within the glittery base.
- 18
Once your slime is fully formed and kneaded, give it a final stretch and poke test. It should be pliable, stretchy, and hold its shape without breaking apart too easily.
Tips & Troubleshooting
- 1If your slime is too sticky, it likely needs more contact lens solution. Add it in small increments (1/2 teaspoon at a time) and knead well. Over-adding activator can make the slime tough, so patience is key here.
- 2For a different texture and visual appeal, try adding small amounts of foam beads, micro-beads, or small sequins along with the glitter. These additions can create a satisfying crunch or a more complex shimmering effect.
- 3Experiment with different colors and types of glitter for unique effects. Holographic, iridescent, metallic, or even chunky glitters can dramatically change the look of your slime. You can also try using glitter glue as your base for an instant sparkle boost.
- 4Always ensure your contact lens solution contains boric acid and sodium borate, as these are the essential activators that cause the glue to polymerize. Solutions without these ingredients will not work for slime making.
- 5Wash hands thoroughly before and after playing with slime to maintain hygiene. This is especially important if you have sensitive skin or if children are playing with the slime.
- 6If you want to create a more opaque slime, you can use white PVA glue instead of clear glue. This will give your glitter a different kind of shine, making it pop against the white background.
- 7Store your slime in a cool, dry place. Extreme temperatures can affect its consistency, making it either too sticky or too stiff. Keeping it out of direct sunlight is also recommended.
- 8If your slime starts to feel a bit dry after a few days, try kneading in a tiny bit of lotion or a few drops of water. This can help rehydrate the slime and restore its stretchiness.
Related Activities You Might Enjoy
Frequently Asked Questions
What makes slime stretchy?
Slime's incredible stretchiness is a result of the polymer chains found in PVA (polyvinyl acetate) glue. When you add the activator, typically a solution containing borate ions (like boric acid and sodium borate found in contact lens solution), these borate ions act as cross-linkers. They connect the long, individual polymer chains of the glue together, forming a flexible, three-dimensional network. This network traps water and air, allowing the slime to stretch and bend without breaking easily. The more effectively these chains are cross-linked, the stretchier and more cohesive your slime will be.
Why is my slime not forming?
If your slime isn't forming, it's usually because there isn't enough activator (contact lens solution) or the activator isn't the correct type. Ensure your contact lens solution explicitly lists boric acid and sodium borate as active ingredients; these are crucial for the chemical reaction. If the ingredients are correct, try adding the contact lens solution gradually, a teaspoon at a time, while stirring and kneading vigorously. Sometimes, the glue itself might be old or not a true PVA glue, which can also hinder slime formation.
Can I use regular glue for slime?
For this sparkle slime recipe, it's best to use clear PVA school glue. Regular white school glue also works, but clear glue allows the glitter to shine through more vibrantly. Other types of glue, such as glue sticks, craft glues that aren't PVA-based, or super glue, may not have the right properties to activate properly with the contact lens solution and will likely not result in slime. Always look for 'PVA' on the glue bottle to ensure success.
How long does homemade slime last?
When stored properly in an airtight container in a cool, dry place, homemade slime can typically last for 1-2 weeks. Over time, it may start to dry out, become less stretchy, or even develop an odor if exposed to air or contaminants. If your slime begins to feel excessively sticky, brittle, or develops any unusual smells, it's a sign that it's time to discard it and make a fresh batch. Proper storage is key to maximizing its lifespan.
What are the best types of glitter to use for sparkle slime?
For the most dazzling sparkle slime, a variety of glitters can be used. Fine-point glitters offer a smooth, shimmering effect that disperses evenly throughout the slime. For a more dramatic look, consider holographic glitters, which reflect light in multiple colors, or iridescent glitters that shift hues depending on the angle. Chunky glitters or glitter shapes like stars and circles can add a fun, textured element. Mixing different types and sizes of glitter can create a truly unique and eye-catching sparkle.
My slime is too stiff, what can I do?
If your slime has turned out too stiff or rubbery, it's likely due to too much activator (contact lens solution) being added. To fix this, try kneading in a small amount of warm water, a teaspoon at a time, until the slime becomes more pliable. Alternatively, a tiny bit of lotion or baby oil can also help to soften stiff slime. Be patient and add these softening agents gradually, kneading thoroughly after each addition to avoid making the slime too sticky.
Can I make this slime without baking soda?
While baking soda is a common ingredient in many slime recipes, it's not strictly necessary for activation when using contact lens solution. The primary activator is the boric acid and sodium borate in the contact lens solution. Baking soda acts as a buffering agent, helping to stabilize the pH and improve the slime's texture and stretchiness. If you omit it, you might find your slime is a bit stickier or less cohesive, and you may need to adjust the amount of contact lens solution accordingly.
What Next?
Congratulations on creating your very own Sparkle Glue Slime! The possibilities are endless: try adding different sizes and shapes of glitter, metallic confetti, or even glow-in-the-dark elements for a truly unique creation. Once your slime is ready, consider presenting it in a decorated jar as a personalized gift or a fun party favor. For your next adventure, explore other slime variations like fluffy slime or clear slime. Remember to store your creation in an airtight container to keep it perfectly pliable for future play sessions, ensuring long-lasting enjoyment.
Free: 10 Paper Crafts Anyone Can Make in 5 Minutes
Get our beginner guide + new craft ideas weekly.
No spam. Unsubscribe anytime.
Did you complete this activity?
Related