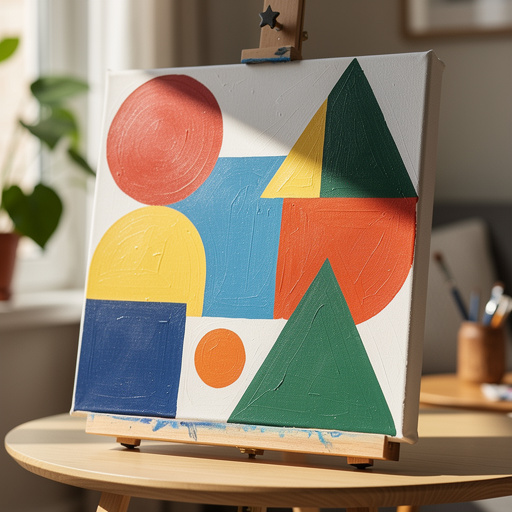
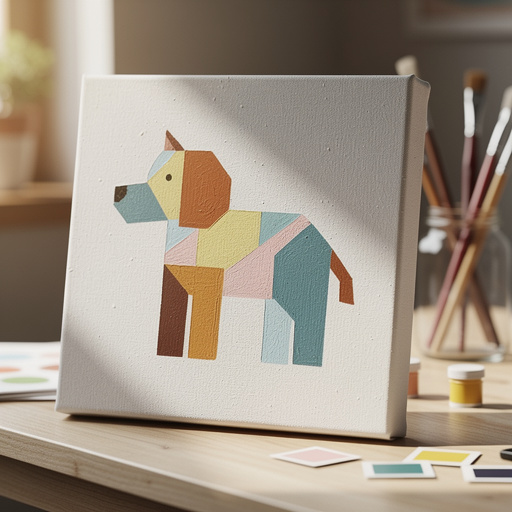
How to Create Your Own DIY Painting by Numbers Canvas — Easy Step-by-Step Guide
Unleash your inner artist with a custom DIY painting by numbers canvas! This guide makes it easy to create your own masterpiece, perfect for a screen-free family activity.
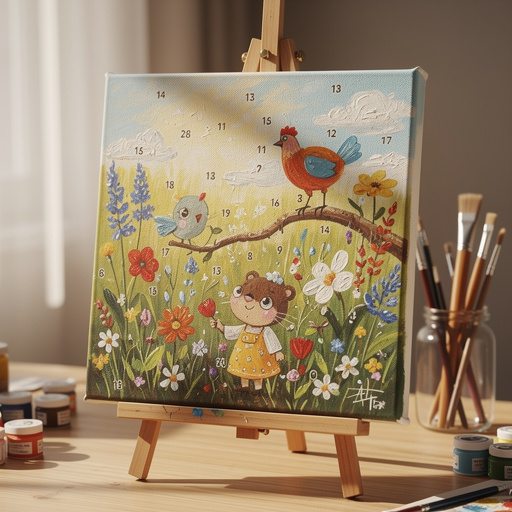
Quick answer
To make a DIY painting by numbers canvas, you need a canvas, pencil, ruler, paint, brushes, and clear acrylic sealant, taking about 90 minutes. Start by sketching your design and numbering sections. This beginner-friendly activity has 10 steps and is perfect for families.
What you need
Shop on Amazon · As an Amazon Associate we earn from qualifying purchases. Links above are affiliate links — we may earn a commission at no extra cost to you.
Embark on a creative journey and transform a blank canvas into a personalized masterpiece with our easy DIY Painting by Numbers guide. This project is a fantastic way to disconnect from screens and reconnect with your artistic side, offering a rewarding experience for all ages. Whether you're looking for a calming solo activity or a fun, engaging project to share with family and friends, creating your own custom paint-by-numbers canvas is surprisingly accessible and incredibly satisfying. Get ready to discover the joy of bringing your own unique vision to life, one numbered section at a time.
On this page
Step-by-Step Instructions
- 1
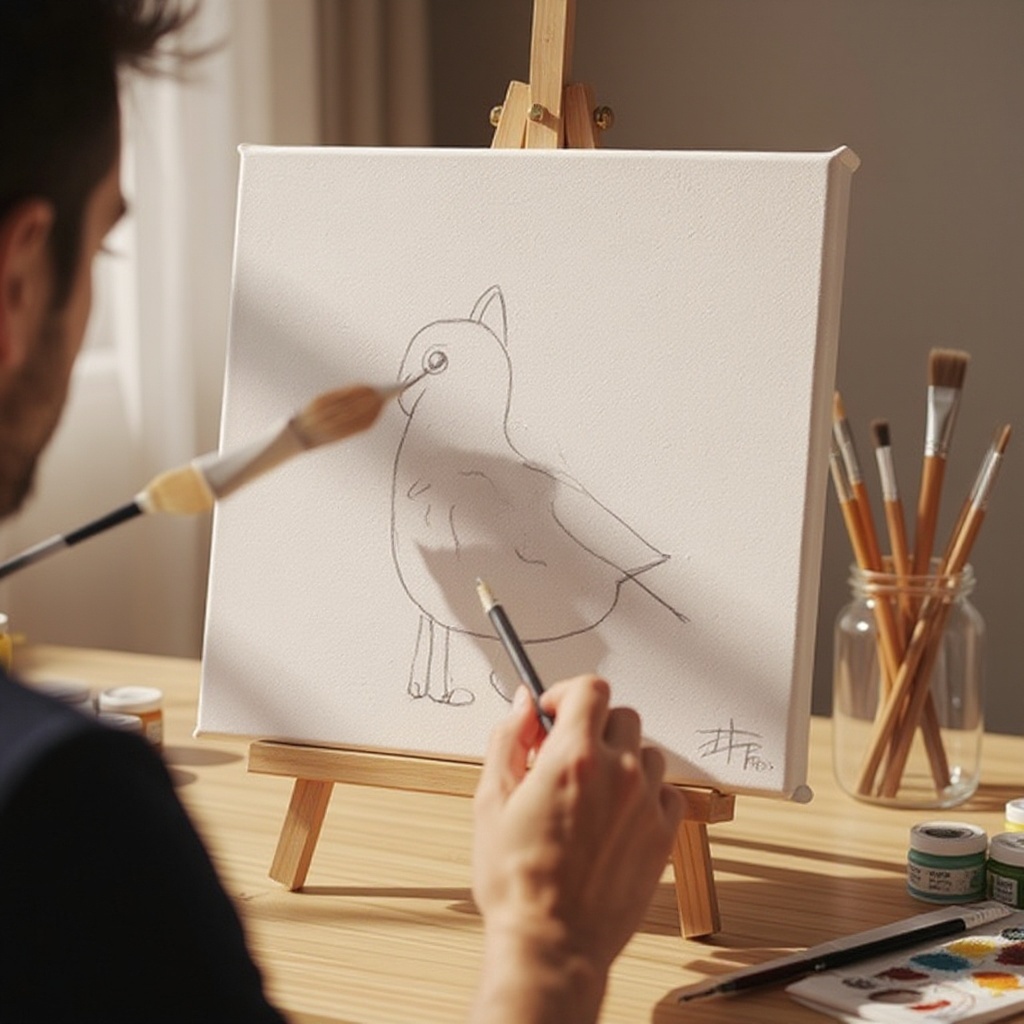
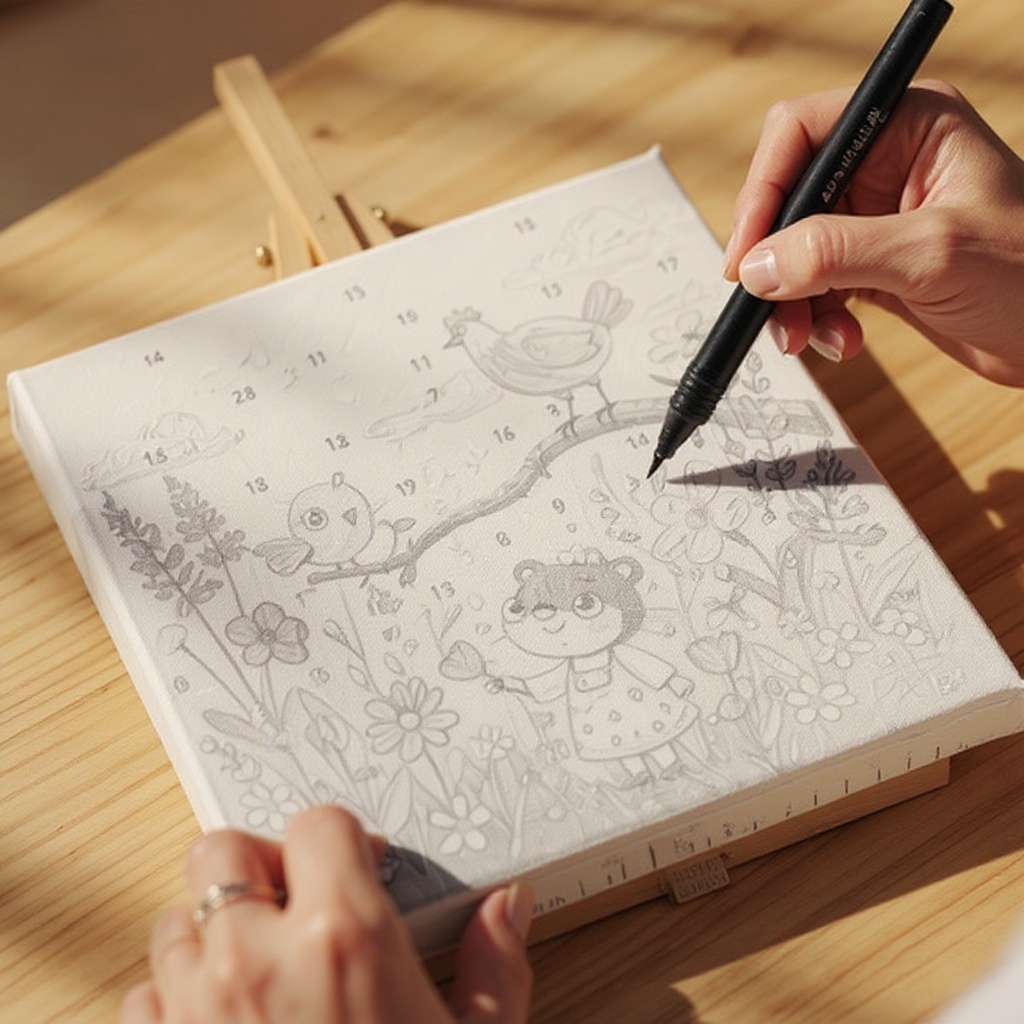
Step 1: Lightly sketch your desired simple image onto the canvas using the graphite pencil. Think outlines of animals, simple landscapes, or geometric shapes. Focus on creating clear, distinct shapes that can be easily sectioned and numbered.
- 2
Step 2: Use the ruler to divide your image into small, manageable sections. Aim for sections that are easy to fill with a single color, ensuring the lines are straight and well-defined. This step is crucial for clarity and ease of painting.
- 3
Step 3: Assign a unique number to each section. Start with '1' and work your way through the canvas systematically, ensuring each distinct area has its own number. Keep the numbers relatively small and within their designated sections to avoid confusion.
- 4
Step 4: Go over your pencil lines with the fine-tip black marker. This will create clear, bold boundaries for your paint sections, making them easy to distinguish and preventing colors from bleeding into one another. Ensure the marker is permanent and quick-drying.
- 5
Step 5: Create a key on a separate piece of paper or a corner of your canvas. List each number and the corresponding color you plan to use. This key will be your guide throughout the painting process, so make sure it's legible and organized.
- 6
Step 6: Select your acrylic paints. Squeeze a small amount of each color into separate palettes or onto a disposable surface. It's best to work with a limited palette initially and mix colors as needed, noting any new combinations in your key.
- 7
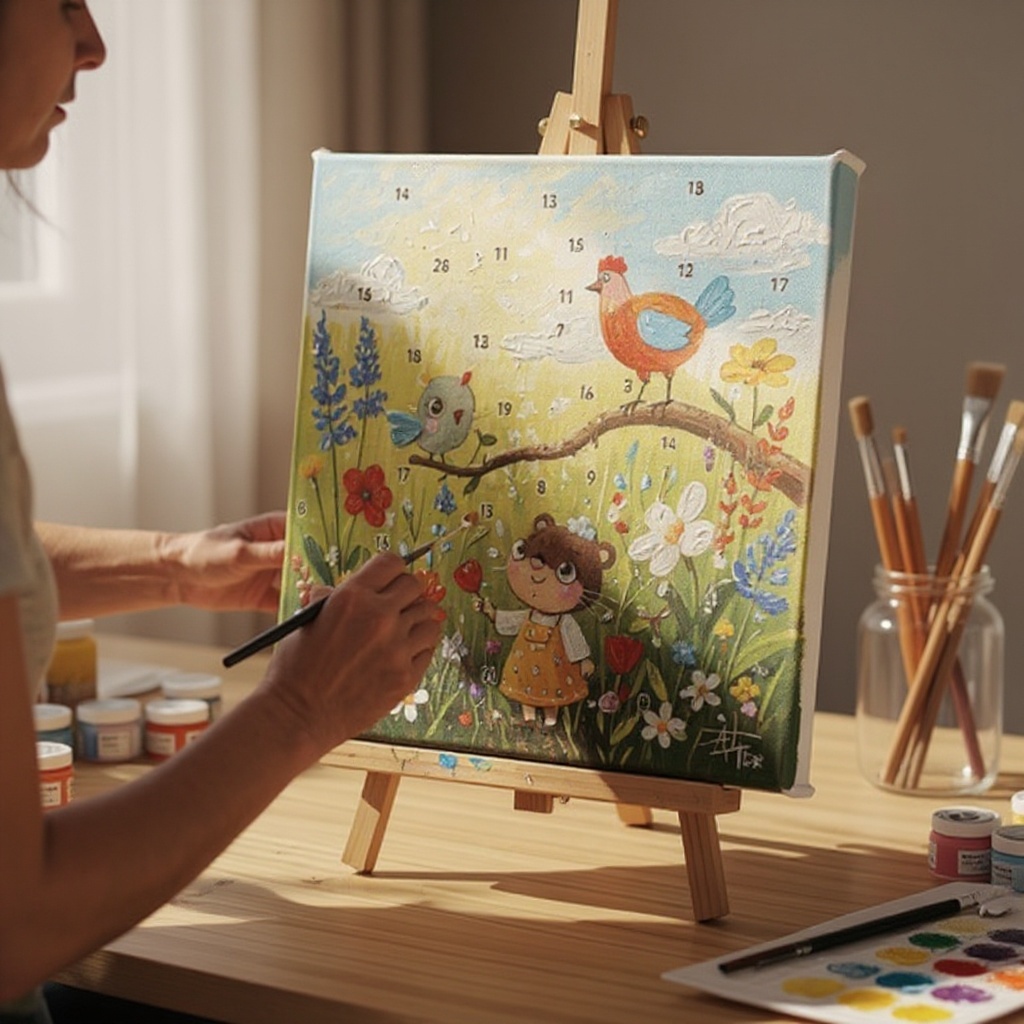
Step 7: Begin painting by filling in all the sections marked with the number '1' with the corresponding color from your key. Use a brush size appropriate for the section, ensuring even coverage without going over the marker lines.
- 8
Step 8: Continue painting, section by section, following your numbered key. Rinse your brush thoroughly between colors to avoid muddying the paint and creating unintended color mixes. Wipe your brush on a paper towel to remove excess water before dipping into a new color.
- 9
Step 9: Allow the paint to dry completely. This may take a few hours depending on the thickness of the paint and the humidity in your environment. Ensure each layer is dry before applying a second coat if needed, or before moving to adjacent sections.
- 10
Step 10: Once dry, lightly spray the entire canvas with clear acrylic sealant from about 10-12 inches away. This protects the paint from dust and UV damage and gives your artwork a professional, finished look. Allow the sealant to cure fully before handling or displaying.
- 11
Step 11: Assess your painting for any missed sections or areas that need a second coat of paint. Touch up any areas where the marker lines might be showing through or where the paint coverage is uneven. This is the final quality check before sealing.
- 12
Step 12: If you wish to add more detail or depth, consider using a smaller brush to add subtle shading or highlights within certain numbered sections. This is an optional step that can elevate your painting from simple to sophisticated.
- 13
Step 13: Once all paint is completely dry, carefully inspect the entire canvas for any stray pencil marks or smudges that may have been missed. Gently erase any visible pencil lines with a soft eraser, being careful not to disturb the paint.
- 14
Step 14: Prepare your workspace for the sealant application. Ensure good ventilation by opening windows or working outdoors. Lay down protective sheeting to catch any overspray and position the canvas on a stable surface.
- 15
Step 15: Apply the clear acrylic sealant in light, even coats. Hold the can upright and spray in a consistent back-and-forth motion, maintaining the recommended distance. Avoid applying too much sealant at once, which can cause drips or a cloudy finish.
- 16
Step 16: Allow the first coat of sealant to dry according to the product's instructions before applying a second coat if desired. Two thin coats are often better than one thick coat for a smooth, protective finish.
- 17
Step 17: Let the sealant cure completely. This typically takes at least 24 hours, though some products may require longer. Avoid touching or moving the canvas during this curing period to prevent smudges or damage.
- 18
Step 18: Once cured, your custom numbered canvas painting is ready to be admired and displayed. You can choose to frame it for a gallery-worthy presentation or hang it directly as is.
Tips & Troubleshooting
- 1If you make a mistake with the marker, you can sometimes carefully erase it before it dries, or paint over it with white acrylic paint and re-draw the line. For permanent marker errors that are already dry, a small amount of white acrylic paint can act as a concealer before you re-outline the section.
- 2For a more complex design, consider printing a simple outline from the internet, tracing it onto tracing paper, and then transferring it to your canvas using carbon transfer paper. This method ensures a clean and accurate transfer of your chosen image.
- 3Don't be afraid to mix colors to create custom shades for your numbered sections. Just make sure to note the new number-color combination in your key, perhaps assigning it a new number or a letter designation, to maintain consistency and avoid confusion.
- 4Store your finished painting upright in a well-ventilated area until the sealant is fully cured, which usually takes 24 hours. Avoid stacking anything on top of it or leaning it against surfaces that could smudge the wet sealant.
- 5When painting, start with lighter colors first if possible, as they can sometimes be more forgiving if you accidentally overlap a line. However, with careful application, the order of colors is less critical than maintaining clean lines.
- 6Consider using a small, pointed brush for the numbering and outlining steps. This will give you more control and precision, especially when working on smaller sections or intricate details.
- 7If you find yourself running out of a specific paint color, don't worry! Acrylics are easily mixed. Keep a small notebook handy to jot down the ratios you used to create a custom shade, so you can replicate it if needed.
- 8For a professional finish, consider using a matte sealant if you want to reduce glare, or a gloss sealant if you prefer a shiny, vibrant look that enhances the colors.
Related Activities You Might Enjoy
Frequently Asked Questions
Can I use any type of paint for DIY painting by numbers?
Acrylic paints are highly recommended for DIY painting by numbers due to their quick drying time, vibrant colors, and versatility. They are also water-soluble when wet, making cleanup significantly easier compared to oil-based paints. While you could technically use other mediums like gouache, which also dries quickly and is water-soluble, or even tempera paints, acrylics offer the best balance of ease of use, durability, and color vibrancy for this type of project. Oil paints are generally not recommended because they take a long time to dry, which would make the numbering and sectioning process very difficult, and cleanup is more involved.
How do I choose a design for my DIY painting by numbers?
Opt for simple, bold designs with clear outlines and distinct shapes. Think about subjects like cartoon characters, basic geometric patterns, silhouettes of animals or landscapes, or even simple still life arrangements. Avoid intricate details, very small sections, or designs with subtle gradients, as these can be challenging to number and paint accurately, especially for beginners. The goal is to create sections that are easily distinguishable and can be filled with a single color without much fuss. A good starting point is to look for line art or coloring pages that have strong, defined lines.
What if I don't have a specific color for a numbered section?
You can absolutely mix your existing acrylic paints to create the desired color! This is one of the great advantages of using acrylics. Keep a small notebook or a dedicated section on your key paper to record the new color you've mixed and its corresponding number. For example, if you need a specific shade of teal for number '7', you might mix blue and green, and note '7: 2 parts blue, 1 part green'. This ensures consistency if you need to touch up the area later or if you decide to create another painting with a similar color scheme.
How long does a DIY painting by numbers canvas typically take to complete?
The time it takes to complete a DIY painting by numbers canvas can vary significantly depending on the complexity of the design, the size of the canvas, and your personal painting speed. However, for a simple design on a 16x20 inch canvas, the sketching, numbering, and painting process itself usually takes around 90 minutes to 2 hours, not including drying time between coats or the sealant application. More intricate designs or larger canvases could take several hours spread over multiple sessions. Remember to factor in drying time, which can add several hours to the overall project duration.
What is the best way to transfer a complex image onto the canvas for numbering?
For more complex images that you can't easily sketch freehand, consider using a projector or a grid method. With a projector, you can project your image onto the canvas and trace the outlines directly. Alternatively, you can draw a grid on your reference image and a corresponding, scaled grid on your canvas, then transfer the image section by section. Another effective method is to print your desired image, trace it onto tracing paper, and then use carbon transfer paper to transfer the lines onto the canvas. This ensures accuracy and saves time on intricate designs.
How do I ensure my numbered sections are clear and my paint doesn't bleed?
The key to clear sections and preventing paint bleed is using a good quality fine-tip permanent marker and applying it with a steady hand. Ensure your marker lines are crisp and completely cover any faint pencil lines. When painting, use a brush that is slightly smaller than the section you are filling, and carefully paint right up to the edge of the marker line without going over it. If you do accidentally go over a line, it's best to address it immediately while the paint is still wet, or wait for it to dry and then carefully touch it up with white acrylic paint and re-outline.
What Next?
Congratulations on creating your very own custom numbered canvas painting! This project is not only a beautiful piece of art but also a testament to your creativity and patience. For variations, consider using different canvas sizes or exploring more intricate designs as you gain confidence. You could also experiment with different paint mediums like gouache or even watercolor for a unique effect. Once your masterpiece is complete and the sealant is fully cured, find the perfect spot to display it. Consider framing it for a polished look or hanging it directly on the wall. Store any leftover paints and brushes properly for future artistic endeavors, perhaps tackling a larger or more complex design next!
Free: 10 Paper Crafts Anyone Can Make in 5 Minutes
Get our beginner guide + new craft ideas weekly.
No spam. Unsubscribe anytime.
Did you complete this activity?