How to Create Simple Watercolor Wash Art — Easy Step-by-Step Guide
Discover the magic of watercolor with this beginner-friendly guide to creating beautiful wash art. A relaxing and screen-free activity for the whole family. This simple technique allows colors to blend and flow organically, creating stunning, ethereal effects with minimal effort. It’s an ideal introduction to watercolor for beginners, children, and anyone looking for a calming creative outlet.


Quick answer
To make simple watercolor wash art, you need watercolor paints, brushes, watercolor paper, and water, taking about 30 minutes. Start by wetting your paper. This beginner-friendly activity has 8 steps and is perfect for families with children aged 6+.
What you need
Shop on Amazon · As an Amazon Associate we earn from qualifying purchases. Links above are affiliate links — we may earn a commission at no extra cost to you.
Embark on a journey of color and creativity with this delightful watercolor wash art project. This technique is celebrated for its simplicity and the breathtaking, organic results it produces. It’s a wonderfully therapeutic and screen-free activity, making it perfect for a relaxing afternoon with family, a mindful solo endeavor, or even a fun art session with children aged six and up. You'll be amazed at how easily you can create beautiful, flowing artwork that feels both sophisticated and accessible.
On this page
Step-by-Step Instructions
- 1
Gather all your materials in a well-lit area. Protect your surface with paper towels or a plastic sheet to catch any drips or spills, ensuring a clean and enjoyable creative space.
- 2
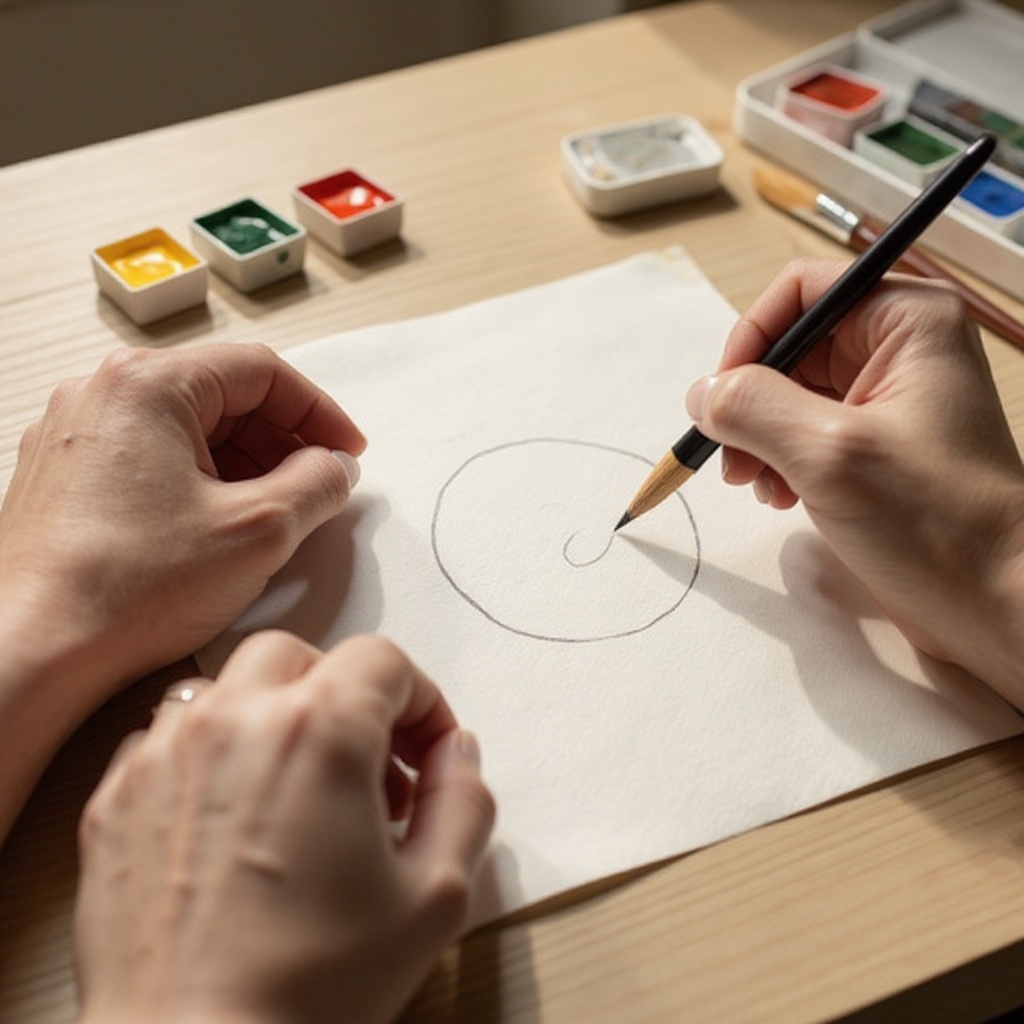
If you wish, lightly sketch a simple shape or design on your watercolor paper with a pencil. Keep it minimal, as the focus of wash art is the fluid movement of color, and heavy lines can detract from the ethereal effect.
- 3
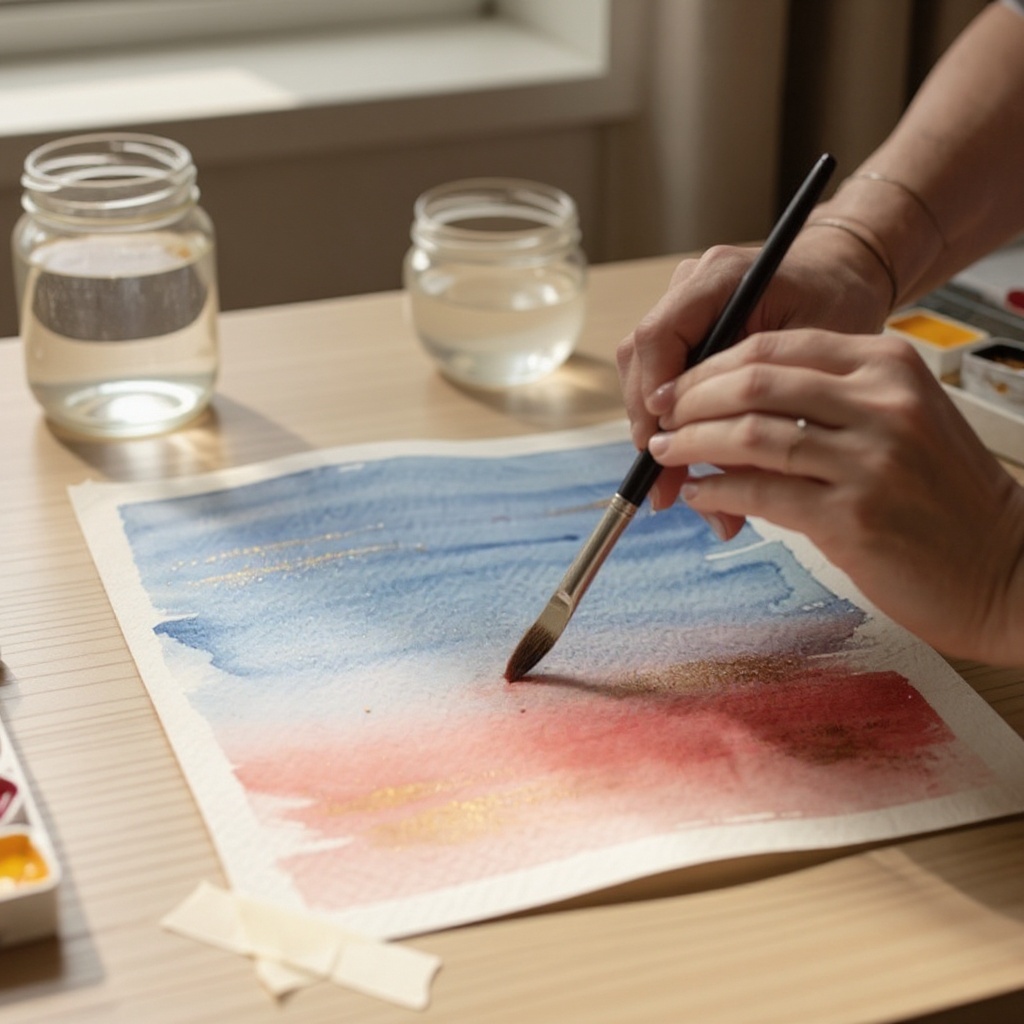
Fill one jar with clean water for rinsing your brush and the other with clean water for mixing paint. Having two separate jars is crucial for maintaining clean colors and preventing muddying.
- 4
Dip your brush into the clean water and then into your chosen watercolor paint. Mix the paint and water on your palette to create a vibrant color. Aim for a consistency that flows easily but has good pigment saturation.
- 5
Gently wet a section of your watercolor paper with clean water using your brush. Don't oversaturate it; you want a sheen, not puddles. The paper should look glossy but not have standing water, which ensures the paint will spread beautifully without pooling.
- 6
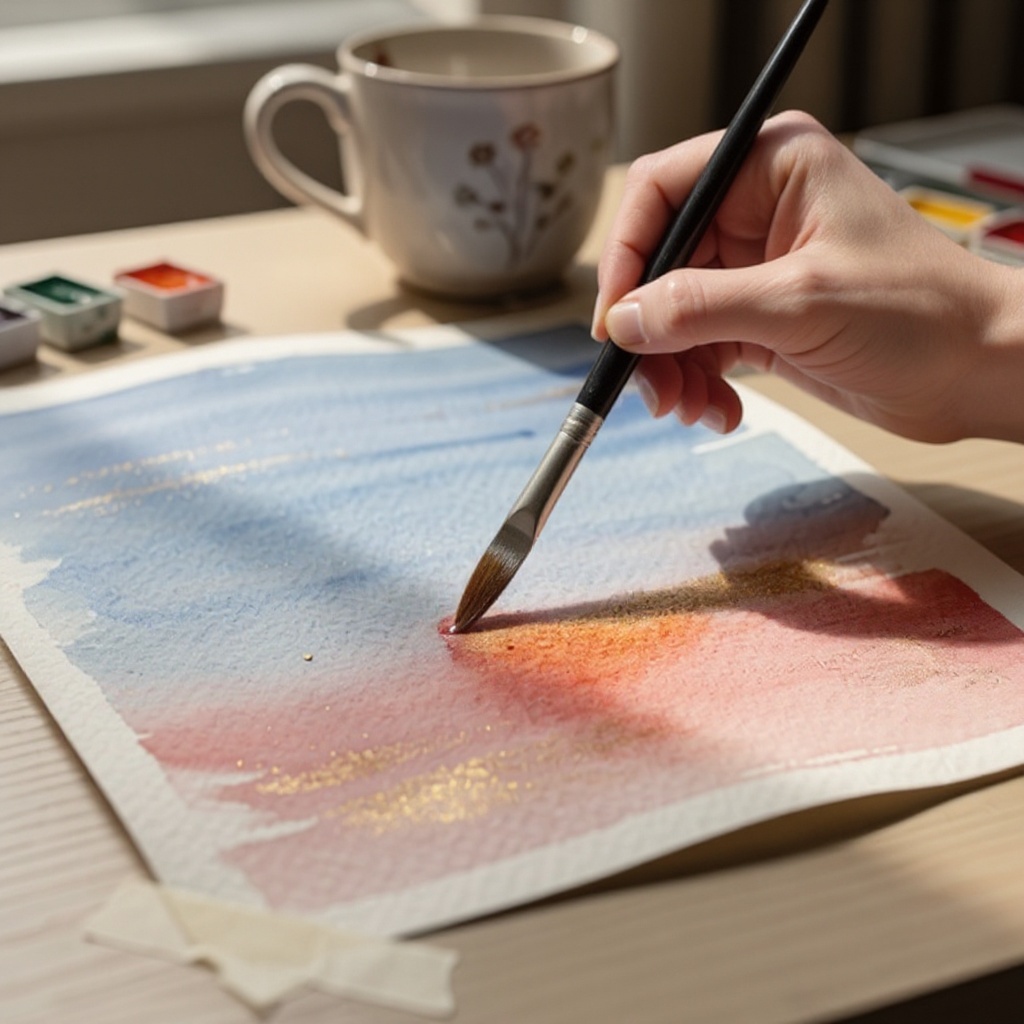
While the paper is still wet, load your brush with your mixed watercolor paint and gently touch it to the wet paper. Watch the color bloom and spread organically across the damp surface, creating soft, beautiful edges.
- 7
Continue adding different colors to the wet paper, allowing them to blend and create soft, flowing transitions. Rinse your brush thoroughly between colors to prevent them from mixing unintentionally on your palette or paper, which can lead to muddy hues.
- 8
Observe how the colors interact and blend on the wet paper. You can gently tilt the paper to encourage further movement, but avoid overworking the area, as this can disrupt the natural flow and create unwanted textures.
- 9
If you are creating a specific shape or design, carefully add colors around the edges or within the sketched lines. The wet-on-wet technique will cause the colors to diffuse softly into the surrounding wetness.
- 10
Allow the first layer of wash to dry partially before adding more colors in adjacent areas. This helps to create distinct yet softly blended sections of color, rather than one large, amorphous blob.
- 11
Once you are happy with your initial washes and color blends, let the painting dry completely. Avoid touching it while it's wet to prevent muddying the colors or smudging your beautiful gradients.
- 12
For a more layered effect, once the first wash is completely dry, you can apply another layer of color. This can be done on dry paper for more defined edges or on a lightly dampened surface for softer blending.
- 13
Experiment with different brush sizes and pressures. A larger brush will cover more area and create broader washes, while a smaller brush can be used for more controlled application or to add subtle details.
- 14
Consider using a water dropper or spray bottle to add small droplets of water to the wet paint. This can create interesting 'bloom' effects and starburst patterns as the water pushes the pigment away.
- 15
If you used masking tape, carefully peel it away once the painting is completely dry. This will reveal crisp, clean edges, giving your artwork a professional finish.
- 16
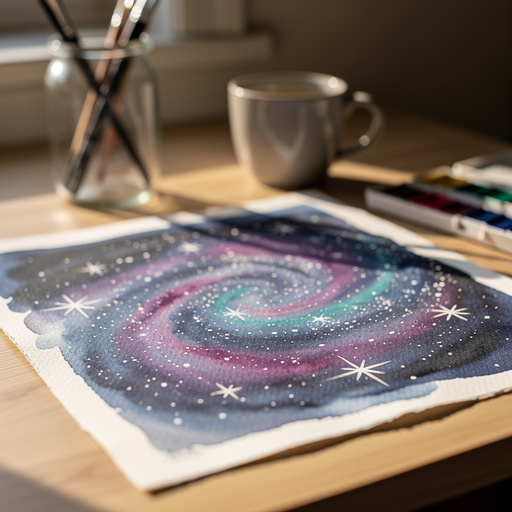
Step back and admire your work! The beauty of watercolor wash art lies in its spontaneity and the unique patterns that emerge. Each piece is a one-of-a-kind creation.
- 17
If you wish to add finer details or outlines after the washes have dried, use a smaller brush with a more concentrated paint mixture. This will create sharper lines that stand out against the soft background.
- 18
Clean your brushes thoroughly with soap and water after use to preserve their shape and bristles for future projects.
Tips & Troubleshooting
- 1If your colors look too pale, add more pigment to your water mix. If they are too intense, dilute them with more water. The key is to find the right balance for the desired effect; a good wash should have a luminous quality.
- 2Experiment with different brushstrokes. Lightly touching the paper creates soft blooms, while slightly more pressure can create subtle lines or more defined edges. Varying your touch will add visual interest to your washes.
- 3Try layering colors once the first layer is completely dry for a more opaque effect or to create new shades. This technique, known as glazing, allows you to build depth and complexity in your artwork.
- 4You can create a gradient by starting with a concentrated color at the top and gradually adding more water as you move down the paper. This technique, called a wet-on-dry gradient, allows for smooth transitions from dark to light.
- 5Don't be afraid to let the water do the work! The beauty of wash art is in its organic flow. Resist the urge to over-manipulate the paint; sometimes the most stunning results come from embracing the unpredictable nature of watercolor.
- 6For a more controlled wash, try the 'wet-on-dry' technique. Apply diluted paint to dry paper. This will give you sharper edges and more control over where the color goes, which can be useful for specific shapes.
- 7Consider using a limited color palette for your washes. Sometimes, working with just two or three complementary colors can create surprisingly sophisticated and harmonious results, allowing the subtle interactions between those colors to shine.
- 8If you're aiming for a specific color blend, pre-mix your colors on the palette before applying them to the wet paper. This ensures that the colors will blend as you intend when they meet on the paper's surface.
Related Activities You Might Enjoy
Frequently Asked Questions
What is watercolor wash painting?
Watercolor wash painting is a technique where diluted watercolor paint is applied to paper, often while the paper is still wet, allowing the colors to blend and flow softly and organically. This method creates beautiful, ethereal effects with soft edges and luminous transitions. It's a fundamental technique in watercolor, perfect for beginners because it emphasizes the natural properties of the medium and requires less precise control than other styles. The result is often a dreamy, atmospheric quality that can be used for backgrounds, skies, water, or abstract art.
What kind of paper is best for watercolor wash?
Watercolor paper, especially heavier weights like 140lb (300gsm) or more, is best for wash techniques. This type of paper is specifically designed to absorb water without buckling, tearing, or becoming overly saturated. Lighter papers will likely warp and wrinkle when wet, making it difficult to control the paint and achieve smooth washes. Cold-press watercolor paper is a popular choice as it has a slight texture that holds pigment well, while hot-press paper is smoother and can be good for finer details but may not hold as much water for expansive washes.
How do I prevent my watercolor from looking muddy?
To prevent your watercolor from looking muddy, the most crucial step is to rinse your brush thoroughly between colors. Use your first jar of water solely for rinsing and your second for mixing clean paint. Avoid overworking the paint on the paper, especially when colors are still wet, as this can cause them to mix unintentionally and create dull tones. Also, allow layers to dry completely before adding new colors on top if you want distinct color separation. Using a limited palette and understanding color theory can also help in creating cleaner, more vibrant mixes.
Can I use regular paper for watercolor wash?
While you can try, regular printer paper or drawing paper is not ideal for watercolor wash techniques. These papers are typically too thin and are not designed to handle the amount of water used in watercolor painting. They will likely buckle, warp, tear, or bleed excessively when wet, making it very difficult to achieve good wash effects or control the paint. The fibers in regular paper can also break down quickly, leading to a rough texture and uneven pigment distribution. For the best results, always use dedicated watercolor paper.
What are some common mistakes beginners make with watercolor washes?
Beginners often make a few common mistakes with watercolor washes. One is using too little water, resulting in streaky, unblended colors, or too much water, leading to puddles and uncontrolled spreading. Another is not rinsing the brush thoroughly between colors, which causes muddying. Overworking the paper while it's still wet can also be an issue, disrupting the natural flow and creating unwanted textures. Finally, using the wrong type of paper that buckles or tears easily is a frequent pitfall. Understanding these common errors can help you avoid them and achieve more successful results.
How can I create different effects with watercolor washes?
You can create a variety of effects with watercolor washes by manipulating water and pigment. For soft, blended colors, use the 'wet-on-wet' technique by applying paint to damp paper. To achieve sharper edges and more control, use the 'wet-on-dry' method on dry paper. Adding droplets of water to wet paint can create 'bloom' effects, while salt sprinkled on wet washes can produce interesting textures as it dries. You can also use masking fluid to preserve white areas or create sharp lines before applying washes.
What Next?
You've now unlocked the secrets to creating beautiful watercolor wash art! This technique is incredibly versatile, and the possibilities are endless. Consider experimenting with different color palettes, from vibrant sunsets to serene ocean blues, or even try adding subtle textures with salt or masking fluid for more advanced effects. Once dry, your unique creations can be framed and displayed as stunning wall art, used as unique greeting cards, or even incorporated into larger mixed-media projects. This is just the beginning of your watercolor adventure!
Free: 10 Paper Crafts Anyone Can Make in 5 Minutes
Get our beginner guide + new craft ideas weekly.
No spam. Unsubscribe anytime.
Did you complete this activity?