How to Make Jingle Stick Shakers — Easy Step-by-Step Guide
Discover how to create your own DIY musical instruments easy with these simple jingle stick shakers. Perfect for little hands and big imaginations!
Quick answer
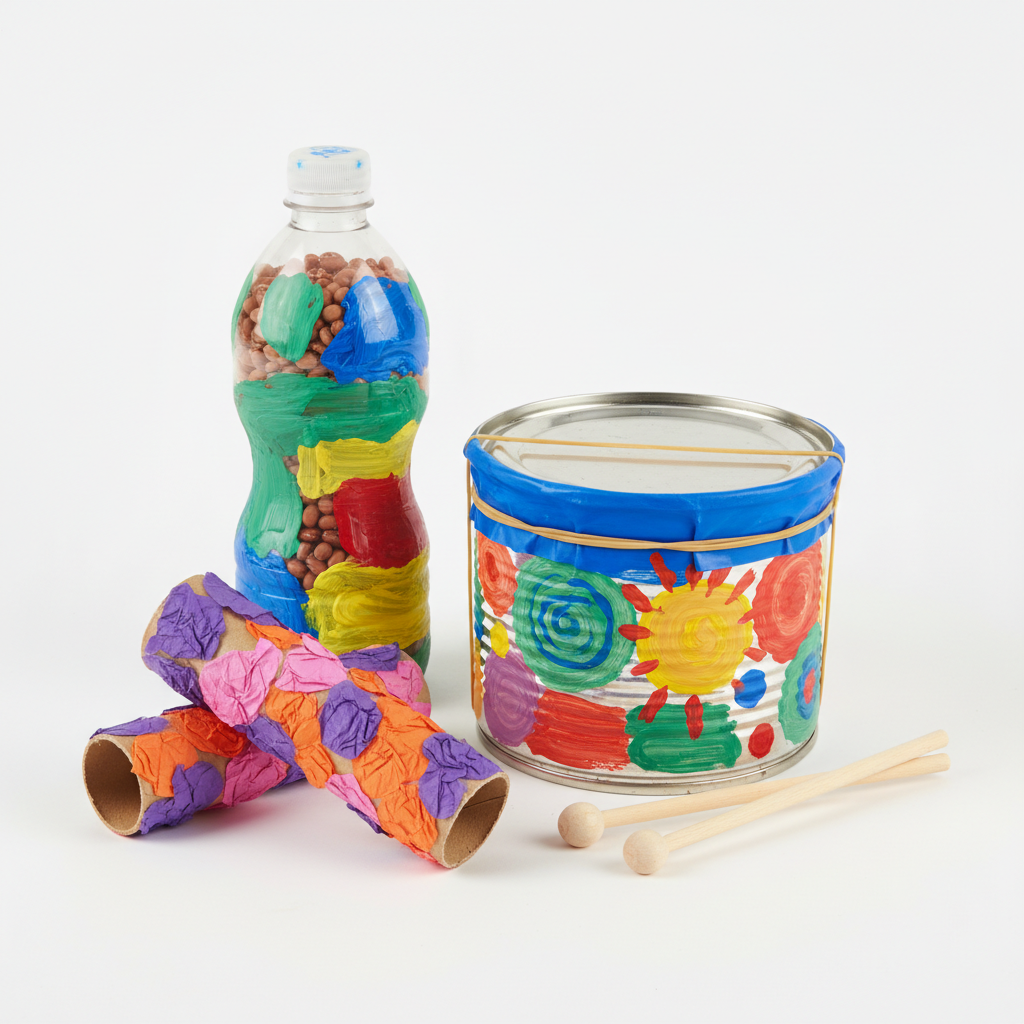
To make jingle stick shakers, you need wooden dowels, bells, and craft supplies, taking about 30 minutes. Start by attaching bells to one end of the dowel. This easy activity has 7 steps and is perfect for families with young children.
What you need
Shop on Amazon · As an Amazon Associate we earn from qualifying purchases. Links above are affiliate links — we may earn a commission at no extra cost to you.
Unleash your inner musician and embark on a delightful crafting adventure with these DIY Jingle Stick Shakers! This project is an absolute gem for fostering creativity, encouraging sensory exploration, and providing hours of musical fun for the whole family. It’s incredibly simple, making it ideal for even the youngest crafters under close supervision, and a fantastic way to introduce children to the joy of making their own instruments. Get ready to shake, rattle, and roll with your custom-made percussion!
On this page
Step-by-Step Instructions
- 1
Gather all your materials in a clear, well-lit workspace. Ensure you have enough space to spread out your dowels and decorative items, and protect your work surface with newspaper or a craft mat if you plan on painting.
- 2
If you've decided to decorate your jingle sticks, this is the time to do it. Apply a thin, even coat of acrylic paint to each wooden dowel using your paintbrushes. You can opt for solid colors, stripes, or even create fun patterns. Allow the paint to dry completely before proceeding to the next step, which can take approximately 15-20 minutes depending on the paint and humidity.
- 3
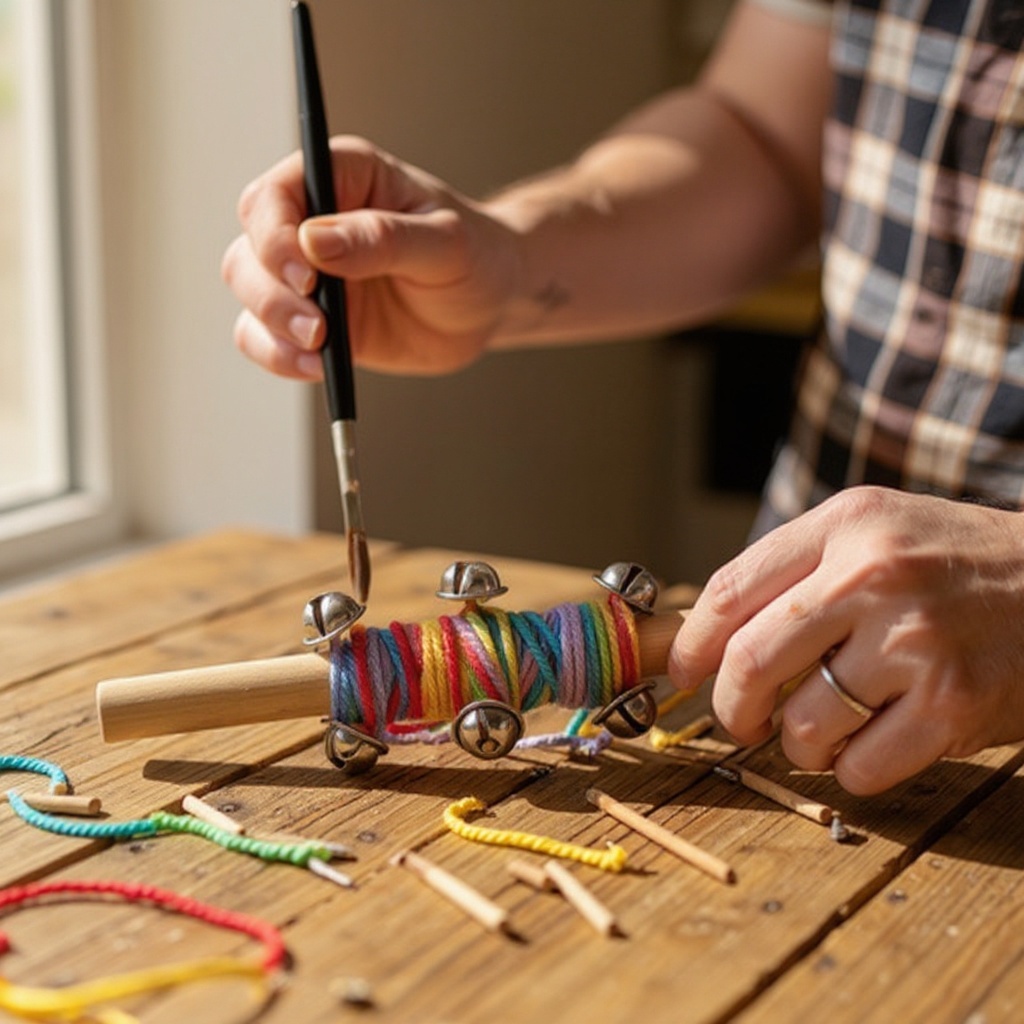
Once the paint is thoroughly dry, it's time to plan your bell placement. Decide how many bells you want to adorn each dowel – two or three bells per dowel generally provides a satisfying jingle without being overwhelming. Consider the spacing to ensure they are secure and visually appealing.
- 4
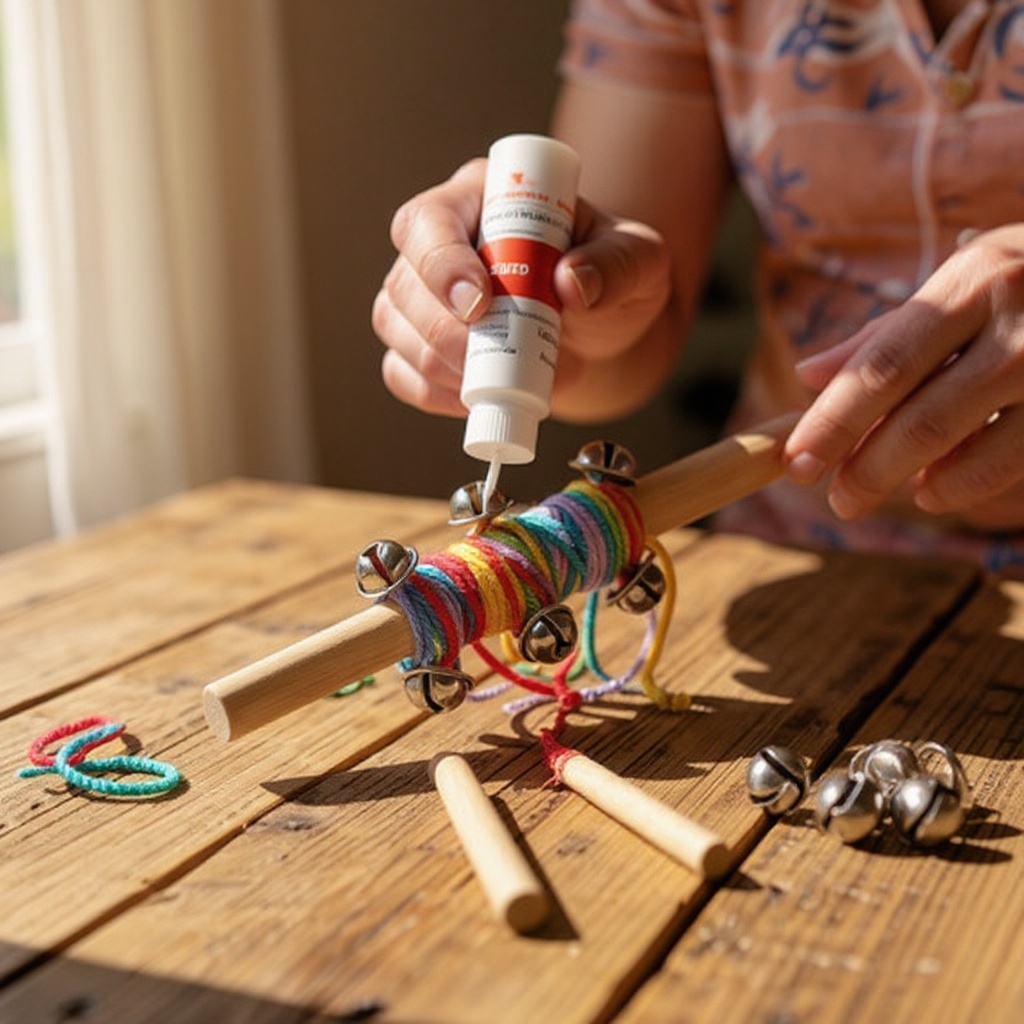
Prepare to attach the bells. Apply a generous amount of strong craft glue or hot glue to one end of a wooden dowel. Ensure the glue covers a sufficient area to securely hold the bells, extending slightly beyond where the bells will sit.
- 5
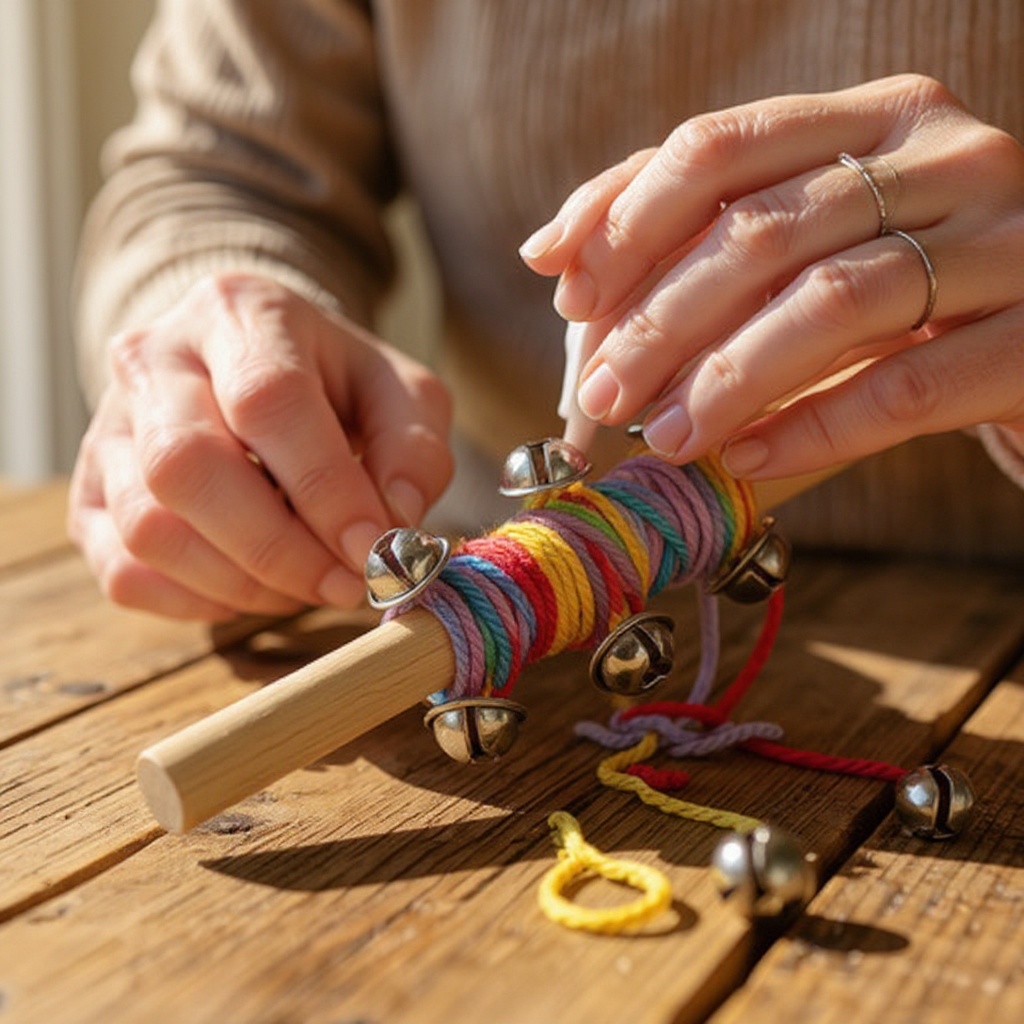
Working quickly, especially if using hot glue, press the jingle bells firmly into the applied glue. Wiggle them slightly to ensure they make good contact with the glue and are securely embedded. For craft glue, hold them in place for a few moments until they begin to set.
- 6
Repeat steps 4 and 5 for all remaining dowels, carefully attaching the desired number of bells to each one. Take your time to ensure each bell is firmly attached and positioned as you envisioned, creating a cohesive set of jingle stick shakers.
- 7
Allow the glue to dry completely for at least 1 hour before playing. This crucial drying time ensures the bells are firmly attached and won't detach during enthusiastic shaking. For craft glue, it might be beneficial to let them dry overnight for maximum security.
- 8
Optional: If you're using craft glue and want an extra layer of security, once the glue is completely dry, you can tie a small piece of colorful yarn or twine around the base of the bells. This adds a decorative touch and helps to reinforce their attachment.
- 9
Optional: Get creative with further decorations! Once the glue is dry, you can add stickers, draw designs with permanent markers, or wrap sections of the dowel with colorful yarn for a personalized and vibrant look.
- 10
Test the sound! Gently shake each jingle stick to hear the unique sound produced by the bells. This is a great opportunity to discuss how different numbers or sizes of bells might affect the overall jingle.
Tips & Troubleshooting
- 1If you opt for a hot glue gun, ensure an adult is present and supervises the process closely. Apply the hot glue quickly and press the jingle bells into the glue immediately to prevent the glue from cooling and hardening before the bells are attached.
- 2For added security and a charming aesthetic, consider tying a small piece of colorful yarn or twine around the base of the bells after the glue has completely dried. This provides an extra layer of reinforcement and can enhance the visual appeal of your shakers.
- 3Embrace your creativity with decorations! Beyond paint, use fun stickers, draw intricate designs with permanent markers, or wrap sections of the dowels with vibrant yarn or twine. This personalization makes each jingle stick shaker unique and special.
- 4Experiment with different sizes and types of jingle bells to discover how they influence the sound. Smaller bells typically produce a lighter, higher-pitched jingle, while larger bells will offer a more robust, deeper sound. This is a fantastic way to explore basic acoustics.
- 5When applying glue, ensure you use enough to create a strong bond, but not so much that it oozes excessively and creates an untidy finish. A good rule of thumb is to apply a bead of glue that is slightly larger than the area you need to cover.
- 6If you're using craft glue and are concerned about drying time, you can place the glued dowels upright in a jar or container while they dry. This helps to keep the bells from being smudged and allows air to circulate around the glued area.
- 7For a truly unique sound, consider mixing and matching different types of bells on a single dowel. You could have a larger bell for a deeper tone and a couple of smaller bells for a brighter accent, creating a more complex jingle.
- 8Once your jingle stick shakers are complete, encourage children to explore different rhythms and tempos. This simple instrument can be a gateway to understanding basic musical concepts like beat, rhythm, and dynamics.
Related Activities You Might Enjoy
Frequently Asked Questions
What are the easiest DIY musical instruments to make, especially for young children?
Jingle stick shakers are undoubtedly among the easiest DIY musical instruments to create, making them an ideal choice for young children and beginner crafters. They require minimal, readily available materials such as wooden dowels and jingle bells, and the assembly process is remarkably straightforward. The steps involve simple gluing and optional decorating, which are easily manageable with adult supervision. This simplicity ensures that children can actively participate in the creation process, fostering a sense of accomplishment and ownership over their handmade instrument. The immediate gratification of being able to play with their creation shortly after making it also adds to its appeal for younger age groups.
How can I make a simple shaker for kids that is both fun and safe?
To create a simple and safe shaker for kids, the jingle stick shaker is an excellent option. The core idea involves attaching jingle bells securely to one end of a sturdy wooden dowel using strong craft glue or hot glue (with adult supervision). This design is easy for children to hold and manipulate, allowing them to create rhythmic sounds by shaking. Ensuring the bells are firmly attached is paramount for safety, preventing any small parts from becoming loose. The wooden dowel provides a durable handle, and the absence of small, loose components within the shaker itself makes it a relatively safe choice for young musicians.
What common craft supplies are typically needed for making easy DIY musical instruments like jingle stick shakers?
For crafting easy DIY musical instruments such as jingle stick shakers, you'll typically need a collection of common and accessible craft supplies. The foundational elements are usually wooden dowels of a suitable size and length, along with an assortment of jingle bells to create the desired sound. Strong adhesive, such as craft glue (like PVA or tacky glue) or a hot glue gun (with appropriate safety precautions), is essential for securing the bells. Beyond these core components, optional decorative items can greatly enhance the project. These might include acrylic paints, paintbrushes for colorful designs, and materials like yarn, twine, stickers, or glitter glue for personalization.
Are there any screen-free music activities for families that are engaging and educational?
Absolutely! Making and playing DIY musical instruments like jingle stick shakers is a fantastic screen-free music activity that families can enjoy together. This type of hands-on crafting encourages creativity, develops fine motor skills, and fosters an appreciation for music and rhythm. It provides a wonderful opportunity for collaborative play, where family members can create their instruments together, then engage in jam sessions. This interactive experience not only strengthens family bonds but also offers a valuable educational component by introducing basic concepts of sound, rhythm, and musical expression in a fun, engaging, and completely screen-free environment.
What are the benefits of children making their own musical instruments?
The benefits of children making their own musical instruments are numerous and far-reaching. Firstly, it significantly boosts their creativity and imagination as they conceptualize and design their unique instruments. The process also enhances fine motor skills through activities like painting, gluing, and attaching small components. Furthermore, it fosters a sense of accomplishment and self-esteem when they successfully create something functional and enjoyable. Making instruments also introduces children to basic principles of sound and acoustics in a tangible way, sparking curiosity about how things work. Crucially, it provides a wonderful avenue for screen-free, interactive play, encouraging collaboration and imaginative musical exploration.
How can I make jingle stick shakers sound different from each other?
To create jingle stick shakers with distinct sounds, you can experiment with several variables. The most straightforward method is to vary the number of jingle bells attached to each dowel; fewer bells will produce a lighter, more delicate jingle, while more bells will result in a fuller, louder sound. The size and type of bells also play a significant role; smaller bells tend to have a higher pitch, whereas larger bells produce a deeper, more resonant tone. You can also explore using different materials for the bells themselves, such as brass versus steel, which can subtly alter the timbre. Finally, consider the spacing of the bells; clustering them tightly might create a more intense jingle, while spreading them out could offer a more dispersed sound.
What Next?
Congratulations on creating your very own set of Jingle Stick Shakers! These handmade instruments are not only a blast to play but also a testament to your creativity. Consider experimenting with different types of bells for varied sounds, or even attaching small objects like beads or dried beans inside a sealed container on the end of the dowel for a different shaker effect. These shakers can be displayed proudly on a shelf or stored in a dedicated music box. For your next musical DIY adventure, why not try crafting a rainstick or a DIY drum?
Free: 10 Paper Crafts Anyone Can Make in 5 Minutes
Get our beginner guide + new craft ideas weekly.
No spam. Unsubscribe anytime.
Did you complete this activity?
Related