How to Make Musical Instruments with Recycled Materials: An Easy Step-by-Step Guide
Transform everyday recyclables into a symphony of sound! This guide offers a fun, screen-free way for families to build their own unique musical instruments.

Quick answer
To make musical instruments with recycled materials, gather items like cardboard tubes, plastic bottles, rubber bands, and dried beans. With about 60-90 minutes, you can create a variety of sound-makers for family fun.
What you need
Shop on Amazon · As an Amazon Associate we earn from qualifying purchases. Links above are affiliate links — we may earn a commission at no extra cost to you.
Embark on a creative journey that transforms ordinary household discards into extraordinary musical creations! This project is a fantastic way to engage children and adults alike in a hands-on, screen-free activity that sparks imagination and fosters an appreciation for sound. It's perfect for families looking for a fun, educational, and budget-friendly way to explore music and sustainability. Get ready to discover the hidden musical potential within your recycling bin and create a unique ensemble that's as fun to make as it is to play!
On this page
Step-by-Step Instructions
- 1
Step 1: Prepare the Drum Shells. Take your two large cardboard boxes and ensure they are clean and dry. These will form the main bodies of your drums. You can use them as is for a deeper sound, or cut them down to a desired height using a craft knife or sturdy scissors if you prefer smaller, more portable drums. Ensure any cut edges are smooth to avoid snags.
- 2
Step 2: Create the First Drum Head. For the first drum, you'll create a custom drum head. Cut a circle from a piece of sturdy cardboard that is slightly larger than the opening of one of your cardboard boxes. This extra margin will allow for a secure glue surface.
- 3
Step 3: Attach the First Drum Head. Apply a generous amount of strong craft glue or hot glue around the top rim of the cardboard box where the drum head will sit. Carefully place the cardboard circle you cut onto the glued rim, pressing down firmly to ensure a good seal all the way around. Allow this to dry completely before proceeding to the next step.
- 4
Step 4: Reinforce the Drum Head. Once the glue is dry and the drum head is firmly attached, use several rubber bands to further secure and tension the cardboard drum head. Stretch them across the drum head and loop them around the bottom edge of the box, creating tension. Experiment with different numbers and tensions of rubber bands to improve the drum's sound and sustain.
- 5
Step 5: Prepare the Second Drum. For the second drum, we'll utilize the ready-made shape of the plastic milk jug. Remove the cap and ensure the jug is thoroughly rinsed and dried. The opening of the jug will serve as the resonating chamber, and its curved surface will act as the drum head.
- 6
Step 6: Decorate the Drums. Now is the fun part! Let your creativity flow and decorate both your cardboard box drum and your milk jug drum. Use paint, markers, construction paper, stickers, or yarn to give them unique designs and personalities. Allow any paint or glue to dry thoroughly before moving on to the next stage of instrument creation.
- 7
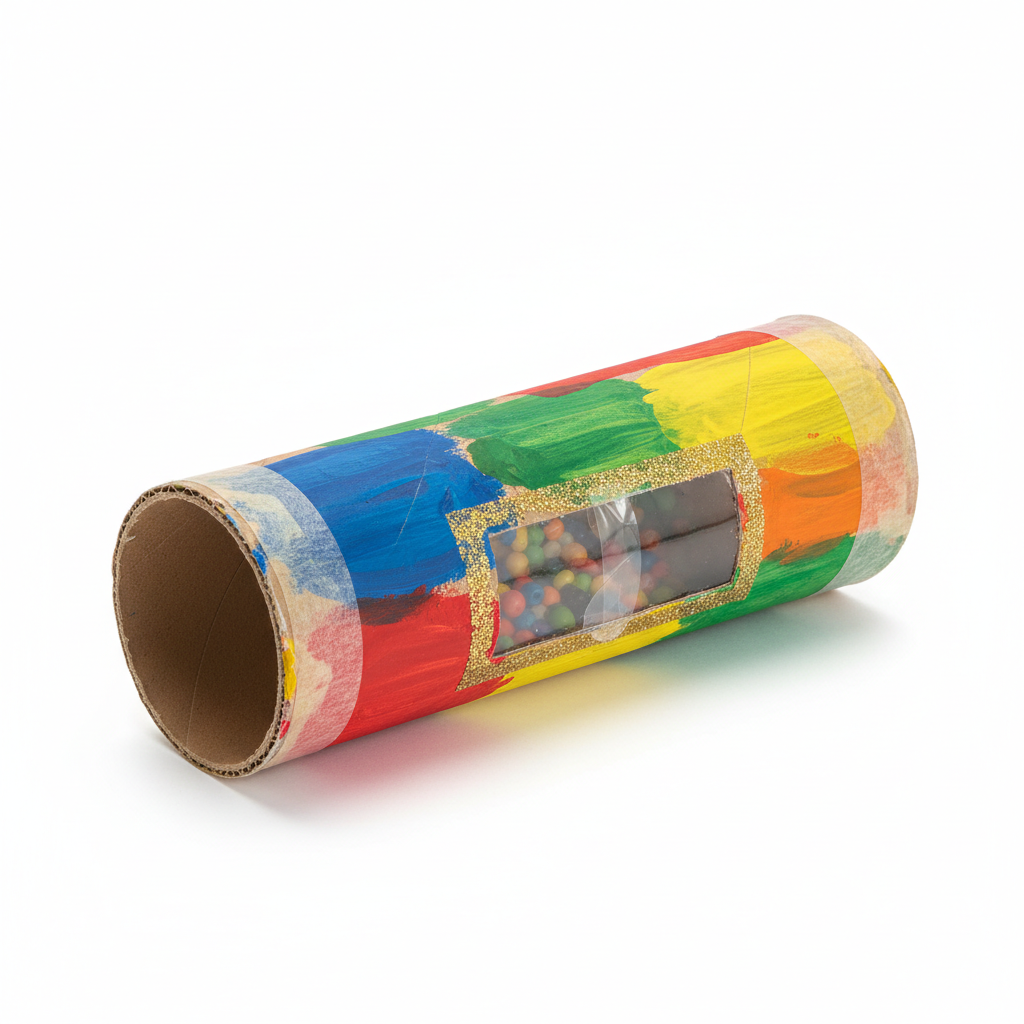
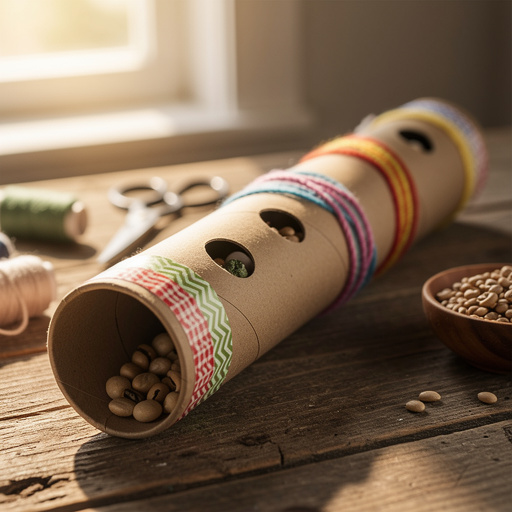
Step 7: Construct the Shaker Bodies. Take your toilet paper tubes and paper towel tubes. These will be the bodies of your shakers. You can use them as is for a classic shaker sound, or cut them to different lengths for varied sounds and visual appeal. Shorter tubes might produce a sharper sound, while longer ones could offer a fuller resonance.
- 8
Step 8: Seal One End of the Shakers. For each shaker, take one end of the tube and cover it securely with a piece of cardboard. Cut a circle slightly larger than the tube opening, apply glue around the rim of the tube, and press the cardboard circle firmly onto the glued edge. Let this sealed end dry completely before filling.
- 9
Step 9: Fill the Shakers. Once the sealed end is dry, carefully pour your dried beans or rice into the open end of each tube. Don't overfill; about one-quarter to one-third full is usually sufficient for a good shaking sound. Experiment with different amounts to see how it affects the volume and timbre.
- 10
Step 10: Seal the Second End of the Shakers. After filling, seal the open end of each shaker using the same cardboard circle and glue method as in Step 8. Ensure both ends are completely sealed to prevent the contents from escaping during play and to create a satisfying rattle sound.
- 11
Step 11: Create the Resonator Stick. Take the empty plastic soda bottle. This will be your resonator stick, designed to produce a twanging sound. You can leave it as is for a minimalist look, or decorate it with markers or paint to make it more visually appealing.
- 12
Step 12: Attach the Rubber Band 'Strings'. Stretch several rubber bands of varying thicknesses and lengths around the body of the plastic soda bottle. Position them so they are taut and can be plucked like guitar strings. Experiment with different tensions and placements for diverse sounds and pitches.
- 13
Step 13: Assemble the Kazoo Body. Take one of the toilet paper tubes. Cut a small rectangular hole (approximately 1 inch by 0.5 inches) in the side of the tube, about halfway down its length. This opening will be where you hum into the instrument.
- 14
Step 14: Add the Kazoo Membrane. Cover the hole you just cut with a small piece of wax paper or thin plastic wrap. Secure it tightly with a rubber band around the tube, ensuring the paper is taut and forms a vibrating membrane. This membrane is crucial for creating the kazoo's characteristic buzzing sound.
- 15
Step 15: Create Drum Mallets (Optional). If you want to play your drums with mallets, you can create simple ones. Roll up a small piece of scrap fabric or a sock tightly and secure it with a rubber band or tape. Alternatively, you can attach a small piece of foam or felt to the end of a sturdy stick or dowel using glue or tape.
- 16
Step 16: Test Your Instruments. Gently tap the drum heads with your hands or a soft mallet (like a rolled-up sock) to produce percussive beats. Shake the shakers vigorously to hear their rhythmic sounds and experiment with different shaking motions. Pluck the rubber bands on the resonator stick to create twanging melodies, varying your plucking technique. Hum into the open end of the kazoo to produce its distinctive buzzing sound.
- 17
Step 17: Refine and Play. Listen critically to the sounds your instruments produce. If a drum is too dull, try tightening the rubber bands or adding more tension. If a shaker is too quiet, adjust the amount of beans or rice inside, or try a different filling material. Experiment with different playing techniques on all instruments to discover the full range of sounds they can create.
- 18
Step 18: Create a Rhythm Section. Combine your drums and shakers to create a basic rhythm. Practice keeping a steady beat together as a family, taking turns leading and following. This is a great way to develop listening skills, coordination, and a sense of ensemble playing.
- 19
Step 19: Explore Melodies. Use the resonator stick and kazoo to add melodic elements to your jam sessions. Try to play simple tunes you know, or encourage improvisation and experimentation with creating your own unique musical compositions. Don't be afraid to make up silly songs!
- 20
Step 20: Enhance Drum Sounds. For the cardboard box drum, you can experiment with different surfaces for the drum head. Instead of just cardboard, try stretching a piece of thick fabric or even an old balloon over the opening and securing it tightly with rubber bands for a different tonal quality.
- 21
Step 21: Amplify Shaker Sounds. To make your shakers louder or to create different sound textures, consider using larger containers like empty plastic food containers or even small tin cans (with safely smoothed edges). You can also combine different filling materials within a single shaker for a more complex sound.
- 22
Step 22: Experiment with String Instruments. Beyond the soda bottle resonator stick, try stretching rubber bands across different hollow objects like empty tissue boxes or plastic tubs. You can even create a simple 'harp' by attaching rubber bands of varying lengths and tensions to a sturdy frame.
- 23
Step 23: Develop Wind Instruments. For a simple wind instrument, try blowing across the top of a plastic bottle. By filling the bottle with different amounts of water, you can create different pitches, similar to a bottle flute. Experiment with different bottle sizes for a wider range of notes.
- 24
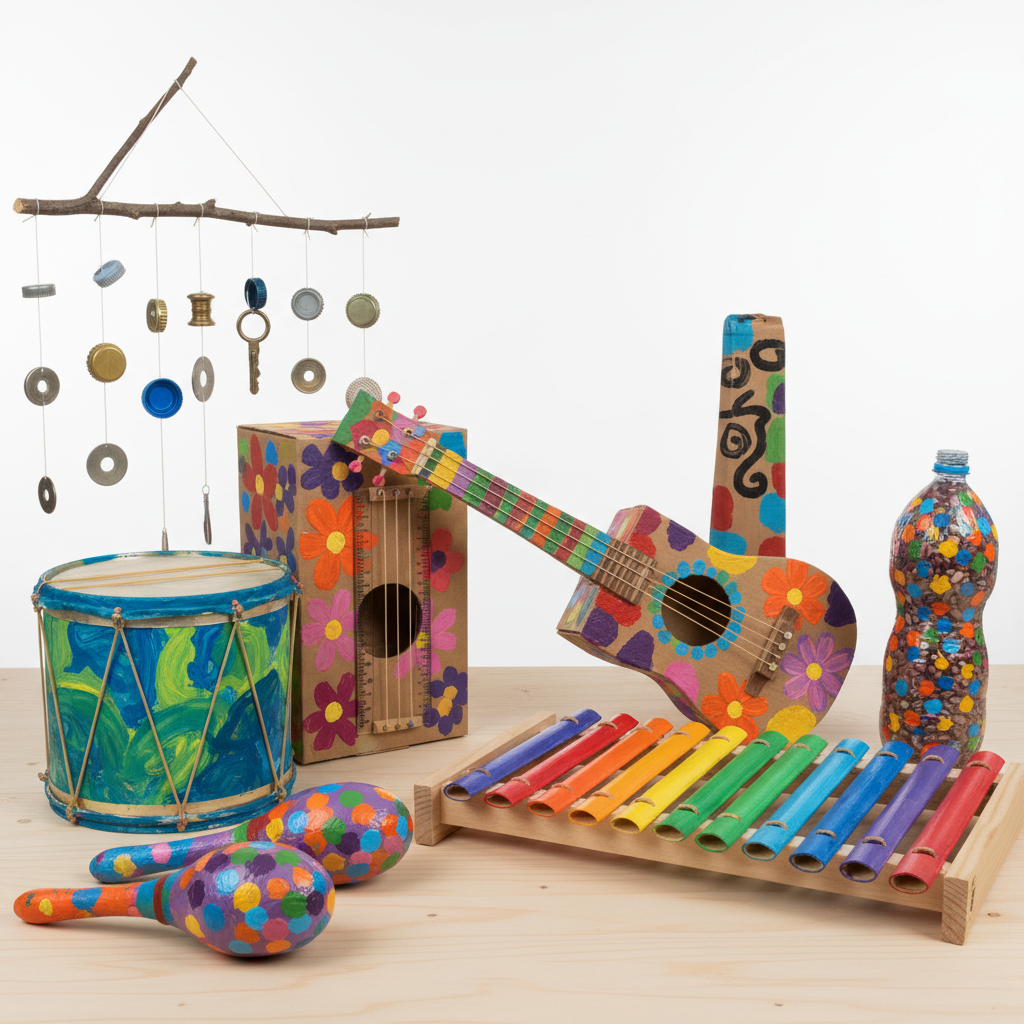
Step 24: Add Percussion Accessories. Collect other small, safe recyclable items like bottle caps, plastic lids, or even old keys. You can string these together to create a jingle or attach them to a stick to make a simple rattle.
- 25
Step 25: Record Your Music. Once you have a collection of instruments, consider recording your family's musical creations. This can be done with a smartphone or any recording device and provides a fun way to document your progress and share your music.
- 26
Step 26: Organize Your Ensemble. Designate a space for your recycled instruments when they are not in use. This could be a decorated box, a shelf, or even a designated corner of a room. Proper storage will help keep them organized and prevent damage.
- 27
Step 27: Share Your Creations. Encourage your children to perform their music for family members, friends, or even neighbors. This can boost their confidence and creativity, and it's a wonderful way to share the joy of music-making.
- 28
Step 28: Explore Different Materials. Don't limit yourself to the materials listed. Look around your home for other items that could be repurposed into instruments, such as old CDs for shakers, plastic containers for drums, or even sturdy paper plates for tambourines.
- 29
Step 29: Learn About Sound. Use this project as an opportunity to discuss basic principles of sound, such as vibration, resonance, and pitch. Explore how different materials and constructions affect the sounds produced.
- 30
Step 30: Create a Family Band Name. To add an extra layer of fun and ownership, encourage your family to come up with a unique band name for your ensemble. This can be a fun brainstorming activity in itself.
Tips & Troubleshooting
- 1For a richer drum sound, consider using a larger cardboard box or even a sturdy plastic bucket. The larger the surface area and the more resonant the material, the deeper and fuller the sound will be. Experiment with different thicknesses of cardboard for the drum head as well; thicker cardboard can produce a more percussive sound.
- 2Experiment with different filling materials for your shakers. Rice, small pebbles, beads, dried pasta, or even small buttons can create unique tonal qualities and volumes. Just ensure they are small enough not to clog the tube and that they are securely sealed within the container to prevent choking hazards for very young children.
- 3When decorating your instruments, use non-toxic paints and glues, especially if younger children are involved. Allow ample drying time for all decorative elements to ensure they adhere properly and don't smudge during play. Consider using washable paints for easier cleanup.
- 4For the resonator stick, try using different types of rubber bands, from thick to thin, and varying their tension. This will produce a wider range of pitches and timbres when plucked. You can also experiment with adding small objects like paper clips or beads under the rubber bands to alter their vibration.
- 5If you don't have wax paper for the kazoo, a thin piece of plastic wrap or even a small piece of a plastic bag can work. The key is to have a thin, taut membrane that vibrates when you hum. Ensure it's secured tightly so it doesn't flap loosely.
- 6Encourage children to name their instruments and create a 'band name' for your family. This adds an extra layer of imaginative play and ownership over their creations, making the experience even more engaging and memorable.
- 7For the cardboard drum heads, consider using a double layer of cardboard for added durability and a more robust sound. You can also try stretching fabric over the opening and securing it tightly with rubber bands for a softer, more mellow tone.
- 8When creating shakers, don't be afraid to mix different filling materials within the same tube. A combination of rice and small beans, for example, can create a more complex and interesting sound profile. Just be sure to test the sound before permanently sealing the ends.
Related Activities You Might Enjoy
Frequently Asked Questions
What are the best recycled materials for making musical instruments?
The best recycled materials are those that can produce sound through vibration, resonance, or percussion. Common and effective items include cardboard tubes (for shakers, kazoos), plastic bottles and containers (for shakers, resonators), cardboard boxes (for drums), tin cans (for percussion, with safely smoothed edges), and even rubber bands (for string-like sounds). The key is to think about how different materials interact with air, impact, or tension to create audible vibrations. Always ensure materials are clean, dry, and safe for handling, checking for any sharp edges or broken pieces.
How can I make my recycled instruments sound better?
To improve the sound quality of your recycled instruments, focus on creating tension and resonance. For drums, ensure the 'head' is pulled taut and consider reinforcing the sides with extra cardboard or tape. For shakers, experiment with different amounts and types of filling materials to achieve varied pitches and volumes; a little goes a long way. For string-like instruments, adjust the tension of rubber bands to alter pitch. Adding a resonating chamber, like a hollow box or bottle, can also amplify the sound. Sometimes, simply playing with different techniques, like tapping gently versus firmly, can reveal a wider sonic palette.
Are there any safety considerations when making musical instruments from recycled materials?
Safety is paramount, especially when children are involved. Always supervise children when using scissors or craft knives, and consider using child-safe scissors for younger ones. If using a hot glue gun, ensure an adult handles it exclusively. Check all recycled materials for sharp edges or broken pieces before use. Ensure any containers that held food or liquids are thoroughly washed and dried. For instruments that involve small parts, like shakers, ensure they are securely sealed to prevent choking hazards for very young children. Always inspect finished instruments for any loose parts before play.
Can I make instruments that produce different pitches?
Absolutely! To create instruments with different pitches, you can vary the size and tension of vibrating elements. For drums, using boxes of different sizes will naturally produce different tones; a larger box will typically produce a lower pitch. For string-like instruments, stretching rubber bands of varying thicknesses and tensions across a resonating body will yield different pitches – thinner bands and higher tension generally produce higher pitches. For wind instruments, altering the length of a tube or the size of an opening can change the pitch. Experimentation is key; even small adjustments can lead to noticeable differences in sound.
What other types of recycled instruments can I make?
The possibilities are vast! You can create bottle cap shakers by stringing them together or attaching them to a stick. Tin cans, with safely smoothed edges, can be turned into drums or tambourines by attaching a paper or fabric head. Plastic bottles can be filled with water to different levels to create a 'water xylophone' when tapped. Even old CDs can be strung together to make a shimmering shaker. Explore your recycling bin with a creative eye, and you'll find inspiration everywhere for new and exciting sound-makers.
How can I make the instruments more durable for enthusiastic play?
To enhance the durability of your recycled instruments, consider reinforcing key areas with extra layers of cardboard, strong tape, or even fabric. For drums, applying a layer of clear packing tape over the drum head can protect it from wear and tear. For shakers, ensure the seals are extra secure using a strong glue and perhaps reinforcing with tape. When decorating, use durable paints and glues that will withstand handling. If an instrument is particularly fragile, consider creating a display stand for it rather than using it for vigorous play.
What Next?
Congratulations on creating your own recycled orchestra! Don't stop here; the possibilities are endless. Consider adding more instruments like bottle cap maracas, tin can drums, or even a straw pan flute. You can also explore different sizes and shapes of containers for varied sounds. Once your instruments are complete, find a special place to display them, perhaps a dedicated shelf or wall space, so they are always ready for an impromptu jam session. Store them carefully to prolong their life and keep the music going!
Free: 10 Paper Crafts Anyone Can Make in 5 Minutes
Get our beginner guide + new craft ideas weekly.
No spam. Unsubscribe anytime.
Did you complete this activity?
Related