How to Make Friendship Bracelet Patterns with 3 Colors — Easy Step-by-Step Guide
Discover how to create beautiful, personalized friendship bracelets using just three colors of embroidery floss. This simple braiding technique is perfect for all ages and requires minimal materials, making it an ideal craft for a relaxing afternoon or a fun activity with friends and family. Learn the basic steps to create a classic, durable bracelet that can be customized with endless color combinations.

Quick answer
To make 3-color friendship bracelets, you need three strands of embroidery floss, each about 24 inches long, and scissors. Start by tying a knot about 2 inches from one end to create a loop, then separate your strands. This beginner-friendly activity involves a simple alternating braiding pattern and takes approximately 15-20 minutes to complete. It's perfect for families and kids aged 6+.
What you need
Shop on Amazon · As an Amazon Associate we earn from qualifying purchases. Links above are affiliate links — we may earn a commission at no extra cost to you.
Embark on a journey of creativity and connection with the timeless art of friendship bracelet making! This guide focuses on the wonderfully simple yet endlessly versatile three-strand twist bracelet. It’s a project that transcends age, offering a delightful way to express personal style and strengthen bonds. Whether you're looking for a screen-free activity for kids, a mindful craft for yourself, or a way to create thoughtful, handmade gifts, this basic braiding technique is your perfect starting point. With just a few basic supplies and a little patience, you'll be crafting colorful, personalized bracelets in no time.
On this page
Step-by-Step Instructions
- 1
Gather your three strands of embroidery floss. Ensure they are all the same length, approximately 24 inches (60 cm) each, to create a standard adult-sized bracelet. Using a measuring tape or ruler will help ensure consistency, which is key for an even final product.
- 2
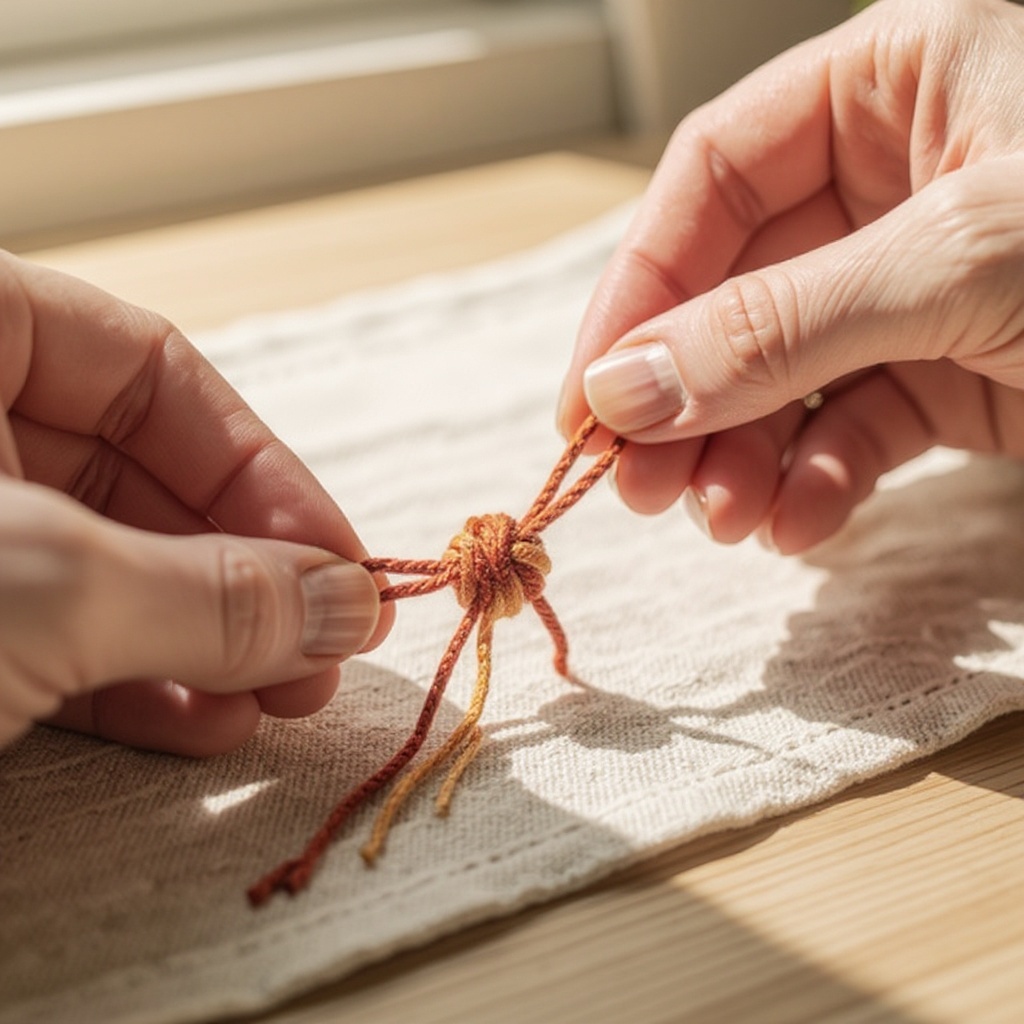
Hold the three strands together, aligning the ends. About 2 inches from one end, tie a simple overhand knot. This knot will form the loop that you'll use to fasten the bracelet later, so make sure it's secure but not so tight that it's impossible to work with.
- 3
Separate the three strands so they are evenly spaced, forming a 'Y' shape. Imagine you have a left strand, a middle strand, and a right strand. Keeping them organized like this is crucial for the braiding process to work correctly.
- 4
Secure your starting knot. If you're working at a table, use a piece of tape to firmly attach the knotted end to the surface, keeping it taut. Alternatively, a safety pin can be used to attach the knot to your jeans, a pillow, or a clipboard, allowing you to work hands-free.
- 5
Begin the braiding process by taking the leftmost strand and crossing it over the middle strand. The original left strand will now become the new middle strand, and the original middle strand will shift to the right.
- 6
Next, take the rightmost strand (which was originally the middle strand) and cross it over the new middle strand. This action positions the original rightmost strand as the new middle strand, completing one full cycle of the braid.
- 7
You have now completed one full alternating cross. The strand that was originally on the left is now in the middle, and the strand that was originally on the right is now on the left. This consistent alternating motion is the foundation of the three-strand twist.
- 8
Continue the process by repeating the previous two steps: take the current leftmost strand and cross it over the middle strand. This strand then becomes the new middle strand.
- 9
Immediately after crossing the left strand, take the current rightmost strand and cross it over the new middle strand. This strand then becomes the new middle strand, completing the second half of the alternating pattern.
- 10
Keep repeating this alternating pattern: cross the leftmost strand over the middle, then the rightmost strand over the new middle. As you braid, gently pull each strand to maintain an even tension, which will result in a neat and consistent bracelet.
- 11
As you continue braiding, you'll notice the pattern forming. Pay attention to the order of your colors. If you find the bracelet looking uneven, it might be because you're accidentally doing two left crosses or two right crosses in a row. Re-align your strands and ensure you're always alternating.
- 12
Continue braiding until the bracelet is long enough to comfortably fit around a wrist. To check the length, you can wrap it around your wrist or the intended recipient's wrist, leaving enough space for the knot and loop to fasten.
- 13
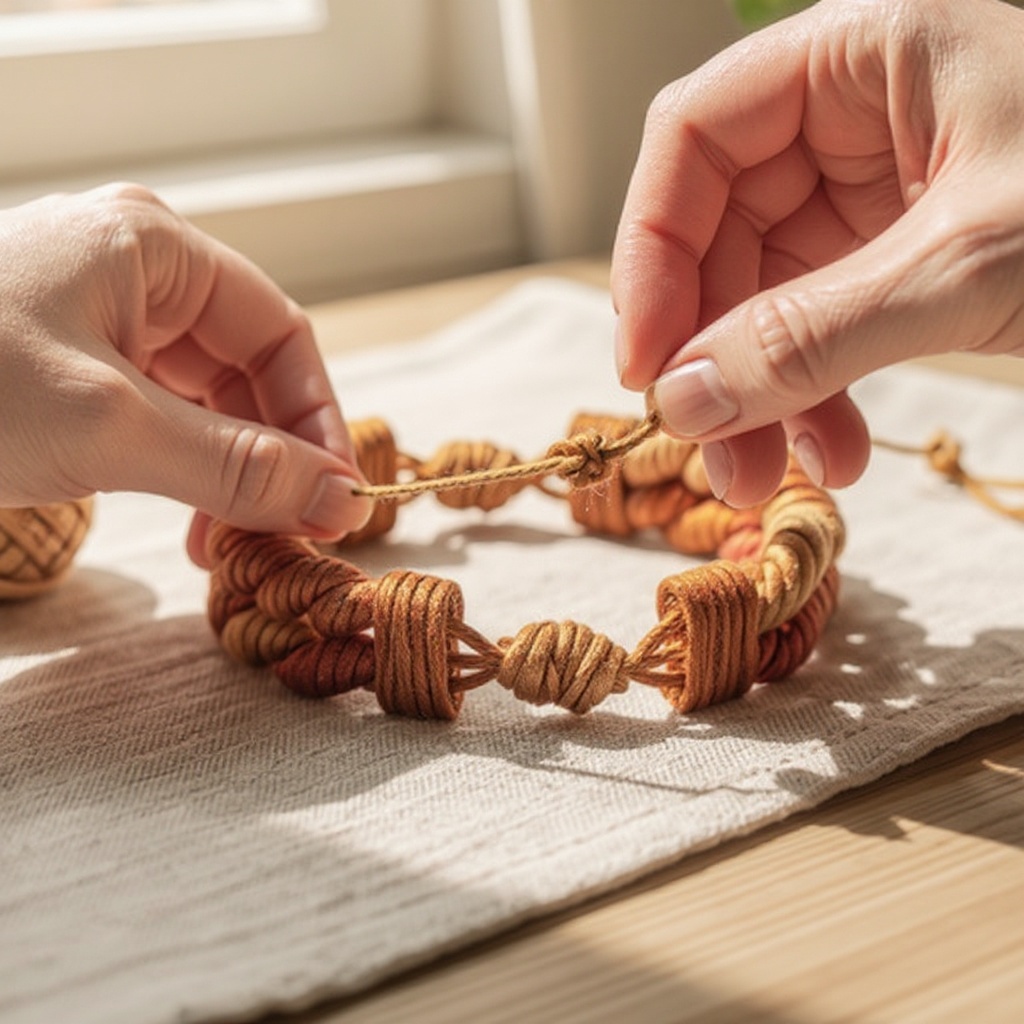
Once you've reached the desired length, tie another knot close to the end of your braided section, mirroring the knot you made at the beginning. This knot secures the braided portion and prevents it from unraveling.
- 14
Trim any excess embroidery floss from both ends of the bracelet. Leave about 2-3 inches of floss on each end, beyond the knots. This excess will be used to tie the bracelet onto a wrist, making it adjustable and easy to wear.
- 15
To create a more secure and decorative end, you can divide the remaining floss on each end into two or three smaller sections and braid them individually. Tie a small knot at the end of each of these mini-braids and then trim the excess.
- 16
If you want to add beads to your bracelet, you can thread them onto one or more of the strands before you start braiding, or even incorporate them into the braid itself by sliding them up against the knot as you work. Ensure the bead hole is large enough for the floss.
- 17
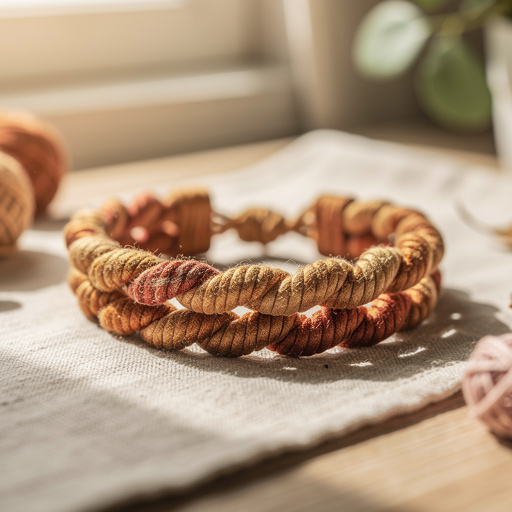
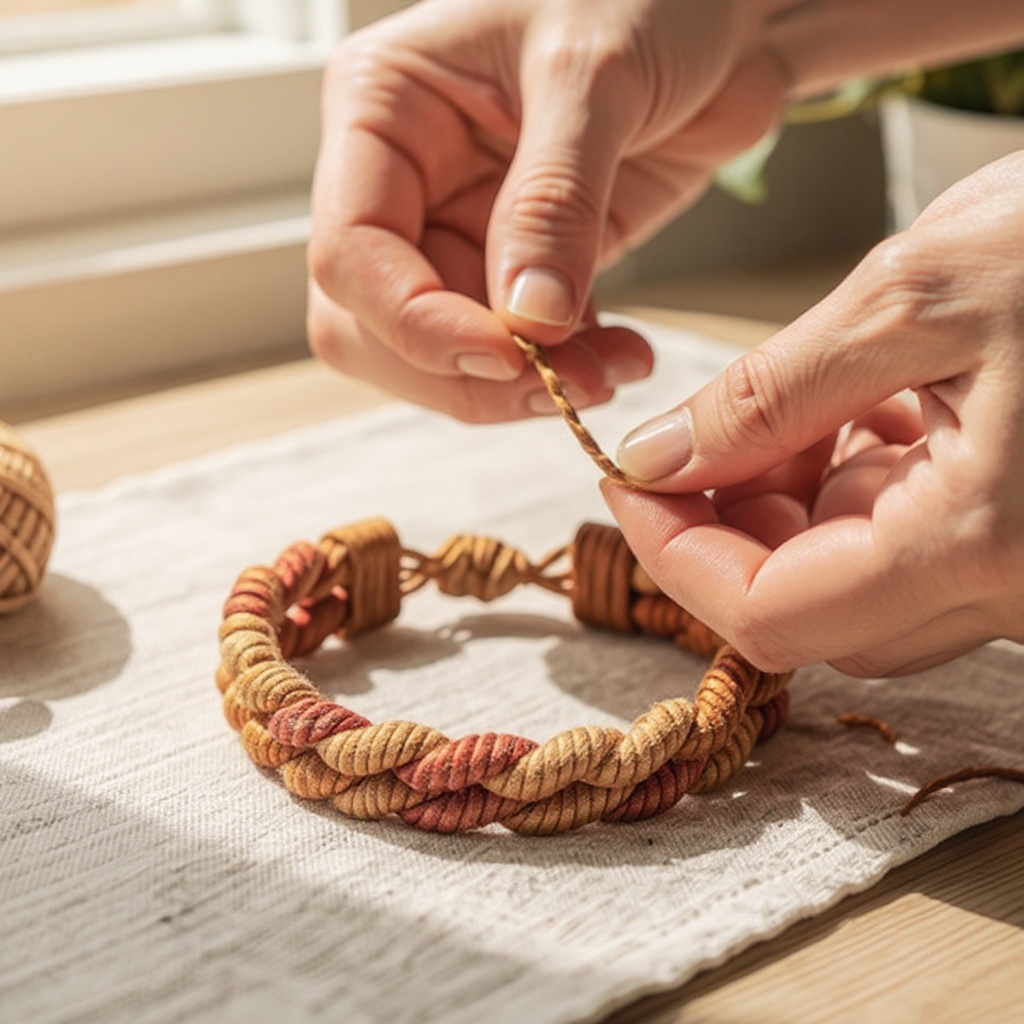
For a slightly different look, you can try twisting the strands together tightly before you start braiding. This will give the finished bracelet a more coiled appearance, adding texture and visual interest to the basic pattern.
- 18
Consider the tension of your braid. A tighter braid will result in a more compact and durable bracelet, while a looser braid will be softer and more flexible. Experiment to find the tension that you prefer for your bracelets.
- 19
If you're making bracelets for multiple people, it's a good idea to measure their wrists or ask for their preferred bracelet length. This ensures a perfect fit for everyone.
- 20
To make your bracelet even more unique, you can incorporate different types of thread or yarn alongside the embroidery floss. Just be mindful of the thickness differences and adjust your strand count accordingly.
Tips & Troubleshooting
- 1For a tighter braid, pull each strand firmly as you cross it over. This consistent tension will create a compact and durable bracelet that is less likely to fray over time. For a looser, more relaxed look, don't pull as tightly, allowing the strands to lay more naturally against each other.
- 2Experiment with different color combinations! You can create striking contrasts, harmonious blends, or even use colors that have special meaning to you or the recipient. You can also use variegated floss for a unique, multi-tonal effect within a single strand, which adds a spontaneous and artistic flair to your bracelet.
- 3If your bracelet starts to look uneven, check that you are consistently crossing the left strand over the middle, then the right strand over the middle. Ensure you're not accidentally doing two left crosses in a row or skipping a step, as this will disrupt the pattern and create an uneven texture.
- 4To make the bracelet longer, simply start with longer strands of floss. For shorter bracelets, use shorter strands. A good rule of thumb for adult wrists is 24 inches, but you can adjust this based on preference and how tightly you braid.
- 5If you find your floss tangling as you work, try using a thread conditioner or beeswax. Rubbing a bit of this product along the strands can help them stay smoother and less prone to knotting, making the braiding process much more enjoyable.
- 6Don't be afraid to mix materials! While this tutorial focuses on embroidery floss, you can also incorporate thin satin cord, hemp twine, or even thin strips of fabric for a unique texture and look. Just ensure they are of similar thickness to maintain an even braid.
- 7To create a more professional finish, consider adding a clasp instead of just tying the bracelet. You can purchase small jewelry clasps and use jump rings to attach them to the braided ends, making the bracelet easier to put on and take off.
- 8If you're making a bracelet for a child, consider using brighter, more vibrant colors. You can also make the bracelet slightly shorter and ensure the knot is easy for them to manage. Adding a small charm can also make it extra special.
Related Activities You Might Enjoy
Frequently Asked Questions
How do I make a friendship bracelet with 3 colors?
To make a 3-color friendship bracelet, you'll need three strands of embroidery floss, each about 24 inches long. Start by holding the three strands together and tying a knot about 2 inches from one end to create a loop for fastening. Then, separate the strands into left, middle, and right positions. The core technique involves repeatedly crossing the leftmost strand over the middle strand, making it the new middle, and then crossing the rightmost strand over the new middle strand, making it the new middle. Continue this alternating pattern until the bracelet reaches your desired length, then tie another knot at the end and trim the excess floss. This simple braiding method is intuitive and perfect for beginners.
What is the easiest friendship bracelet pattern?
The easiest friendship bracelet pattern is undoubtedly the basic three-strand braid, which is precisely what this tutorial covers. It requires no complex knotting techniques like the diagonal knot or chevron patterns, making it incredibly accessible for absolute beginners, including young children. The process is very intuitive, relying on a simple alternating over-and-under motion of the strands. Once you master this fundamental braid, you'll have a solid foundation for learning more intricate designs in the future.
How long should the strings be for a friendship bracelet?
For a standard adult-sized friendship bracelet, starting with strands that are about 24 inches (approximately 60 cm) long is a good rule of thumb. This length provides enough material to create a bracelet that fits comfortably around most wrists, with extra length for the initial loop knot and the final tying knot. If you're making bracelets for children, you might want to start with slightly shorter strands, around 18-20 inches. It's always better to have a little extra length than not enough, as you can always trim the excess.
Can I make friendship bracelets with yarn?
Yes, absolutely! You can make friendship bracelets with yarn, and it's a fantastic way to create chunkier, cozier bracelets. However, yarn is significantly thicker than embroidery floss, so you'll need to adjust the number of strands accordingly. For a similar thickness to three strands of embroidery floss, you might only need one or two strands of a medium-weight yarn, or perhaps three very thin strands of yarn. The braiding technique remains the same, but the finished bracelet will be bulkier and have a softer texture. Experiment with different yarn weights and colors for unique results.
How do I make the bracelet longer if I run out of string?
If you find yourself running out of string before your bracelet is long enough, unfortunately, you cannot easily add more to the existing braid without it looking uneven or being very difficult to manage. The best approach is to start over with longer strands. For future projects, it's always recommended to cut your strands longer than you think you'll need – 24 inches is a good starting point for adult bracelets, but you can go up to 30 inches if you prefer a looser braid or want to add beads. You can also tie on new strands by creating a secure knot where the old strands end and the new ones begin, then braiding them together, but this can sometimes create a visible join.
What are the best colors to use for a friendship bracelet?
The beauty of friendship bracelets lies in their personalization, so the 'best' colors are entirely subjective and depend on your preferences or the recipient's! Classic combinations include complementary colors (like blue and orange, or red and green) for a vibrant look, or analogous colors (like shades of blue and green) for a harmonious feel. Many people choose colors that represent their favorite sports teams, school colors, or simply their favorite hues. Don't shy away from experimenting with neon colors, pastels, or even metallic threads for added flair. Variegated or ombre floss can also create stunning, naturally blended effects without any extra effort.
How can I make my friendship bracelet more durable?
To make your three-strand twist friendship bracelet more durable, focus on consistent tension throughout the braiding process. Pull each strand firmly as you cross it over, ensuring the braid is compact and tight. This prevents individual threads from snagging or fraying easily. Using high-quality embroidery floss also makes a difference; some brands are stronger and more resistant to wear and tear than others. Additionally, finishing the ends with a secure knot and trimming them neatly, or even adding a small braid to the tail ends before trimming, can prevent unraveling. For extra protection, you can apply a clear fabric sealant or fabric glue to the knots.
What Next?
Congratulations on mastering the art of the three-strand twist bracelet! You've unlocked a fundamental skill that opens the door to a world of creative possibilities. Don't stop here; experiment with different color palettes, try variegated floss for a unique look, or even combine this technique with other bracelet styles. These bracelets make wonderful gifts, party favors, or personal accessories. To store them, simply coil them neatly or hang them on a bracelet display to showcase your colorful creations. Keep practicing, and soon you'll be designing intricate patterns and sharing your handmade treasures!
Free: 10 Paper Crafts Anyone Can Make in 5 Minutes
Get our beginner guide + new craft ideas weekly.
No spam. Unsubscribe anytime.
Did you complete this activity?
Related