How to Make Your Own DIY Board Games for Adults — Easy Step-by-Step Guide
Unleash your creativity and design a unique board game experience for adults! This tutorial guides you through crafting a personalized card game that's perfect for game nights.

Quick answer
To make a DIY board game for adults, you'll need cardstock, markers, scissors, and about 60 minutes. Start by brainstorming your game's theme and rules. This beginner-friendly activity has 10 steps and is perfect for adults seeking creative, screen-free entertainment.
What you need
Shop on Amazon · As an Amazon Associate we earn from qualifying purchases. Links above are affiliate links — we may earn a commission at no extra cost to you.
Tired of the same old board game rotation? Dive into the exciting world of DIY game creation and design a truly unique experience tailored specifically for you and your friends. Crafting your own card game is a fantastic way to express your creativity, foster collaboration, and enjoy screen-free entertainment. This project is perfect for adults who love games, enjoy a good challenge, and want to add a personal touch to their game nights. Get ready to invent, play, and have a blast!
On this page
Step-by-Step Instructions
- 1
Step 1: Brainstorm your game's theme, objective, and core mechanics. Think about what kind of experience you want to create (e.g., strategy, trivia, storytelling, resource management, or a combination). Consider the target audience and the desired complexity level for your adult players.
- 2
Step 2: Decide on the number of cards you'll need for your game. A good starting point for a simple game is 50-75 cards, but more complex games might require 100-200 cards or more. This will influence how many sheets of cardstock you'll need to prepare.
- 3
Step 3: Prepare your cardstock for cutting. Using your ruler and pencil, lightly draw a grid on the back of each cardstock sheet to ensure consistent card size and layout. Aim for roughly 3x5 inches, but adjust based on your preference and the amount of information you need to fit on each card.
- 4
Step 4: Cut out your cards using scissors or a paper trimmer. Ensure all cards are the same size for easy shuffling, handling, and a professional look. If using scissors, take your time to make clean, straight cuts along your pencil lines.
- 5
Step 5: Design the 'front' of your cards. This is where you'll write text, draw symbols, or create artwork that represents game actions, events, resources, or player roles. Consider a consistent design element for each card type to make them easily distinguishable during gameplay.
- 6
Step 6: Write down the rules of your game clearly and concisely. You can write these on a separate piece of paper, design a dedicated 'rule card' to be included in the deck, or even create a small booklet. Ensure the rules are easy to understand and cover all aspects of gameplay.
- 7
Step 7: Create 'action' cards that dictate what players can do during their turn. These cards might instruct players to 'Draw 2 cards,' 'Move back 3 spaces,' 'Challenge another player,' 'Trade resources,' or perform other specific game actions. Make sure the actions are balanced and contribute to the overall game flow.
- 8
Step 8: Design 'event' cards that introduce unexpected twists or changes to the game. These cards can create exciting moments and keep players on their toes, such as 'All players lose a turn,' 'Gain an extra resource,' 'The game ends immediately,' or 'A specific player is targeted.'
- 9
Step 9: If your game involves scoring, currency, or other quantifiable elements, create cards to represent these. This could include 'Point' cards, 'Gold' tokens, or 'Resource' cards that players collect and spend throughout the game. Ensure these are clearly labeled and easy to track.
- 10
Step 10: Decorate your cards and rule sheet using markers, colored pencils, paint, or stickers to make your game visually appealing and unique. Add thematic elements, illustrations, and color schemes that enhance the overall experience and make your game stand out.
- 11
Step 11: Develop 'player' or 'role' cards if your game involves distinct player abilities or starting conditions. These cards can assign unique powers, starting resources, or secret objectives to each player, adding depth and replayability.
- 12
Step 12: Create 'objective' or 'win condition' cards if your game doesn't have a single, straightforward victory condition. These cards can outline different ways players can achieve victory, such as collecting a certain number of points, completing a specific task, or eliminating other players.
- 13
Step 13: Consider adding 'penalty' or 'consequence' cards that players draw when they make a mistake or trigger a negative event. These could be 'Lose a turn,' 'Discard a card,' or 'Pay a resource' to add an element of risk and reward.
- 14
Step 14: Design 'special' or 'wild' cards that offer unique abilities or can be used in multiple ways. These cards can add strategic depth and surprise elements to the gameplay.
- 15
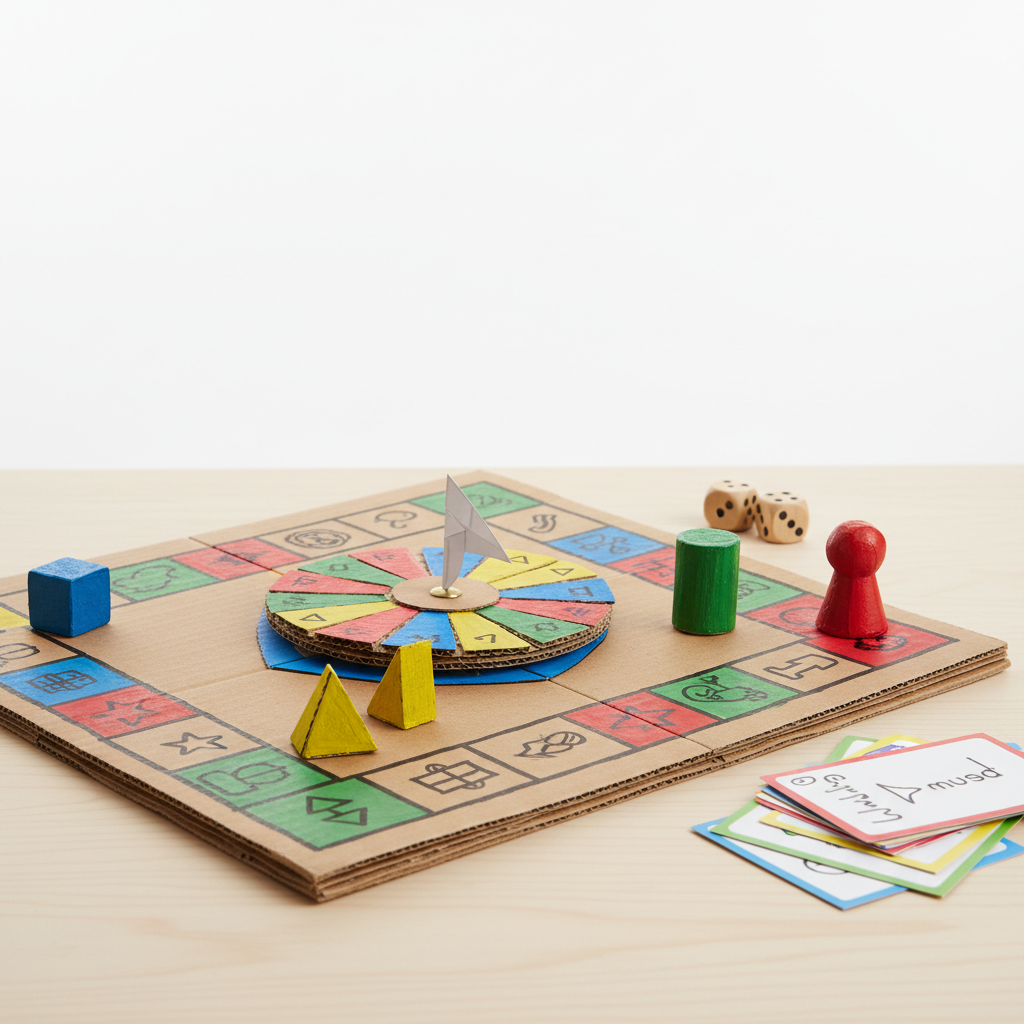
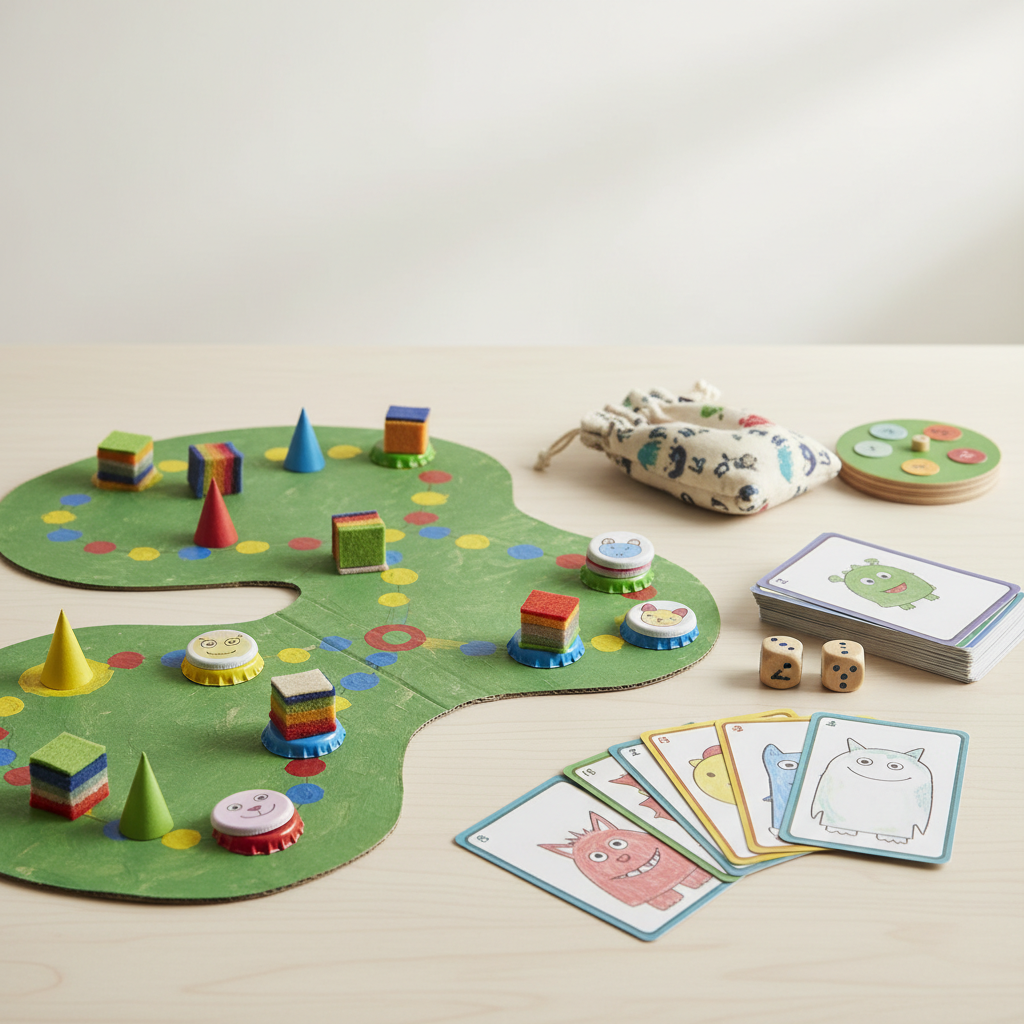
Step 15: If your game involves a board element, even a simple one, sketch it out and create it now. This could be a track for movement, a central area for resources, or a scoring area. You can draw this directly onto a larger piece of cardstock or even a separate board.
- 16
Step 16: Review and refine your rules. Read through them from the perspective of a new player and identify any ambiguities or missing information. Ensure the language is clear, concise, and easy to follow.
- 17
Step 17: Playtest your game thoroughly. Gather a group of friends and have them play your game, observing their reactions and gathering feedback. This is crucial for identifying any imbalances, confusing rules, or areas that could be improved.
- 18
Step 18: Make revisions based on playtesting feedback. Don't be afraid to make significant changes to your cards, rules, or mechanics. The goal is to create the most fun and engaging game possible.
- 19
Step 19: Finalize your card designs and rule sheet. Once you're happy with the gameplay and all elements are balanced, make your final designs permanent. This is the time to add those finishing touches that make your game truly yours.
- 20
Step 20: Organize and store your game. Find a suitable box, pouch, or container to keep all your cards and rule sheets together. This will protect your game and make it easy to bring to game nights.
Tips & Troubleshooting
- 1Tip: Before committing to permanent markers, sketch out your card designs with a pencil first. This allows for easy corrections and revisions, ensuring you're happy with the layout and content before making it permanent.
- 2Tip: For a more durable game, consider laminating your cards after they are fully designed and the ink is dry. This will protect them from wear and tear, spills, and make them feel more professional, though it adds an extra step and cost.
- 3Tip: Playtest your game with friends before finalizing the rules. Gather feedback on what's fun, what's confusing, and what could be improved. Different players will approach the game with different perspectives, revealing potential issues you might have missed.
- 4Tip: If you're creating a trivia game, consider using a mix of easy, medium, and hard questions to keep it engaging for different knowledge levels. This ensures that everyone has a chance to contribute and feel successful, regardless of their expertise.
- 5Tip: Store your completed game in a box or pouch to keep all the cards together and prevent them from getting lost. You can even decorate the storage container to match the theme of your game, adding an extra touch of personalization.
- 6Tip: Consider the 'weight' of your cards. If you have a lot of text or complex images, you might need larger cards or a larger deck size. Conversely, simple games can work well with smaller, more compact cards.
- 7Tip: Think about the 'shuffleability' of your cards. Very thick cardstock or oddly shaped cards might be difficult to shuffle effectively. Aim for a standard card size and a cardstock weight that allows for smooth shuffling.
- 8Tip: Don't be afraid to borrow mechanics from existing games you enjoy, but always put your own unique spin on them. This can be a great way to learn about game design and create something familiar yet entirely new.
Related Activities You Might Enjoy
Frequently Asked Questions
What are the best DIY board games for adults?
The 'best' DIY board games for adults are those that are tailored to your specific interests, the dynamics of your friend group, and the desired gameplay experience. This tutorial focuses on creating a customizable card game, which is an incredibly versatile and fun option because it can be adapted to almost any theme or mechanic. Whether you're into strategy, trivia, storytelling, or cooperative challenges, a DIY card game allows you to build a world and rules that resonate with you and your players, making it a truly personal and engaging experience.
How do I make a board game without a board?
You can create many engaging board games without a physical board by focusing on other components like cards, dice, tokens, or even just verbal rules. Card-based games, like the one detailed in this tutorial, are excellent examples of board-less DIY games. These games rely on the cards themselves to drive the gameplay, manage resources, and dictate actions. You can also incorporate dice for random outcomes or use tokens to represent player pieces or resources, creating a rich gaming experience without the need for a traditional board.
What materials do I need to make a DIY board game?
To make a DIY board game, you'll typically need basic crafting supplies. This includes paper or cardstock for the game components, writing utensils such as markers, pens, or pencils for drawing and writing, and scissors or a paper trimmer for cutting. For decoration and personalization, you might also want colored pencils, paint, stickers, or stencils. The specific materials will vary based on the complexity and type of game you intend to create, but cardstock and markers are essential for a card game.
Is it hard to make your own board game?
Making your own board game can range from easy to challenging depending on the complexity of your design. This tutorial offers a beginner-friendly approach to creating a card game, making it accessible for most individuals, even those with limited crafting experience. Starting with a simple concept and gradually adding complexity as you gain confidence is a great strategy. The most challenging part is often the iterative process of designing, playtesting, and refining your game to ensure it's balanced and enjoyable.
How many cards should I make for my DIY game?
The number of cards you should make for your DIY game depends heavily on the complexity and type of game you are designing. For a very simple game, such as a basic matching or trivia game, 50-75 cards might be sufficient. However, for more strategic or narrative-driven games, you might need anywhere from 100 to 200 cards or even more to provide enough variety and depth. It's often best to start with a core set of cards and then create additional cards during playtesting if you find the game needs more options or replayability.
What are some good themes for an adult DIY card game?
Adults can enjoy a wide range of themes for DIY card games, from lighthearted and humorous to complex and strategic. Popular choices include fantasy adventures, sci-fi exploration, historical scenarios, mystery investigations, or even abstract strategy games. You could also create a game based on inside jokes within your friend group, a favorite movie or book series, or a specific hobby like cooking or gardening. The key is to choose a theme that excites you and your intended players, making the design and gameplay process more enjoyable.
What Next?
Congratulations on creating your very own custom card game! The possibilities are endless, from creating themed decks for specific holidays to designing complex strategy games. Consider creating expansion packs with new cards or even designing a complementary board to go with your card game. Once your masterpiece is complete, store it in a decorative box or a custom-made pouch to keep it safe and sound. This DIY project is just the beginning of your game design journey, so keep those creative juices flowing!
Free: 10 Paper Crafts Anyone Can Make in 5 Minutes
Get our beginner guide + new craft ideas weekly.
No spam. Unsubscribe anytime.
Did you complete this activity?