How to Make Your Own Board Game — Easy Step-by-Step Guide
Unleash your family's creativity by designing and building your very own board game from scratch. This engaging DIY project offers endless replayability and fun!
Quick answer
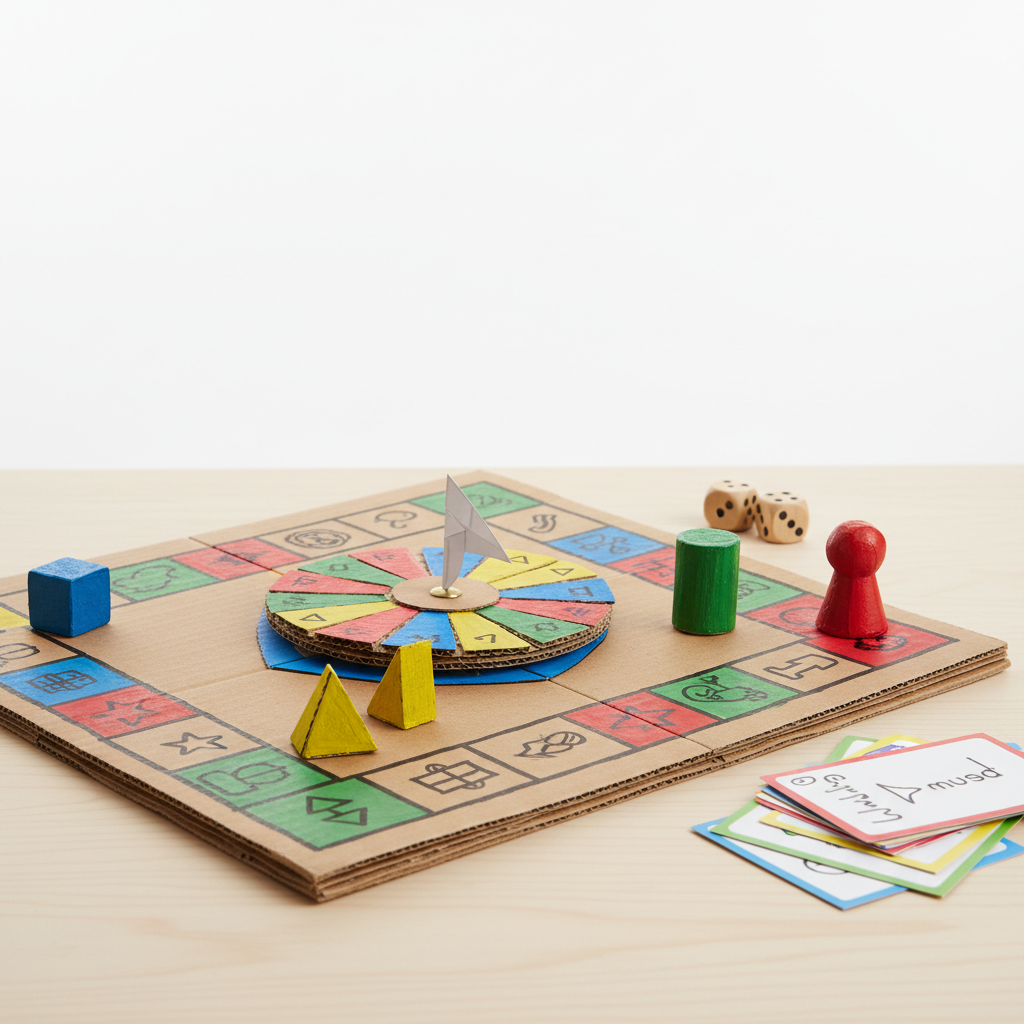
To make a DIY board game, you need cardboard, markers, scissors, and about 60 minutes. Start by sketching your game board. This beginner-friendly activity has 10 steps and is perfect for families with kids aged 6+.
What you need
Shop on Amazon · As an Amazon Associate we earn from qualifying purchases. Links above are affiliate links — we may earn a commission at no extra cost to you.
Embark on a creative adventure that promises hours of family fun and endless replayability! Crafting your own board game from simple materials like cardboard is a fantastic way to spark imagination, encourage teamwork, and develop problem-solving skills. This project is perfect for rainy afternoons, birthday parties, or simply creating cherished memories with loved ones. Whether you're a seasoned crafter or a complete beginner, this guide will walk you through transforming everyday items into a unique game that's entirely your own. Get ready to design, build, and play!
On this page
Step-by-Step Instructions
- 1
Decide on the theme and basic rules of your board game. Brainstorm exciting concepts like a space adventure, a magical quest, a detective mystery, or a race through a jungle; this will guide your design choices and make the game more engaging for players.
- 2
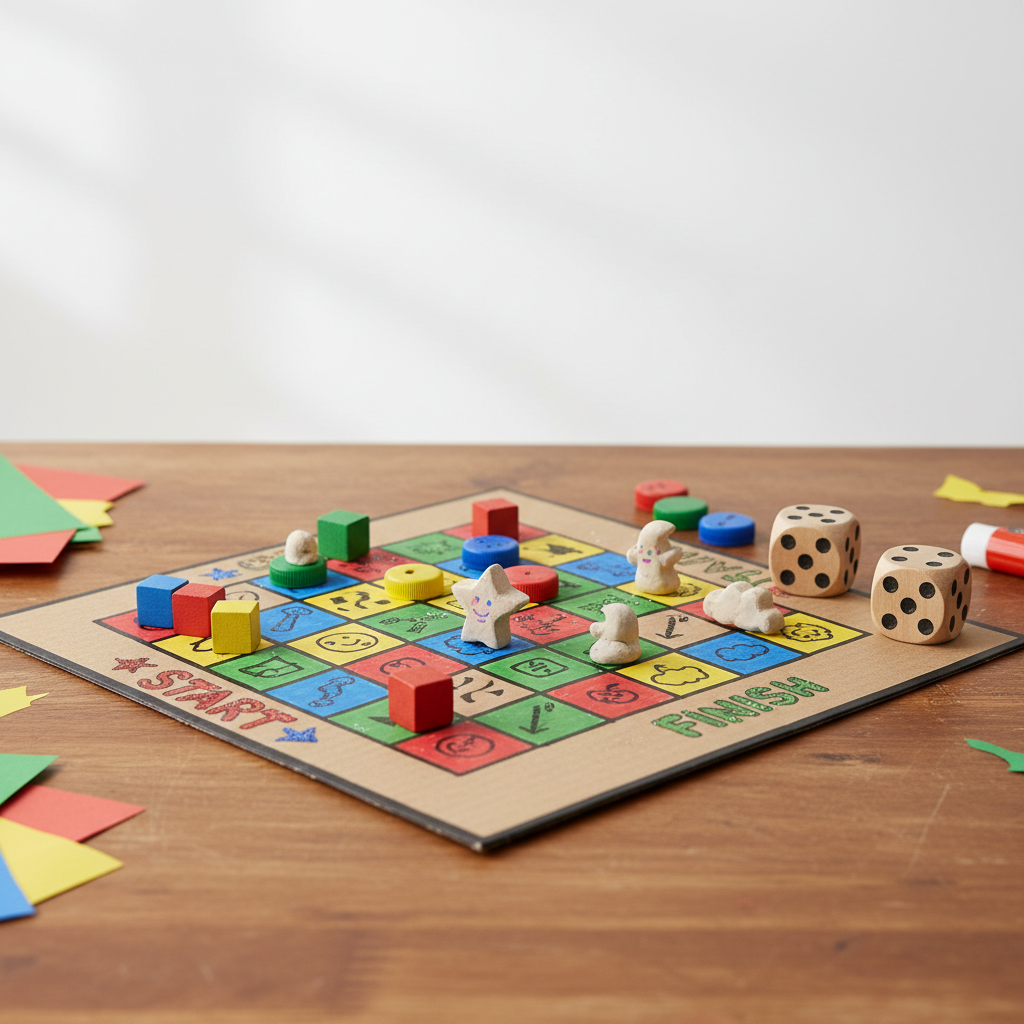
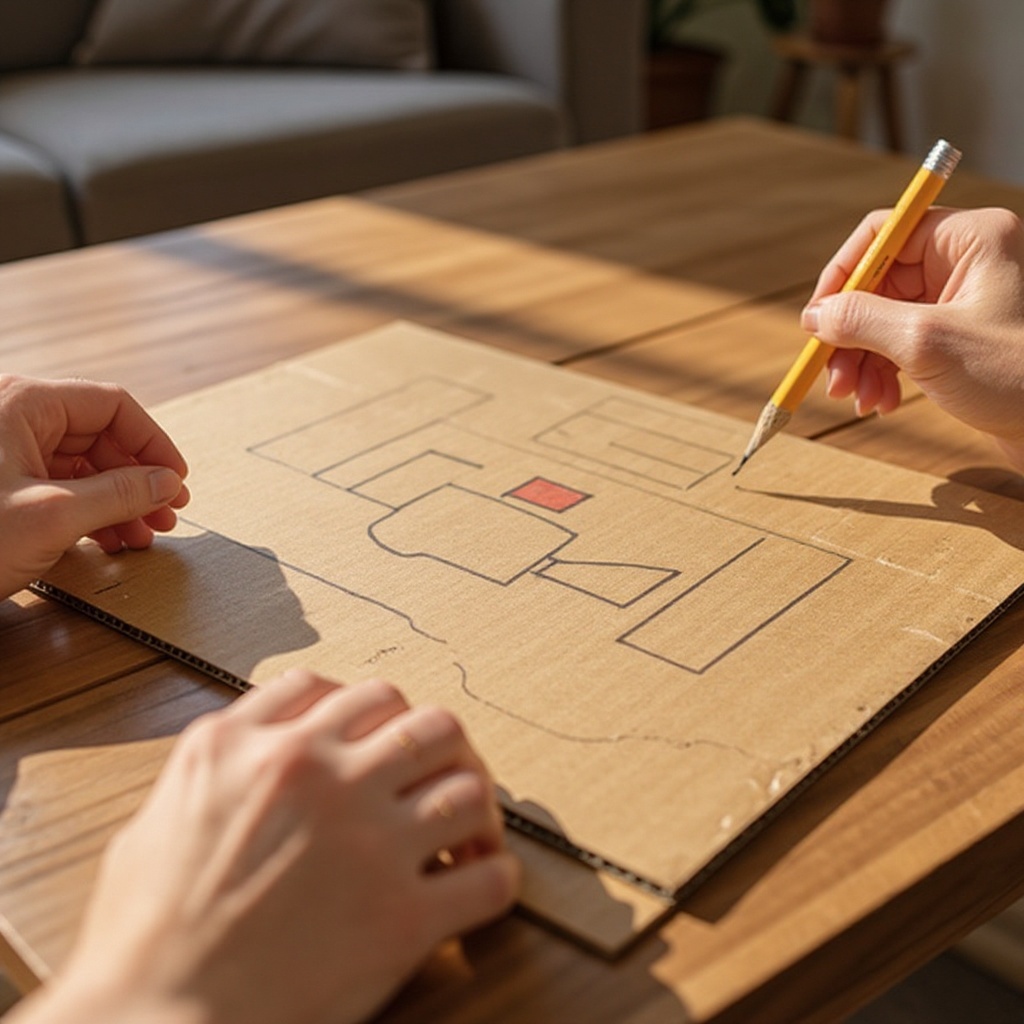
Using a pencil and ruler, lightly sketch out your game board design on the cardboard. Plan for a start and finish space, and a path connecting them, ensuring the path is wide enough for your game pieces to comfortably move.
- 3
Draw the game path with distinct spaces. Aim for 20-40 spaces for a good length game, but adjust based on your desired playtime and complexity; consider making some spaces larger or smaller to add visual interest.
- 4
Add special spaces to your board, like 'Go back 3 spaces,' 'Skip a turn,' or 'Move forward 2 spaces.' These add elements of chance and strategy, keeping the game dynamic and unpredictable.
- 5
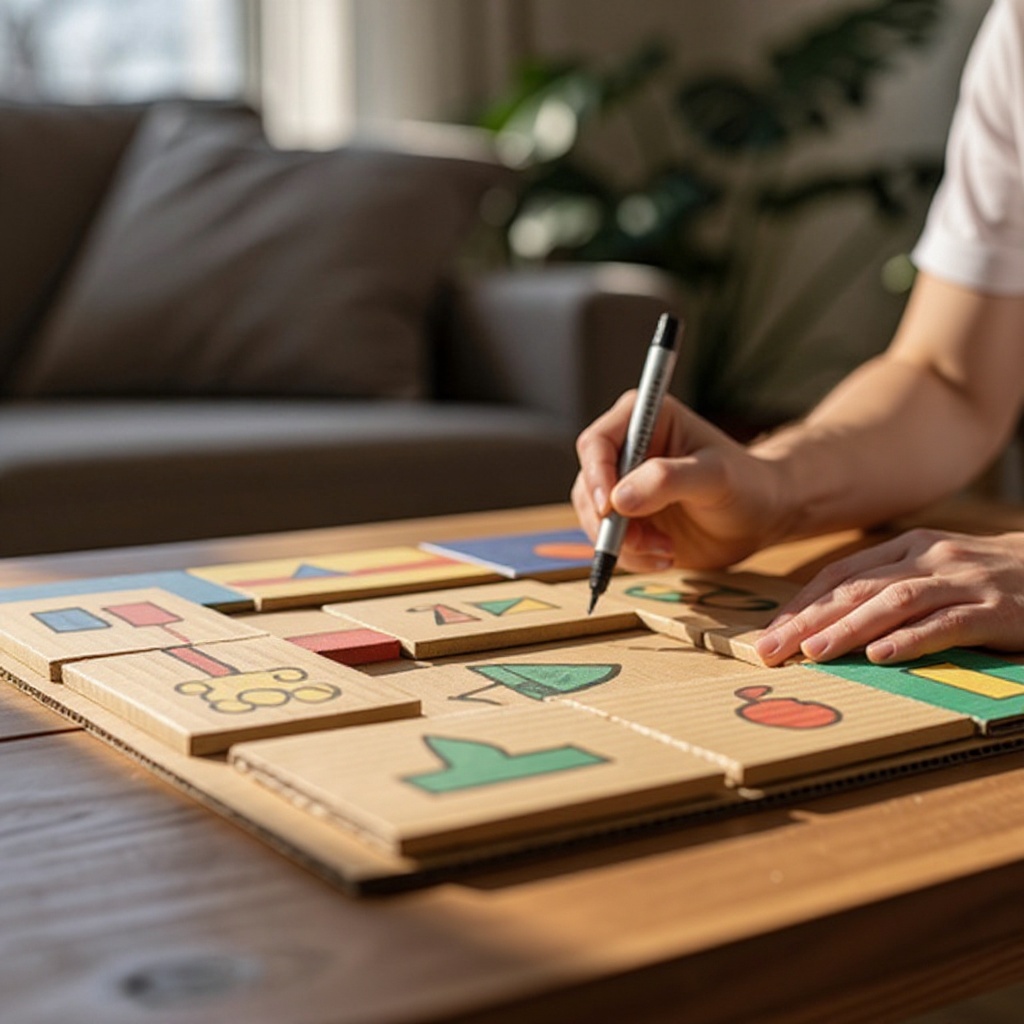
Decorate the game board with your chosen theme using markers or crayons. Make it colorful and exciting, incorporating imagery that reflects your theme and drawing inspiration from existing board games you enjoy.
- 6
Create a designated 'Start' and 'Finish' area on your board. These should be clearly marked and visually distinct from the rest of the game path, perhaps with bold colors or unique illustrations.
- 7
Design and draw a title for your game on the board or on a separate piece of paper to glue on. Make the title catchy and representative of your game's theme, perhaps adding a subtitle for extra flair.
- 8
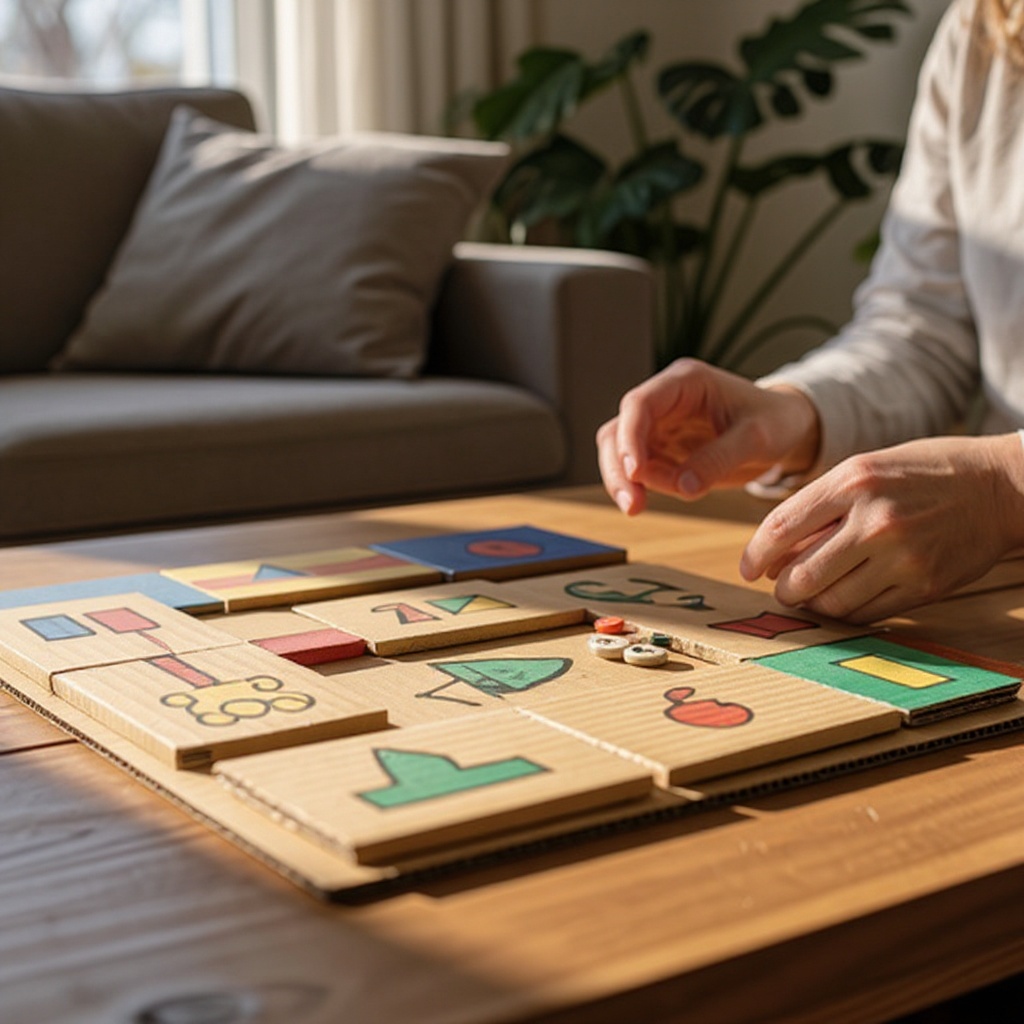
Gather your game pieces. These can be anything small and distinct like buttons, pebbles, bottle caps, small toys, or even dried beans; ensure you have enough unique pieces for each player.
- 9
If you're using a separate piece of paper for rules, write them clearly. Otherwise, ensure the special spaces on the board are self-explanatory, or create a small legend on the board itself to explain their functions.
- 10
Test play your game to ensure the rules are clear and the game flows well. This is a crucial step to identify any confusing mechanics, unbalanced elements, or areas where the game might stall, making necessary adjustments to the board or rules.
- 11
Refine your board design by outlining key elements with a fine-tip black marker. This will make your illustrations pop and ensure all text and symbols are easily readable.
- 12
Consider adding a 'card draw' space if you plan to incorporate chance or event cards. This space will serve as a visual cue for players to draw from a separate deck.
- 13
If you're creating cards, cut small rectangles from scrap cardboard or cardstock. Design each card with a clear instruction or event, ensuring they are easy to read and understand.
- 14
Add decorative elements to the background of your board to enhance the theme. This could include clouds, stars, trees, or any other imagery that complements your game's concept.
- 15
Ensure the path is continuous and easy to follow from start to finish, with no dead ends or confusing intersections unless intentionally designed for a specific game mechanic.
- 16
Check that the number of spaces is appropriate for the intended game length; too few spaces can make the game too short, while too many can make it drag on.
- 17
If you're using a craft knife, always cut away from yourself on a protected surface, and ensure adult supervision if children are involved.
- 18
Once the design is finalized and tested, you can go over any pencil lines with your black marker for a cleaner, more professional look.
Tips & Troubleshooting
- 1For a more durable board, consider using a thicker piece of cardboard or gluing two pieces together. This will prevent bending and tearing, ensuring your game lasts for many play sessions.
- 2Encourage players to come up with unique game mechanics and challenges to make the game more engaging. This collaborative approach fosters creativity and ensures everyone feels invested in the game's development.
- 3If you want to create cards for your game (e.g., 'Chance' cards), cut small rectangles from scrap cardboard or cardstock. Decorate them to match your theme and write clear, concise instructions on each card.
- 4Store your DIY board game in a large envelope or a shallow box to keep all the pieces together. Label the container clearly so you can easily find your game when it's time for a play session.
- 5Consider adding a 'rulebook' section to your board or a separate card. This is especially helpful for games with more complex rules or special spaces that require detailed explanations.
- 6Don't be afraid to experiment with different textures and materials. You could glue on fabric scraps for a grassy field or use small beads for decorative elements to add depth and visual interest.
- 7Think about the age range of your players when designing the complexity. For younger children, simpler rules and more visual cues are best, while older players might enjoy more strategic elements.
- 8If your game involves collecting items or points, create a separate area on the board or a small notepad to keep track. This helps avoid confusion during gameplay and keeps the focus on the main board.
Related Activities You Might Enjoy
Frequently Asked Questions
What are the easiest DIY board games to make?
Simple path-based games with clear start and end points are the easiest. Focus on a fun theme and a few special spaces for a quick and enjoyable DIY board game. Think of classic games like 'Snakes and Ladders' or 'Chutes and Ladders' as inspiration for simple mechanics. The key is to have a clear progression from the beginning to the end, with a few exciting twists and turns along the way to keep players engaged. Avoid overly complicated rules or intricate scoring systems for your first DIY project.
How do I make a board game for younger kids?
For younger children, simplify the rules, use larger spaces on the board, and incorporate bright colors and familiar characters. Avoid complex strategies and focus on fun movement. Consider using picture-based instructions for special spaces instead of text. Games that involve matching, simple counting, or following directions are ideal. The goal is to make it visually appealing and easy to understand, ensuring they can participate actively and enjoy the experience without getting frustrated by intricate gameplay.
Can I make a cooperative DIY board game?
Yes! Cooperative games involve players working together towards a common goal. Design challenges that all players must overcome as a team, rather than competing against each other. For example, players might need to collect a certain number of items before a timer runs out, or work together to defeat a common 'villain' represented by a game mechanic. This fosters teamwork and communication, making it a great option for families or groups who prefer collaborative play over competition.
What materials can I use for game pieces?
You can use a variety of small items like buttons, pebbles, bottle caps, small toys, or even dried beans. For a more polished look, you can also craft simple figures from clay or paper. Consider using different colors or shapes for each player's piece to make them easily distinguishable. If you're feeling ambitious, you could even sculpt small characters from polymer clay or cut out unique shapes from sturdy cardstock. The key is to have pieces that are easy to handle and clearly represent each player.
How long does it typically take to make a DIY board game?
The time it takes to make a DIY board game can vary greatly depending on the complexity of your design and the level of detail you wish to incorporate. For a simple path-based game with basic decorations, you might be able to complete it in as little as 60-90 minutes. However, if you plan to create elaborate artwork, design custom cards, or add intricate game mechanics, it could take several hours or even be spread over a couple of days. The most important factor is to enjoy the creative process and not rush the design and testing phases.
What's the best way to ensure my game rules are clear?
The best way to ensure your game rules are clear is through thorough testing and clear communication. Write down your rules in simple, concise language, avoiding jargon where possible. Use bullet points or numbered lists for easy readability. During playtesting, observe how players interpret the rules and ask them for feedback on any confusing aspects. It's also helpful to have a visual aid, like a small legend on the board or illustrated examples of special spaces, to reinforce understanding. Don't be afraid to revise your rules based on playtester feedback.
What Next?
Congratulations on creating your very own board game! The possibilities are truly limitless, and this project is just the beginning of your game design journey. Consider creating expansion packs with new rules or challenges, or even designing a completely different game with a new theme. For storage, a decorated shoebox or a large, sturdy envelope works wonders to keep all your game components together and protected. Display your masterpiece proudly – it’s a testament to your creativity and a source of countless future gaming sessions!
Free: 10 Paper Crafts Anyone Can Make in 5 Minutes
Get our beginner guide + new craft ideas weekly.
No spam. Unsubscribe anytime.
Did you complete this activity?
Related