How to Create Your Own Board Game Template — Easy Step-by-Step Guide
Unleash your family's creativity by designing and building your very own board game from scratch! This tutorial guides you through creating a custom game template.
Quick answer
To make a DIY board game template, you need cardstock, markers, scissors, and about 60 minutes. Start by sketching your board layout. This beginner-friendly activity has 10 steps and is perfect for families with children aged 6+.
What you need
Shop on Amazon · As an Amazon Associate we earn from qualifying purchases. Links above are affiliate links — we may earn a commission at no extra cost to you.
Embarking on a DIY board game project is a fantastic way to spark imagination and foster quality family time. Creating your own game template from scratch allows for boundless creativity, letting you tailor every aspect to your family's unique interests and sense of fun. This accessible project is perfect for all ages, especially for families with children aged 6 and up, providing a hands-on learning experience that blends art, logic, and collaborative storytelling. Get ready to transform a simple sheet of paper into the foundation of countless hours of entertainment!
On this page
Step-by-Step Instructions
- 1
Lay your cardstock flat on a clean, well-lit surface. Ensure the area is large enough to comfortably work on your chosen cardstock size, and that it's free of dust or debris that could transfer to your project.
- 2
Using your ruler and pencil, lightly sketch the overall shape of your game board. A simple square or rectangle is the easiest and most forgiving shape for a first game, providing a clear boundary for your game path and design elements.
- 3
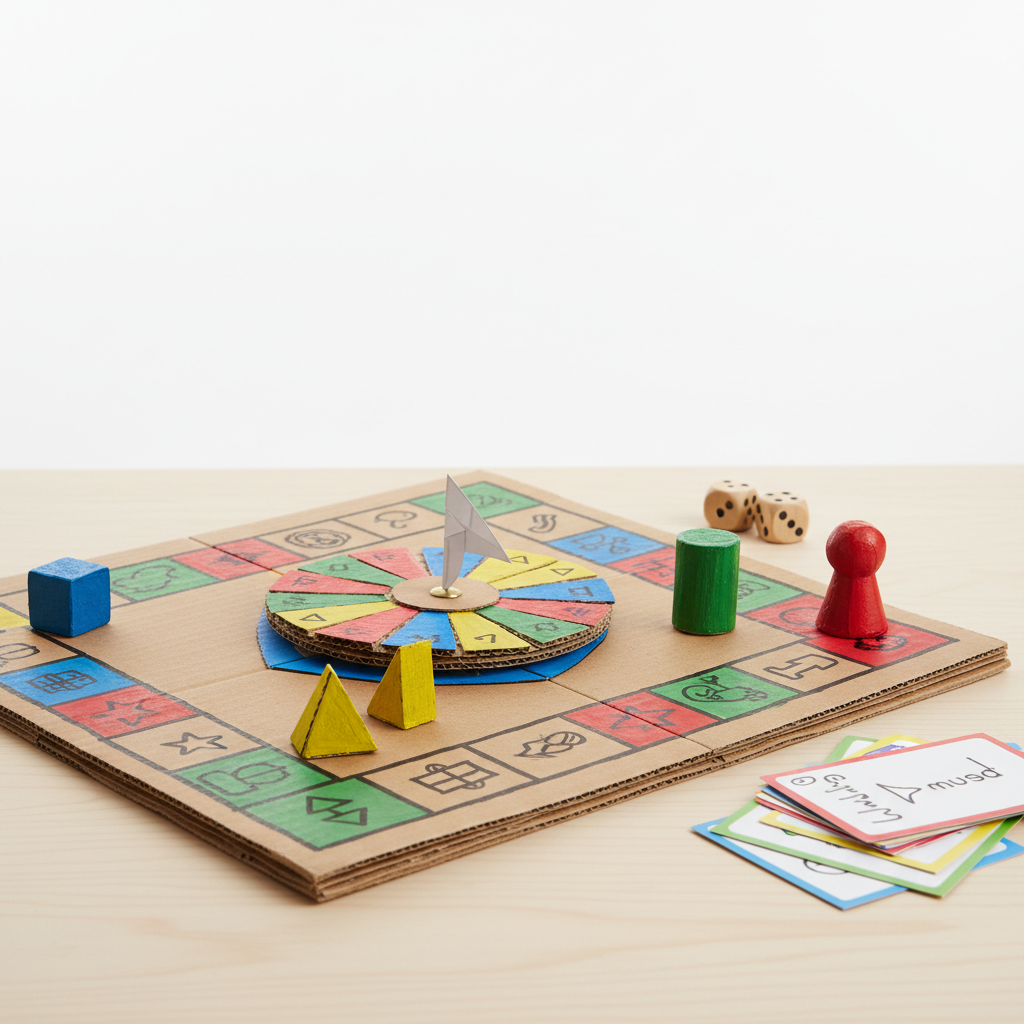
Begin dividing your board into individual spaces. You can draw a path of connected squares, circles, or any imaginative shape you like, ensuring each space is large enough to accommodate game pieces. Connect these spaces with clear lines to form the gameplay route.
- 4
Decide on the total number of spaces for your game. For a manageable and engaging experience, aim for a range of 20-40 spaces; this provides enough progression without making the game too lengthy for younger players or a casual session.
- 5
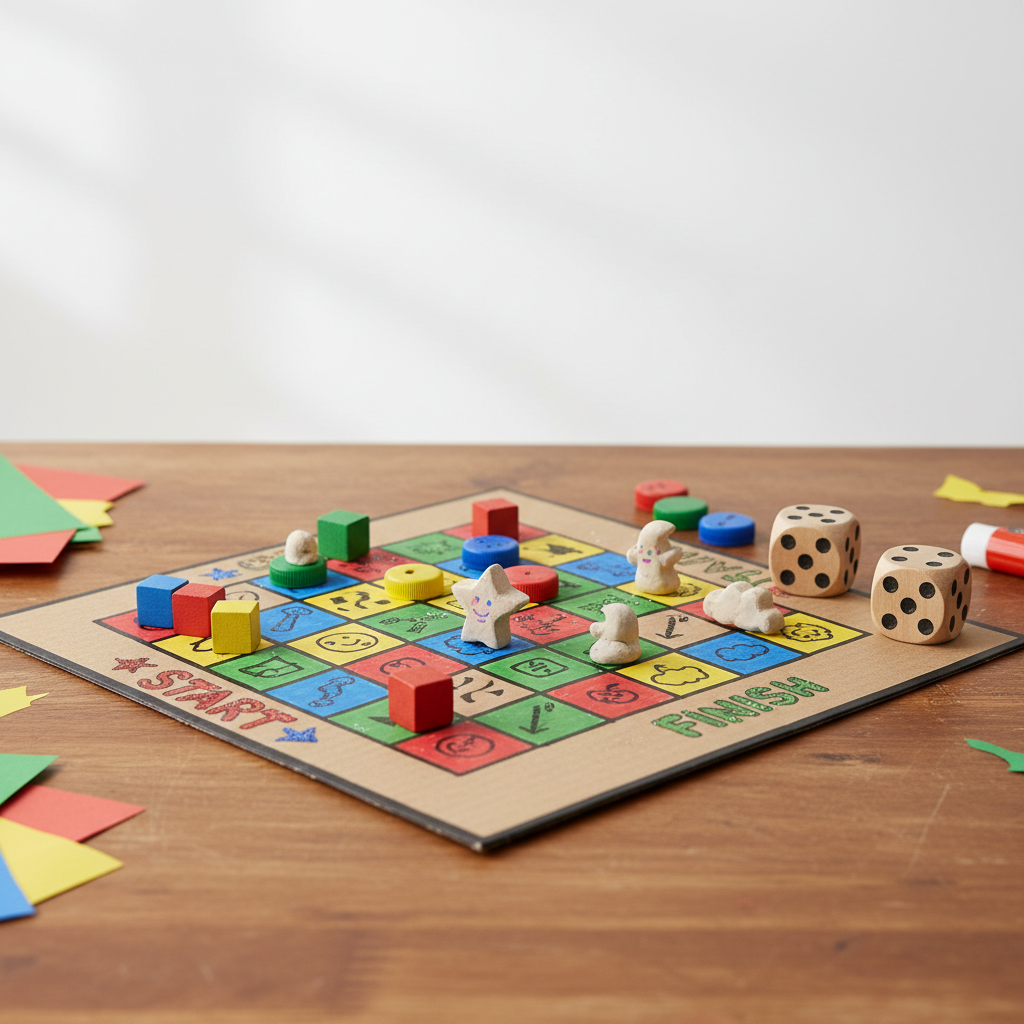
Clearly designate a 'Start' space and a 'Finish' space on your board. Make these spaces visually distinct and easy to identify, perhaps by using larger shapes, bold lettering, or a unique color to signal the beginning and end of the game's journey.
- 6
Go over all your pencil lines with the fine-tip black marker to make them permanent and bold. This step defines the structure of your game and ensures that your carefully planned layout is clearly visible and won't smudge during coloring or gameplay.
- 7
Now, it's time to add decorative elements and establish a theme for your board using colored markers, crayons, or colored pencils. Think about what makes your game unique – is it a space adventure, a jungle expedition, a magical quest, or something entirely different? Let your imagination run wild!
- 8
Designate special spaces along the game path to add excitement and strategic depth. You can draw simple icons or write short, clear instructions directly on these spaces, such as 'Go back 2 spaces,' 'Miss a turn,' 'Draw a card,' or 'Move forward 3 spaces.'
- 9
Allow all marker lines to dry completely before proceeding to the next step. This prevents smudging and ensures a clean, professional-looking finish for your game board.
- 10
Carefully cut out your game board along the outer edge if you drew a specific shape, or leave it as a neat rectangle or square. If you opted for a more complex shape, a craft knife and cutting mat can provide cleaner, more precise edges.
- 11
Consider adding a title to your game. Use your marker or colored pencils to write the name of your game prominently on the board, perhaps in a dedicated title area or integrated into the artwork.
- 12
If you plan to use your board extensively, consider reinforcing it. You can glue your cardstock template onto a piece of sturdy cardboard or foam board for added rigidity, or laminate the entire board for protection against spills and wear.
- 13
Once the ink is dry and any optional reinforcement or lamination is complete, your DIY board game template is officially ready for game pieces and rules! You've successfully created the foundation for hours of fun and creativity.
Tips & Troubleshooting
- 1For a more durable and professional-looking board, consider laminating it after drawing and coloring. This will protect it from spills, tears, and general wear and tear, ensuring your game lasts for many play sessions to come.
- 2If you want to create a foldable board for easier storage and transport, score the cardstock along the intended fold lines before drawing the game path. Use the dull side of a butter knife or a bone folder to create a crease without cutting through the paper.
- 3Encourage kids to brainstorm game themes, characters, and rules *before* you start drawing the board. This collaborative approach ensures everyone feels invested in the game's design and makes the drawing process more focused and enjoyable.
- 4Use different colored markers or crayons to highlight special spaces or create visual interest on the board. For instance, use red for penalty spaces, green for bonus spaces, and blue for 'draw a card' spaces to make them instantly recognizable.
- 5Don't worry about achieving absolute perfection in your artwork or lines. The primary goal is to have fun and create a unique game that your family will love playing together. Embrace the handmade charm!
- 6Think about the size of your spaces. Ensure they are large enough to comfortably hold your chosen game pieces, whether they are buttons, coins, small figurines, or custom-made tokens. This practical consideration is crucial for smooth gameplay.
- 7Consider adding a border around your game board to frame the artwork and provide a clean edge. This can be a simple colored line or a more elaborate decorative element that ties into your game's theme.
- 8If your game involves drawing cards, you can create a designated space on the board for the card deck and discard pile, or simply have players keep them separate. This helps keep the game area organized.
Related Activities You Might Enjoy
Frequently Asked Questions
What materials do I need for a DIY board game template?
To create your very own DIY board game template, you'll need a few essential supplies that are likely already in your home or easily accessible. The core materials include a sheet of sturdy cardstock, preferably larger than standard letter size (11x17 inches or more) for ample design space. You'll also need a ruler for drawing straight lines, a pencil for sketching your layout, and an eraser for any corrections. A fine-tip black marker is crucial for making your lines permanent and bold, while colored markers, crayons, or colored pencils will bring your board to life with vibrant artwork and thematic elements. Finally, a good pair of scissors is necessary for any trimming or shaping of the board. These basic supplies provide a fantastic foundation for endless creative possibilities and hours of family fun.
How many steps are involved in making a DIY board game template?
This comprehensive tutorial breaks down the process of creating a DIY board game template into a manageable series of steps, designed to be straightforward and enjoyable for beginners. While the original core instructions outline 10 key actions, the expanded guide introduces additional intermediate steps to ensure a thorough and well-crafted result. You can expect to engage in around 13-15 distinct steps, from initial layout sketching and space division to detailed coloring, thematic design, and final touches. Each step is designed to be completed within a reasonable timeframe, making the entire project achievable in approximately 60 to 90 minutes, depending on the complexity of your design and the pace of your collaborators.
Can kids make their own board game template?
Absolutely! This DIY board game template activity is specifically designed with families and children in mind, making it an ideal project for kids aged 6 and up. It's a fantastic way to encourage creativity, problem-solving, and collaborative play. Younger children can assist with coloring, brainstorming ideas, and even drawing simpler shapes, while older children can take on more complex design elements and rule-making. The step-by-step nature of the tutorial ensures that even younger participants can follow along with adult guidance, fostering a sense of accomplishment and ownership over their creation. It's a wonderful opportunity to bond and create something unique together.
What's the best way to design the game spaces?
The design of your game spaces is where your creativity truly shines! For a beginner-friendly approach, start by drawing a simple, clear path of connected squares or circles. Ensure each space is adequately sized to accommodate your game pieces without feeling cramped. You can connect these spaces with straight lines or gentle curves to create a winding path. Beyond the basic path, consider incorporating unique shapes for special spaces, or even using different colors to denote different types of actions or outcomes. Most importantly, always ensure there's a clearly marked 'Start' space and a distinct 'Finish' space to guide players through the game's progression. Don't be afraid to experiment with different layouts and shapes to make your board visually engaging and fun.
How can I make my DIY board game template more durable?
To enhance the durability of your DIY board game template and ensure it withstands countless rounds of play, there are several effective strategies you can employ. The most straightforward method is to laminate the finished board using a home laminator or self-adhesive laminating sheets. This creates a protective, waterproof layer that guards against spills, tears, and general wear. For added rigidity, especially if you're using lighter cardstock, consider gluing your completed game board onto a thicker base material such as sturdy cardboard, foam board, or even a piece of thin plywood. This will prevent bending and creasing, making your game feel more substantial and professional. If you plan to make a foldable board, scoring the cardstock before drawing is crucial for clean, crisp folds that won't crack over time.
What are some ideas for game themes and special spaces?
The possibilities for game themes and special spaces are virtually limitless, driven entirely by your imagination! For themes, consider popular genres like fantasy (dragons, wizards, quests), sci-fi (space exploration, alien encounters), adventure (jungle expeditions, treasure hunts), mystery (detective stories, solving clues), or even everyday scenarios like a trip to the zoo or a day at school. Once you have a theme, special spaces can be designed to enhance the narrative and gameplay. For example, in a space theme, you might have 'Wormhole: Jump ahead 5 spaces,' 'Asteroid Field: Miss a turn,' or 'Alien Encounter: Draw a card.' In a jungle theme, 'Quicksand: Go back 3 spaces,' 'Friendly Monkey: Move forward 2 spaces,' or 'Discover a Hidden Temple: Gain an extra turn.' The key is to make these spaces relevant to your theme and to clearly indicate their effect on gameplay.
What Next?
Congratulations on creating your very own board game template! This is just the beginning of your gaming adventures. Consider creating a set of custom game cards to complement your board, or even designing unique player tokens from clay or recycled materials. Once your game is complete, store it carefully in a protective sleeve or a custom-made box to keep it safe for future play. This DIY board game template is a wonderful keepsake and a testament to your family's creativity, ready to be enjoyed again and again.
Free: 10 Paper Crafts Anyone Can Make in 5 Minutes
Get our beginner guide + new craft ideas weekly.
No spam. Unsubscribe anytime.
Did you complete this activity?
Related