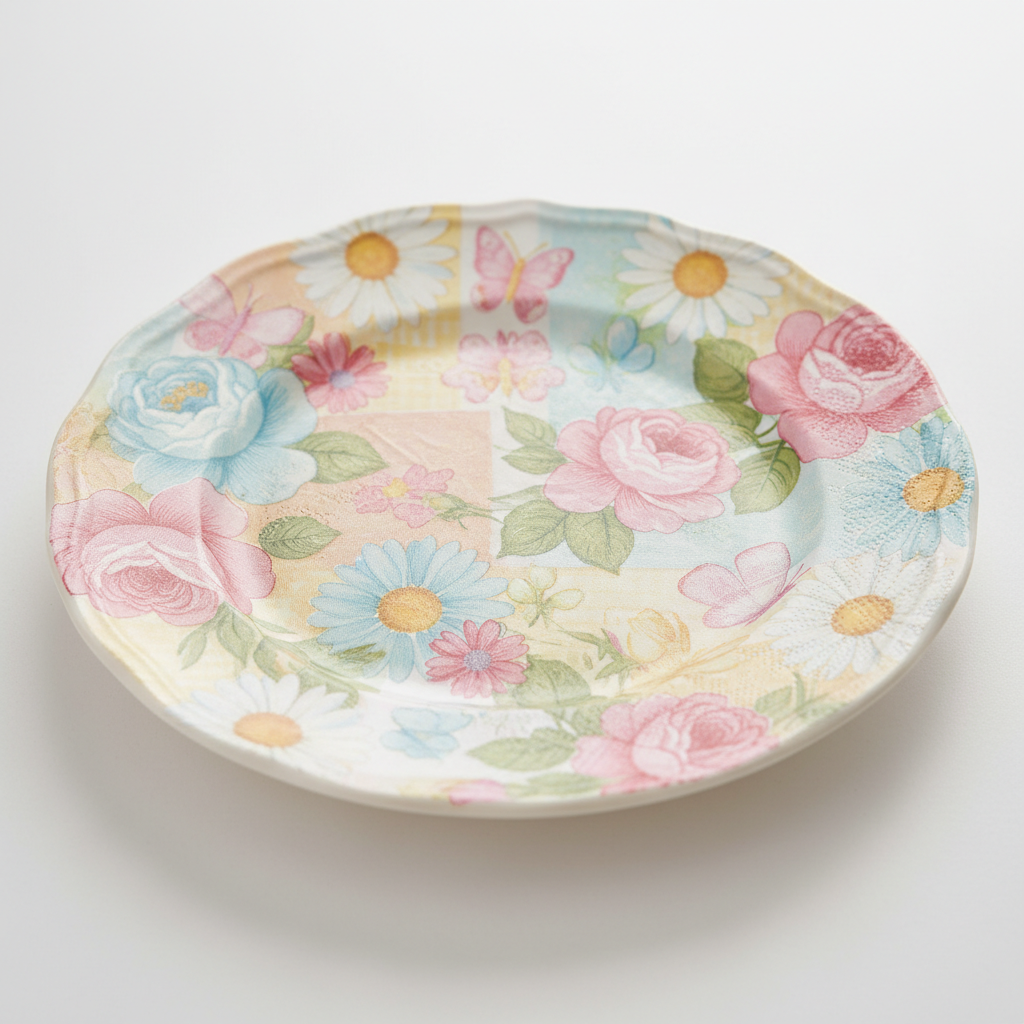
How to Make Decorative Paper Plate Bowls — Easy Step-by-Step Guide
Transform ordinary paper plates into beautiful decorative bowls using simple decoupage techniques. A delightful screen-free family craft!
Quick answer
To make decorative paper plate bowls, you need sturdy paper plates, Mod Podge, decorative paper, scissors, a brush, and wax paper. The process involves cutting paper, applying Mod Podge, adhering paper pieces, and sealing. This beginner-friendly activity takes about 45 minutes of active crafting time, plus drying, and is perfect for families with kids aged 6+.
What you need
Shop on Amazon · As an Amazon Associate we earn from qualifying purchases. Links above are affiliate links — we may earn a commission at no extra cost to you.
Looking for a creative and engaging activity that sparks imagination and results in beautiful home decor? This paper plate decoupage bowl project is an absolute winner! It’s a fantastic way to repurpose everyday items into charming, personalized pieces that add a unique touch to your living space. Ideal for family crafting sessions, this screen-free endeavor offers a wonderful opportunity for quality time and artistic expression, making it perfect for both kids and adults seeking a fun, hands-on experience.
On this page
Step-by-Step Instructions
- 1
Gather all your materials and lay down wax paper or parchment paper to protect your work surface. Ensure you have good lighting and ventilation, especially if using a spray sealer later.
- 2
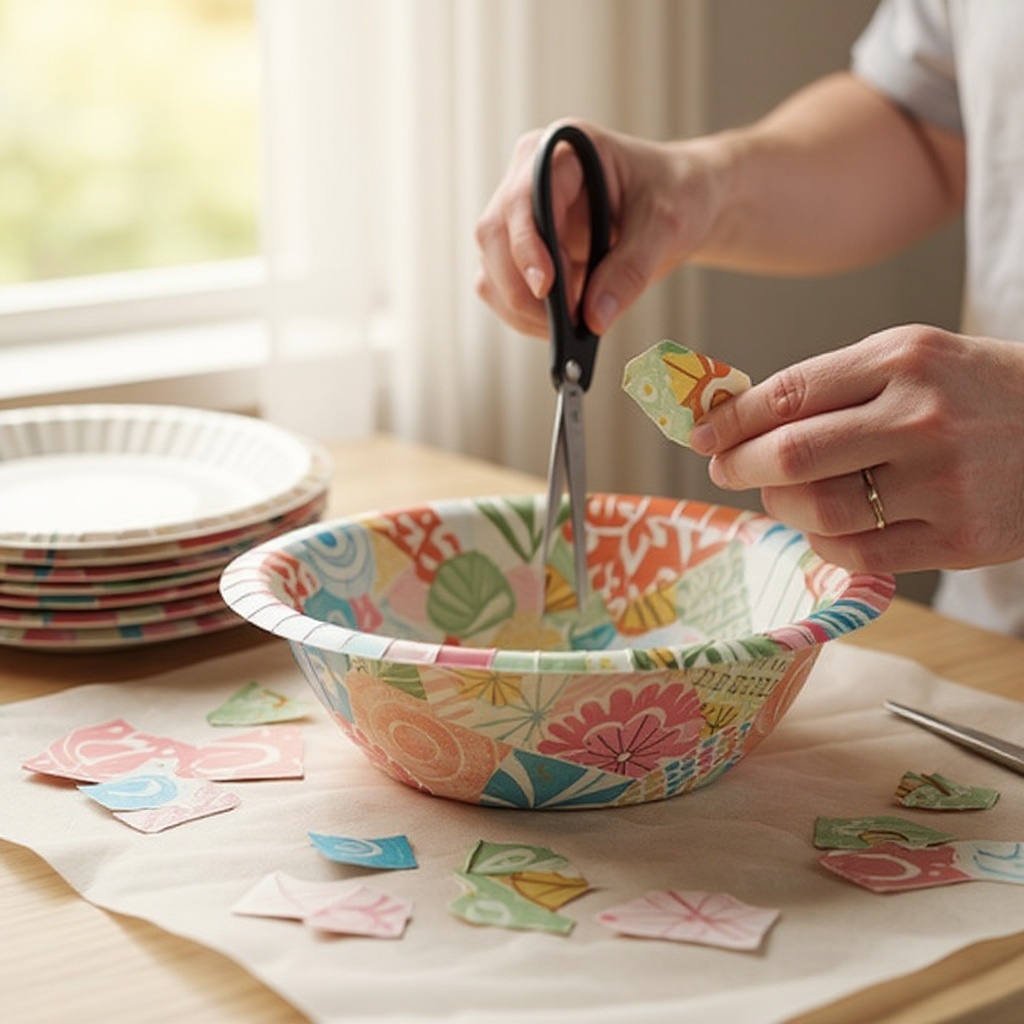
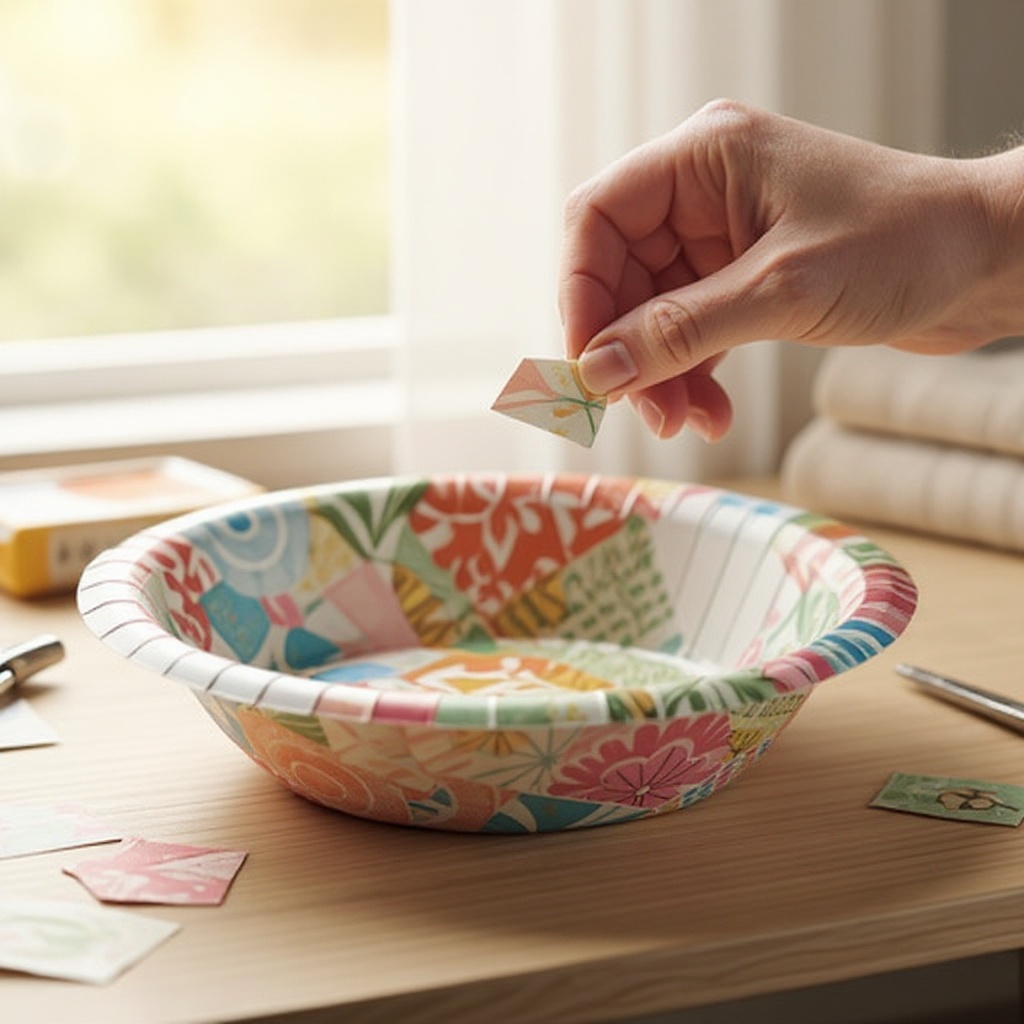
Select your decorative papers and begin cutting them into small pieces or strips. Aim for sizes roughly 1-2 inches, but don't worry about perfection; a mosaic effect is part of the charm. Varying shapes and sizes can add visual interest.
- 3
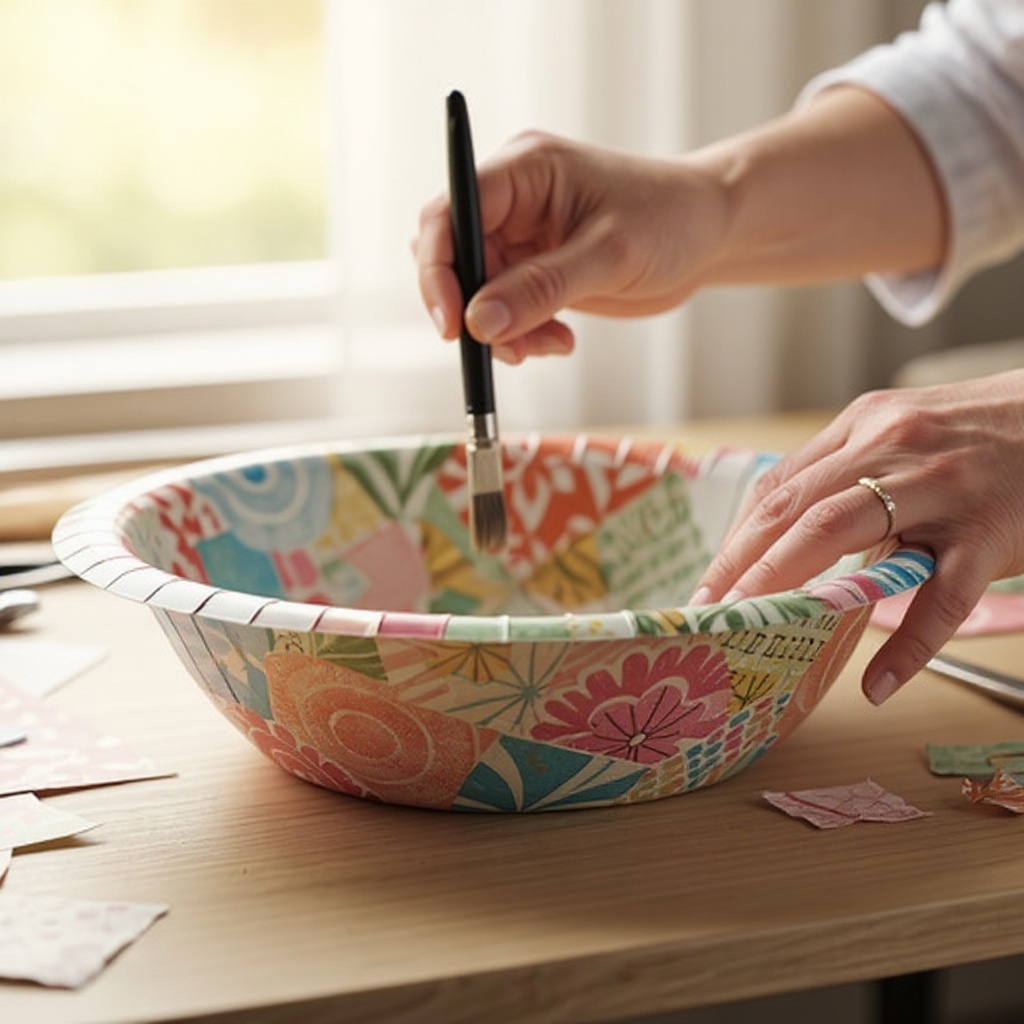
Take one paper plate and apply a thin, even layer of Mod Podge to its entire surface using your craft brush or sponge brush. Ensure you cover the base and the rim thoroughly, but avoid letting it pool excessively.
- 4
Begin adhering the decorative paper pieces onto the Mod Podge-covered plate. Start from the center and work your way outwards, overlapping the pieces slightly to create a seamless mosaic effect. Press down gently to ensure good contact and smooth out any major air bubbles.
- 5
Continue adding paper pieces, covering the entire surface of the plate. Don't be afraid to layer pieces or mix different types of paper for a unique texture and visual appeal. Pay attention to covering the edges and the rim of the plate.
- 6
Once the entire surface of the plate is covered with paper, apply another thin, even layer of Mod Podge over the entire surface. This acts as a sealant, binding the paper pieces together and creating a smooth, unified finish.
- 7
If you desire a deeper bowl shape, gently press the decoupage plate over a bowl or round object while the Mod Podge is still wet. Carefully mold the plate to the contours of the object and let it dry in this position to set the shape.
- 8
Allow the decoupage bowl to dry completely for at least 2-3 hours, or until the Mod Podge is no longer tacky to the touch. For optimal results and durability, it's best to let it cure for 24 hours.
- 9
Once the first layer of Mod Podge is completely dry, inspect your bowl for any rough edges or areas that might need more sealing. Apply a second thin, even coat of Mod Podge over the entire surface to reinforce the seal and enhance the finish.
- 10
If you opted for a glossy finish, ensure your Mod Podge is of the gloss variety. For a matte look, use the matte version. The second coat will further enhance the chosen finish and add an extra layer of protection.
- 11
Allow the second coat of Mod Podge to dry completely. This drying time is crucial for the durability and longevity of your decorative bowl. Again, aim for at least 2-3 hours, but 24 hours is ideal for a full cure.
- 12
For added durability and a professional, sealed finish, consider applying a final protective coat. This could be another layer of Mod Podge or a clear spray acrylic sealer. If using a spray sealer, do so in a well-ventilated area, following the product's instructions.
- 13
Let the final coat dry thoroughly. Ensure there are no tacky spots before handling or displaying your finished paper plate decoupage bowl. Proper drying is key to preventing damage and ensuring a long-lasting craft.
Tips & Troubleshooting
- 1For a deeper bowl shape, gently press the decoupage plate over a bowl or round object while the Mod Podge is still wet. Carefully mold the plate to the contours of the object and let it dry in that shape to set the desired form.
- 2Experiment with different types of decorative paper for varied textures and looks. Tissue paper creates a softer, more translucent effect, while thicker scrapbook paper offers more opacity and structure. Combining different textures can lead to stunning results.
- 3If you encounter stubborn wrinkles or air bubbles, gently smooth them with your fingers or the brush before the Mod Podge dries. For larger wrinkles, you can carefully lift and reapply the paper piece, ensuring it lies flat.
- 4For extra durability and a glossy finish, apply a second coat of Mod Podge once the first coat is completely dry. This not only enhances the sheen but also strengthens the bond of the paper pieces and protects the surface.
- 5These bowls are decorative and not food-safe. They are perfect for holding small trinkets, keys, jewelry, or as standalone decorative pieces. Avoid placing anything wet or oily inside them.
- 6When working with very thin papers like tissue paper, apply Mod Podge to the plate first, then carefully lay the tissue paper on top. Gently brush Mod Podge over the tissue paper to adhere it, being careful not to tear it.
- 7Clean your brushes thoroughly with water immediately after use to prevent Mod Podge from drying on them. Dried Mod Podge can be very difficult to remove and can ruin your brushes.
- 8If you're aiming for a specific color scheme, consider using papers that complement each other or create a gradient effect. You can also paint the base paper plate a solid color before applying the decorative paper for a more uniform background.
Related Activities You Might Enjoy
Frequently Asked Questions
What is decoupage and why is it a great technique for this project?
Decoupage is a craft technique where decorative paper or fabric is glued onto a surface and then sealed with multiple layers of varnish or Mod Podge to create a smooth, finished look. It's a fantastic method for this project because it allows you to transform a simple, inexpensive paper plate into a beautiful, personalized decorative item. The process is forgiving, making it ideal for beginners and children, and it offers endless possibilities for customization based on your chosen papers and aesthetic preferences. The layers of Mod Podge not only adhere the paper but also provide a protective, durable finish, giving the paper plate a more substantial and polished appearance.
Can I use any kind of paper for decoupage, and what are the best options?
Yes, you can use a wide variety of papers for decoupage, and the choice significantly impacts the final look. Excellent options include scrapbook paper for its vibrant designs and sturdiness, pages from old magazines or newspapers for a vintage or graphic feel, tissue paper for a delicate, translucent effect, and even old maps or book pages for a unique, personalized touch. Thicker papers like cardstock may require more Mod Podge to adhere smoothly and can sometimes create a slightly raised texture, which can be desirable. Experimenting with different paper types is part of the fun and allows for diverse artistic outcomes.
How long does Mod Podge take to dry, and when is my bowl truly ready?
Mod Podge typically takes about 2-3 hours to dry to the touch, meaning it will no longer feel tacky when you gently touch it. However, for a full cure and maximum durability, it's best to let it dry for a full 24 hours before handling it extensively or placing items inside. This curing period allows the adhesive to harden completely, making the decoupage bowl more robust and less prone to damage. Rushing the drying process can lead to a weaker bond and a less polished finish, so patience is key for the best results.
Are these paper plate decoupage bowls waterproof or food-safe?
No, these paper plate decoupage bowls are neither waterproof nor food-safe. While Mod Podge offers some protection against minor spills and dust, it is water-based and will not withstand immersion in water or prolonged exposure to moisture. They are best used for holding dry items like keys, trinkets, jewelry, or as decorative display pieces. Keeping them away from direct contact with liquids and food is essential to maintain their integrity and appearance. For a more durable finish, consider a final spray sealant, but this still does not make them waterproof.
What are the best ways to shape the paper plate into a deeper bowl?
To achieve a deeper bowl shape, the key is to work while the Mod Podge is still wet and pliable. After applying the decorative paper and the initial sealing coat of Mod Podge, gently invert the decoupage plate over a larger bowl, vase, or even a round object of your desired shape. Carefully press the edges of the paper plate down around the object, molding it to the contours. You can use your hands or a soft cloth to help shape it. Once you're happy with the form, let it dry completely in this position to set the shape. This technique allows the paper and adhesive to dry into the desired three-dimensional form.
How can I achieve different finishes, like matte or glossy, with Mod Podge?
Achieving different finishes is straightforward with Mod Podge, as it comes in various formulations. For a classic, slightly shiny look, use Mod Podge Gloss. This finish will enhance the colors of your decorative paper and give the bowl a subtle sheen. If you prefer a more subdued, natural look, opt for Mod Podge Matte. This finish minimizes glare and provides a velvety, non-reflective surface that can make intricate paper designs stand out beautifully. Ensure you choose the desired finish before applying your final sealing coats for consistent results across your decorative bowl.
What Next?
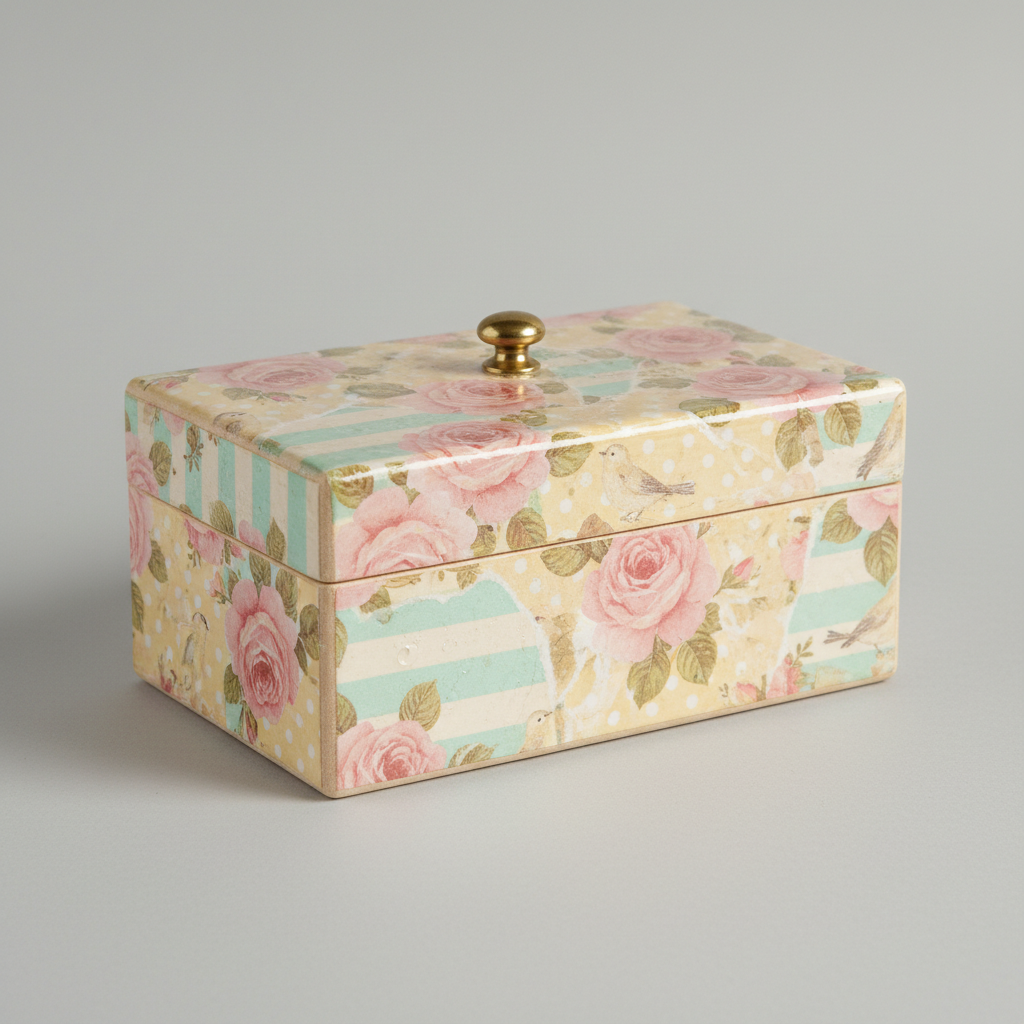
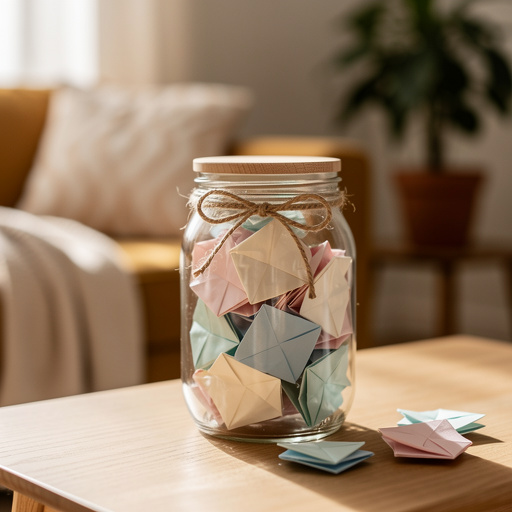
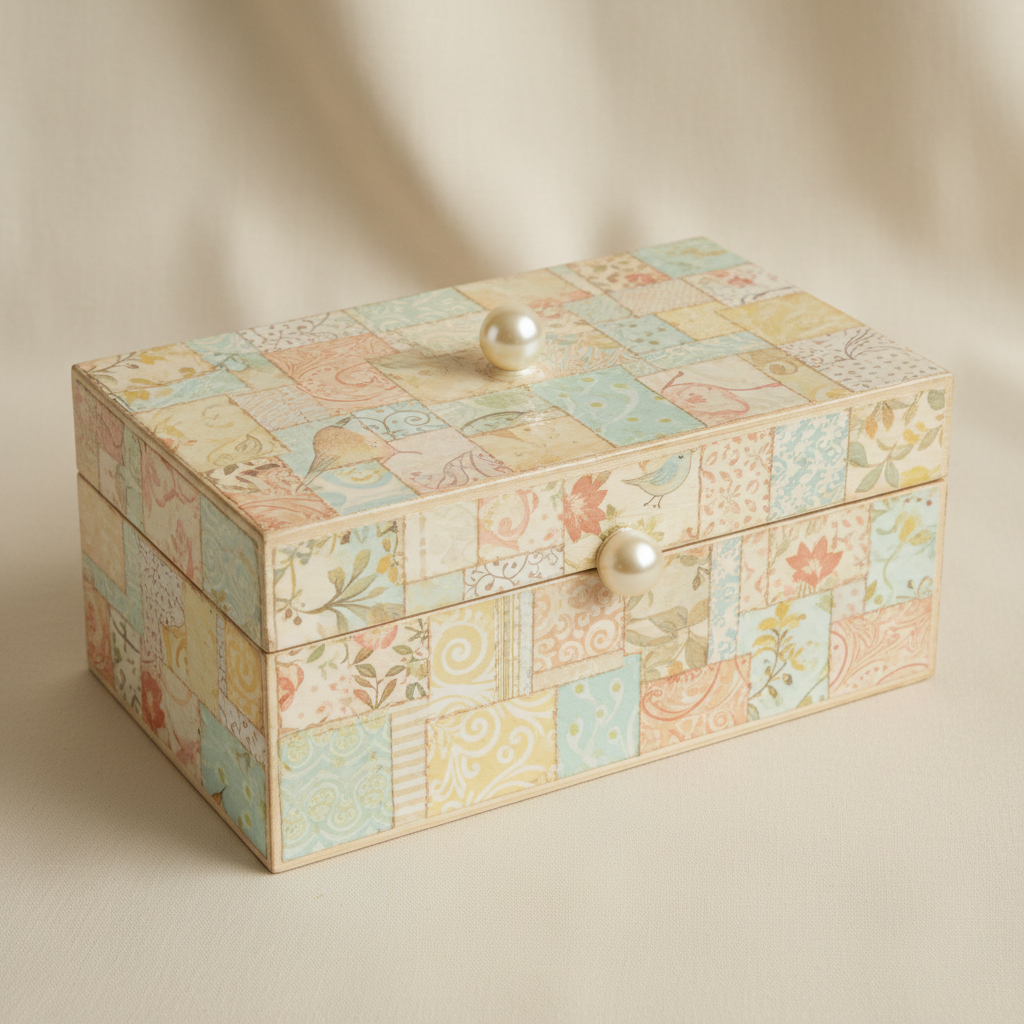
Once your beautiful paper plate decoupage bowls are fully dry, they're ready to be displayed or used for light decorative purposes. Consider arranging them on a shelf, mantelpiece, or coffee table to showcase your handiwork. For a cohesive look, create a set using a similar color palette or theme. If you enjoyed this project, explore other decoupage crafts like decorating wooden boxes or glass jars. Remember to store your finished bowls in a dry place to preserve their beauty and longevity.
Free: 10 Paper Crafts Anyone Can Make in 5 Minutes
Get our beginner guide + new craft ideas weekly.
No spam. Unsubscribe anytime.
Did you complete this activity?