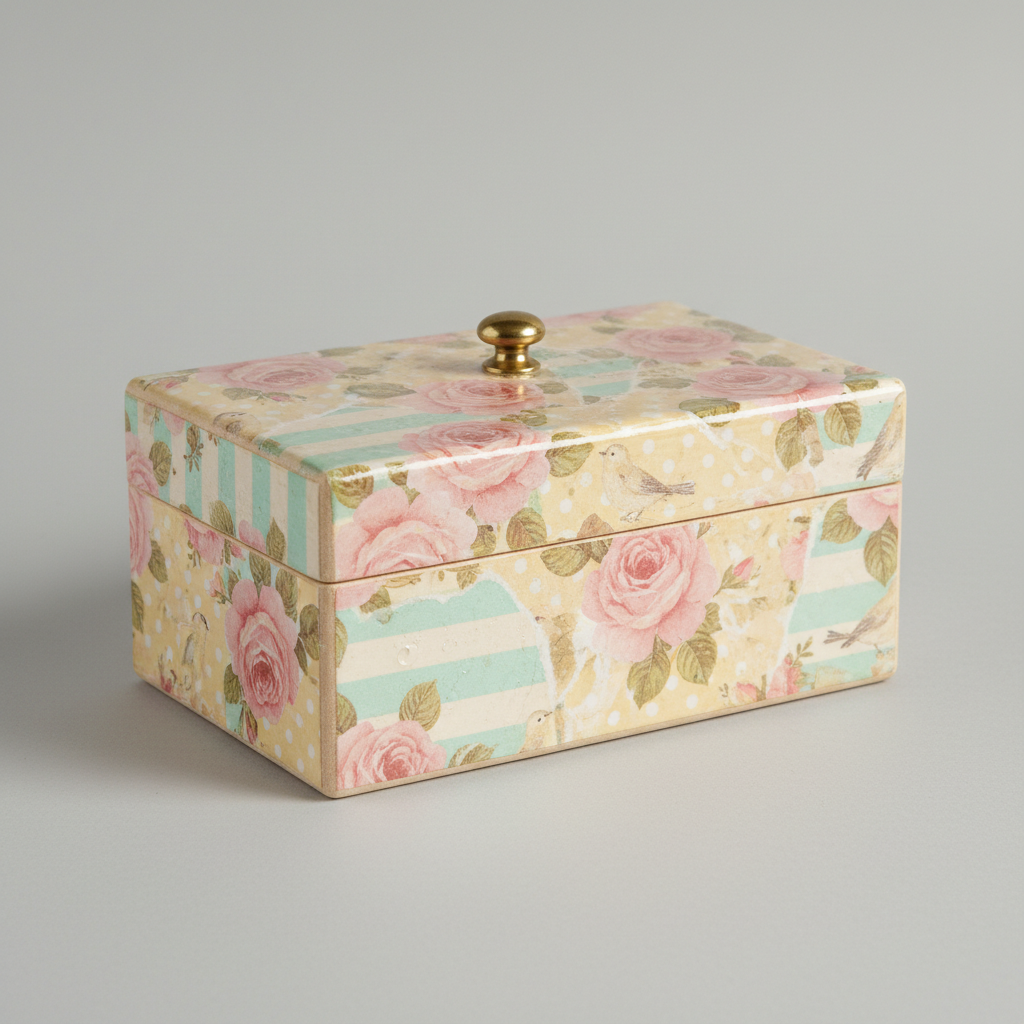
How to Decorate Boxes with Napkin Decoupage — Easy Step-by-Step Guide
Transform plain boxes into beautiful, personalized storage with the simple art of napkin decoupage. This screen-free craft is fun for all ages!

Quick answer
To decorate boxes with napkin decoupage, you need plain boxes, decorative paper napkins, decoupage glue, and a brush, taking about 30 minutes. Start by preparing your box and separating your napkin layers. This beginner-friendly activity has 10 steps and is perfect for families.
What you need
Shop on Amazon · As an Amazon Associate we earn from qualifying purchases. Links above are affiliate links — we may earn a commission at no extra cost to you.
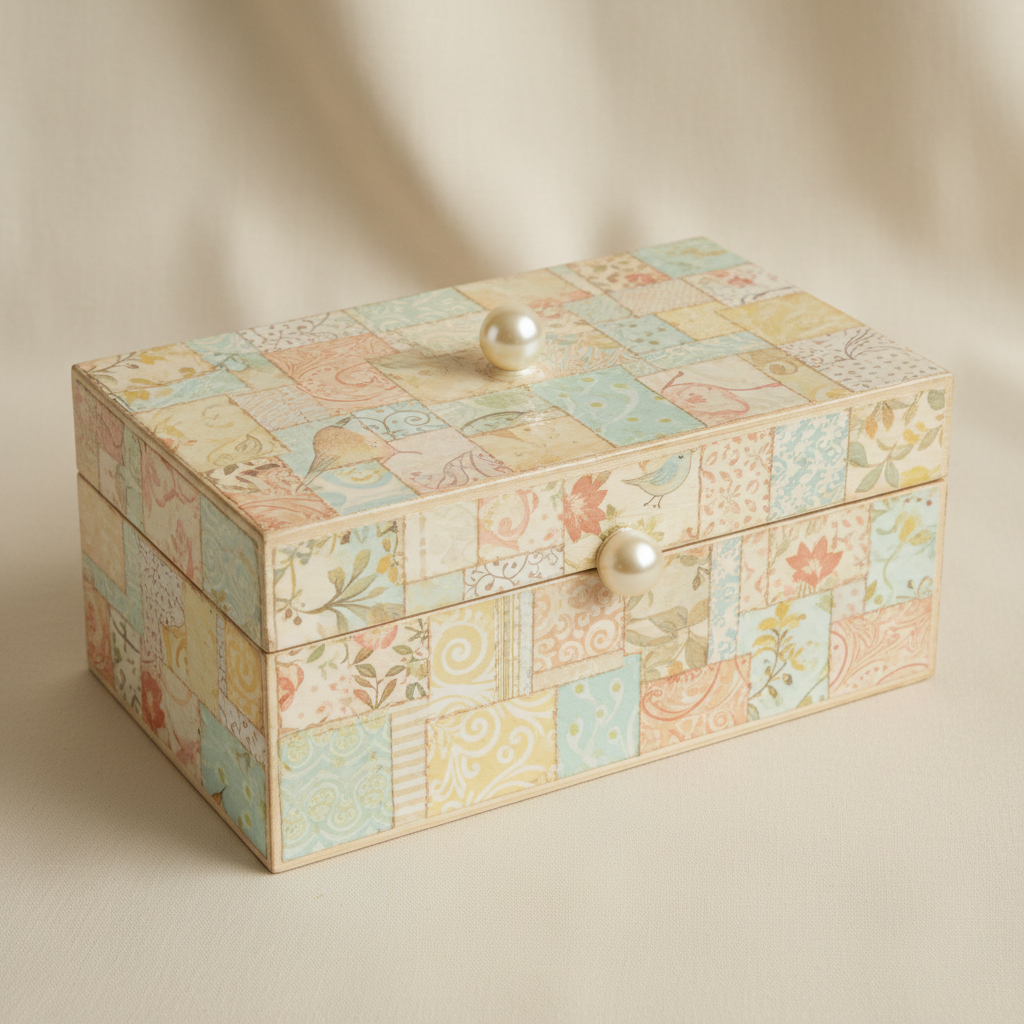
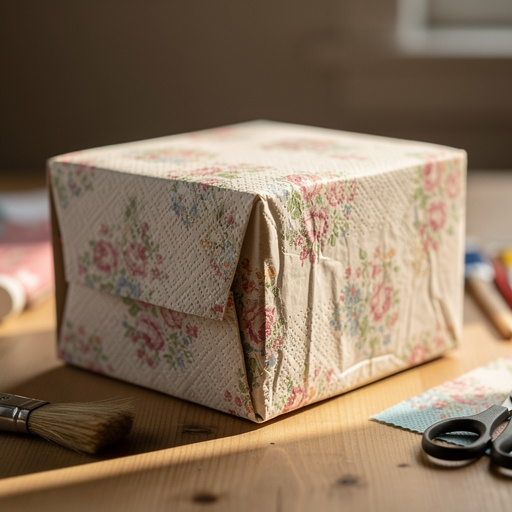
Unleash your inner artist and breathe new life into ordinary containers with the enchanting technique of napkin decoupage. This delightful craft transforms plain boxes into stunning pieces of functional art, perfect for organizing your treasures or gifting to loved ones. It's a wonderfully accessible project, requiring minimal supplies and offering maximum creative freedom, making it an ideal activity for a relaxing afternoon, a family crafting session, or even a creative party. Prepare to be amazed at how simple paper napkins can elevate your home decor with a touch of personalized elegance.
On this page
Step-by-Step Instructions
- 1
Gather all your materials and clear a spacious, well-lit workspace. Protect your surface with newspaper, a drop cloth, or a craft mat to catch any stray glue or paint.
- 2
If your box is a dark color or has a busy pattern, consider applying a base coat of acrylic paint. Choose a color that will make your chosen napkin design pop. Allow this base coat to dry completely according to the paint manufacturer's instructions, which usually takes about 30-60 minutes.
- 3
Carefully select the specific image or pattern you want to use from your decorative paper napkin. Think about how it will fit on the box and what elements you want to highlight.
- 4
Gently peel apart the layers of the paper napkin. Most decorative napkins have two or three layers; you only need the top printed layer for decoupage.
- 5
Using sharp scissors or a craft knife, carefully cut out your chosen image from the single printed layer. You can cut precisely around the design or leave a small border of white space for a more defined look.
- 6
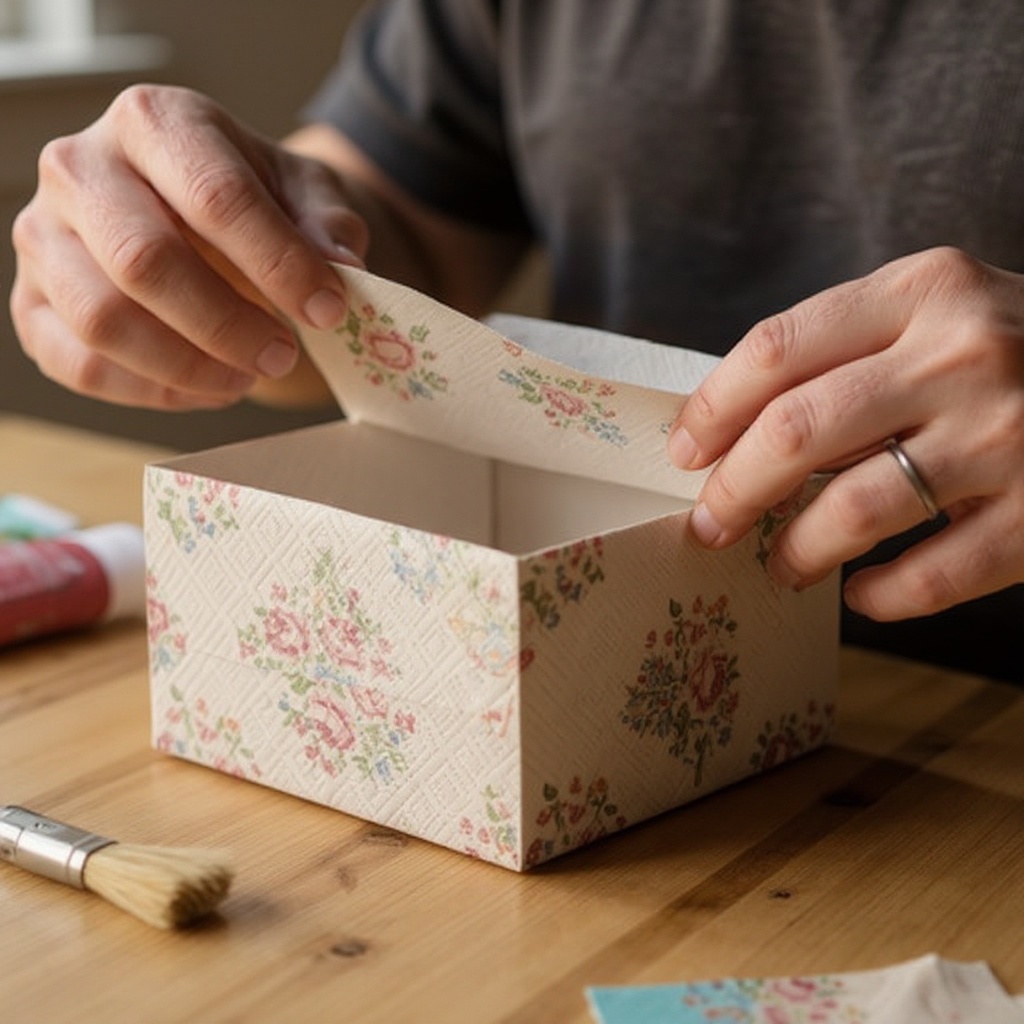
Apply a thin, even layer of decoupage glue to the specific area of the box where you intend to place your napkin image. Ensure the entire area is covered, but avoid applying too much glue, which can cause the napkin to wrinkle.
- 7
Carefully lay the single-ply napkin image onto the glued surface, starting from one edge and gently pressing it down. Smooth it down with your fingers or a soft, dry brush, working from the center outwards to eliminate air bubbles and wrinkles.
- 8
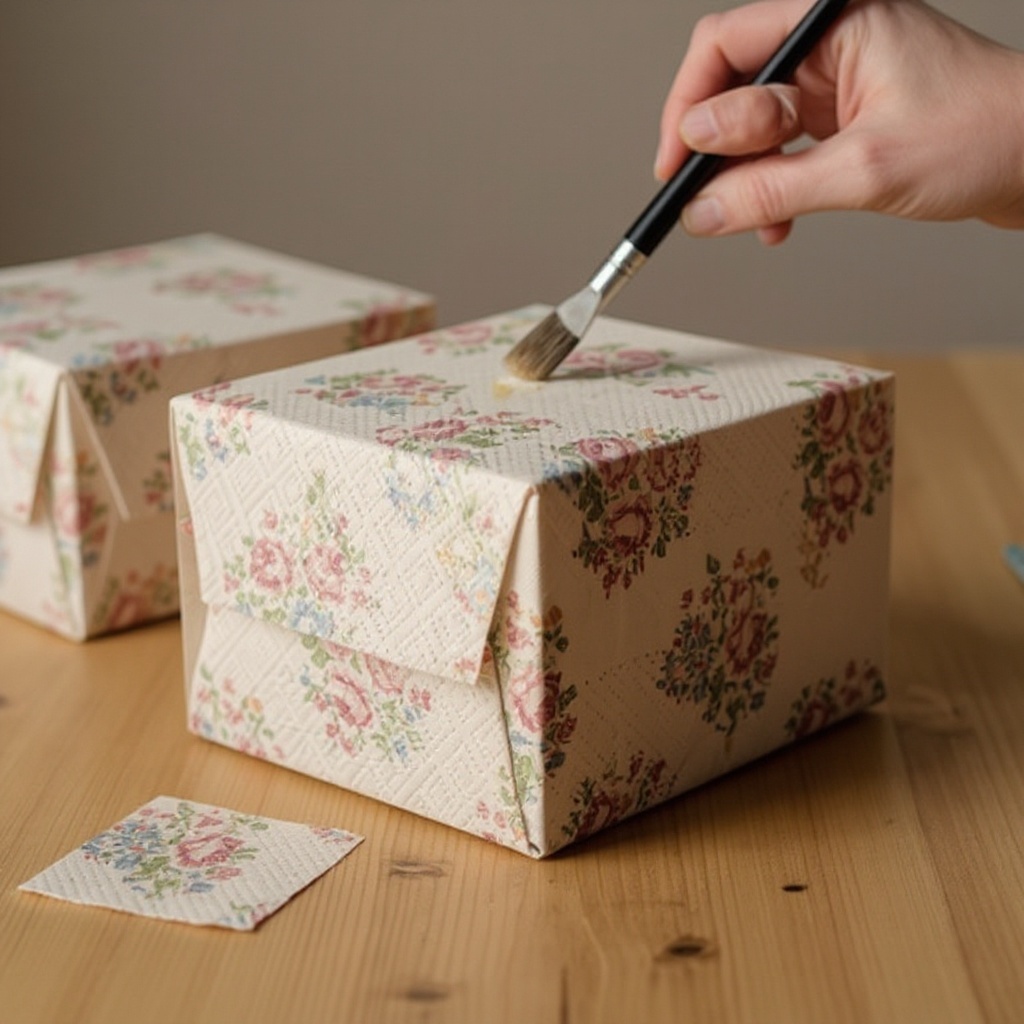
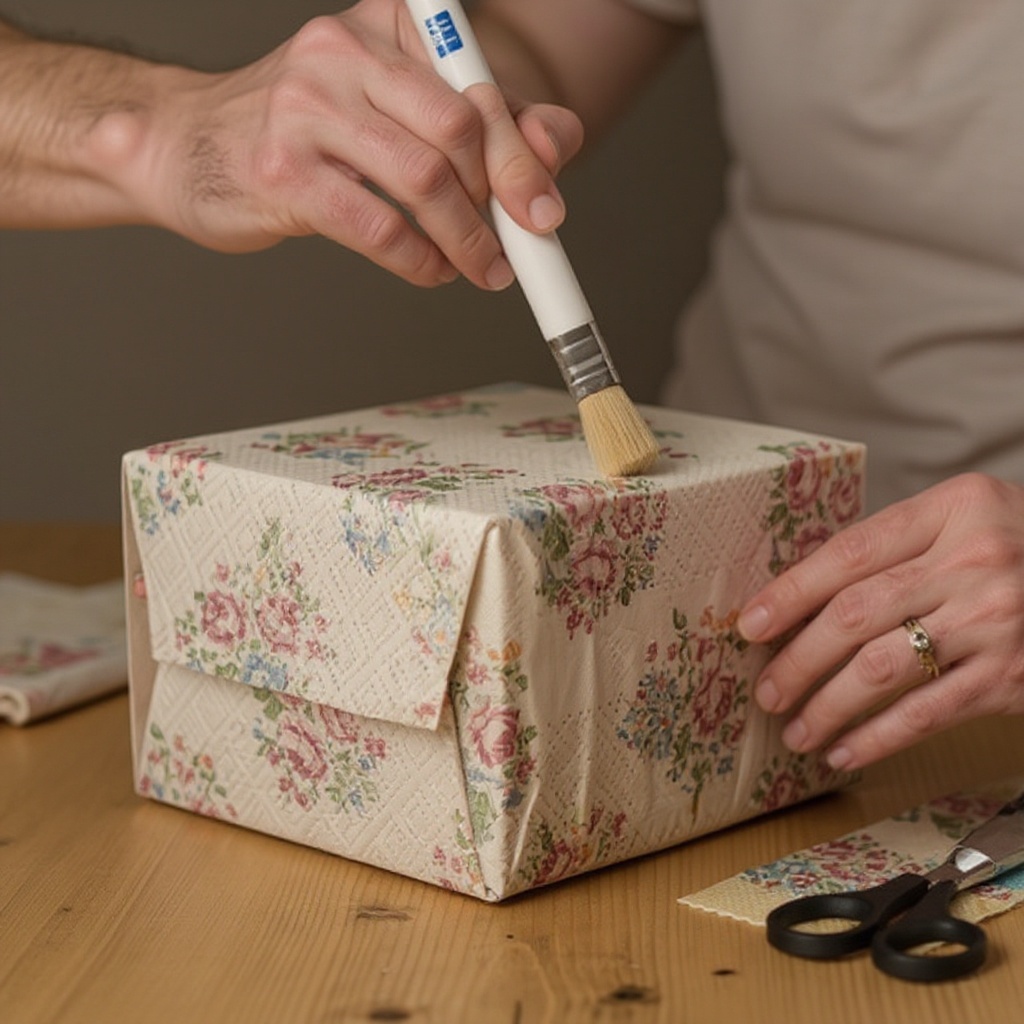
Once the napkin is positioned, gently brush another thin, even layer of decoupage glue over the entire surface of the napkin image. This crucial step seals the napkin to the box and makes the paper transparent, allowing the design to adhere beautifully.
- 9
Continue applying decoupage glue over the entire surface of the box, extending slightly beyond the edges of the napkin image. Overlapping the glue ensures a seamless transition and helps to seal the edges of the napkin, preventing peeling.
- 10
Allow the decoupage glue to dry completely according to the product's instructions. This typically takes at least 1-2 hours to become tacky to the touch, but full drying can take several hours, depending on humidity and glue thickness.
- 11
Once the first layer of glue is dry, inspect your box for any imperfections like wrinkles or air bubbles. If you desire a perfectly smooth finish, you can very lightly sand the dried glue with ultra-fine grit sandpaper (220-grit or higher). Wipe away any dust with a dry cloth before proceeding.
- 12
Apply a second coat of decoupage glue over the entire decorated surface of the box. This layer adds durability, protects the design, and further smooths the finish. Ensure even coverage and let it dry completely.
- 13
For added protection and a more professional, polished look, consider applying a final coat of sealer. This could be a clear acrylic spray or a brush-on varnish. Allow this final layer to dry thoroughly before using or displaying your decorated box.
Tips & Troubleshooting
- 1If your napkin image tears during the application process, don't despair! Small tears can often be patched by carefully applying a tiny bit more decoupage glue and gently pressing the torn edges back into place. You can also use small scraps of the same napkin to cover larger tears, blending them in with more glue.
- 2For a more sophisticated and professional appearance, try applying a solid color base coat using acrylic paint before adding your patterned napkin. A neutral color like white or cream can make vibrant napkin designs pop, while a coordinating color can create a more subtle and harmonious effect.
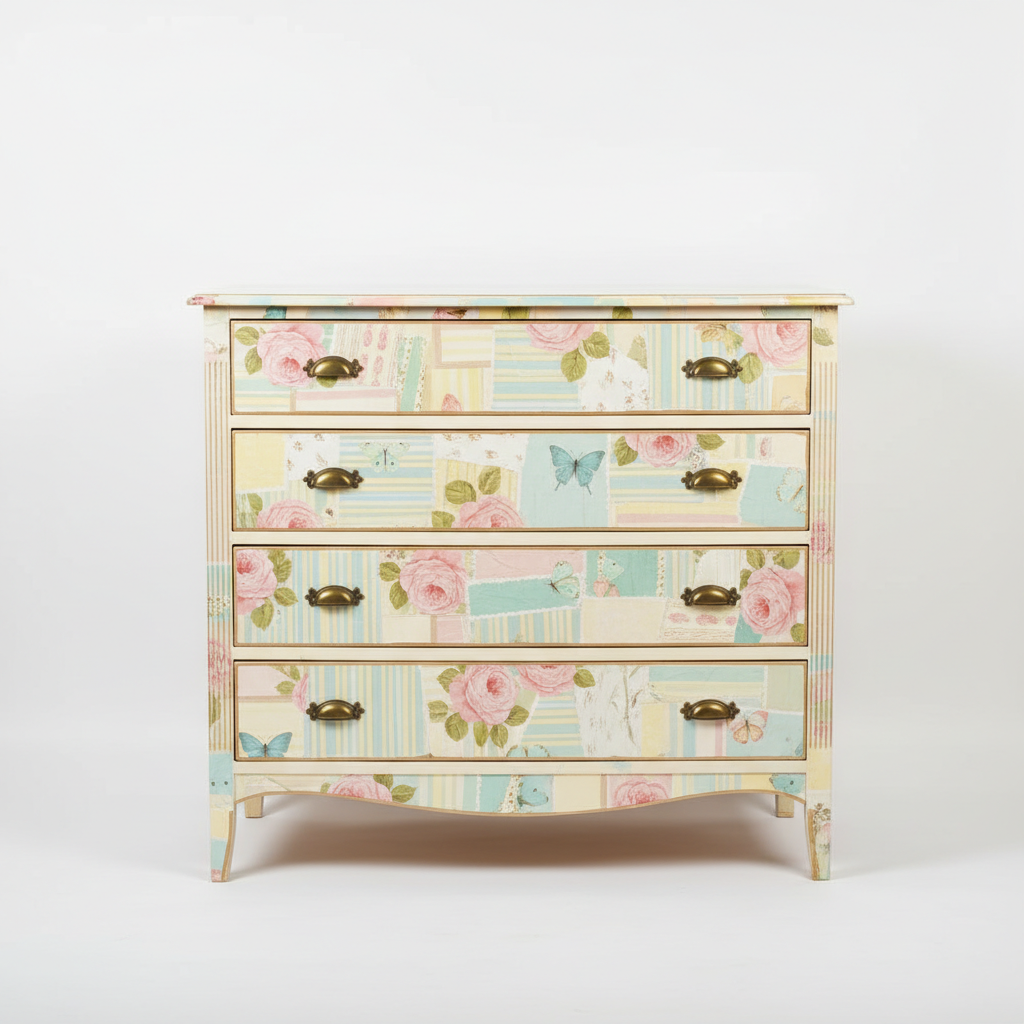
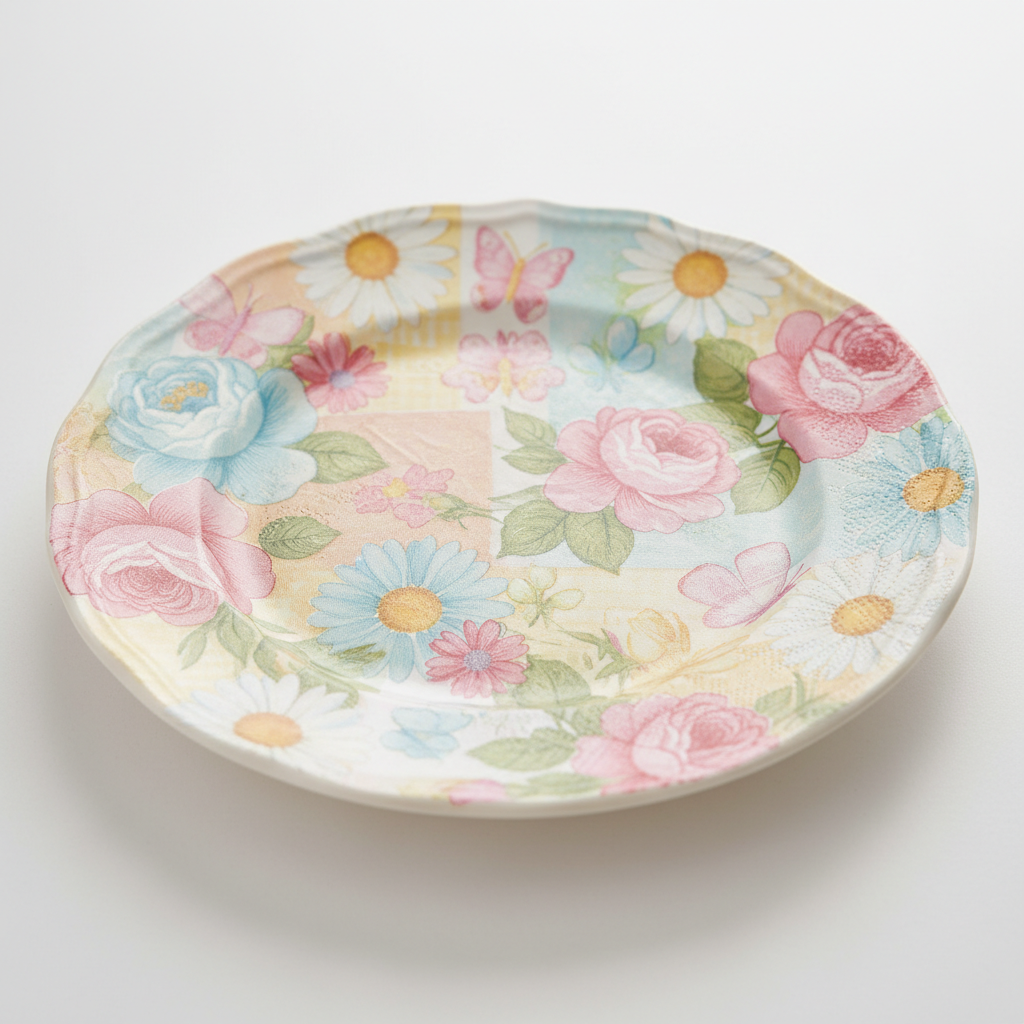
- 3Don't limit yourself to just one type of box! This decoupage technique works wonders on a variety of surfaces. Experiment with old shoeboxes for stylish storage, plain wooden craft boxes for personalized gifts, or even repurposed tin containers for a rustic charm.
- 4Achieving a perfectly smooth finish is key for a high-end look. After each layer of decoupage glue has dried completely, you can gently sand the surface with very fine-grit sandpaper (220-grit or higher). Be sure to wipe away all dust with a dry cloth before applying the next coat of glue. Adult supervision is recommended for this step.
- 5Embrace creativity by mixing and matching different napkin designs on various sides of the box. You can create a unique collage effect or use complementary patterns for a visually interesting and personalized piece. Just ensure the designs work well together in terms of color and theme.
- 6When cutting out your napkin images, consider the overall composition. Sometimes, leaving a small white border around the design can help it stand out from the box surface, while cutting precisely to the edge can create a more integrated look. Experiment to see what you prefer.
- 7For a more durable and water-resistant finish, especially if your box will be handled frequently or exposed to moisture, opt for a gloss finish decoupage glue and consider a final sealant like a clear acrylic spray or varnish. This will protect your artwork and make it easier to clean.
- 8If you're working with a very thin or delicate napkin, you can try applying a thin layer of decoupage glue to the box first, then carefully lay the napkin onto the wet glue. This can help prevent the napkin from absorbing too much moisture and tearing.
Related Activities You Might Enjoy
Frequently Asked Questions
What kind of napkins work best for decoupage?
The ideal napkins for decoupage are those with a single-ply printed layer, meaning the decorative design is on one thin sheet. Most standard decorative paper napkins are multi-ply, so you'll need to carefully separate the printed layer from any backing layers before applying it to your surface. Look for napkins with clear, vibrant images that are not too intricate, as very fine details can sometimes be challenging to work with. Single-ply napkins are also more pliable and less prone to tearing when wet with glue.
Can I decoupage on any surface with paper napkins?
Yes, paper napkins can be successfully decoupaged onto a wide variety of surfaces, including porous materials like wood, cardboard, and unfinished ceramics, as well as non-porous surfaces like glass, metal, painted furniture, and even some plastics. The key to success on different surfaces lies in proper preparation and using the right type of decoupage glue. For non-porous surfaces, a light sanding or priming might be necessary to ensure good adhesion. Always ensure the surface is clean, dry, and free of grease before you begin.
How do I get a smooth finish with napkin decoupage?
Achieving a smooth finish involves careful application and layering. Apply thin, even coats of decoupage glue, ensuring there are no thick globs. Gently smooth the napkin onto the glued surface, working from the center outwards to eliminate air bubbles and wrinkles. Once the glue is completely dry, you can lightly sand between coats with very fine-grit sandpaper (220-grit or higher) to smooth out any imperfections. Wiping away dust thoroughly before applying the next layer is crucial. Finally, a top coat of sealer can further enhance the smoothness and provide a protective barrier.
How long does napkin decoupage take to dry?
Drying times for napkin decoupage can vary significantly depending on the type of decoupage glue used, the thickness of the application, humidity levels, and temperature. As a general guideline, each coat of decoupage glue needs at least 1-2 hours to dry to the touch, meaning it's no longer sticky. However, for the glue to fully cure and achieve maximum durability, it can take anywhere from 24 to 72 hours. It's always best to refer to the specific instructions on your decoupage glue product for the most accurate drying and curing times.
What is the difference between matte and gloss decoupage glue?
The primary difference between matte and gloss decoupage glue lies in the final finish they provide. Matte decoupage glue dries to a non-shiny, flat finish, which is excellent for achieving a natural, painted-on look or when you want the napkin design to appear as if it's part of the surface itself, without any added sheen. Gloss decoupage glue, on the other hand, dries to a shiny, reflective finish, which can enhance vibrant colors, add a protective layer that mimics varnish, and give your project a more polished and luminous appearance. The choice between matte and gloss often depends on the desired aesthetic for your project.
Can I use regular white craft glue instead of decoupage glue?
While regular white craft glue (like Elmer's school glue) can be used in a pinch for some decoupage projects, it's not ideal and often leads to less desirable results compared to dedicated decoupage glue. Decoupage glues are specifically formulated to be thin enough to soak into the paper without tearing it, dry clear, and act as both an adhesive and a sealer. Regular craft glue can be thicker, may dry with a cloudy or yellowed appearance, and might not seal the paper as effectively, potentially leading to peeling or damage over time. For the best and most durable results, using a product specifically designed for decoupage is highly recommended.
What Next?
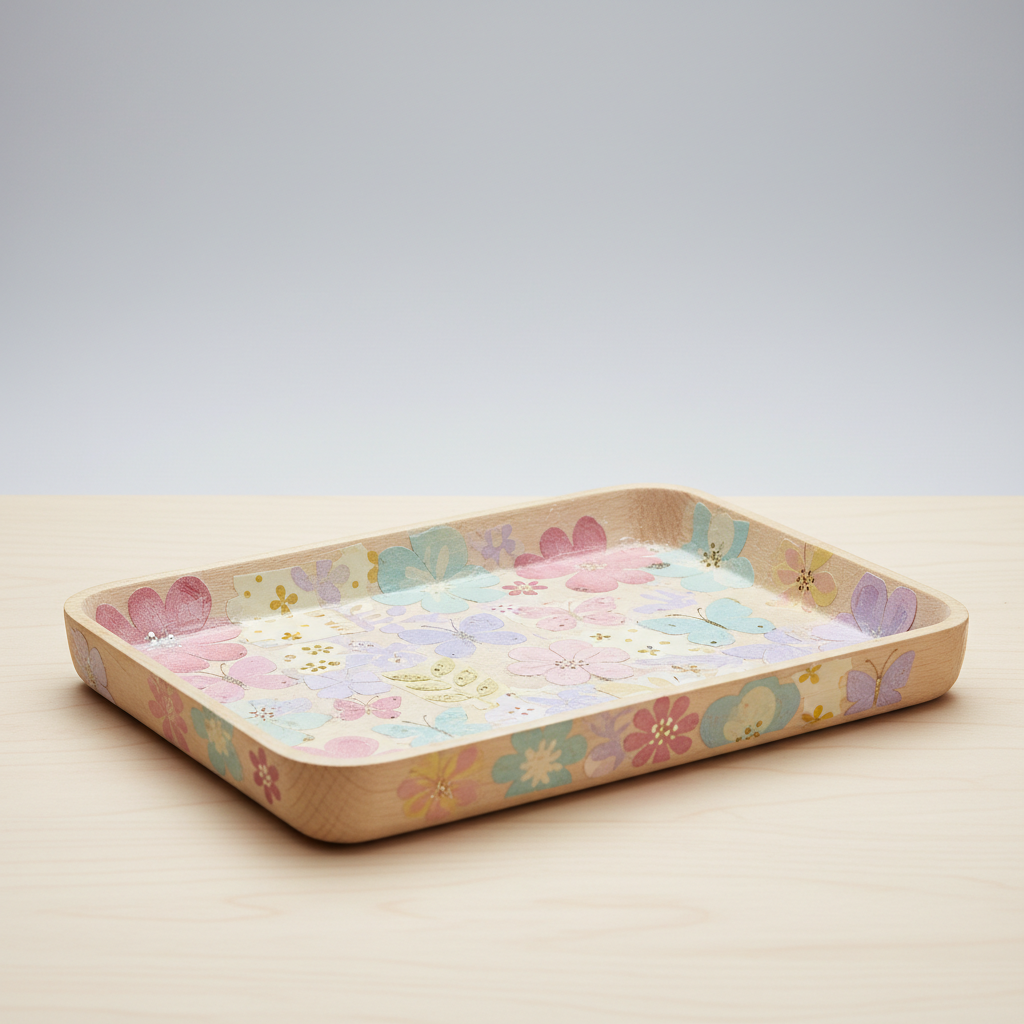
Once your beautifully decorated boxes are dry and sealed, they are ready to be filled with cherished items, office supplies, craft essentials, or even used as unique gift packaging. Consider creating a matching set for a cohesive look or varying designs for a playful collection. Display them proudly on shelves, desks, or dressers, adding a personal and artistic touch to your living space. For your next project, explore decoupage on other surfaces like trays, furniture, or even plain ceramic pots. The possibilities for transforming everyday objects into personalized masterpieces are truly endless!
Free: 10 Paper Crafts Anyone Can Make in 5 Minutes
Get our beginner guide + new craft ideas weekly.
No spam. Unsubscribe anytime.
Did you complete this activity?