How to Make a Clay & Button Bead Necklace — Easy Step-by-Step Guide
Create a colorful and textured necklace by combining homemade clay beads with your favorite buttons. A delightful screen-free family craft!
Quick answer
To make a clay and button bead necklace, you need air-dry clay, buttons, and basic jewelry findings, taking about 60 minutes plus drying time. Start by rolling clay balls. This beginner-friendly activity has 12 steps and is perfect for families with kids aged 6+.
What you need
Shop on Amazon · As an Amazon Associate we earn from qualifying purchases. Links above are affiliate links — we may earn a commission at no extra cost to you.
Unleash your creativity and craft a truly unique accessory with this delightful Clay & Button Bead Necklace tutorial. Combining the tactile joy of working with air-dry clay with the charm of vintage or colorful buttons, this project offers a wonderful opportunity for screen-free family fun. It’s an accessible craft for all ages, especially children aged 6 and up, allowing them to express their personal style through vibrant colors and interesting textures. Get ready to transform simple materials into a wearable work of art that tells a story with every bead.
On this page
Step-by-Step Instructions
- 1
Gather all your materials on a clean, flat surface covered with wax paper or parchment paper. This protective layer will prevent the clay from sticking and make cleanup a breeze.
- 2
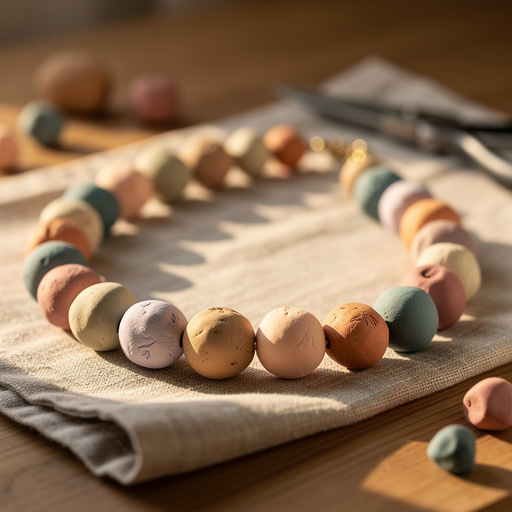
Take a small portion of air-dry clay, about the size of a large marble, and roll it firmly between your palms until it forms a smooth, uniform ball. Aim for a diameter of about 1/2 inch for a standard bead, but feel free to vary sizes for visual interest.
- 3
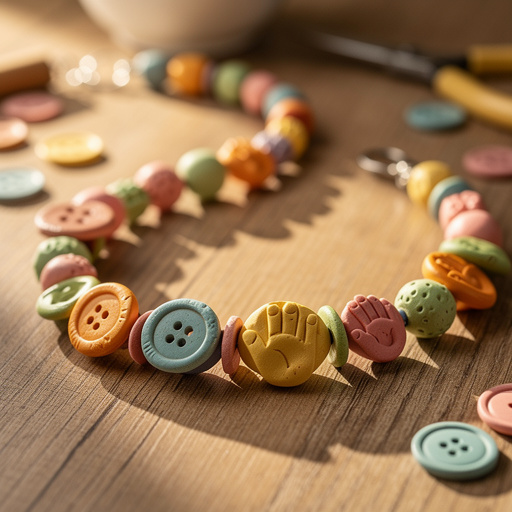
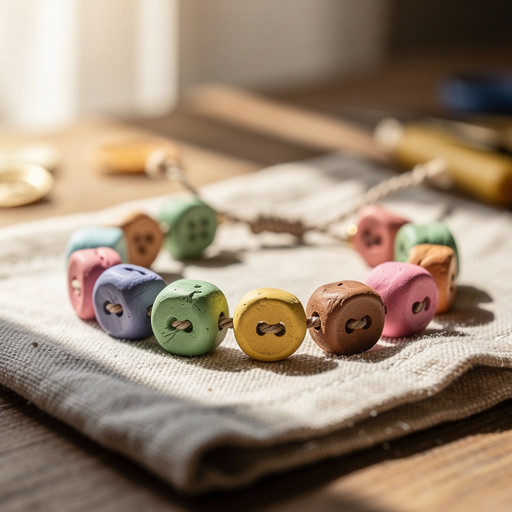
Gently press a button into the side of the clay ball, ensuring the button's holes remain clear and unobstructed. You can also press the button all the way through the clay ball to create a unique, button-shaped bead or a bead with a large central hole.
- 4
If the button doesn't go all the way through, or if you want to ensure a clean hole for threading, use a toothpick or the tip of a craft knife to carefully create or enlarge a hole. Wiggle the tool slightly to make sure the opening is wide enough for your jewelry cord or thread to pass through easily.
- 5
Repeat steps 2-4 to create as many clay and button beads as you desire for your necklace. Aim for a variety of sizes, button patterns, and depths of impression to create a dynamic and visually appealing strand.
- 6
Once you have created your desired number of beads, place them on the wax paper to dry. Ensure they are not touching each other to prevent them from sticking together as they harden.
- 7
Follow the air-dry clay manufacturer's instructions for drying time, which typically ranges from 24 to 48 hours. For best results, allow the beads to dry completely in a well-ventilated area, turning them occasionally to ensure even drying.
- 8
Once the beads are completely dry and hard, you can optionally paint them with acrylic paints. Use a small paintbrush to add color, patterns, or even metallic accents. Let the paint dry thoroughly between coats and before proceeding to the next step.
- 9
Apply a sealant or varnish to protect the painted beads and give them a finished, professional look. This step also adds durability and a slight sheen. Let the sealant dry completely according to the product's instructions.
- 10
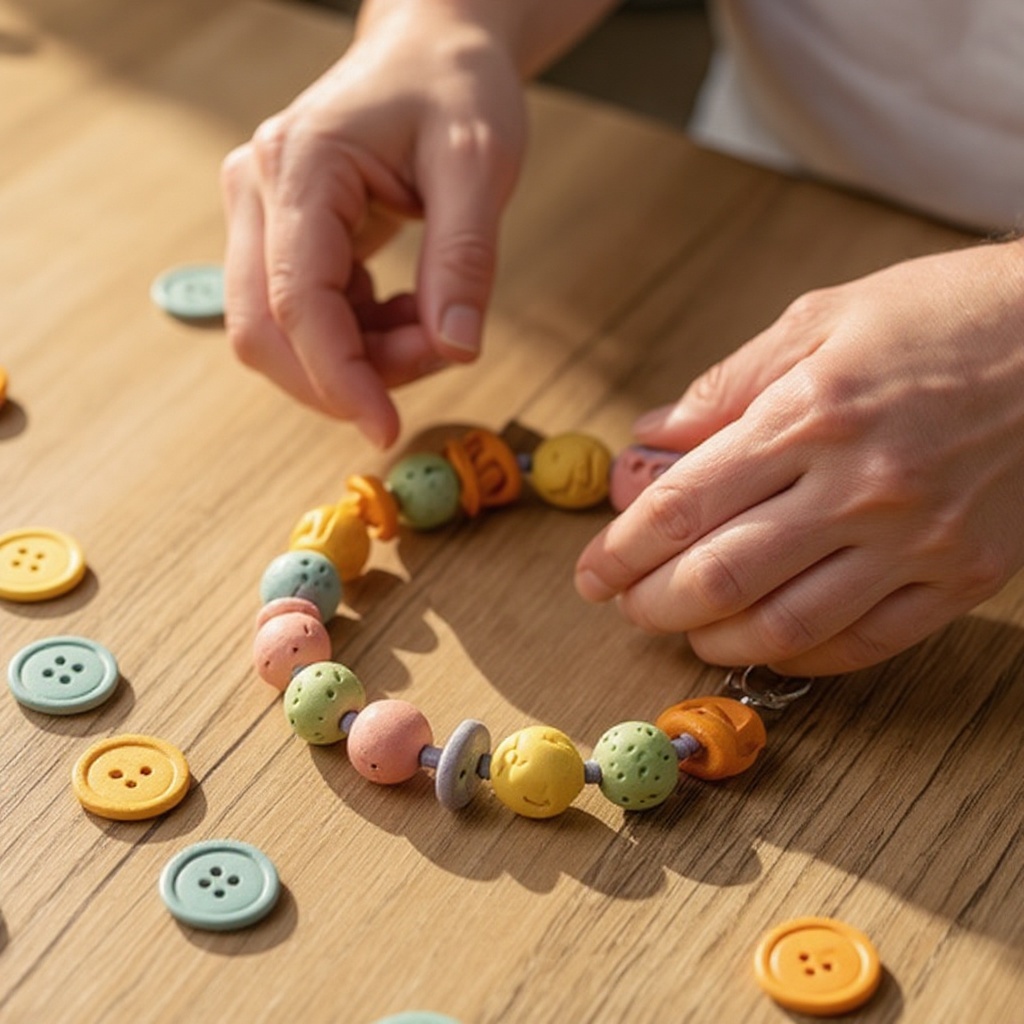
Thread your beading needle with the jewelry cord or thread. If using thread, you might want to double it for extra strength, especially if your beads are heavy or the necklace will be worn frequently.
- 11
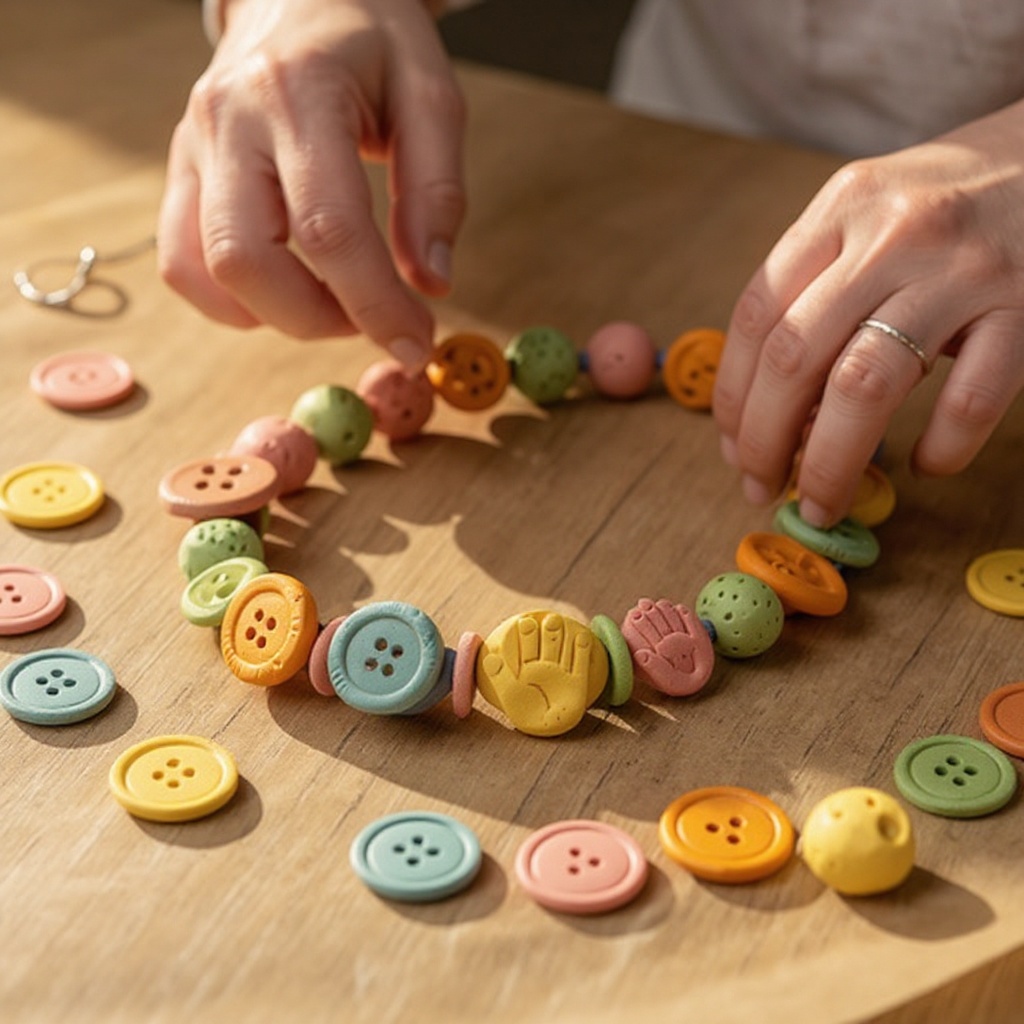
Begin threading your dried and decorated beads onto the cord, alternating with any plain clay beads or other decorative elements you might have. Experiment with the arrangement to create a pleasing pattern or a random, eclectic look.
- 12
Continue threading until the necklace is the desired length, making sure to leave enough space at both ends for attaching the clasp securely. Measure around your neck or a similar necklace to gauge the perfect length.
- 13
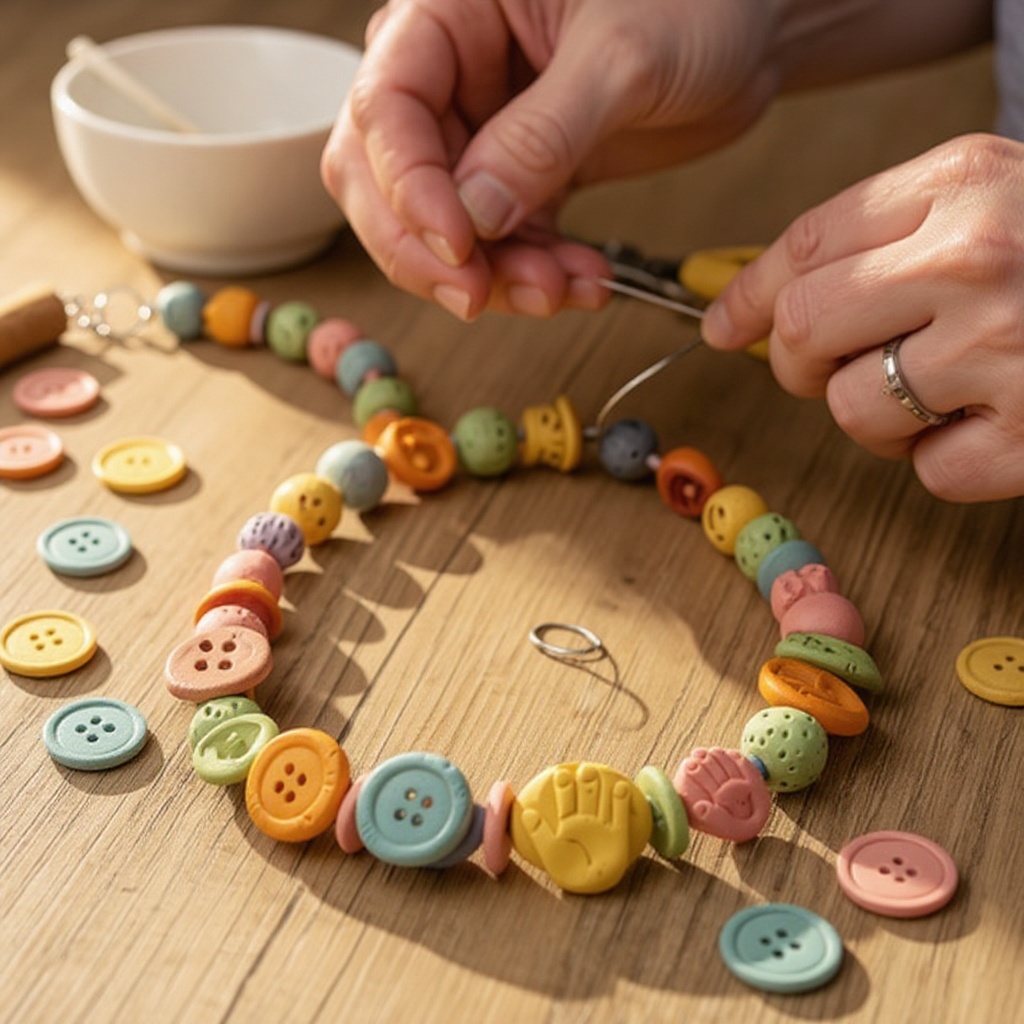
Attach the clasp set: thread one end of the cord through the jump ring of your clasp, then back through a few beads to secure it. Tie a very secure knot, such as a surgeon's knot, and trim any excess cord close to the knot. Repeat this process for the other end of the cord and the other part of the clasp.
- 14
Gently test the strength of your knots and the clasp to ensure the necklace is secure and ready to wear. Admire your handmade creation!
Tips & Troubleshooting
- 1If your clay beads develop small cracks while drying, don't worry! You can try mixing a little water with a small amount of extra air-dry clay to create a smooth paste. Use this paste to carefully fill the cracks before they fully harden, then smooth it over with a damp finger or tool.
- 2Experiment with different button sizes, shapes, and colors to create truly unique bead designs. You can also press multiple smaller buttons into a single clay bead for a more intricate texture or pattern. Consider using vintage buttons for a nostalgic feel.
- 3For a more durable necklace, especially if you're using heavier beads or if the necklace will be worn frequently, consider using a strong jewelry wire instead of thread. This will provide greater support and prevent breakage.
- 4Ensure the holes in your clay beads are large enough for your chosen cord or wire to pass through easily *before* they dry completely. If a hole seems too small, gently enlarge it with a toothpick or skewer while the clay is still pliable.
- 5Don't be afraid to mix and match buttons! Combining different styles, materials (like plastic, wood, or metal), and colors can lead to surprisingly beautiful and eclectic bead designs. Just ensure the buttons are clean and free of debris.
- 6If you're using a sealant, consider applying it in thin, even coats. Too much sealant at once can cause the paint to run or create an uneven finish. Allow each coat to dry completely before applying the next.
- 7For a truly personalized touch, consider stamping small initials or symbols into the clay before it dries, or even before pressing the button in. This adds another layer of uniqueness to your handmade beads.
Related Activities You Might Enjoy
Frequently Asked Questions
What kind of clay is best for homemade jewelry?
Air-dry clay is an excellent choice for this project because it's readily available, requires no special equipment like an oven, and dries hard at room temperature. It's perfect for beginners and family crafting sessions. Polymer clay is also a fantastic option if you have access to an oven for baking. Polymer clay offers a wide range of colors and can achieve a very durable, professional finish once baked according to the manufacturer's instructions. For this specific necklace, air-dry clay is the most straightforward and accessible material.
How long do air-dry clay beads take to dry?
Drying times for air-dry clay beads can vary significantly depending on the size and thickness of the beads, as well as the ambient humidity and temperature of your crafting space. Generally, you can expect beads to take anywhere from 24 to 48 hours to dry completely. It's crucial to ensure they are fully hardened before you begin stringing them onto your jewelry cord. You can test for dryness by gently tapping the bead; it should sound hard and feel solid, with no soft spots. Rotating the beads during the drying process can help ensure even hardening.
Can I make these beads without buttons?
Absolutely! While buttons add a unique charm and texture, you can create beautiful and interesting beads without them. Instead of pressing buttons, you can use other textured items like leaves, small stamps, lace, or even the textured side of a fork to create patterns in the clay. Alternatively, you can simply roll smooth, uniform beads and then paint them with vibrant acrylic colors, add metallic accents, or even marble different clay colors together before drying. The possibilities for creating unique clay beads are endless, even without buttons.
How do I make sure the holes in my beads are big enough?
It's best to create the holes while the clay is still soft and pliable, as it's much easier to work with at this stage. Use a toothpick, a thin skewer, the end of a pencil, or even a small straw to poke through the clay bead. Wiggle the tool slightly as you push it through to ensure the hole is wide enough for your chosen cord or wire to pass through easily without snagging. It's better to make the hole slightly larger than you think you'll need, as it's difficult to enlarge it once the clay has dried.
What if my clay beads crack while drying?
Cracking can sometimes happen with air-dry clay, especially if it dries too quickly or unevenly. If you notice small cracks forming, don't despair! You can often repair them by creating a small amount of clay paste. Mix a tiny bit of water with some extra air-dry clay until it forms a smooth, thick paste. Carefully apply this paste to the cracks using a toothpick or your fingertip, smoothing it over to fill the gaps. Allow the repaired areas to dry completely. For prevention, ensure consistent drying conditions and avoid placing beads near direct heat sources.
Can I use polymer clay instead of air-dry clay?
Yes, you can definitely use polymer clay for this project! Polymer clay offers a different set of advantages, such as a wider range of vibrant colors directly from the package and a very durable, professional finish once baked. If you choose polymer clay, you'll follow similar steps for shaping and impressing buttons, but instead of air-drying, you will bake the beads according to the specific brand's instructions. Ensure your buttons are oven-safe if you plan to bake them with the clay. After baking and cooling, you can still paint and seal them if desired.
How can I make my clay beads more durable?
To enhance the durability of your clay beads, especially if using air-dry clay, consider these tips. First, ensure the beads are thoroughly dried and hardened. Second, applying a good quality sealant or varnish is crucial; it acts as a protective coating against moisture and wear. For a stronger necklace overall, using a sturdy jewelry wire (like stainless steel or coated beading wire) instead of thread or floss will provide more structural integrity, especially for heavier beads. If your beads are prone to cracking, using a bit more clay to create slightly thicker beads can also improve their resilience.
What Next?
Congratulations on creating your beautiful Clay & Button Bead Necklace! This project is wonderfully versatile; consider adding other elements like wooden beads, seed beads, or even small charms for extra flair. For storage, keep your necklace in a jewelry box or hang it to prevent tangling and damage. As a next step, explore different clay techniques, such as marbling or adding metallic powders, or try making matching earrings or bracelets to complete your handmade jewelry set. This project is a fantastic starting point for a lifelong love of crafting unique accessories.
Free: 10 Paper Crafts Anyone Can Make in 5 Minutes
Get our beginner guide + new craft ideas weekly.
No spam. Unsubscribe anytime.
Did you complete this activity?
Related
You might also like
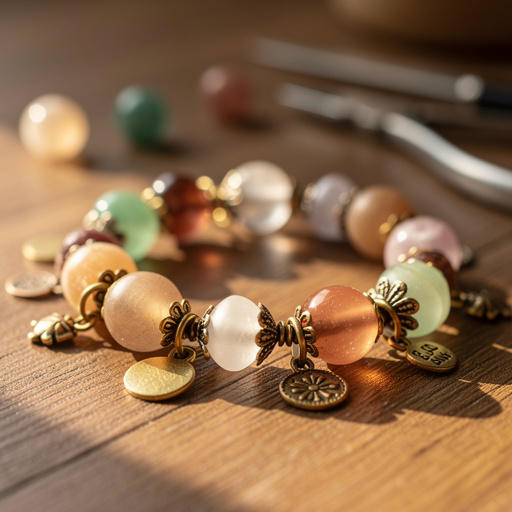
Clay Bead Statement Necklace
Clay & Button Charm Bracelets
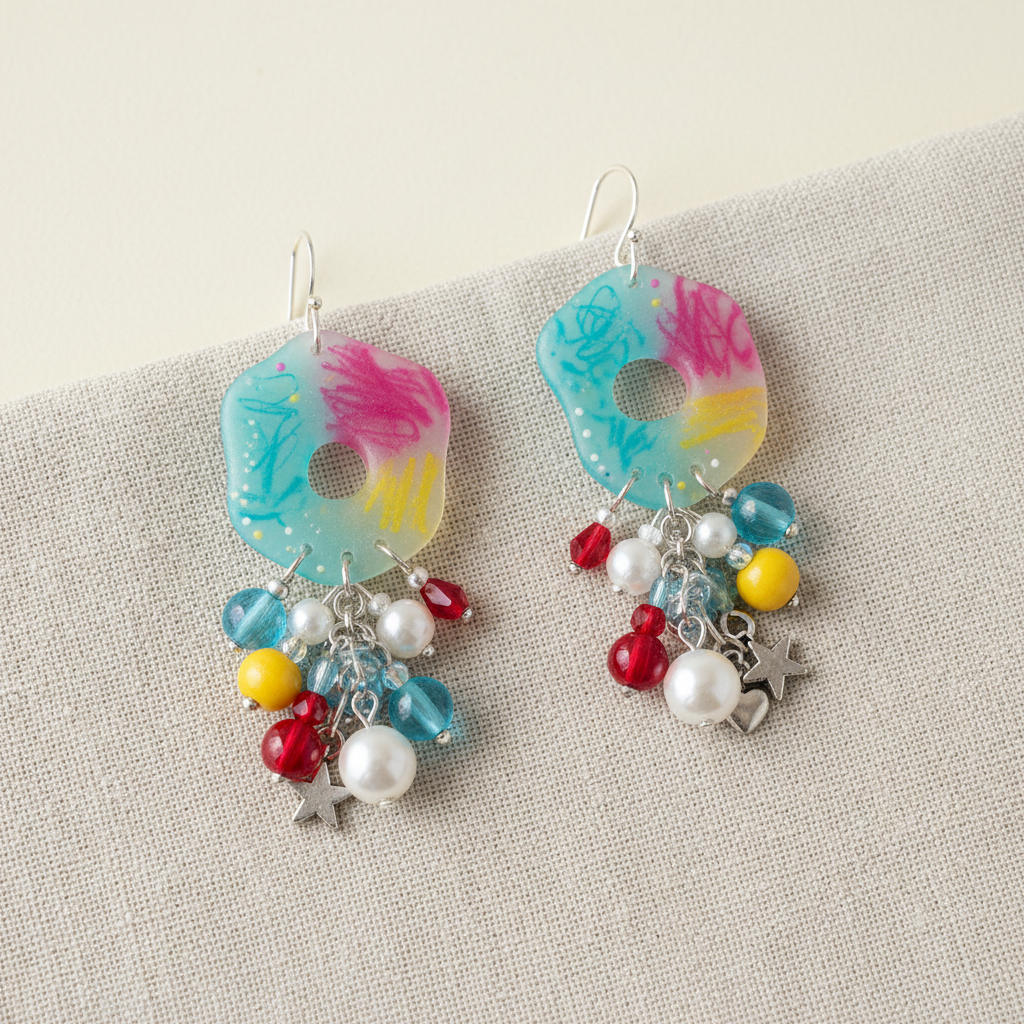
Shrink Plastic Statement Earrings
Wholesale Charm Bracelet Creation
Shrink Plastic Pet Charms
