How to Create Watercolor Painting Books — Easy Step-by-Step Guide
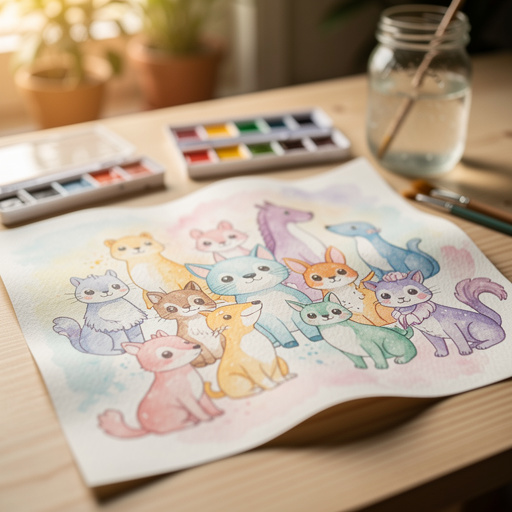
Discover the joy of creating your own watercolor painting book! This guide will walk you through making beautiful nature-inspired pages, perfect for family fun and learning. Explore the wonders of nature through art, fostering creativity and observation skills in a relaxed and enjoyable way.

Quick answer
To make a watercolor painting book, you need watercolor paper (at least 8x10 inches, 140lb), watercolor paints, brushes, water cups, paper towels, a pencil, and an eraser. Optional items include masking tape and binding materials. The process takes about 60-90 minutes per page. Start by preparing your paper and sketching your nature subject, then move on to painting, allowing layers to dry between applications. This beginner-friendly activity has 10 core steps and is perfect for families and kids aged 6+.
What you need
Shop on Amazon · As an Amazon Associate we earn from qualifying purchases. Links above are affiliate links — we may earn a commission at no extra cost to you.
Embark on a delightful artistic journey by creating your very own watercolor painting book! This project is a wonderful way to connect with nature, hone your artistic skills, and create a cherished keepsake. Whether you're looking for a calming solo activity or a fun family project, this guide offers a simple yet rewarding path to beautiful, nature-inspired artwork. It’s perfect for budding artists of all ages, especially those aged 6 and up, encouraging observation, creativity, and a love for the natural world.
On this page
Step-by-Step Instructions
- 1
Gather all your watercolor painting book supplies. Ensure you have everything laid out and easily accessible before you begin, including your chosen watercolor paper, paints, brushes, water cups, and any optional items like tape.
- 2
Decide on the size of your pages and cut your watercolor paper to that size. For a cohesive book, aim for consistent dimensions for all your pages; an 8x10 inch or 9x12 inch format is a good starting point for beginners.
- 3
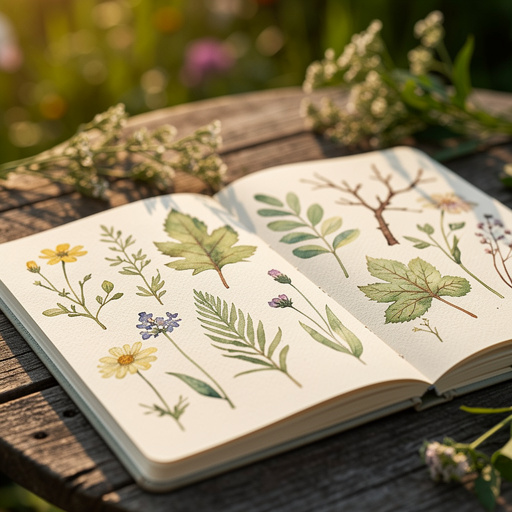
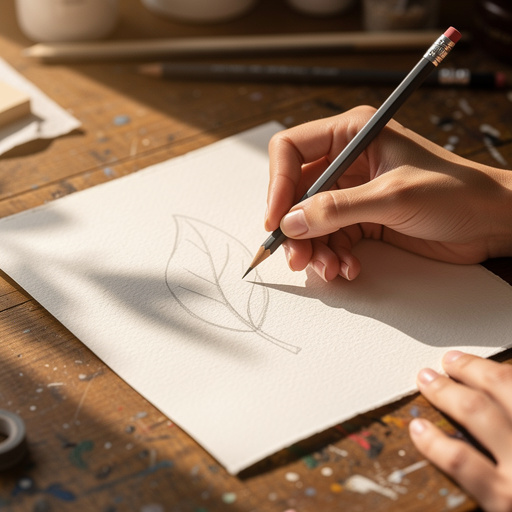
Lightly sketch a nature-inspired subject on one sheet of watercolor paper using a pencil. Think about elements like leaves, flowers, simple landscapes, mushrooms, acorns, pinecones, or even insects; focus on clear outlines that will guide your painting.
- 4
Secure your paper to a flat surface using masking tape or washi tape around the edges if you want clean borders. This not only helps prevent buckling as the paper gets wet but also creates a professional-looking finished edge once removed.
- 5
Fill one water cup with clean water for rinsing your brushes and have a second cup ready for diluting your paints. Keeping your water separate will help maintain the clarity of your colors and prevent muddying.
- 6
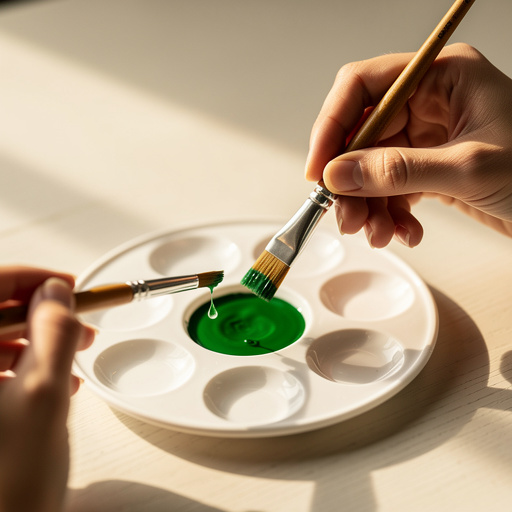
Prepare your paints by activating them with a little water if using pan paints, or squeezing a small amount onto your palette if using tubes. Mix your desired colors, starting with lighter shades and gradually building up to darker tones.
- 7
Dip your brush into the clean water, then pick up a small amount of watercolor paint. Begin applying the paint to your sketch, starting with lighter colors and building up layers to create depth and form. Experiment with how much water you use to achieve different opacities and transparencies.
- 8
Apply the paint to your sketch, using the water to create beautiful washes and blend colors seamlessly. Explore various brushstrokes – a light, feathery touch for petals, or a firmer stroke for stems and leaves – to add texture and life to your subject.
- 9
Rinse your brush thoroughly in the first water cup between color changes or when you want to achieve a lighter shade. Swish the brush around to remove all pigment, then gently blot it on a paper towel to remove excess water before picking up a new color.
- 10
Allow each layer of paint to dry slightly before adding more, especially if you want to maintain crisp lines and distinct color areas. For softer, more blended effects, paint while the paper is still damp, allowing colors to bleed into one another naturally.
- 11
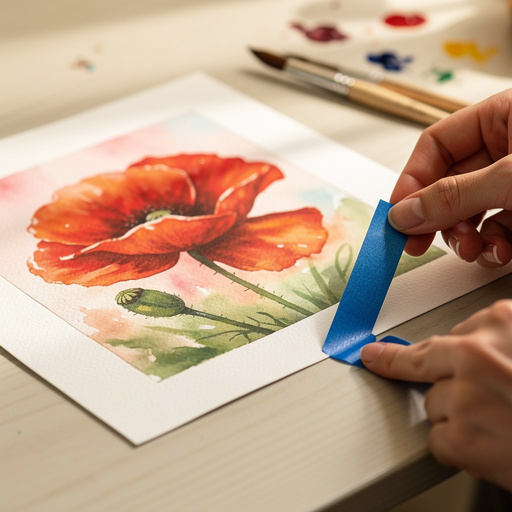
Once your painting is complete and fully dry, carefully remove the masking tape if used. Peel it back slowly at an angle to reveal your beautifully defined nature page with a clean, crisp border.
- 12
Repeat steps 3-10 for as many pages as you want in your watercolor painting book. Continue to explore different nature subjects and experiment with new techniques to fill your book with a variety of vibrant artwork.
- 13
Consider adding a background wash to your painting once the main subject is dry. This can be a simple gradient of sky colors, a soft green for grass, or a muted tone to unify the page and enhance your subject.
- 14
Allow all your painted pages to dry completely before proceeding to the binding stage. Ensure they are laid flat to prevent any warping or damage to the artwork.
- 15
Once all pages are dry, you can bind them together to create your finished book. Punch holes along one edge of your pages using a hole punch and thread ribbon or binder rings through them for an easily customizable binding.
- 16
Alternatively, you can use a binder or a more advanced bookbinding technique if you have the materials and experience. For a simple book, a binder or rings are the most straightforward and beginner-friendly options.
Tips & Troubleshooting
- 1If your paper starts to buckle significantly, you can try taping it down more securely with stronger artist's tape or using heavier weight watercolor paper, such as 300lb (640gsm), which is much more resistant to warping.
- 2Don't be afraid to experiment with different color combinations and color mixing. Nature offers endless inspiration, and trying out unexpected palettes can lead to unique and beautiful results.
- 3For a more textured look, try using a salt technique: sprinkle coarse salt onto wet watercolor paint and let it dry completely. Once dry, gently brush off the salt to reveal a unique, starburst-like pattern.
- 4If you make a mistake, don't despair! Sometimes you can lift wet paint with a clean, damp brush or a paper towel to lighten or remove it. For dried mistakes, you might be able to carefully paint over them with a slightly darker or more opaque color.
- 5Consider adding small handwritten notes or labels to your pages to identify the plants, flowers, or scenes you've painted. This adds an educational and personal touch to your nature journal.
- 6Explore different brush techniques to create varied textures. For instance, a dry brush technique can create a scratchy, textured effect for bark or grass, while a wet-on-wet technique can produce soft, ethereal blends for skies or flower petals.
- 7When painting leaves, try layering different shades of green to create depth and dimension. You can also add subtle hints of yellow, red, or brown to represent veins or the natural variations in leaf color.
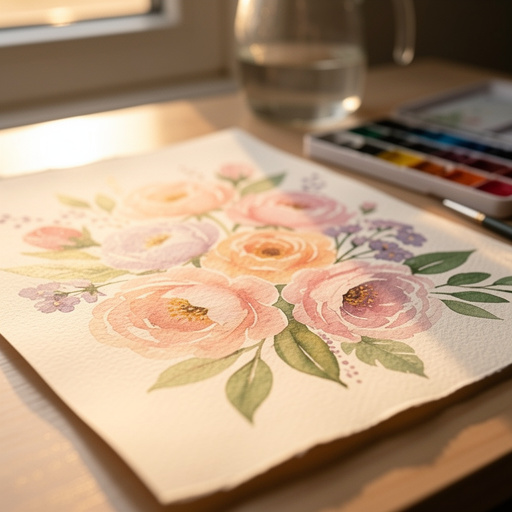
- 8For painting flowers, start with the lightest colors and gradually build up the darker shades and shadows. Pay attention to the shape of the petals and how light hits them to create a sense of volume.
Related Activities You Might Enjoy
Frequently Asked Questions
What kind of paper is best for a watercolor painting book?
Watercolor paper is essential for this project because it's designed to absorb water without disintegrating or buckling excessively. Look for paper that is at least 140lb (200gsm) weight, as this offers good durability. For even better results and less warping, especially if you plan to use a lot of water or multiple layers, heavier paper like 300lb (640gsm) is highly recommended. The texture of the paper (hot press, cold press, or rough) can also affect the final look, with cold press being a popular all-around choice for beginners.
How do I bind my watercolor painting book pages together?
There are several easy ways to bind your watercolor painting book pages. The simplest method is to punch two or three holes along one edge of your dried pages and thread ribbon, twine, or binder rings through them. This allows you to easily add or rearrange pages. Alternatively, you can use a simple three-ring binder, which is very convenient for a growing collection of artwork. For a more finished look, consider using a stapler for very thin books or exploring basic bookbinding techniques like a Coptic stitch if you're feeling adventurous.
Can kids make a watercolor painting book?
Absolutely! This activity is fantastic for kids aged 6 and up, and even younger children with adult supervision. It encourages creativity, develops fine motor skills through brush control and sketching, and fosters an appreciation for nature through observation. The process is forgiving, allowing for experimentation without the pressure of perfection. It's a wonderful way to spend quality time together, learn about colors, and create a personalized collection of artwork that they can be proud of.
What are some easy nature subjects to paint for beginners?
For beginners, it's best to start with simple, recognizable shapes. Excellent nature subjects include single leaves (like oak, maple, or fern fronds), acorns, pinecones, simple flower outlines (such as daisies or tulips), mushrooms, or basic fruit shapes like apples or pears. You can also try painting a simple horizon line with a few clouds, a stylized tree silhouette, or a small, easily recognizable insect like a ladybug. Focusing on clear outlines and basic forms will make the painting process more manageable and enjoyable.
How can I make my watercolor paintings look more realistic?
To achieve a more realistic look in your watercolor nature paintings, focus on observing the details of your subject. Pay close attention to the subtle variations in color, the way light and shadow fall on the object, and the textures present. Use layering to build depth and form, starting with light washes and gradually adding darker tones and shadows. Practice blending colors smoothly to create natural transitions. Observing real-life specimens or high-quality photographs can greatly aid in capturing accurate details and proportions.
What are some common mistakes beginners make with watercolors and how can I avoid them?
Common beginner mistakes include using too much water, which can lead to buckling and muddy colors, or using too little water, resulting in harsh, unblended marks. Another frequent error is not letting layers dry sufficiently, causing colors to mix unintentionally. To avoid these, always use good quality watercolor paper, keep your water cups separate for rinsing and diluting, and be patient with drying times. Practice controlling the amount of water on your brush and experiment with wet-on-wet and wet-on-dry techniques to understand their effects.
What Next?
Your completed watercolor painting book is a testament to your creativity and connection with nature. Consider creating themed books, such as 'Spring Blooms,' 'Autumn Leaves,' or 'Garden Insects,' to explore different aspects of the natural world. You can also experiment with different binding methods for a unique finish, like a Coptic stitch or a simple accordion fold. Display your finished book on a shelf or coffee table as a beautiful reminder of your artistic endeavors and the wonders of nature you've captured.
Free: 10 Paper Crafts Anyone Can Make in 5 Minutes
Get our beginner guide + new craft ideas weekly.
No spam. Unsubscribe anytime.
Did you complete this activity?