How to Create Simple Acrylic Dot Art — Easy Step-by-Step Guide
Learn how to make charming dot art using acrylic paints. This beginner-friendly project is a relaxing and rewarding way to explore color and pattern. Perfect for all ages, it's a fantastic introduction to painting and a great way to de-stress.
Quick answer
To make simple acrylic dot art, you need acrylic paints (at least 4-5 colors), round paintbrushes in various sizes (e.g., 1/8 inch, 1/4 inch, 1/2 inch), a canvas panel or thick cardstock (at least 8x10 inches), a pencil, eraser, water cup, paper towels or rag, and optionally a fine-tip black marker. This project takes about 30-60 minutes to complete once your design is sketched. Start by lightly sketching a simple shape or pattern onto your surface. This beginner activity has 7 core steps and is perfect for families and kids aged 6+, offering a fun and accessible way to create beautiful art.
What you need
Shop on Amazon · As an Amazon Associate we earn from qualifying purchases. Links above are affiliate links — we may earn a commission at no extra cost to you.
Embark on a creative journey with simple acrylic dot art, a wonderfully accessible and meditative painting technique. This project is perfect for anyone looking to unwind, explore their artistic side, or create charming decorative pieces without the intimidation of complex brushwork. Its simplicity makes it an ideal activity for families, children, and adults alike, fostering creativity and providing a satisfying sense of accomplishment. The beauty of dot art lies in its ability to transform basic shapes into intricate patterns, offering a unique blend of precision and freedom that is both relaxing to create and delightful to behold.
On this page
Step-by-Step Instructions
- 1
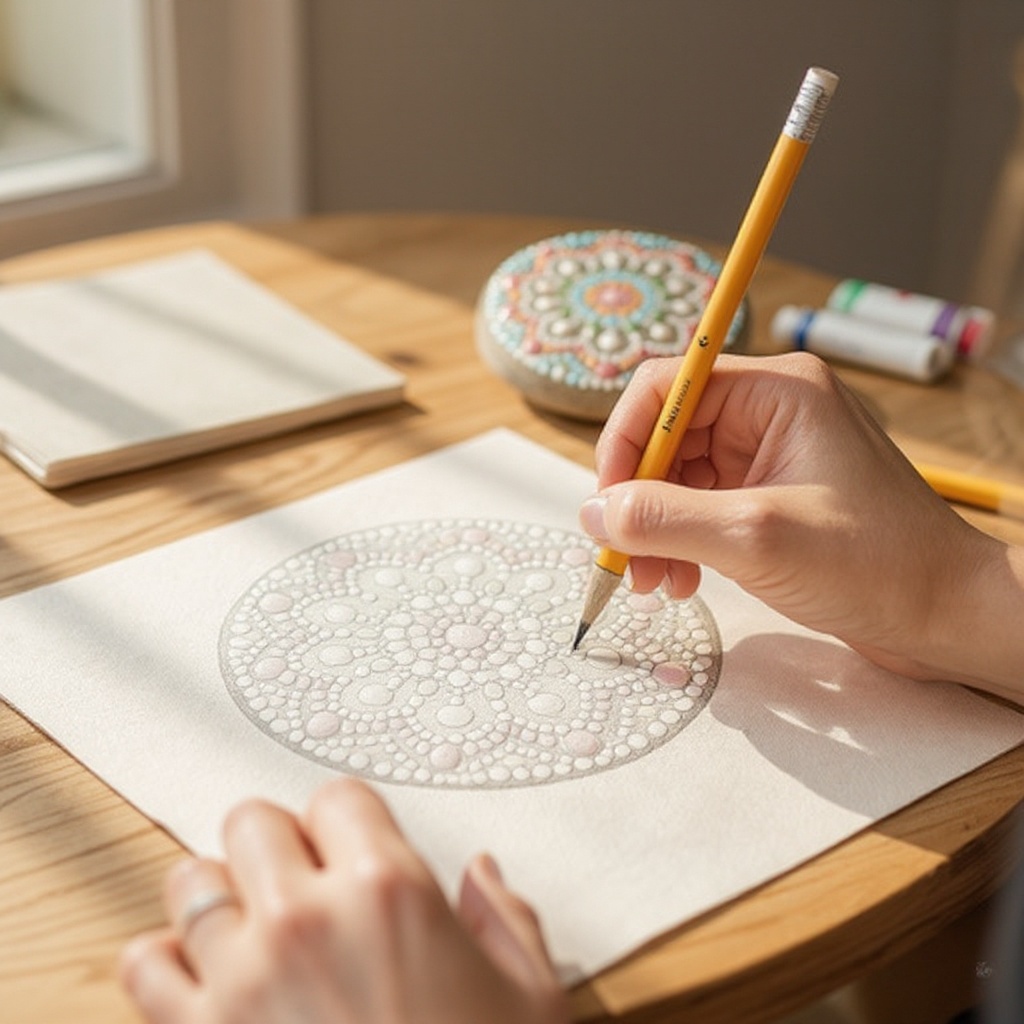
Lightly sketch a simple shape or pattern onto your canvas or cardstock with a pencil. Think circles, flowers, abstract swirls, mandalas, or even geometric designs. Ensure your lines are faint, as they will be covered by paint. For beginners, starting with a single large shape like a heart or a simple flower outline is a great way to begin.
- 2
Choose your first paint color and pour a small amount onto your palette or disposable plate. Dip the very tip of a small round brush into the paint, ensuring you don't overload it. A little paint goes a long way for creating precise dots.
- 3
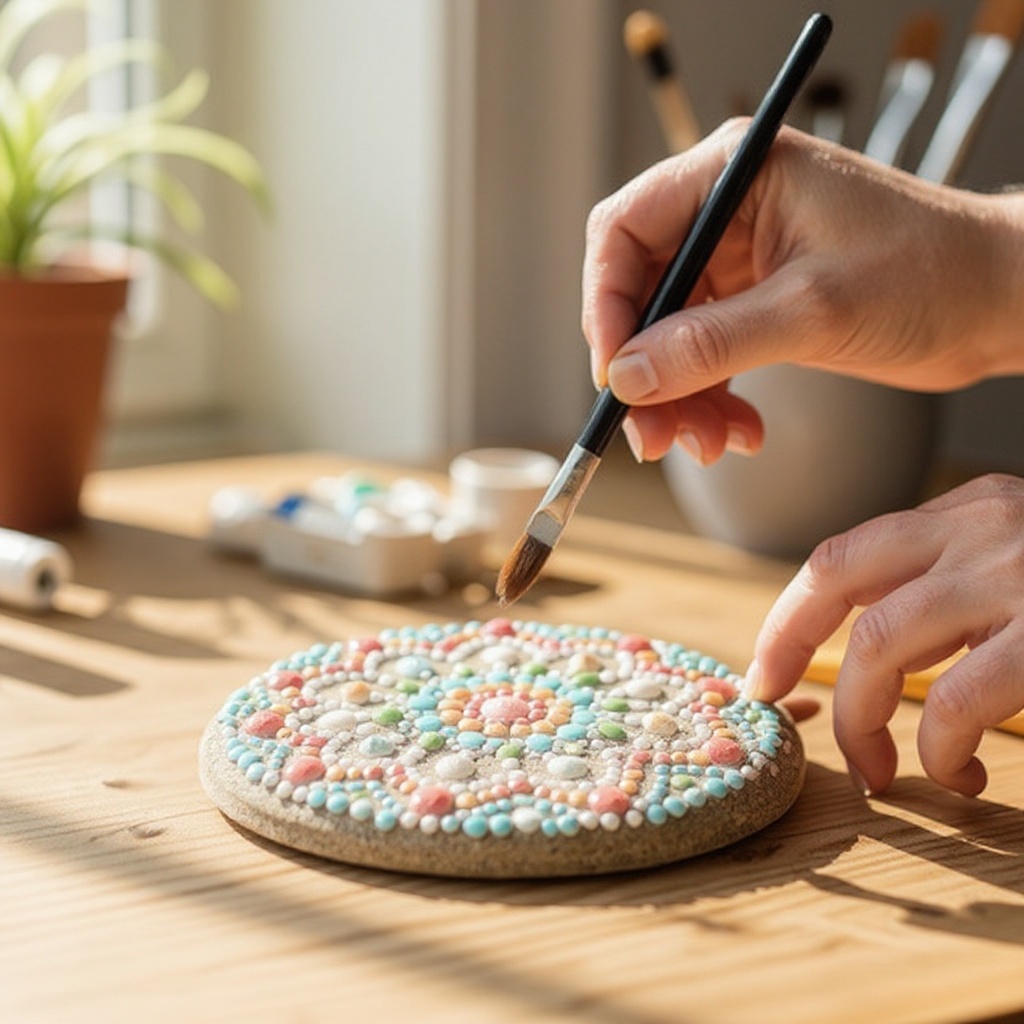
Gently press the tip of the loaded brush straight down onto your paper or canvas to create a clean, round dot. Lift the brush straight up to avoid smudging or creating a streak. The goal is a uniform, circular mark.
- 4
Continue adding dots of the same color, maintaining a consistent spacing between each dot. Aim for a small, even gap to allow each dot to stand out and prevent them from merging. This methodical approach is key to the aesthetic of dot art.
- 5
Once you have completed a section or are ready to switch colors, thoroughly rinse your brush in the water cup. Swirl it around to remove all traces of the previous color. Then, gently dry the brush on a paper towel or rag to remove excess water, ensuring a clean surface for the next color.
- 6
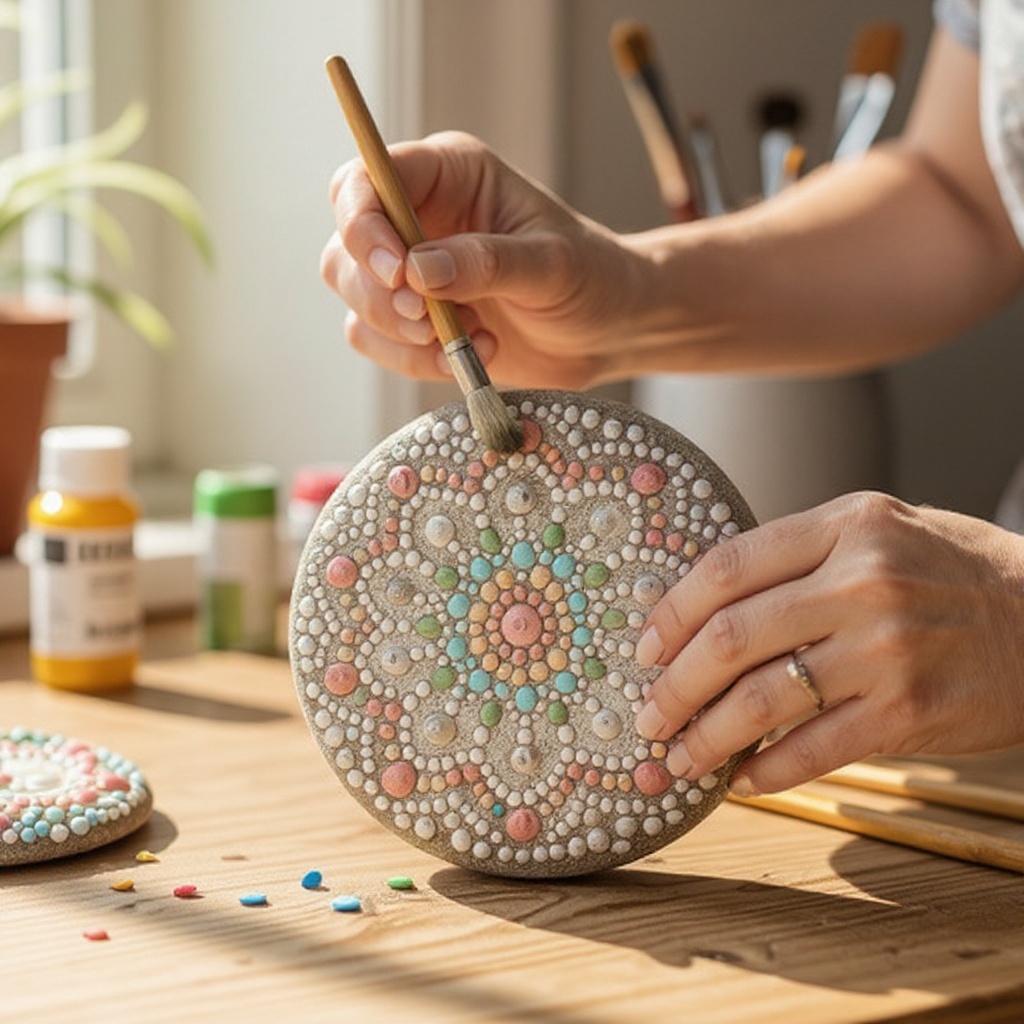
Repeat the dotting process with different colors, filling in areas of your design or creating new patterns. You can work from the outside in, or fill in sections systematically. Consider how your color choices will interact to create visual interest.
- 7
Allow the paint to dry completely. This is a crucial step to prevent smudging or accidental blending of wet colors. Depending on the thickness of the paint and humidity, this could take anywhere from 30 minutes to a couple of hours.
- 8
Optional: For added definition and a polished look, use a fine-tip black marker to outline some of your dots or add smaller accent dots. This can make your design pop and give it a more graphic quality. Be sure the paint is fully dry before using the marker.
- 9
Consider adding a second layer of dots on top of the first, once the initial layer is dry. This can create depth and dimension, making your artwork more dynamic. You can use a slightly smaller brush for these secondary dots to create subtle variations in size.
- 10
If you're creating a more complex pattern like a mandala, use a ruler or compass to lightly sketch guidelines before you begin dotting. This will help ensure symmetry and precision in your design.
- 11
Experiment with different brush sizes for your dots. Using a variety of brush sizes within the same design can add visual interest and texture. Smaller brushes are great for intricate details, while larger ones can cover more area quickly.
- 12
If you notice any accidental smudges or uneven dots, don't despair! You can often carefully cover them with a slightly larger dot of the same color or a contrasting color once the paint is dry. Alternatively, you can gently scrape away wet paint with a palette knife or toothpick.
- 13
For a more uniform and professional finish, consider applying a clear varnish or sealant once your entire artwork is completely dry. This will protect the paint and give your dot art a beautiful sheen.
- 14
If you're working on a vertical surface like a canvas, allow each color layer to dry for at least 10-15 minutes before adding more dots. This will help prevent the paint from sliding or dripping down the surface.
- 15
When working with multiple colors, plan your color placement. Think about creating focal points, color gradients, or contrasting areas to guide the viewer's eye through your design.
- 16
If you're using a very dark background, consider using a white or light-colored pencil for your initial sketch, as it will be more visible. Alternatively, you can skip the pencil sketch and freehand your design directly with paint.
- 17
For very fine details or tiny dots, you can use the tip of a toothpick or a fine liner brush. These tools allow for extreme precision and are excellent for adding delicate accents.
- 18
Clean your brushes immediately after use with soap and water to prevent acrylic paint from drying and hardening in the bristles. This will ensure your brushes remain in good condition for future projects.
Tips & Troubleshooting
- 1If your dots are too large or uneven, try using a smaller brush or applying less pressure when pressing the brush to the surface. You can also practice on scrap paper first to get a feel for the right amount of paint and pressure needed for consistent results.
- 2Experiment with different color combinations! Try analogous colors (next to each other on the color wheel) for a harmonious and soothing look, or complementary colors (opposite each other) for high contrast and visual energy. Don't be afraid to mix your own shades by combining colors.
- 3For a more textured look or if you don't have a variety of round brushes, you can use the end of a paintbrush handle, a cotton swab, the tip of a toothpick, or even the eraser end of a pencil to create dots. Each tool will produce a slightly different dot size and texture.
- 4Allow each layer of dots to dry slightly before adding more, especially if you're working on a vertical surface like a canvas, to prevent drips and smudging. This is particularly important when layering colors or working on a project that requires multiple sessions.
- 5Once dry, your dot art can be framed or displayed as is. It also makes a lovely handmade gift that is both personal and visually appealing. Consider adding a matte to the frame for a more professional presentation.
- 6To achieve a smooth gradient effect, start with your lightest color and gradually add more of a darker color to your brush as you move across an area, or use a dabbing technique with progressively darker shades.
- 7Don't be afraid to embrace imperfections! Sometimes, slightly irregular dots or minor smudges can add character and a handmade charm to your artwork. The process is as important as the final result.
- 8If you're working on a larger piece, consider using a grid system to help you maintain symmetry and spacing, especially for intricate patterns like mandalas. This will make the process more manageable and ensure a balanced composition.
Related Activities You Might Enjoy
Frequently Asked Questions
What kind of paint is best for beginner dot art?
Acrylic paints are ideal for beginners in dot art due to their versatility, vibrant color range, and quick drying time. They are water-based, making cleanup easy with just soap and water, which is a significant advantage for new artists. Acrylics adhere well to a variety of surfaces, including canvas, paper, wood, and even rocks, offering flexibility in your project choices. Their opaque nature means they cover well, and you can easily layer colors or correct mistakes once dry. The ability to mix colors to create custom shades also adds to their appeal for creating unique dot art designs.
How do I get consistent dots with acrylic paint?
To get consistent dots, use a round brush and dip only the very tip into the paint, ensuring you have an even amount of paint on the brush. Press down gently and lift straight up without any sideways movement. Practicing on scrap paper can help you find the right pressure and amount of paint needed for uniform dots. Varying the pressure slightly will result in different dot sizes, so aim for a consistent touch. If you're using multiple brushes, ensure they are clean and dry before dipping into fresh paint.
Can I use my fingers to make dots?
Yes, you can absolutely use your fingertip as a dotting tool for a more tactile and organic approach to dot art! Make sure to wash your hands thoroughly before and after the process to maintain cleanliness and prevent accidental smudging. Dip your fingertip into the paint and press it onto the surface. This method is fun, especially for younger artists, and can create unique textures. However, be mindful of potential smudging, especially when working with lighter colors on darker backgrounds or when layering. It's a great way to connect with the art-making process.
What surfaces can I use for acrylic dot art?
Acrylic paints work exceptionally well on a wide variety of surfaces, making them perfect for beginner dot art projects. Canvas panels or stretched canvases are classic choices, offering a smooth painting surface. Thick cardstock or watercolor paper is also excellent for smaller pieces or practice. For a more rustic feel, consider wooden plaques, small wooden boxes, or even smooth, clean stones collected from nature. You can even paint on terra cotta pots or fabric items like tote bags, though you might need fabric medium for better adhesion and washability on textiles.
How do I clean my brushes after using acrylic paint?
Cleaning your brushes immediately after using acrylic paint is essential to keep them in good condition. Start by rinsing the brush in a cup of water to remove the bulk of the paint. Then, use a mild soap (like dish soap or a dedicated brush soap) and gently work it into the bristles, lathering until the water runs clear. Rinse thoroughly and reshape the bristles with your fingers. Avoid letting acrylic paint dry in the brush, as it can be very difficult to remove and will ruin the brush's shape and usability. Store brushes flat or bristles-up to prevent damage.
Can I mix colors to create new shades for my dot art?
Absolutely! Mixing colors is a fundamental part of acrylic painting and can greatly enhance your dot art. You can create a vast spectrum of hues by combining primary colors (red, yellow, blue) and secondary colors (orange, green, purple). Adding white will create tints (lighter shades), while adding black will create shades (darker hues). Experimenting with color mixing allows you to achieve unique palettes that perfectly match your vision or mood. Keep a small notebook to record your color recipes for future reference, ensuring you can recreate favorite shades.
How long does acrylic paint take to dry for dot art?
Acrylic paint dries relatively quickly, which is one of its advantages for dot art. A thin layer of acrylic paint typically dries to the touch within 10 to 30 minutes, depending on the thickness of the paint, humidity, and temperature. However, for layering subsequent dots or for the final varnish, it's best to ensure the paint is completely dry, which can take anywhere from 30 minutes to a couple of hours. If you're working on a very thick application of paint, it might take longer. You can speed up drying slightly by using a hairdryer on a cool setting.
What Next?
Once your acrylic dot art is completely dry, you have a variety of options for showcasing your masterpiece. Consider framing it for a polished look to hang on your wall, or simply lean it against a shelf for a more casual display. This art form also makes for incredibly thoughtful and personalized handmade gifts for friends and family. For future projects, experiment with different surfaces like smooth stones, wooden coasters, or even fabric items. You could also explore more complex patterns, gradients within your dots, or even combine dot art with other painting techniques for exciting new artistic explorations.
Free: 10 Paper Crafts Anyone Can Make in 5 Minutes
Get our beginner guide + new craft ideas weekly.
No spam. Unsubscribe anytime.
Did you complete this activity?