How to Create Your Own DIY Painting Kit — Easy Step-by-Step Guide
Assemble your very own custom painting kit with this easy guide. Gather your favorite paints, brushes, and surfaces for a screen-free art adventure!
Quick answer
To make a DIY painting kit, you need a container, paints, brushes, and paper/canvas, taking about 30 minutes. Start by gathering your chosen supplies. This beginner-friendly activity has 10 steps and is perfect for families and aspiring artists of all ages.
What you need
Shop on Amazon · As an Amazon Associate we earn from qualifying purchases. Links above are affiliate links — we may earn a commission at no extra cost to you.
Unleash your inner artist and escape the digital world with a personalized DIY painting kit! This project is a fantastic way to curate a collection of your favorite art supplies, tailored precisely to your creative preferences. Whether you're a seasoned painter looking for a portable studio or a complete beginner eager to explore a new hobby, this kit is your gateway to endless artistic possibilities. It's a thoughtful gift, a perfect activity for a rainy day, or a way to ensure you always have inspiration at your fingertips, fostering creativity and mindfulness for artists of all ages.
On this page
Step-by-Step Instructions
- 1
Choose a sturdy box or container that is large enough to hold all your painting supplies without being too cramped or too loose. Ensure it has a lid that closes securely to protect your materials from dust and damage.
- 2
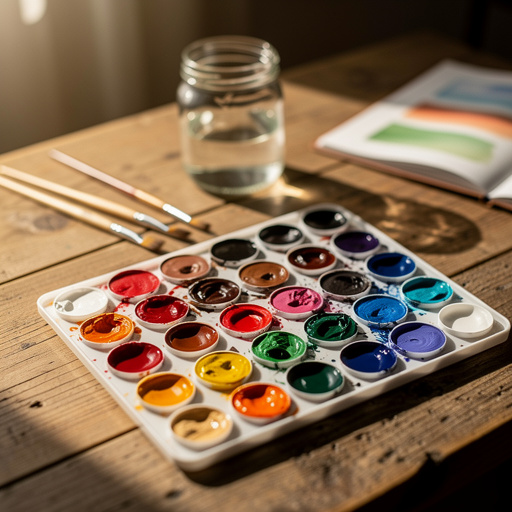
Begin by arranging your chosen paints inside the box. If you're using a paint set, place it neatly in the bottom or a designated section. For individual tubes, group them by color or size, ensuring they are upright or lying flat so they don't roll around.
- 3
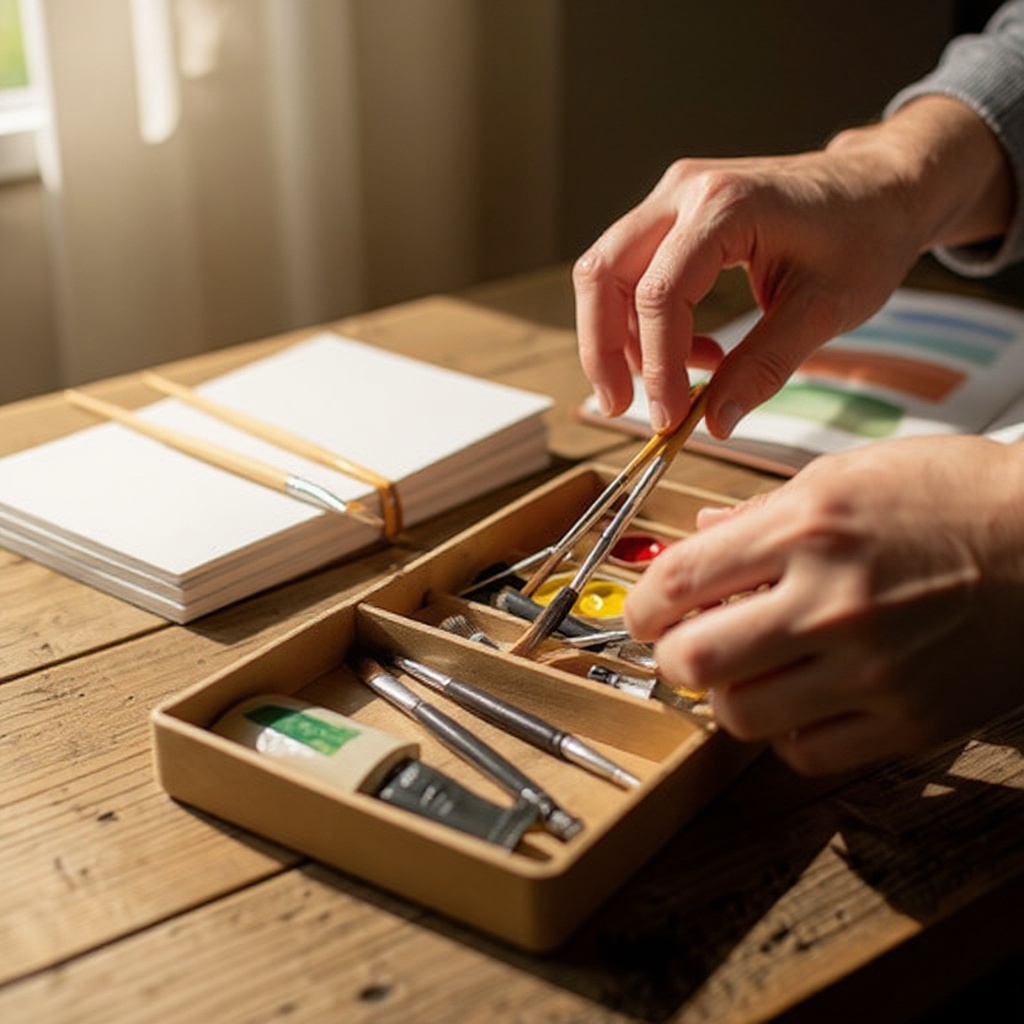
Gather your paintbrushes and group them by size or type, such as fine detail brushes, medium round brushes, and larger flat brushes. Secure them with a rubber band or place them in a dedicated compartment or sleeve to prevent them from getting bent or damaged.
- 4
Place your palettes or old lids for paint mixing into the box. These will be essential for blending colors and creating custom shades, so ensure they are easily accessible.
- 5
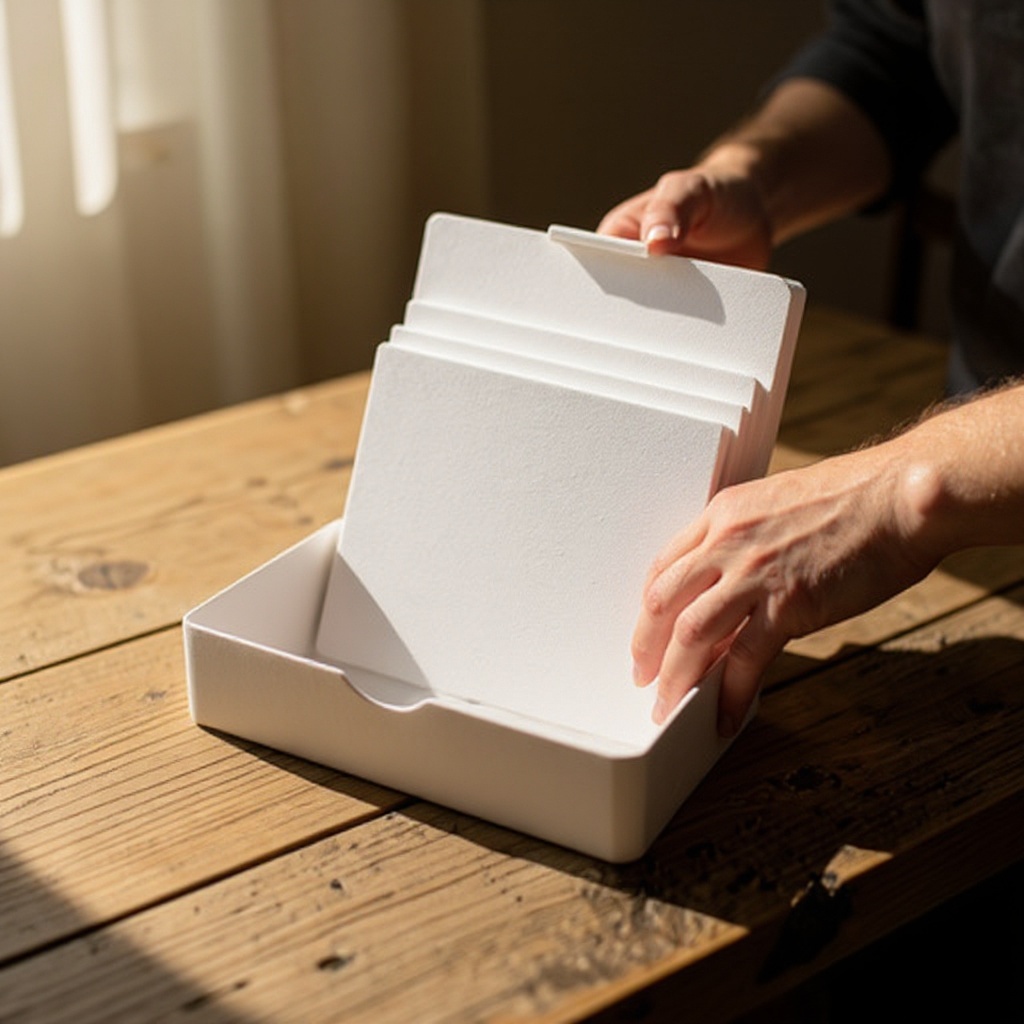
Add your paper or canvases to the kit. If using paper, you can stack it neatly in a protective sleeve or folder to prevent bending. For canvases, ensure they are placed flat or upright against the side of the box.
- 6
Include your spill-proof water container. Ensure the lid is securely fastened to prevent any accidental leaks during transport or storage, and make sure it's a size that fits comfortably within your chosen container.
- 7
Tuck in a roll of paper towels or a few clean rags for easy cleanup. These are crucial for wiping excess paint from brushes, cleaning up spills, and drying your hands.
- 8
If you have any optional extras like stencils, sponges, glitter, markers, or crayons, add them to the kit now. These can add extra dimensions and fun to your painting sessions.
- 9
Arrange everything so it fits snugly and won't shift around too much during transport. You can use smaller items like paint tubes or folded rags to fill any gaps and keep everything in place.
- 10
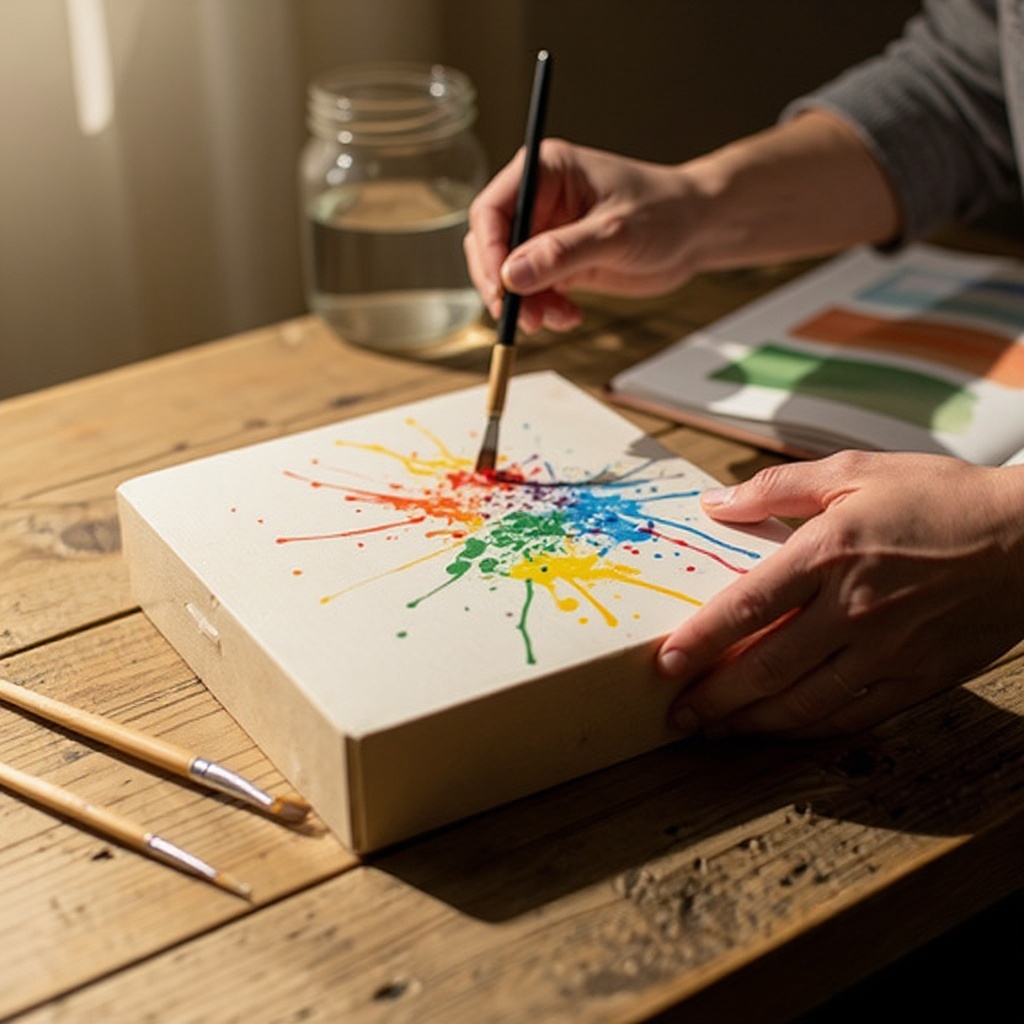
Close the box and decorate the outside with paint, markers, or stickers to personalize your DIY painting kit! This step adds a personal touch and makes your kit instantly recognizable.
- 11
Consider adding a small sketchbook or notepad to your kit. This is perfect for jotting down ideas, sketching out compositions before painting, or practicing different brush strokes and color mixing techniques.
- 12
If you're including a variety of paints, such as watercolors or gouache alongside acrylics, ensure you also include the appropriate tools. For watercolors, this might mean a smaller water cup and a sponge for lifting color, while gouache might benefit from a slightly larger brush selection.
- 13
For added organization, you can use small ziplock bags or dividers within the box to separate different types of supplies, like brushes, paints, and embellishments. This makes finding what you need much quicker.
- 14
Test the fit of all your items before closing the lid. Make sure nothing is pressing too hard against another item, which could cause damage, and that you can easily remove and replace each component.
- 15
If your container has a handle, ensure it's sturdy enough to carry the weight of all your supplies. If not, consider reinforcing it or choosing a lighter-weight container.
- 16
Add a small laminated instruction card or a list of suggested painting prompts inside the lid. This can be helpful for sparking creativity when you're feeling uninspired.
- 17
Ensure any liquid mediums or glues are sealed very tightly and placed in a way that minimizes the risk of leakage, perhaps in a separate small waterproof bag within the kit.
- 18
Finally, give your kit a good shake (gently!) to ensure everything is secure. If anything rattles excessively, adjust the arrangement to make it more stable.
Tips & Troubleshooting
- 1For younger children, consider using washable paints to make cleanup even easier. This significantly reduces stress for parents and allows children to explore their creativity without worry.
- 2If you don't have a dedicated craft box, a clean shoebox or a sturdy plastic bin works perfectly as a container. Look for one with a lid that fits snugly to keep dust out and supplies secure.
- 3Encourage creativity by including a variety of brush sizes and even some unconventional painting tools like sponges, old toothbrushes, or palette knives. These can create unique textures and effects that standard brushes might not achieve.
- 4Store your DIY painting kit in a cool, dry place to keep the paints from drying out and the paper from becoming warped. Avoid direct sunlight or extreme temperatures, which can degrade the materials over time.
- 5Consider adding a small sketchbook to the kit for planning out paintings or practicing techniques. This allows for experimentation and idea generation before committing to a canvas or paper.
- 6If you're assembling a kit for someone else, try to include a few beginner-friendly tutorials or idea cards. This can provide a helpful starting point and boost their confidence as they begin to paint.
- 7For a more portable kit, opt for smaller paint tubes and canvases. You can also use a smaller, more compact container like a sturdy makeup bag or a small tackle box.
- 8Don't forget to include a small rag or sponge for blotting excess water from brushes. This is crucial for controlling the amount of water on your brush, which directly impacts paint consistency and application.
Related Activities You Might Enjoy
Frequently Asked Questions
What are the essential items for a DIY painting kit?
The essentials for a DIY painting kit include a sturdy container to hold everything, a selection of assorted paints (acrylics are a popular and versatile choice for beginners), a variety of paintbrushes in different sizes and shapes to allow for diverse strokes, a surface to paint on such as mixed media paper or small canvases, and a spill-proof container for water to rinse brushes. Don't forget paper towels or rags for cleanup. These core components ensure you have everything needed to start painting right away, making it a convenient and self-contained art experience.
How do I make a painting kit for kids?
To make a painting kit for kids, prioritize safety and ease of use. Use washable paints and non-toxic brushes. Select a sturdy, easy-to-open container, perhaps a colorful plastic bin or a decorated shoebox. Include a variety of fun surfaces like thick paper, small canvases, or even cardboard cutouts. Add optional extras like stencils, sponges, glitter glue, or chunky crayons for extra sensory and creative engagement. Ensure all items are age-appropriate and supervise young children during use.
Can I include different types of paint in my DIY kit?
Yes, you can absolutely include different types of paint in your DIY kit! While acrylics are common for DIY kits due to their versatility and quick drying time, you could also add watercolors, tempera paints, or even finger paints, depending on the desired painting experience. If you mix paint types, ensure your kit includes the appropriate surfaces and tools for each. For instance, watercolors work best on watercolor paper, and finger paints require a washable surface and easy cleanup.
How much does it cost to make a DIY painting kit?
The cost of a DIY painting kit can vary greatly depending on the supplies you choose. You can create a very affordable kit using basic acrylic paints from a craft store, a set of inexpensive brushes, and a stack of mixed media paper, potentially costing around $20-$40. Alternatively, you could opt for higher-quality materials like professional-grade paints, premium brushes, and stretched canvases for a more premium feel, which could range from $75 to $150 or more. Shopping sales and utilizing coupons can help manage the budget.
What are some good optional additions to a DIY painting kit?
Beyond the essentials, several optional additions can enhance your DIY painting kit. Consider including a small sketchbook for preliminary drawings and color studies, artist's tape for creating clean lines and borders, a palette knife for textured applications, or a variety of sponges and unconventional tools like bubble wrap or old toothbrushes for unique mark-making. Glitter, metallic paints, or even small embellishments like sequins can add sparkle and dimension. A small, laminated guide with basic color theory or painting techniques can also be a valuable addition for beginners.
How do I ensure my DIY painting kit is portable and organized?
To ensure your DIY painting kit is portable and organized, start with a sturdy container that has a secure lid, such as a craft box, tackle box, or a durable plastic bin. Utilize internal dividers, small ziplock bags, or even custom-cut foam inserts to keep items from shifting and to separate different types of supplies. Arrange heavier items at the bottom and lighter items on top. Group similar items together, like all your brushes in one compartment and paint tubes in another. A well-organized kit makes it easy to find what you need, even on the go.
What Next?
Your custom DIY painting kit is now ready to inspire! Consider adding a small easel or a portable palette knife for more advanced techniques. Once created, store your kit in a cool, dry place to preserve the paints. Display your finished masterpieces with pride, perhaps by framing them or creating a dedicated art wall. This kit is just the beginning; you can easily replenish it with new colors, brushes, or surfaces as your artistic journey evolves, making it a continuously evolving source of creative joy.
Free: 10 Paper Crafts Anyone Can Make in 5 Minutes
Get our beginner guide + new craft ideas weekly.
No spam. Unsubscribe anytime.
Did you complete this activity?
Related
You might also like
Egg Carton Succulent Planters
Cardboard Box Ukulele

Printable Music Note Garland
Bunny Ear Paper Lanterns
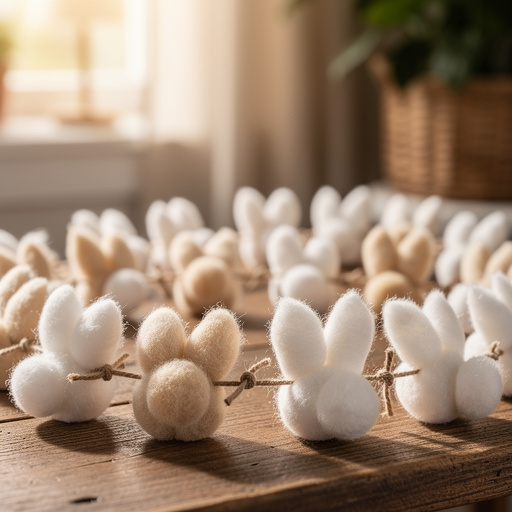
Bunny Tail Cotton Ball Garland