The Best Way to Make a Bird Watching Book — Methods, Materials & Tips Compared
Discover how to choose and use bird watching books, and craft your own personalized birding journal to enhance your nature adventures.
Quick answer
To make a bird watching book, you need a sturdy notebook, pens, colored pencils, and a chosen field guide. This project takes about 60-90 minutes for setup and initial crafting.
What you need
Shop on Amazon · As an Amazon Associate we earn from qualifying purchases. Links above are affiliate links — we may earn a commission at no extra cost to you.
Embarking on a bird watching journey is a rewarding way to connect with nature, and a dedicated journal can significantly deepen your experience. This DIY project allows you to create a personalized birding book, transforming a simple notebook into a treasure trove of your observations and discoveries. It's perfect for budding ornithologists, nature enthusiasts of all ages, or anyone looking to add a creative and organized dimension to their outdoor explorations. Crafting your own journal makes the process more engaging and ensures you have a unique record of your avian encounters.
On this page
Step-by-Step Instructions
- 1
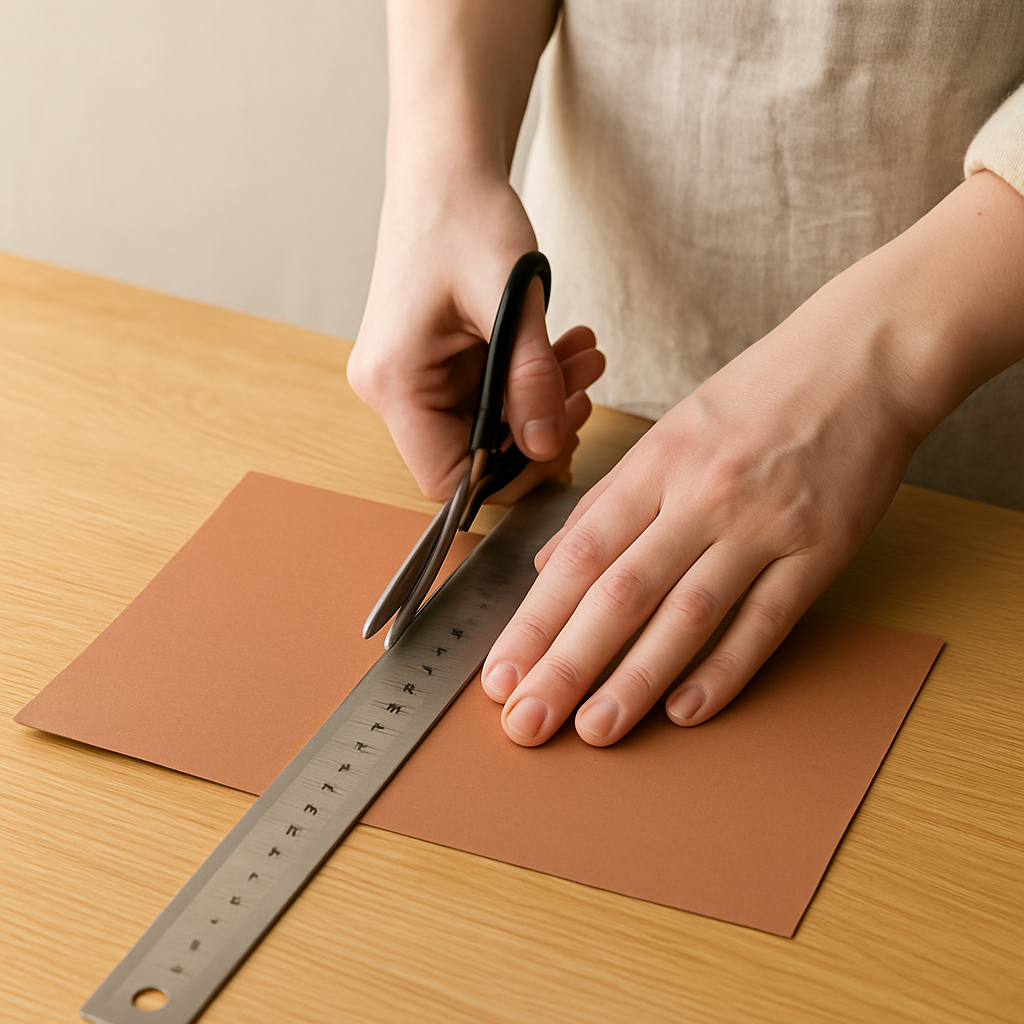
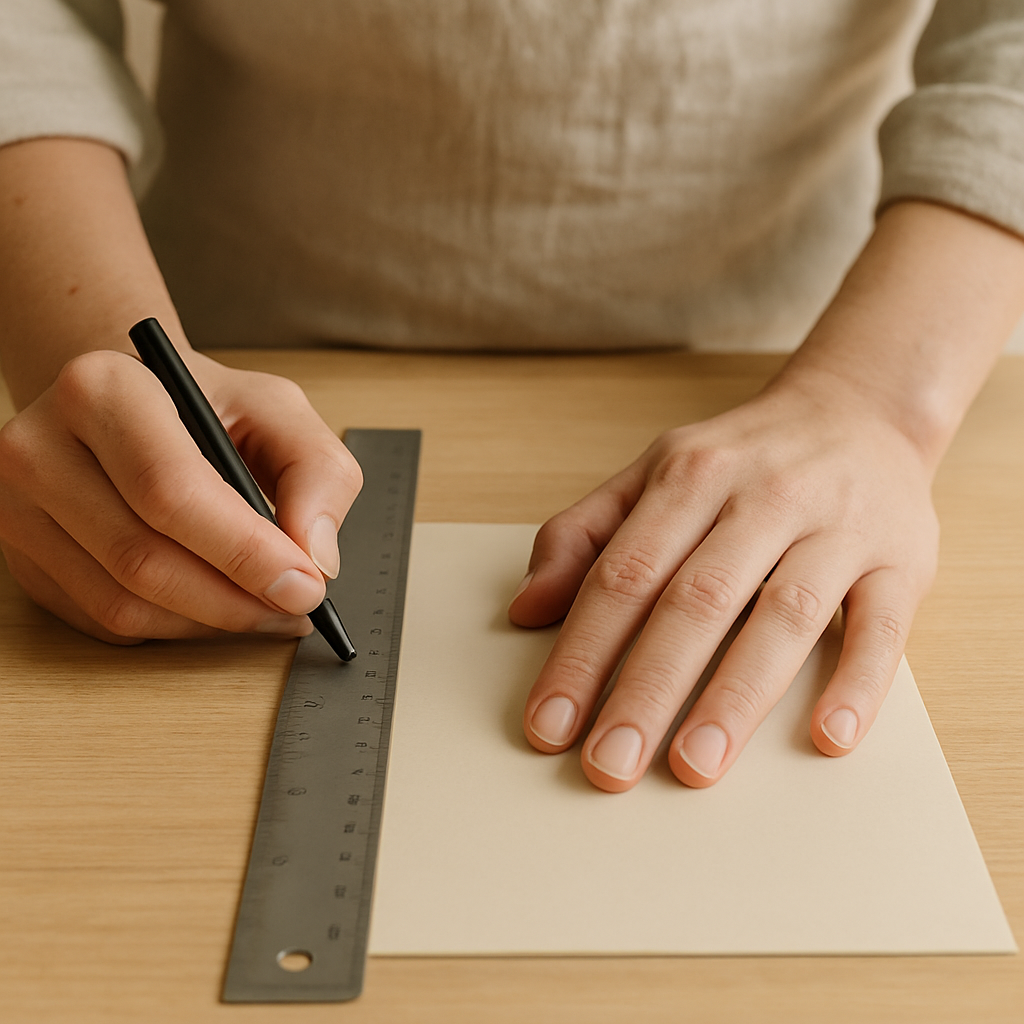
Step 1: Prepare your journal cover. Cut a piece of the A4 cardstock to 21cm x 15cm. This will be your reinforced cover, providing extra durability and a personalized aesthetic for your birding adventures. Ensure your cut is straight for a professional finish.
- 2
Step 2: Measure and mark 1cm in from the left edge of the cardstock cover. This margin will help align it with the notebook's spiral binding, ensuring a neat and secure attachment. Use your ruler for precision.
- 3
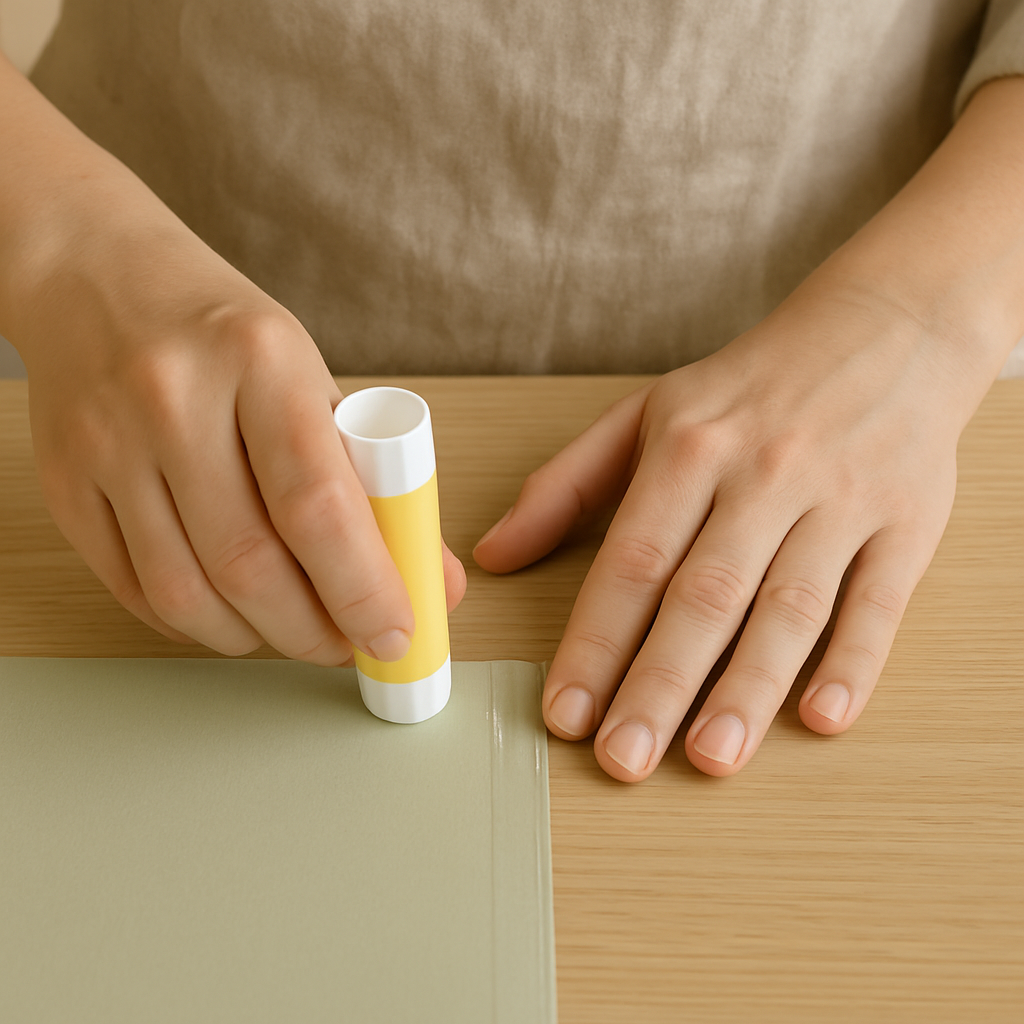
Step 3: Apply a thin, even layer of glue stick along the 1cm margin you just marked on the cardstock. Ensure full coverage without excess glue, as too much can cause the paper to wrinkle or warp. A light, consistent application is key.
- 4
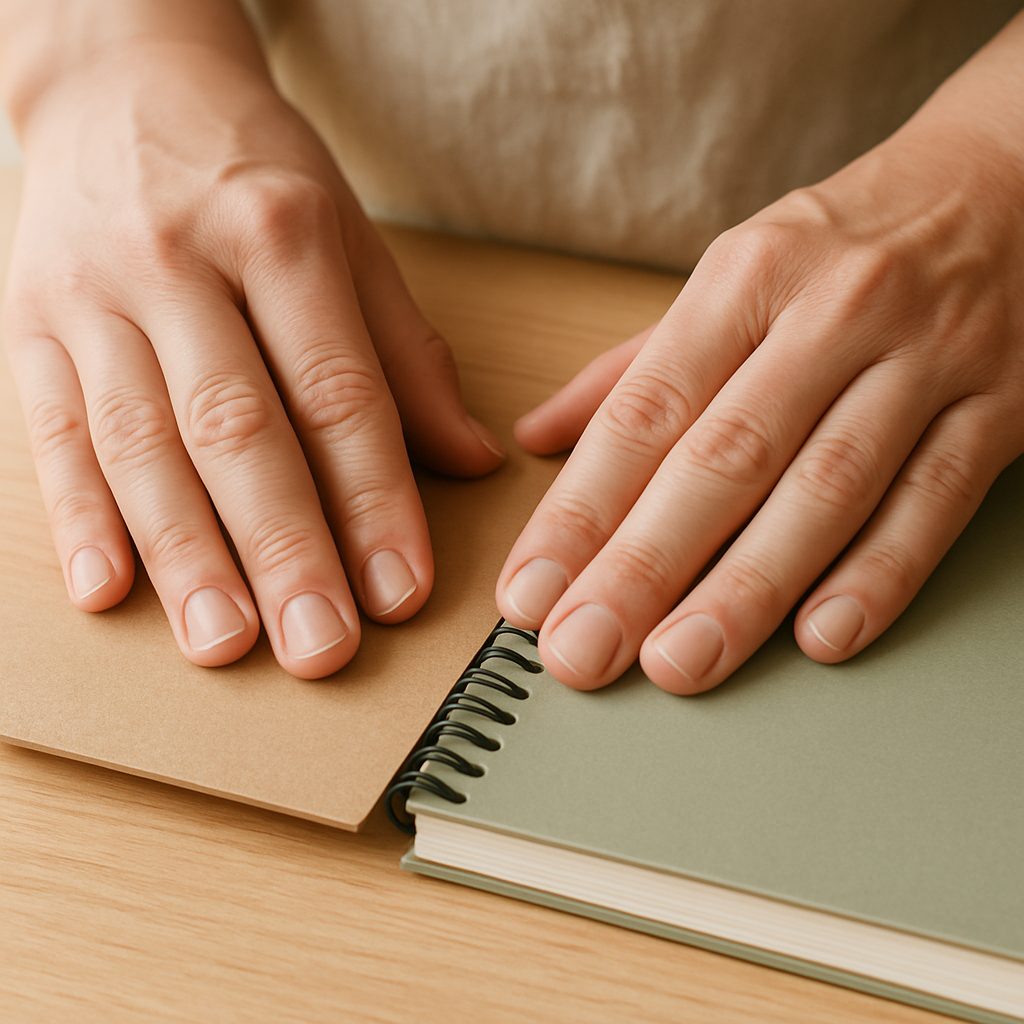
Step 4: Carefully align the glued margin of the cardstock with the left edge of your A5 notebook's original cover, ensuring the spiral binding of the notebook fits snugly within the cardstock's edge. Press firmly for 30 seconds to secure the bond.
- 5
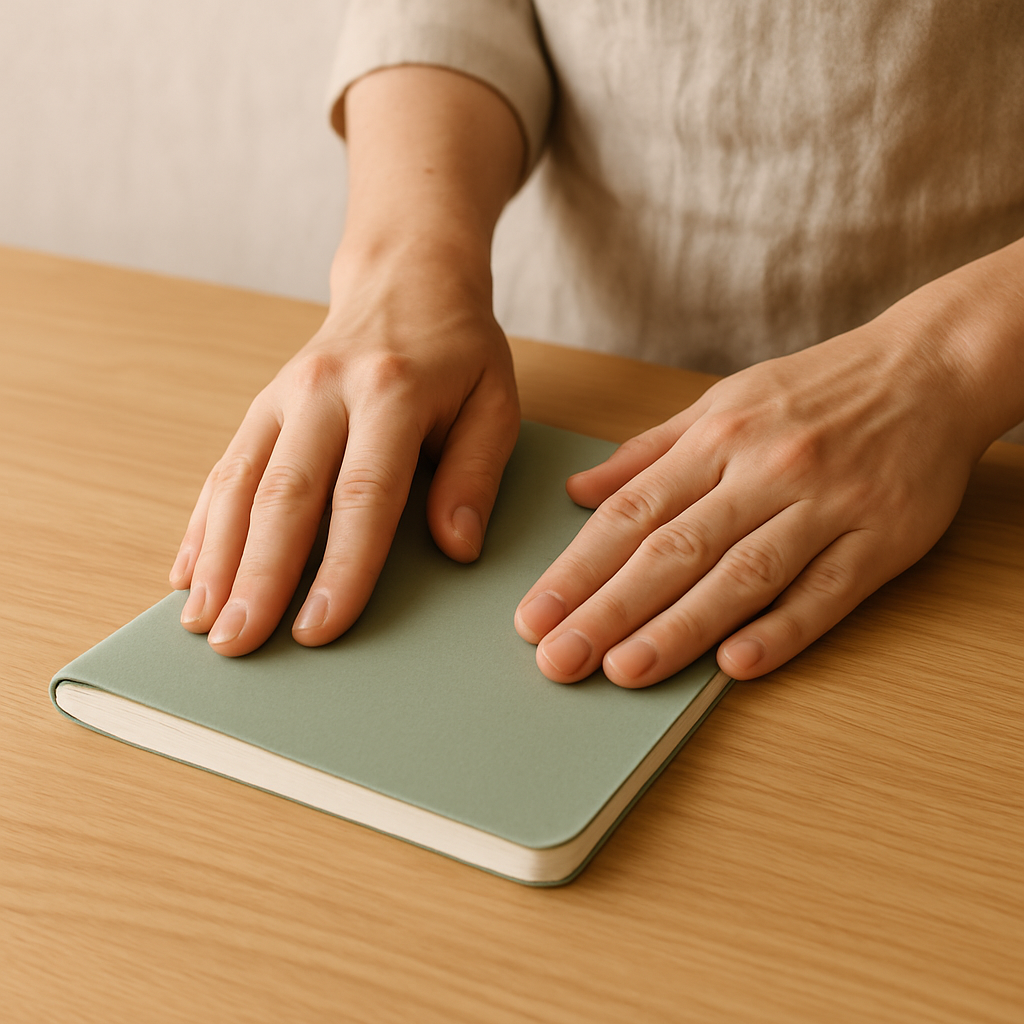
Step 5: Once dry, gently fold the reinforced cover over the notebook's front page. The cardstock should lie flat against the original cover, creating a smooth surface for decoration. If there are any bumps, gently smooth them out with your fingers.
- 6
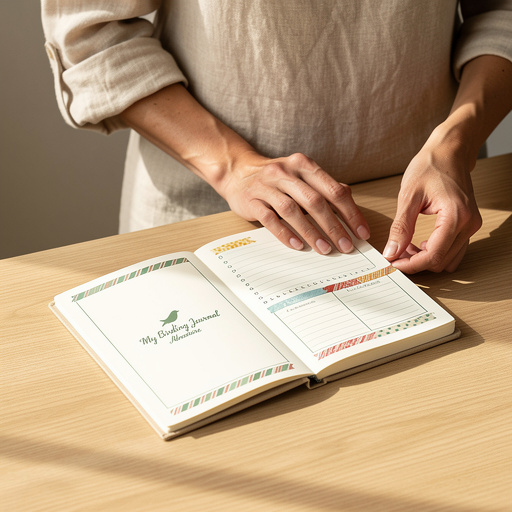
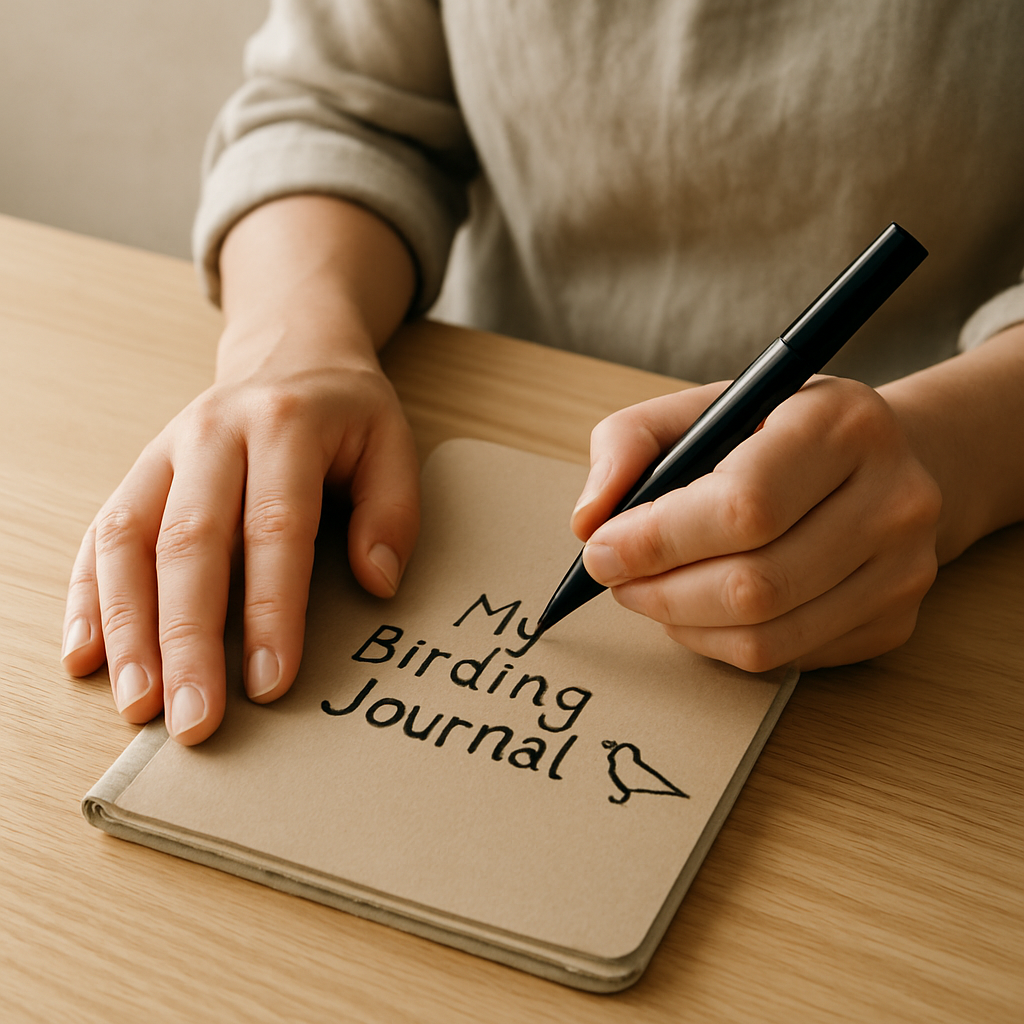
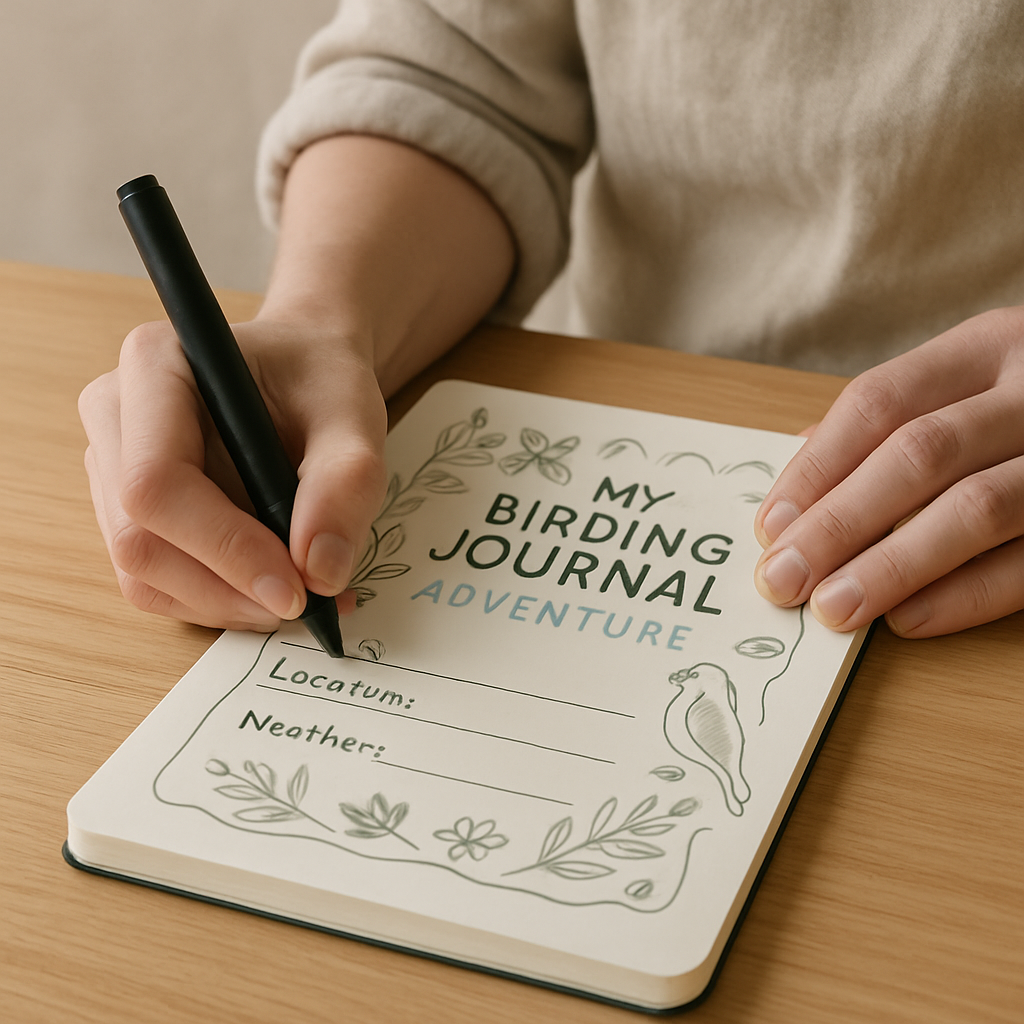
Step 6: Using the black marker, write 'My Birding Journal' centered on the reinforced cover, about 4cm down from the top edge. You can add a small bird drawing next to it if you like, such as a simple silhouette or a stylized feather, to personalize your journal's title.
- 7
Step 7: Open the notebook to the first page. Measure 2cm from the top edge and draw a horizontal line across the page with your ruler and marker. This is your date line, providing a dedicated space to record when your observation took place.

- 8
Step 8: Below the date line, measure 3cm down and draw another horizontal line. This creates space for location and weather notes, allowing you to capture crucial environmental context for each sighting. Be sure to leave enough room for descriptive text.

- 9
Step 9: Below the second line, draw a large, lightly sketched rectangle, approximately 10cm wide and 8cm tall. This is your 'Observation Sketch' area, designed to hold your visual record of the bird's appearance.

- 10
Step 10: To the right of the sketch area, create three columns using your ruler and marker: 'Bird Species', 'Number Seen', and 'Notes'. Make each column about 2cm wide, providing dedicated spaces for identifying the bird, quantifying your sighting, and jotting down behaviors or other details.

- 11
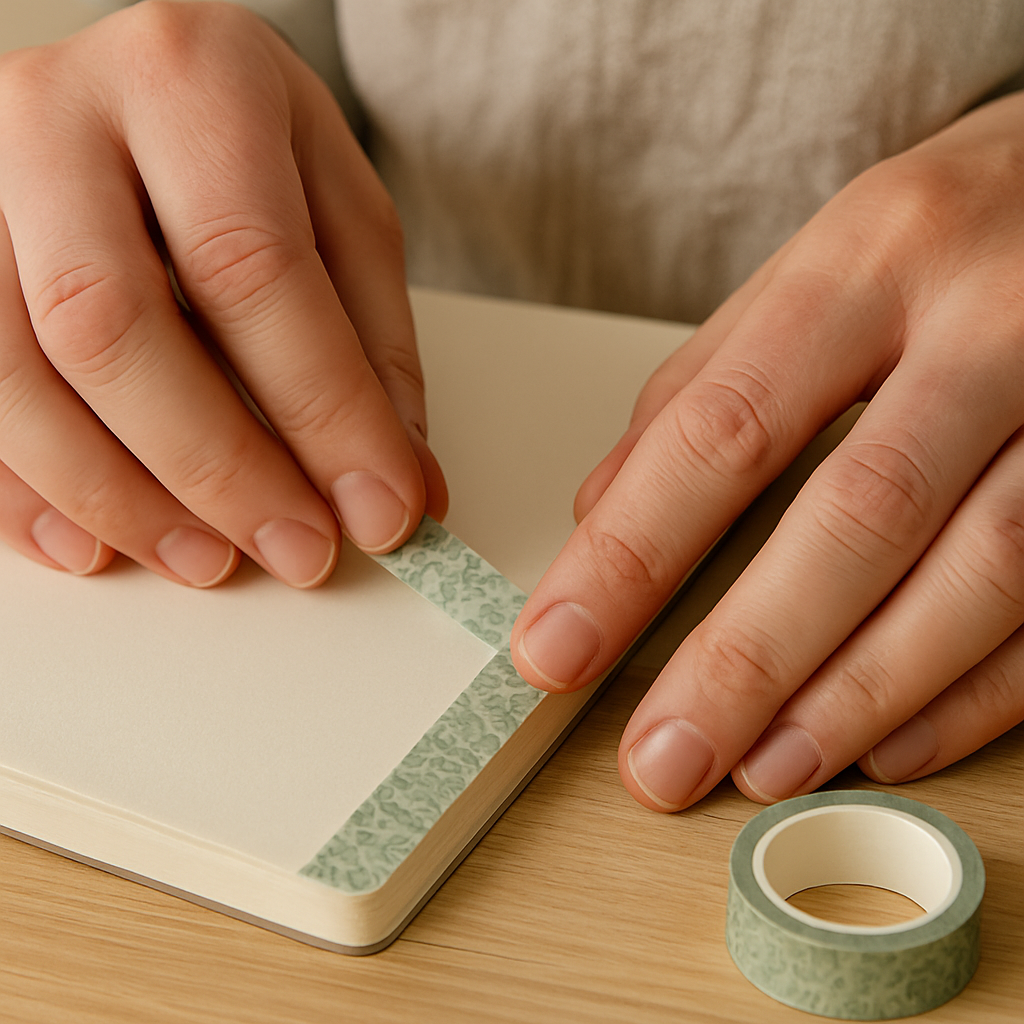
Step 11: Decorate the page edges with washi tape. Tear or cut small strips of washi tape (approx. 5cm long) and apply them along the outer edge of the page, overlapping slightly. This adds a touch of color and visual appeal, making your journal more engaging.
- 12
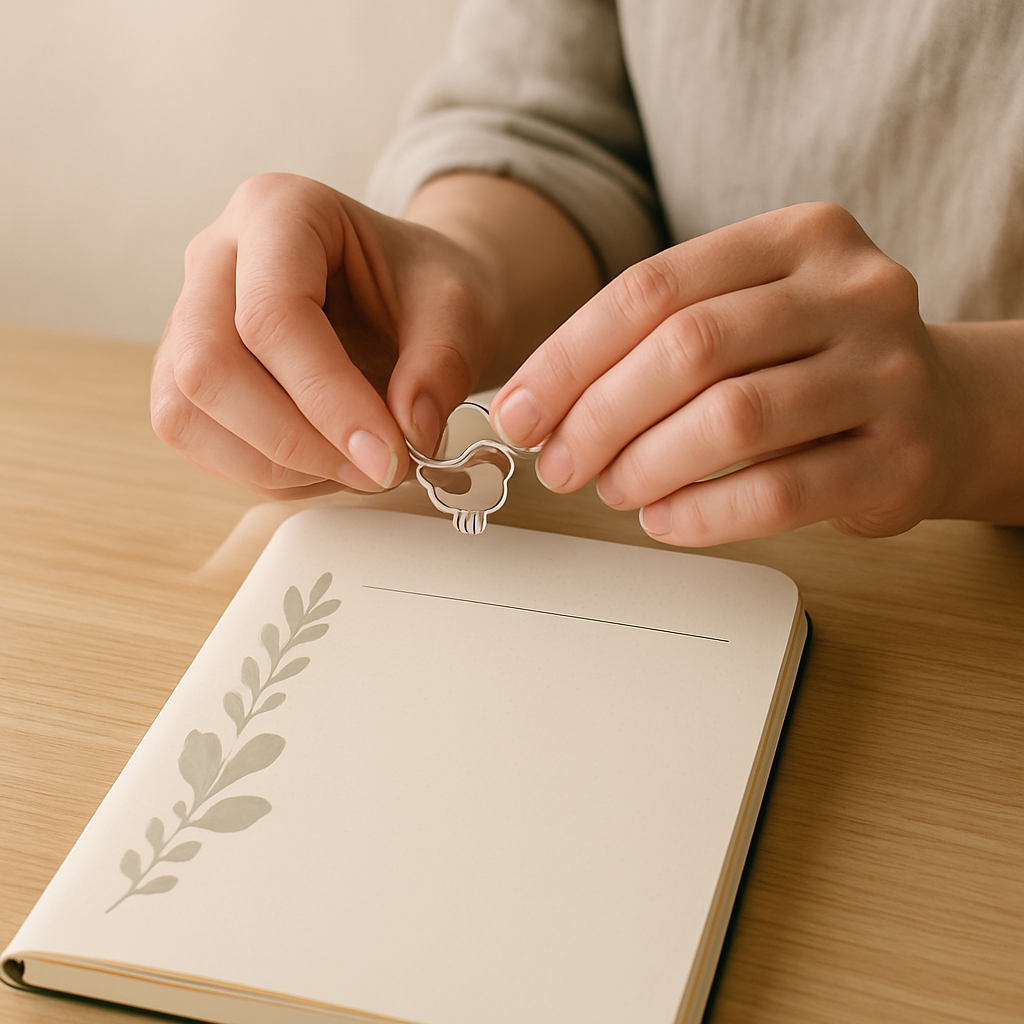
Step 12: If using bird stickers, place one or two near the top of the page, above the date line, for a decorative touch. These can add a whimsical element and further personalize your journal's aesthetic.
- 13
Step 13: For younger children (ages 6-8), pre-draw the lines and boxes on the pages before they start. They can focus on coloring and decorating, making the journaling process more accessible and enjoyable for them.
- 14
Step 14: When you spot a bird, open your journal. Fill in the date, location (e.g., 'Backyard', 'Local Park'), and weather (e.g., 'Sunny', 'Windy'). This foundational information is crucial for contextualizing your observations.
- 15
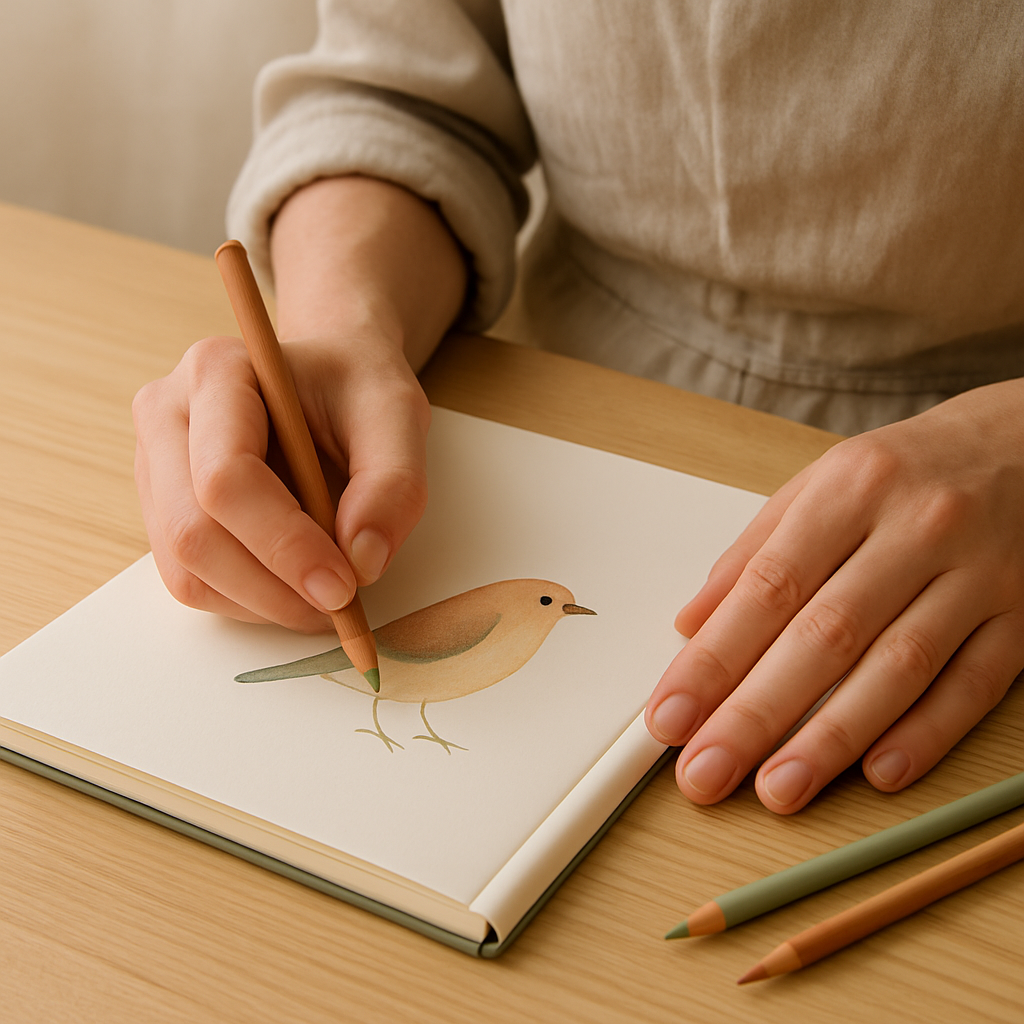
Step 15: Try to sketch the bird in the observation area. Don't worry about perfection; focus on capturing key features like beak shape, color patterns, and size relative to common objects. Quick, gestural sketches are often more effective than trying for photorealism.
- 16
Step 16: Identify the bird using your field guide (if you have one) and write its name, the number you saw, and any interesting behaviors in the columns. If you're unsure, write down descriptive notes that might help you identify it later.
- 17
Step 17: Use your colored pencils to add color to your sketch or to the page borders. This makes your journal visually engaging and helps solidify the bird's appearance in your memory. Experiment with shading to add depth.
- 18
Step 18: For advanced users, create a separate section at the back for 'Life List' – a chronological record of every new species you identify. This section is a fantastic way to track your birding progress over time.
- 19
Step 19: Consider adding a 'Habitat Notes' section on each page, perhaps a smaller box near the location/weather area. This can be used to describe the type of environment the bird was found in, such as 'coniferous forest,' 'wetland,' or 'urban garden,' which aids in understanding bird distribution.
- 20
Step 20: For each entry, add a small space for 'Sound Notes.' Describe the bird's call or song using onomatopoeia or descriptive words (e.g., 'a sharp chirp,' 'a melodic trill,' 'a harsh caw'). This adds another sensory dimension to your journal.
- 21
Step 21: If you're using a field guide, make a note of the page number where you found the bird's information. This makes it easier to revisit the details later and cross-reference your observations.
- 22
Step 22: Dedicate a small corner on each page for 'Behavioral Observations.' Note down how the bird was acting – foraging, preening, interacting with others, flying patterns, etc. This adds valuable ecological context.
- 23
Step 23: For particularly memorable sightings, consider leaving a bit more space for a more detailed narrative description or even a larger sketch. This allows for capturing the essence of a special encounter.
- 24
Step 24: After filling out a page, take a moment to review your notes and sketches. This reflection can help reinforce your learning and identify any patterns or curiosities you might want to explore further.
Tips & Troubleshooting
- 1Choosing the Right Field Guide: For beginners, look for guides with clear illustrations or photographs, range maps, and simple descriptions. Regional guides (e.g., 'Birds of Eastern North America') are often more manageable than continent-wide ones. If identification is tricky, a guide with a visual index (pages showing birds by shape or color) can be a lifesaver, allowing you to quickly narrow down possibilities based on general appearance.
- 2Effective Field Sketching: Don't aim for a masterpiece! Focus on capturing the bird's silhouette, key markings (like wing bars or eye rings), and posture. Note colors quickly before they fade from memory, perhaps using color swatches or abbreviations. If you can't sketch, write a detailed description instead, focusing on shape, size, and distinguishing features.
- 3Troubleshooting Washi Tape: If washi tape isn't sticking well, especially on glossy notebook pages, try lightly sanding the edge with a fine-grit sandpaper first to create a slightly rougher surface. Alternatively, use a thin layer of craft glue over the tape once applied for extra hold, ensuring it dries clear.
- 4Age Adaptation for Younger Kids: For children under 5, simplify the journal pages drastically. Just have a large space for drawing and a line for 'What I Saw.' You can pre-cut bird shapes from construction paper for them to glue onto the page and color, or provide bird stamps for them to use.
- 5Handling Tricky Folds: If the cardstock cover doesn't fold cleanly, it might be too thick or the fold isn't precise. Try scoring the fold line first with the back of a butter knife or a bone folder before bending; this creates a cleaner crease and a more professional look.
- 6Enhancing Durability: To make your journal last longer, consider covering the entire front and back covers with clear contact paper after decorating. This protects against spills and wear and tear during outdoor adventures, especially if you plan to take your journal into the field frequently.
- 7Paper Choice Matters: While 90gsm is good, if you plan to use wetter media like watercolors or even some heavier markers, consider using a notebook with thicker paper (120gsm or higher) to prevent bleed-through. Acid-free paper is also ideal for long-term preservation of your notes and sketches.
- 8Organization is Key: Beyond the basic layout, consider adding a table of contents at the beginning of your journal. This will make it much easier to find specific entries or species later on, especially as your journal fills up with observations.
Related Activities You Might Enjoy
Frequently Asked Questions
What's the difference between a field guide and an identification guide?
A field guide is specifically designed for use outdoors, prioritizing portability and quick reference. It typically features illustrations or photographs, concise descriptions, range maps, and easy-to-spot identification tips. An identification guide, on the other hand, might be more comprehensive and detailed, potentially including in-depth scientific information, extensive behavioral notes, and a wider array of subspecies or variations. While field guides focus on the immediate question of 'what is it?', identification guides can delve deeper into 'why is it like that?' and offer more nuanced comparisons between similar species. For most beginner birdwatchers, a good regional field guide is the most practical and recommended starting point.
How do I effectively use a bird watching book in the field?
Start by observing the bird's key features: size, shape, color patterns (especially on wings, head, and tail), beak shape, and behavior (how it flies, perches, or feeds). Then, consult your field guide, looking for birds matching your observations and paying close attention to range maps to confirm if the species is likely in your area. Don't get discouraged if you can't identify it immediately; use the symbols in the guide (like 'common,' 'rare,' 'migratory') to narrow down possibilities. Your DIY journal is perfect for noting down these observations and sketches, helping you remember details later and aiding in identification when you have more time.
Can I make a bird watching book without buying a field guide?
Absolutely! While a field guide is incredibly helpful for accurate identification, you can certainly start your bird watching journey with just a notebook and keen observation skills. Focus on sketching the birds you see and describing their behaviors, colors, and sizes in detail. You can then use online resources like the Cornell Lab of Ornithology's All About Birds website or local birding group forums to help identify your sightings later. Your DIY journal becomes a valuable record of your observations, and you can gradually add field guides as you become more invested in identifying specific species and learning more about avian life.
What kind of paper is best for a bird watching journal?
For a bird watching journal, aim for paper that can handle both pen and colored pencils without excessive bleeding or feathering. A weight of 90gsm (grams per square meter) is a good minimum for standard notebook paper, offering decent durability for writing and sketching. If you plan to use watercolors or heavier markers, consider paper that's 120gsm or higher to prevent show-through. Acid-free paper is also recommended for longevity, ensuring your notes and sketches don't yellow or degrade over time, preserving your precious birding memories for years to come.
How can I make my bird watching journal more durable for outdoor use?
To enhance the durability of your bird watching journal, especially if you plan to take it on hikes or to various outdoor locations, consider adding a protective layer. Covering the entire front and back covers with clear contact paper after decorating provides excellent protection against spills, rain, and general wear and tear. For the interior pages, using a notebook with slightly thicker paper (100gsm or more) can also help prevent ink from bleeding through, making your entries more resilient. Laminating individual pages is an option, but can make the journal bulky; a good quality cover is usually sufficient.
What are some creative ways to personalize my bird watching journal?
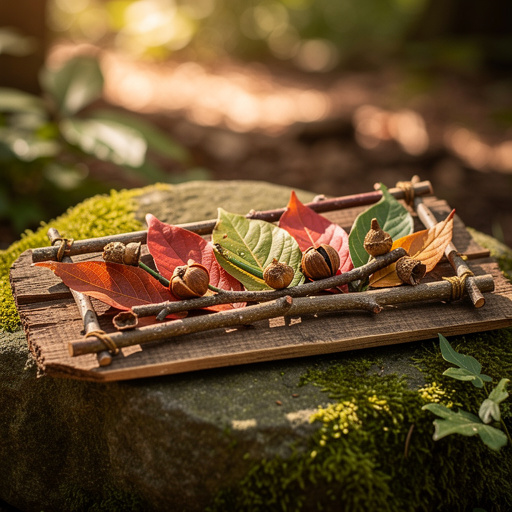
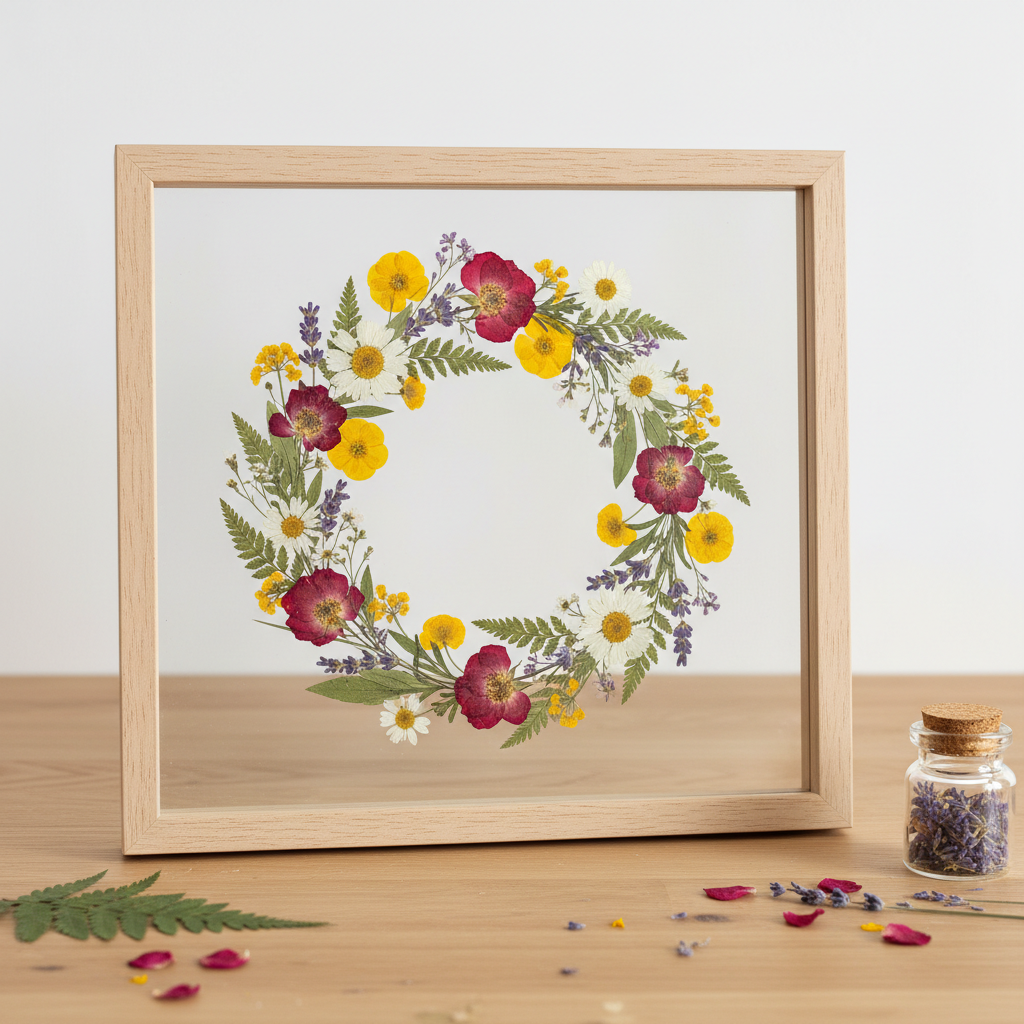
Personalization can make your bird watching journal even more special. Beyond the title and decorative washi tape, consider adding a personal touch with bird-themed stickers, rubber stamps, or even pressed flowers and leaves found on your outings. You could also create custom dividers for different sections, like 'Local Birds,' 'Migratory Visitors,' or 'Unidentified Sightings.' Another idea is to include a 'Birding Buddy' section where you can note who you went birding with and memorable moments from that outing. The goal is to make it a reflection of your unique birding journey and personality.
What Next?
Your handmade birding journal is now ready to accompany you on countless adventures! Consider adding a ribbon bookmark to easily find your favorite pages or a small envelope glued to the inside back cover for storing pressed leaves or feathers. For a more polished look, you could also bind the reinforced cover more permanently with a few stitches along the spine. Display your completed journal on a bookshelf alongside your field guides, or keep it in a special nature-themed box. As a next step, you might explore creating specialized journals for specific birding activities, like migration tracking or bird song recording.
Free: 10 Paper Crafts Anyone Can Make in 5 Minutes
Get our beginner guide + new craft ideas weekly.
No spam. Unsubscribe anytime.
Did you complete this activity?
Related