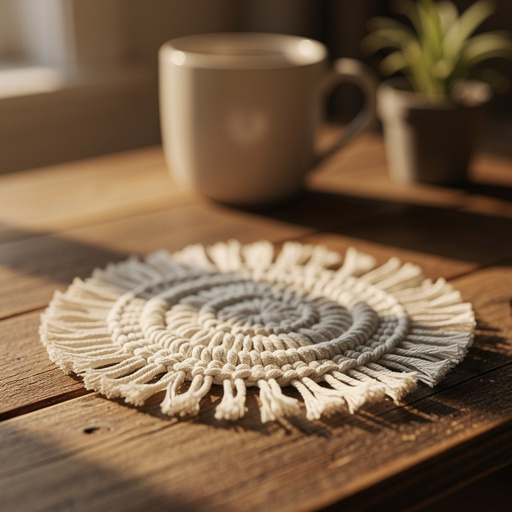
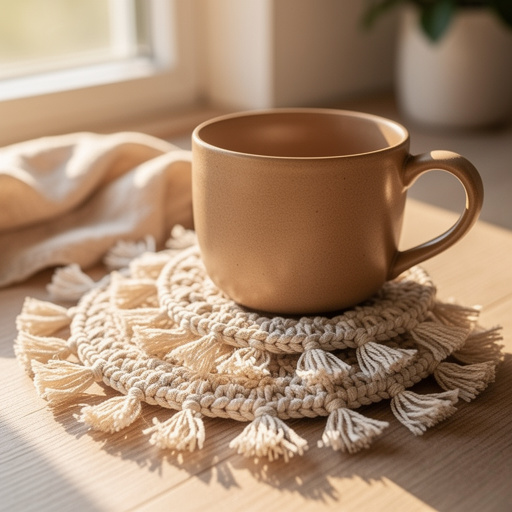
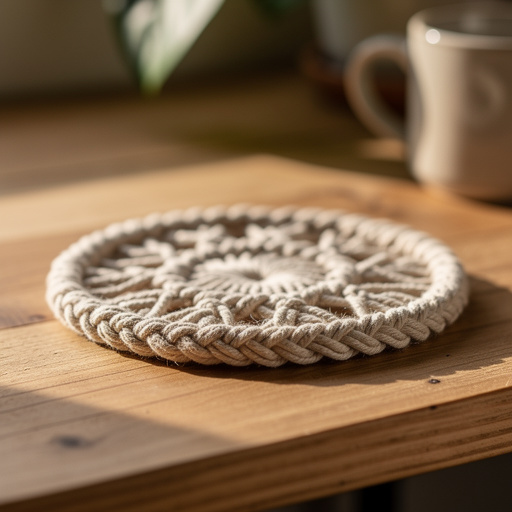
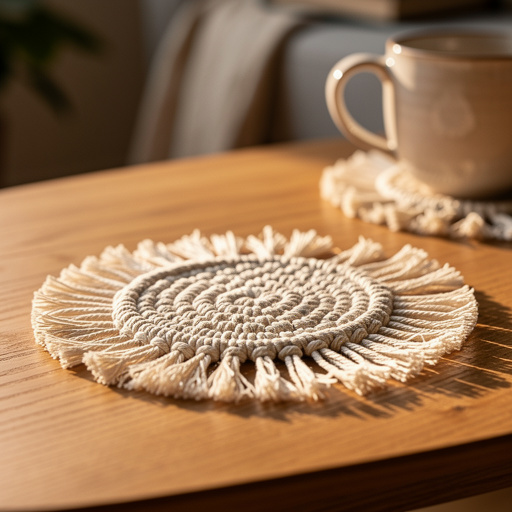
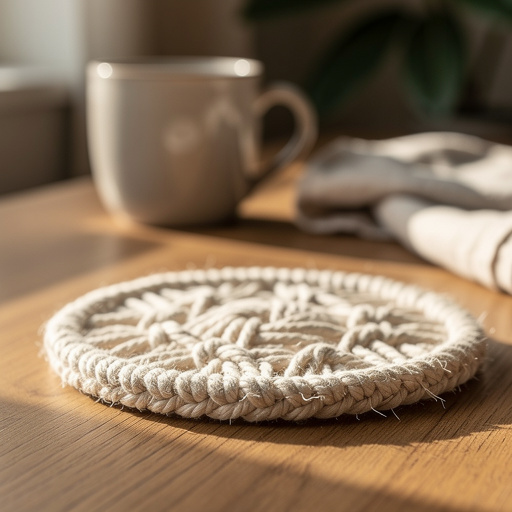
How to Make Macrame Cord Coasters — Easy Step-by-Step Guide
Create stylish and functional macrame cord coasters with this simple DIY tutorial. A perfect screen-free activity for families to add a handmade touch to their home decor.
Quick answer
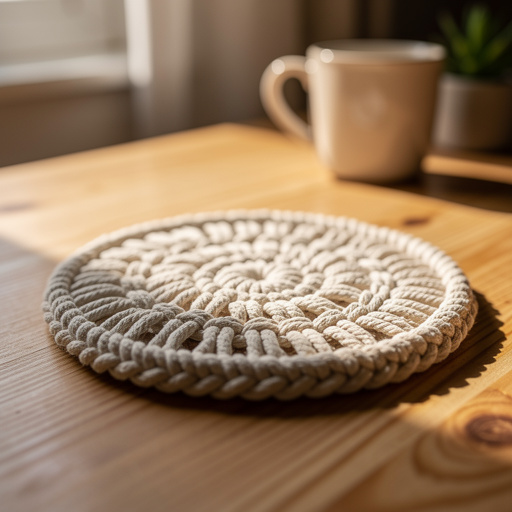
To make macrame cord coasters, you need cotton cord and scissors, taking about 20 minutes per coaster. Start by creating a Lark's Head knot. This beginner-friendly activity has 10 steps and is perfect for families with kids aged 8+.
What you need
Shop on Amazon · As an Amazon Associate we earn from qualifying purchases. Links above are affiliate links — we may earn a commission at no extra cost to you.
Looking for a charming and practical way to protect your surfaces while adding a touch of bohemian flair to your home? These macrame cord coasters are the perfect solution! This beginner-friendly project is not only incredibly satisfying to create but also offers a wonderful opportunity for screen-free family fun. Imagine gathering around a table, the gentle rhythm of knotting, and the joy of producing beautiful, handmade decor. Whether you're a seasoned crafter or completely new to macrame, this tutorial will guide you through creating these stylish coasters in no time, making them an ideal addition to any coffee table or kitchen counter.
On this page
Step-by-Step Instructions
- 1
Cut four pieces of macrame cord, each 30 inches long. Ensure your cuts are as straight as possible for a clean finish, and measure carefully to ensure all cords are the same length, which will help maintain symmetry in your coaster.
- 2
Fold each cord in half to create a loop at the top. This loop will be the starting point for attaching your cords to create the base of the coaster, so make sure the fold is crisp and even.
- 3
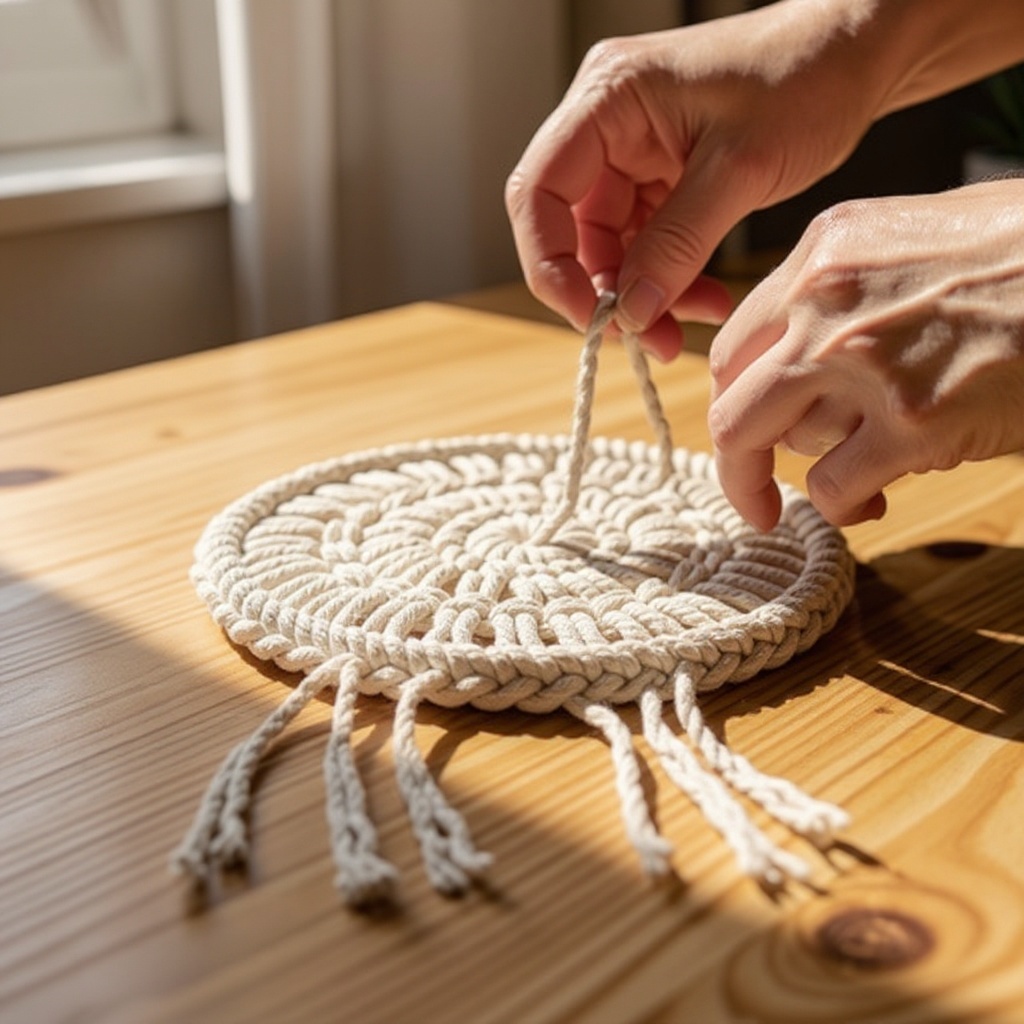
Gather all four folded cords together, aligning the looped ends at the top. Hold them firmly so that the loops are neat and the four individual cord ends hang down evenly.
- 4
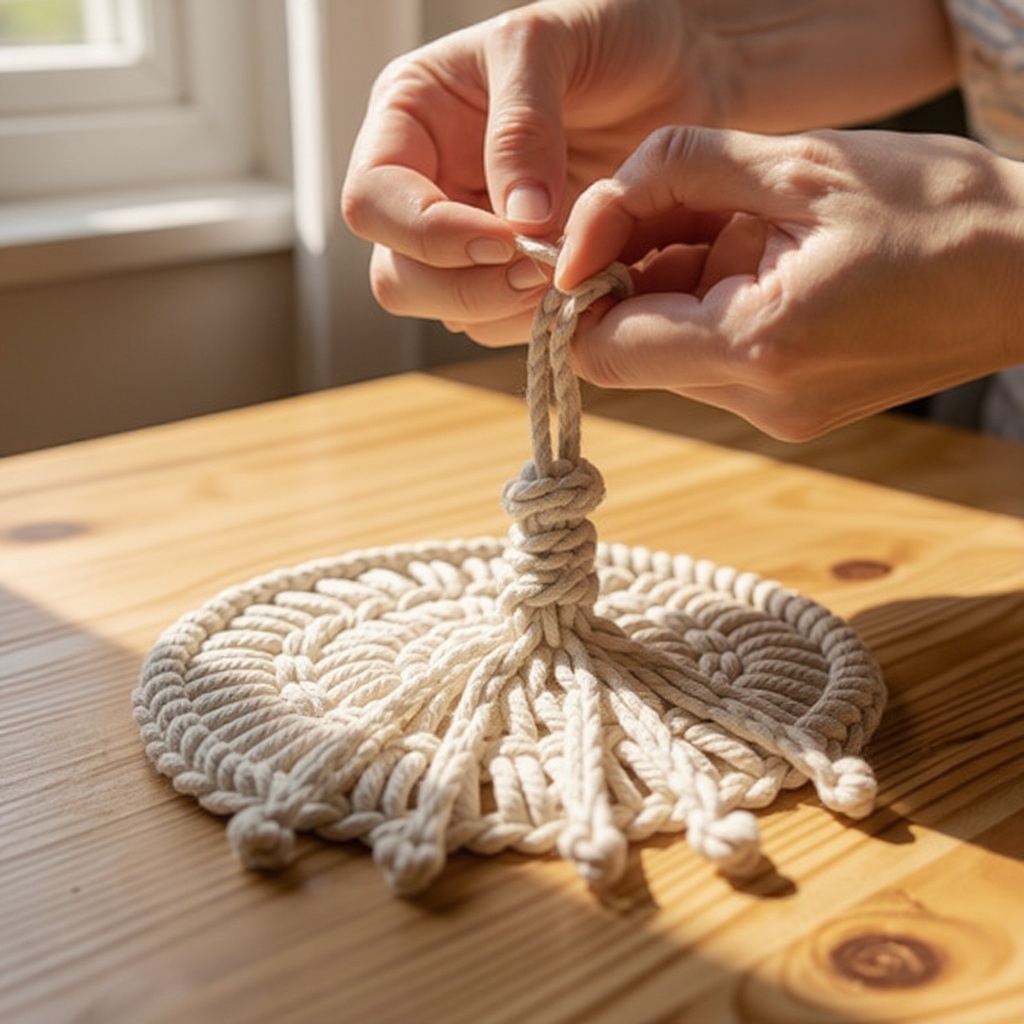
About 1 inch down from the looped ends, tie a simple overhand knot using all four cords together, securing the loops. This knot forms the foundation of your coaster, so pull it snug but not so tight that it distorts the loops above.
- 5
Separate the cords into two pairs. You will now begin working with these pairs to create the woven structure of the coaster.
- 6
Take one pair of cords and tie a simple overhand knot about 1 inch below the first knot. Ensure this knot is tied with the two cords from the same pair, and pull it snug to create a defined knot.
- 7
Repeat step 6 with the other pair of cords, tying a knot about 1 inch below the first knot. It's important to keep the spacing consistent between these knots to maintain an even pattern.
- 8
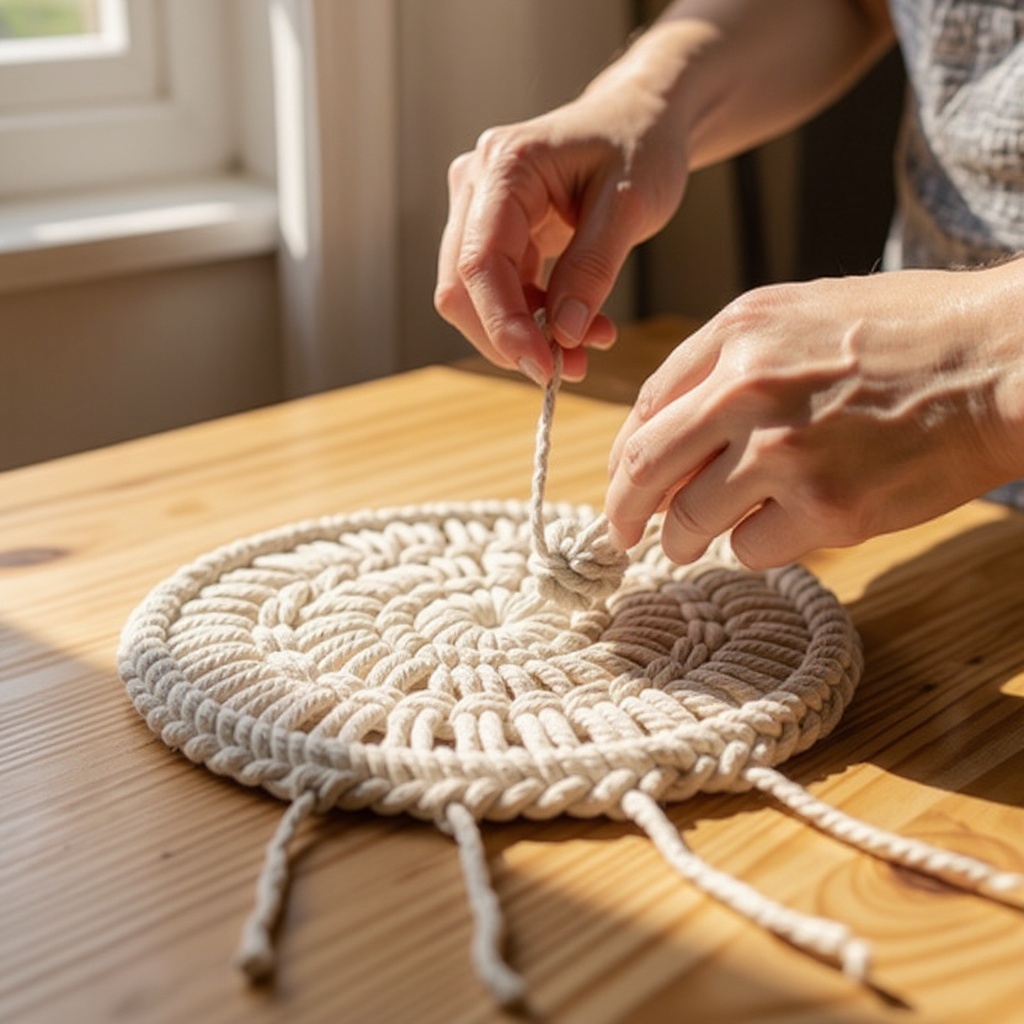
Now, take one cord from the left pair and one cord from the right pair and tie them together in an overhand knot, about 1 inch below the previous knots. This is where you start to create the characteristic woven look of macrame.
- 9
Repeat step 8 with the remaining two cords, tying them together in an overhand knot about 1 inch below the previous knot. You should now have two new knots, each formed by one cord from each of the original pairs.
- 10
Continue alternating which cords you knot together, creating a woven pattern, until you have about 1 inch of unknotted cord remaining at the bottom. This alternating knotting process is what creates the beautiful, expanding pattern of the coaster.
- 11
Gently pull and adjust the knots to ensure they are evenly spaced and snug. This step is crucial for achieving a professional and polished look for your coaster.
- 12
Trim the excess cord ends evenly at the bottom, leaving about 1 inch of fringe. Use your sharp scissors for a clean cut, and try to make the fringe as uniform as possible.
- 13
Gently unravel the fringe ends if desired for a softer, more bohemian look. You can use your fingers or a small comb to tease apart the strands of each cord, creating a fluffy fringe.
- 14
Optional: For a very neat finish, you can lightly singe the very ends of the fringe with a lighter (adult supervision is absolutely required for this step) to prevent them from fraying further over time. Alternatively, a small dab of fray check glue can achieve a similar effect without heat.
- 15
Optional: If you wish to add beads, thread them onto the individual fringe strands before unraveling them, or tie them securely onto the fringe after unraveling. Ensure the bead hole is large enough for the cord.
- 16
Optional: For added stability and protection, especially on delicate surfaces, consider gluing a small circle of felt or cork to the back of the finished coaster. This will also help prevent the coaster from sliding.
Tips & Troubleshooting
- 1For a neater finish, use sharp scissors to cut the cord. You can also lightly singe the ends with a lighter (adult supervision required!) to prevent fraying. This is especially helpful if you're not unraveling the fringe, as it keeps the ends tidy.
- 2Experiment with different knotting patterns! Once you've mastered the basic overhand knot, try incorporating square knots or spiral knots for more intricate designs. This can add a unique texture and visual interest to your coasters.
- 3To make your coasters more colorful, use different colored cords or dye your natural cotton cord before starting. Natural cotton cord takes dye beautifully, allowing for a wide range of custom color options to match your decor.
- 4If your knots are looking uneven, gently pull and adjust the cords to tighten them up. Patience is key! It's often easier to make small adjustments as you go rather than trying to fix a large section later.
- 5These coasters can be used for hot or cold drinks. For extra protection on delicate surfaces, you can glue a small piece of felt to the back. This also adds a nice finished look and prevents the macrame from snagging.
- 6Consider the thickness of your cord. Thicker cords (like 5mm) will create larger, more substantial coasters, while thinner cords (like 2mm) will result in more delicate, intricate designs. 3mm or 4mm is a great middle ground for beginners.
- 7When measuring your cord, it's always better to have a little extra than not enough. You can always trim excess, but you can't add cord once it's cut. Aim for slightly longer pieces than the minimum required.
- 8If you're working with kids, pre-cutting the cords can save time and ensure accuracy. You can also demonstrate the knots slowly and patiently, offering encouragement and praise for their efforts.
Related Activities You Might Enjoy
Frequently Asked Questions
What is the best type of cord for DIY macrame coasters?
For DIY macrame coasters, 3mm or 4mm cotton macrame cord is ideal. It's soft, easy to knot, and creates a beautiful texture that is both functional and aesthetically pleasing. Natural cotton cord is also a great choice for a rustic and organic look, as it has a lovely natural color and feel. Avoid synthetic cords like polyester or nylon for this project, as they can be slippery and harder to knot securely, and they don't offer the same warm, tactile quality as cotton. The thickness of the cord will influence the size and density of your coaster, so consider the desired outcome when making your selection.
How long does it take to make one macrame coaster?
Making one macrame coaster typically takes about 20 minutes once you're familiar with the basic knots and the process. The time can vary slightly depending on your speed, how intricate you make the pattern, and whether you choose to unravel the fringe or add embellishments. For absolute beginners, the first coaster might take a bit longer as they get the hang of the knots and the rhythm of the project. However, as you become more proficient, you'll find yourself able to create these charming coasters quite quickly, making them perfect for a relaxing afternoon crafting session or for making a set as gifts.
Can kids make macrame coasters?
Yes, kids aged 8 and up can definitely make macrame coasters with some adult supervision. The basic knots, like the overhand knot, are simple to learn and master, making it an accessible craft for younger individuals. This project is a fantastic way to develop fine motor skills, hand-eye coordination, and creativity. Adult supervision is recommended, especially when using scissors or a lighter for finishing the ends, to ensure safety. It's a wonderful screen-free activity that can foster a sense of accomplishment and pride in their handmade creations.
What are the basic knots needed for macrame coasters?
For simple macrame coasters, the most important knot you'll use is the basic overhand knot. This is the fundamental knot that you'll tie repeatedly to create the structure and pattern of the coaster. You'll also use the Lark's Head knot to initially attach the cords to form the starting loop. These two knots are fundamental to many macrame projects and are very easy to learn. Mastering these will allow you to create a beautiful and functional coaster, and they serve as a great foundation for exploring more complex macrame knots in the future.
How can I make my macrame coasters look more professional?
To achieve a more professional look for your macrame coasters, pay close attention to the consistency of your knots and the spacing between them. Ensure each knot is pulled snug and evenly. Use sharp scissors for a clean cut when trimming the fringe, and consider lightly singeing the ends with a lighter (with adult supervision) or using fray check glue to prevent unraveling. Gently brushing out the fringe can also create a softer, more finished appearance. Finally, ensuring all your starting cords are the same length is crucial for symmetry and a polished final product.
Can I use different types of cord for these coasters?
While cotton macrame cord is highly recommended for its ease of use and beautiful texture, you can experiment with other natural fiber cords like jute or hemp for a more rustic feel. However, be aware that these materials can be stiffer and may fray more easily. Synthetic cords like polyester or nylon are generally not ideal for this specific coaster pattern as they can be slippery, making knots harder to secure, and they lack the soft, natural aesthetic of cotton. If you do use a different cord, ensure it's a similar thickness (3-4mm) for best results.
What Next?
Congratulations on creating your beautiful macrame cord coasters! These versatile pieces are not just for drinks; they can also serve as small decorative mats for candles or trinkets. For a cohesive look, consider making a matching placemat or a larger centerpiece using the same knotting techniques. To store your coasters, simply stack them neatly in a basket or drawer. Don't be afraid to experiment further by incorporating different colored cords, adding beads to the fringe, or even trying out more advanced macrame knots like the half hitch or square knot for your next project. Happy crafting!
Free: 10 Paper Crafts Anyone Can Make in 5 Minutes
Get our beginner guide + new craft ideas weekly.
No spam. Unsubscribe anytime.
Did you complete this activity?
Related