How to Paint Easy Watercolor Landscapes — Step-by-Step Guide
Discover the joy of painting with our easy watercolor tutorial. Create stunning landscapes with simple techniques, perfect for a screen-free family activity. This guide breaks down the process into manageable steps, making it accessible for all ages and skill levels. Unleash your creativity and bring beautiful scenery to life on paper.
Quick answer
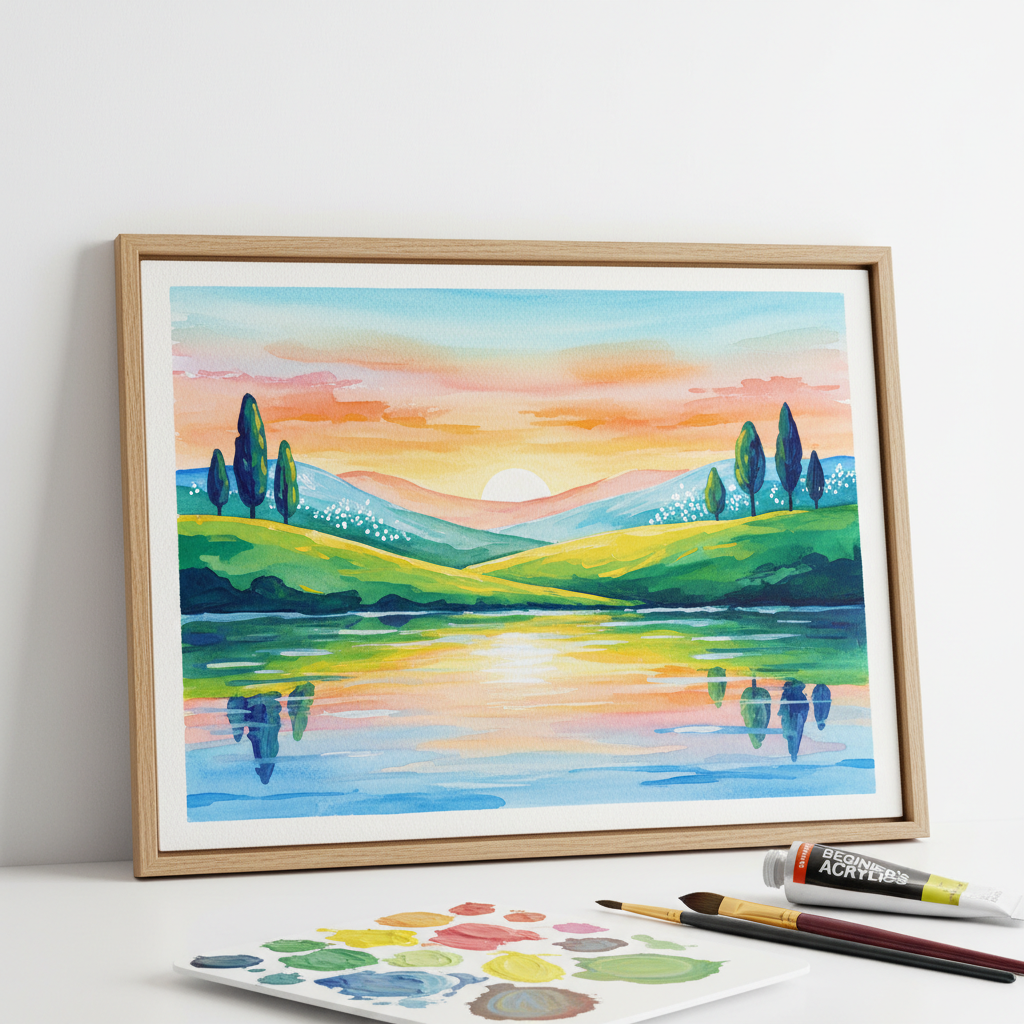
To paint easy watercolor landscapes, you need watercolor paints, brushes, watercolor paper, water, and a palette, taking about 30 minutes. Start by wetting your paper. This beginner-friendly activity has 10 steps and is perfect for families with children aged 6+.
What you need
Shop on Amazon · As an Amazon Associate we earn from qualifying purchases. Links above are affiliate links — we may earn a commission at no extra cost to you.
Embark on a creative journey with this delightful watercolor landscape tutorial, designed to be both accessible and rewarding. In a world often dominated by screens, this project offers a wonderful opportunity for screen-free family bonding and a chance to reconnect with artistic expression. Whether you're a complete novice or looking for a relaxing artistic escape, these simple techniques will empower you to create beautiful, evocative landscapes that capture the essence of nature. Prepare to be amazed by what you can achieve with just a few basic supplies and a little imagination.
On this page
Step-by-Step Instructions
- 1
Gather all your watercolor supplies in a well-lit area, ensuring you have enough space to work comfortably. Lay out your paper, paints, brushes, water jars, and paper towels so everything is within easy reach, minimizing interruptions during the creative process.
- 2
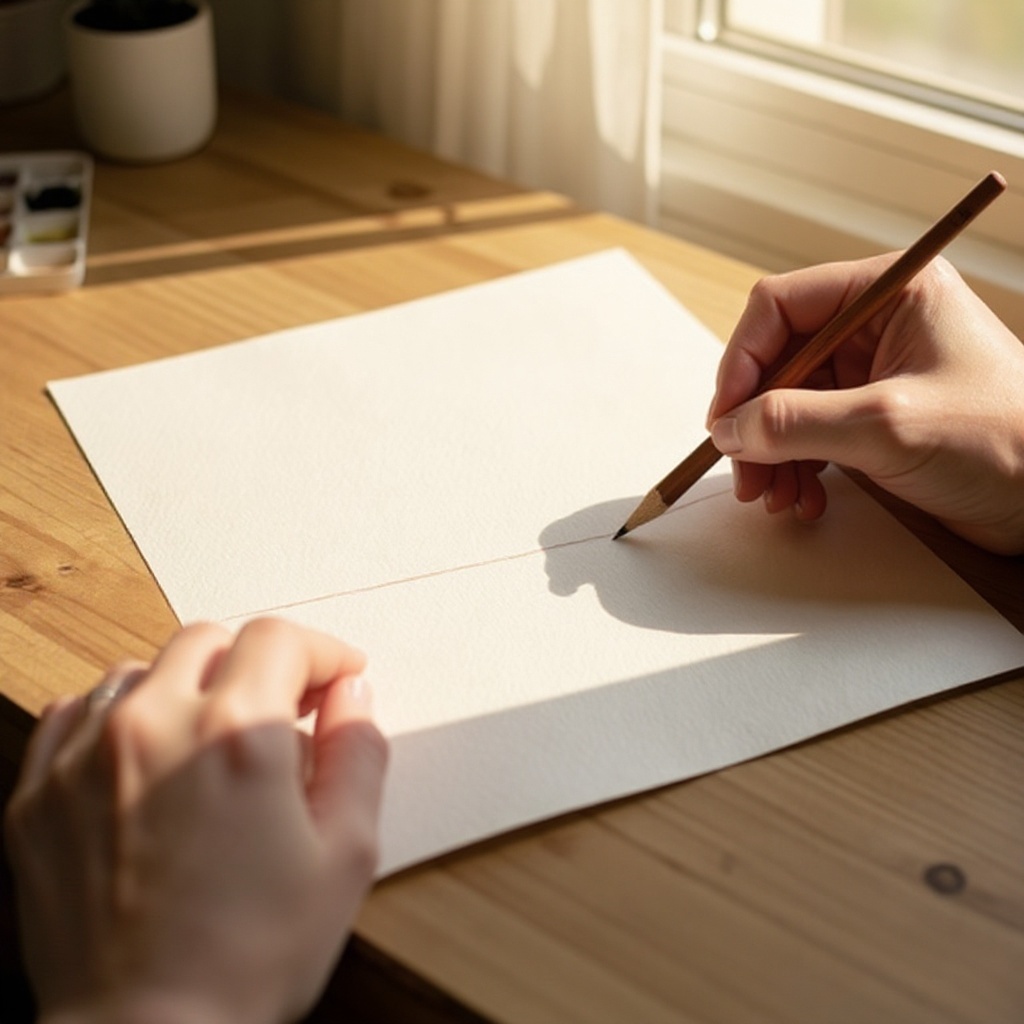
If desired, lightly sketch a simple horizon line with a pencil on your watercolor paper. Keep this line very faint; you want it to be a guide, not a prominent feature that will show through your paint. A gentle curve can suggest rolling hills rather than a perfectly flat line.
- 3
Fill one jar with clean water for rinsing brushes and the other with clean water for mixing paints. Using separate jars prevents muddying your paint colors and ensures you always have fresh water for clean washes and vibrant hues.
- 4
Dip your larger brush (size 10) into the clean water and lightly wet the entire surface of your watercolor paper, avoiding the pencil line if you sketched one. This 'wet-on-wet' technique allows colors to blend softly and creates luminous, diffused effects, mimicking the way light interacts with the atmosphere.
- 5
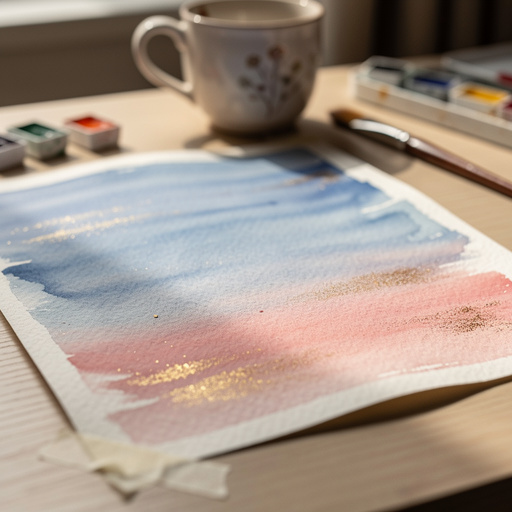
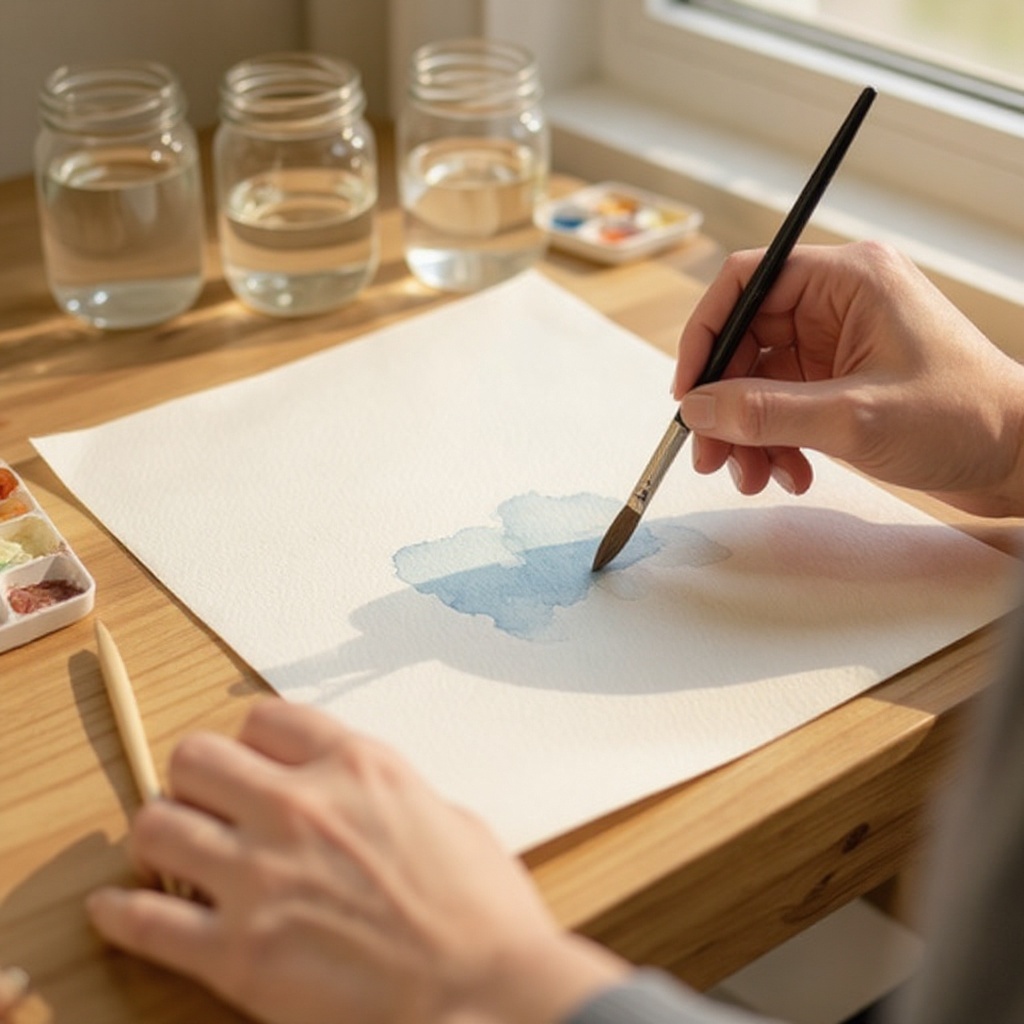
On your palette, mix a light blue or purple for the sky. Add a little water to create a translucent wash, ensuring the color is not too opaque. You can experiment with adding a touch of pink or yellow for a sunrise or sunset effect, blending it gently into the blue.
- 6
Gently brush the sky color onto the wet paper above the horizon line, letting the colors blend softly. Tilt your paper slightly to encourage the paint to flow and create natural gradients. Don't overwork it; allow the water to do some of the blending for you.
- 7
While the sky is still damp, mix a green or brown for the ground. Apply this color below the horizon line, allowing it to bleed into the sky slightly for a natural transition. You can vary the intensity of the color by adding more or less water.
- 8
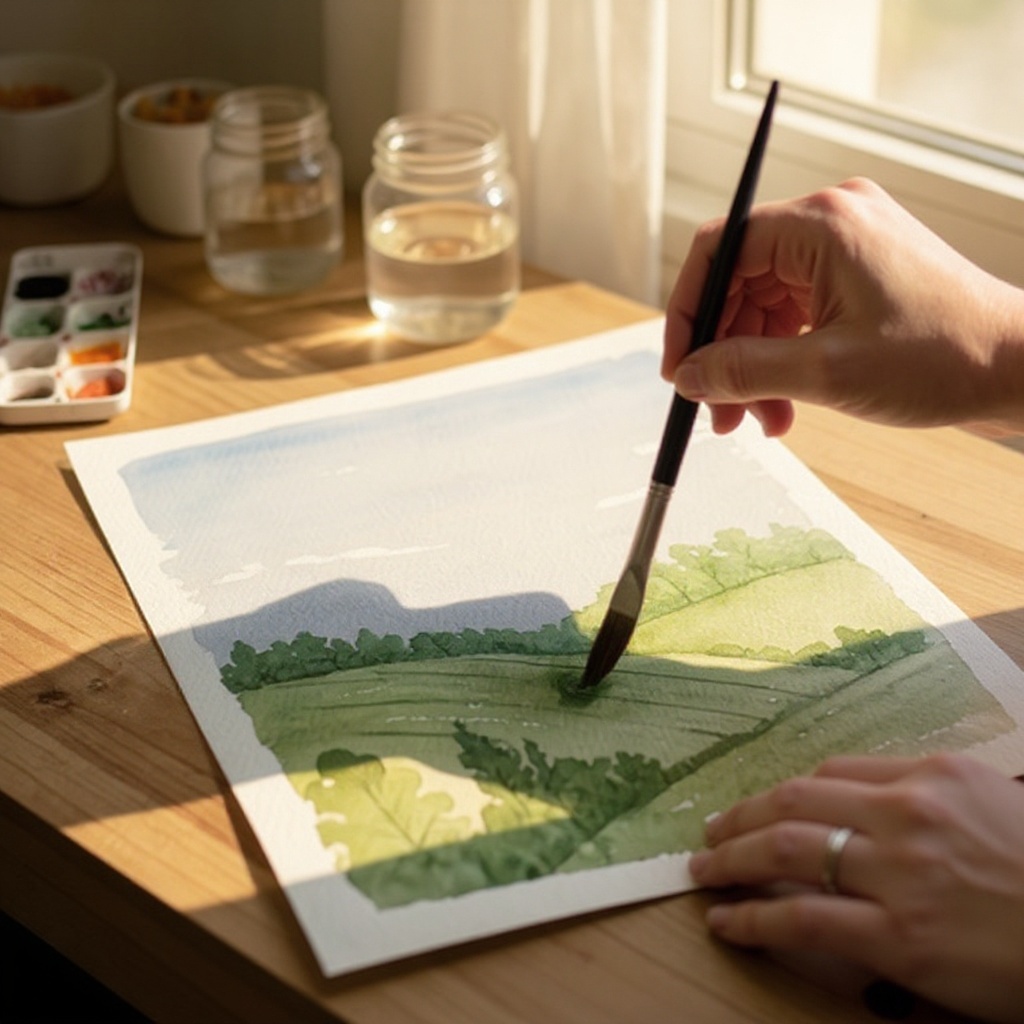
Rinse your brush thoroughly and pick up a darker shade of green or brown. Add some texture or hills to your landscape by dabbing or brushing lightly. You can create subtle undulations by varying the pressure of your brush strokes and the amount of paint you pick up.
- 9
Rinse your brush again and mix a darker color for distant trees or mountains. Use the tip of your brush to create simple shapes, varying the size and placement. For distant elements, keep the shapes less defined and the colors more muted to suggest atmospheric perspective.
- 10
Allow your painting to dry completely. This is a crucial step for watercolor as it allows the pigments to settle and the paper to flatten. Rushing this stage can lead to muddy colors and unintended bleeding.
- 11
Once the initial layers are dry, you can add more details. For example, use a smaller brush to add darker shadows to your hills or to create the suggestion of foliage on distant trees. This is where you can refine your landscape and add depth.
- 12
Consider adding a focal point, such as a bright sun or fluffy clouds, if desired. For clouds, use a damp brush to lift some of the sky color or add touches of white gouache or opaque white watercolor for highlights. For a sun, a warm yellow or orange can be applied carefully.
- 13
If you used masking tape to create a border, carefully peel it away once the painting is completely dry. This will reveal clean, crisp edges, giving your artwork a professional finish and framing it nicely.
- 14
Evaluate your painting. Are there areas that need more depth? Perhaps a touch more shadow under a hill or a slightly darker tone for distant mountains? Make small, deliberate additions now, ensuring each layer dries before adding another.
Tips & Troubleshooting
- 1Don't overwork the paint. Watercolor is about letting the colors flow and blend naturally, embracing the transparency and luminosity of the medium. Less is often more, so resist the urge to keep adding paint if you're happy with the initial washes.
- 2Experiment with different color combinations for skies and landscapes. Try warm colors like oranges and reds for dramatic sunsets, or cool blues and grays for misty mornings. Even unexpected color pairings can create unique and captivating atmospheric effects.
- 3If your colors become muddy, rinse your brush thoroughly between colors and use fresh water for mixing. Muddy colors often result from pigment residue on your brush or from mixing too many colors together on the paper without adequate rinsing.
- 4For a more defined look, let layers dry completely before adding new ones. This technique, known as 'wet-on-dry,' gives you more control over where the paint goes and is excellent for adding sharp details like tree branches or architectural elements.
- 5Embrace the 'happy accidents' that watercolor can produce. Sometimes, unexpected blooms or bleeds can add a beautiful, organic quality to your painting. Learn to work with these effects rather than trying to eliminate them entirely.
- 6Use the weight of your paper to your advantage. Heavier watercolor paper (140lb/300gsm or more) will buckle less when wet, allowing for smoother washes and better control. If you're using lighter paper, consider stretching it by taping it to a board.
- 7Practice your brush strokes on a scrap piece of paper before applying them to your main artwork. This helps you get a feel for the amount of water and pigment needed for different effects, such as soft washes, sharp lines, or textured dabs.
- 8Observe real-world landscapes for inspiration. Pay attention to how light falls, how colors shift with distance and atmosphere, and the subtle textures present in nature. These observations will greatly inform your painting choices.
Related Activities You Might Enjoy
Frequently Asked Questions
What is the best paper for watercolor painting?
For watercolor painting, it's best to use watercolor paper that is at least 140lb (300gsm). This thicker paper can handle the water without buckling or tearing, allowing your colors to flow beautifully and preventing the paper from becoming wavy. Cold-press watercolor paper is a popular choice for beginners as it has a slight texture that holds pigment well and is forgiving. Hot-press paper is smoother and better for fine detail, while rough paper offers a more textured surface. Always ensure your paper is specifically designed for watercolor to achieve the best results.
How do I prevent watercolor paint from looking dull?
To achieve vibrant watercolor colors, use good quality paints and mix them with enough water to create translucent washes, but not so much that they become watery and pale. Avoid overworking the paint, as this can lift previous layers and make colors appear muddy. Ensure your paper is sufficiently wet when applying washes for a luminous effect, as the water helps the pigments spread and glow. Using fresh water for mixing and rinsing your brush thoroughly between colors is also crucial for maintaining color vibrancy.
Can I use regular paper for watercolor painting?
While you can technically use regular paper, it's not recommended for watercolor painting. Regular paper, such as printer paper or drawing paper, is too thin and will buckle, tear, or bleed excessively when wet. The water content in watercolor paints will saturate the fibers of thin paper, causing it to warp and become difficult to control. This can lead to uneven washes, lost details, and a generally unsatisfactory painting experience. Investing in proper watercolor paper is essential for achieving good results and enjoying the process.
What are the basic watercolor techniques for beginners?
For beginners, the wet-on-wet technique (applying paint to wet paper) is great for soft blends and atmospheric effects like skies and misty landscapes. The wet-on-dry technique (applying paint to dry paper) offers more control for details, sharp edges, and layering. Simple washes, which are thin, transparent layers of color, are fundamental for building up your painting. Dabbing with a brush or sponge can create interesting textures, and lifting color with a clean, damp brush can create highlights or soften edges. Experimenting with these basic techniques will build your confidence.
How long does it typically take to complete an easy watercolor landscape?
An easy watercolor landscape, like the one described in this tutorial, can typically take about 30 minutes to an hour to complete, depending on your pace and the level of detail you choose to add. The initial washes for the sky and ground are quite quick, and adding simple elements like distant hills or trees doesn't take long. The drying time between layers is the most significant factor that can extend the overall time, but this is passive waiting time. For a more complex landscape with multiple layers and fine details, you might spend a few hours, spread over different sessions.
What kind of brushes are best for watercolor landscapes?
For watercolor landscapes, a good starting point is a set of round watercolor brushes in various sizes. A medium-sized round brush (like a size 6 or 8) is excellent for general washes, blending, and creating mid-sized shapes. A smaller round brush (size 2 or 4) is invaluable for adding finer details, such as distant trees, blades of grass, or subtle textures. A larger round brush (size 10 or 12) can be useful for covering larger areas quickly with washes, especially for skies or expansive grounds. Synthetic brushes are a budget-friendly and effective option for beginners.
What Next?
Congratulations on creating your beautiful watercolor landscape! Don't stop here; experiment with different times of day, seasons, or even abstract interpretations of nature. Consider framing your artwork to proudly display it on your walls, or gift it to a loved one. For your next project, try adding more elements like birds, a winding path, or even a small cottage. You can also explore layering techniques or try different brush strokes to add more depth and detail to your future masterpieces. The world of watercolor is vast and full of possibilities!
Free: 10 Paper Crafts Anyone Can Make in 5 Minutes
Get our beginner guide + new craft ideas weekly.
No spam. Unsubscribe anytime.
Did you complete this activity?