How to Create Whimsical Watercolor Woodland Creatures — Easy Step-by-Step Guide
Unleash your inner artist and paint charming woodland creatures with watercolors. This fun and easy project is perfect for a screen-free afternoon, allowing you to create adorable art with simple watercolor techniques. Suitable for all ages, especially families with children aged 6 and up, this guide breaks down the process into manageable steps for delightful results.

Quick answer
To create whimsical watercolor woodland creatures, you'll need watercolor paper (at least 140lb recommended), a watercolor paint set, round watercolor brushes (sizes 4, 8, and 12), a cup of clean water, paper towels or a clean cloth, a pencil (HB or 2B), and an eraser. Start by sketching your creature lightly, focusing on rounded, friendly shapes. This beginner-friendly activity has 10 core steps and can be expanded with additional layering and detail, making it perfect for families with children aged 6 and up. The entire process is designed to be intuitive and enjoyable, even for those new to watercolors.
What you need
Shop on Amazon · As an Amazon Associate we earn from qualifying purchases. Links above are affiliate links — we may earn a commission at no extra cost to you.
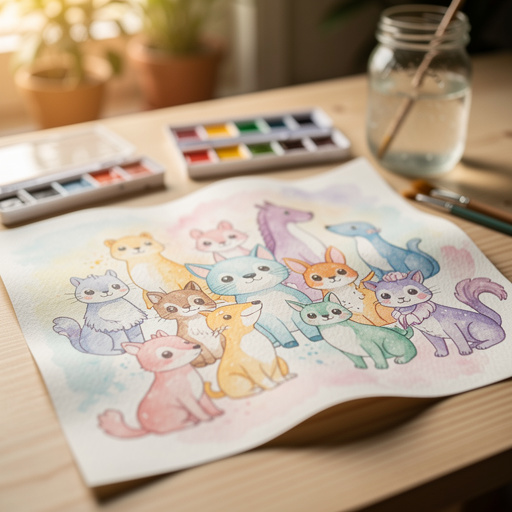
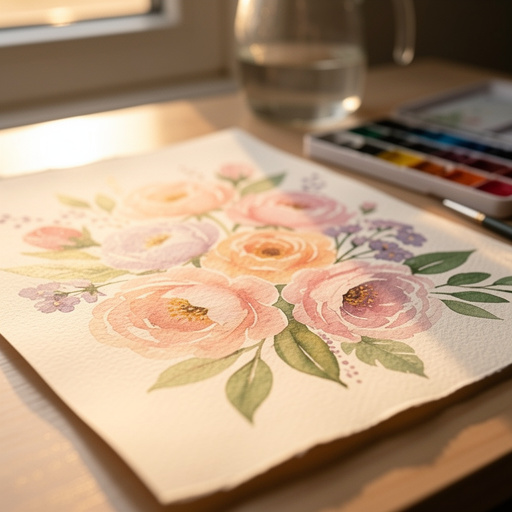
Embark on a delightful artistic journey into the heart of the forest with this whimsical watercolor woodland creatures tutorial. This project is more than just painting; it's an invitation to slow down, connect with nature's charm, and unleash your creativity. The beauty of watercolors lies in their translucent quality and ability to blend seamlessly, creating soft, ethereal effects perfect for capturing the gentle spirit of forest dwellers. Whether you're a seasoned artist looking for a relaxing escape or a parent seeking a screen-free activity to share with your children, this guide offers an accessible and rewarding experience for everyone.
On this page
Step-by-Step Instructions
- 1
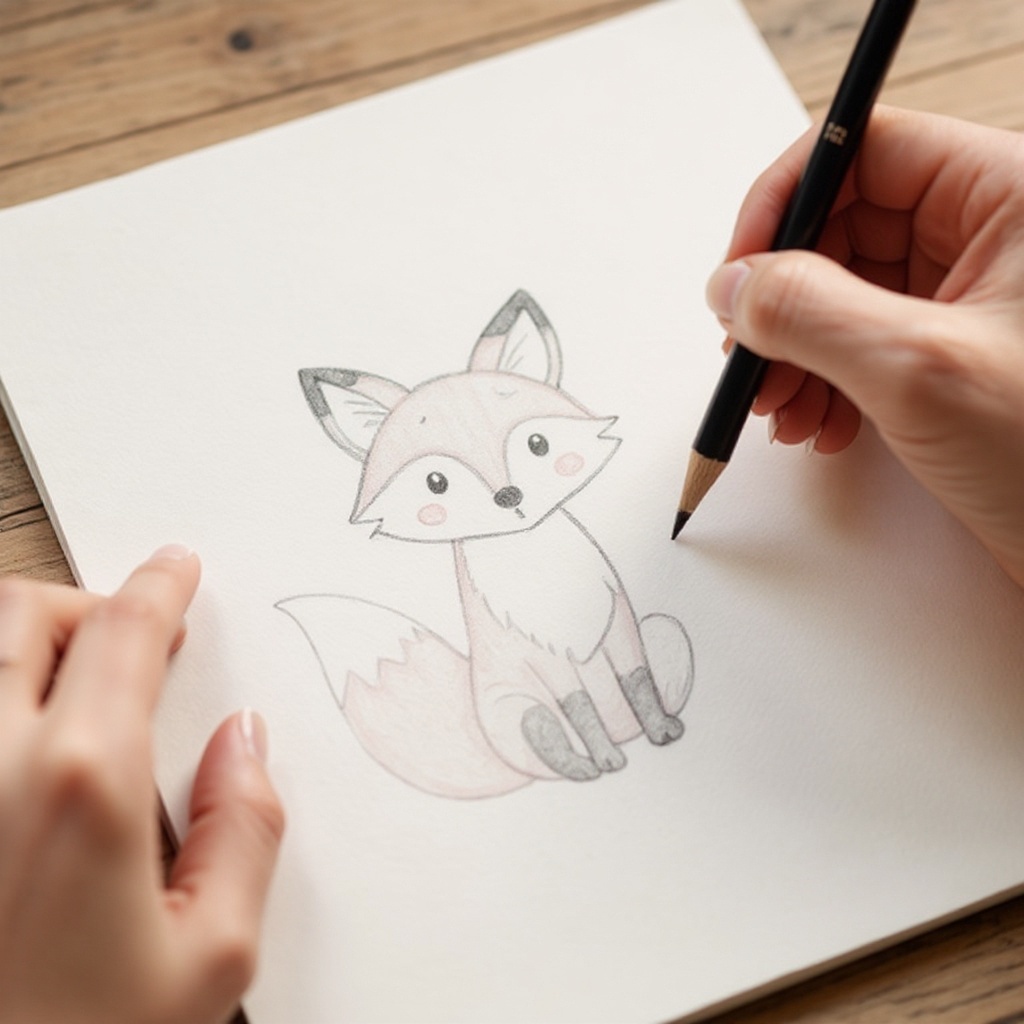
Lightly sketch a simple woodland creature shape on your watercolor paper with a pencil. Think of a fox, owl, rabbit, or bear, focusing on rounded and friendly forms that evoke a sense of gentle charm. Avoid overly complex anatomical details at this stage; the goal is to establish the basic silhouette and placement of key features.
- 2
Add basic details to your sketch, such as the placement of eyes, a nose, ears, and a tail. Keep these lines very light and loose, as they are merely guides for your paint application and will be erased later. Overly dark or intricate pencil lines can show through the translucent watercolor layers.
- 3
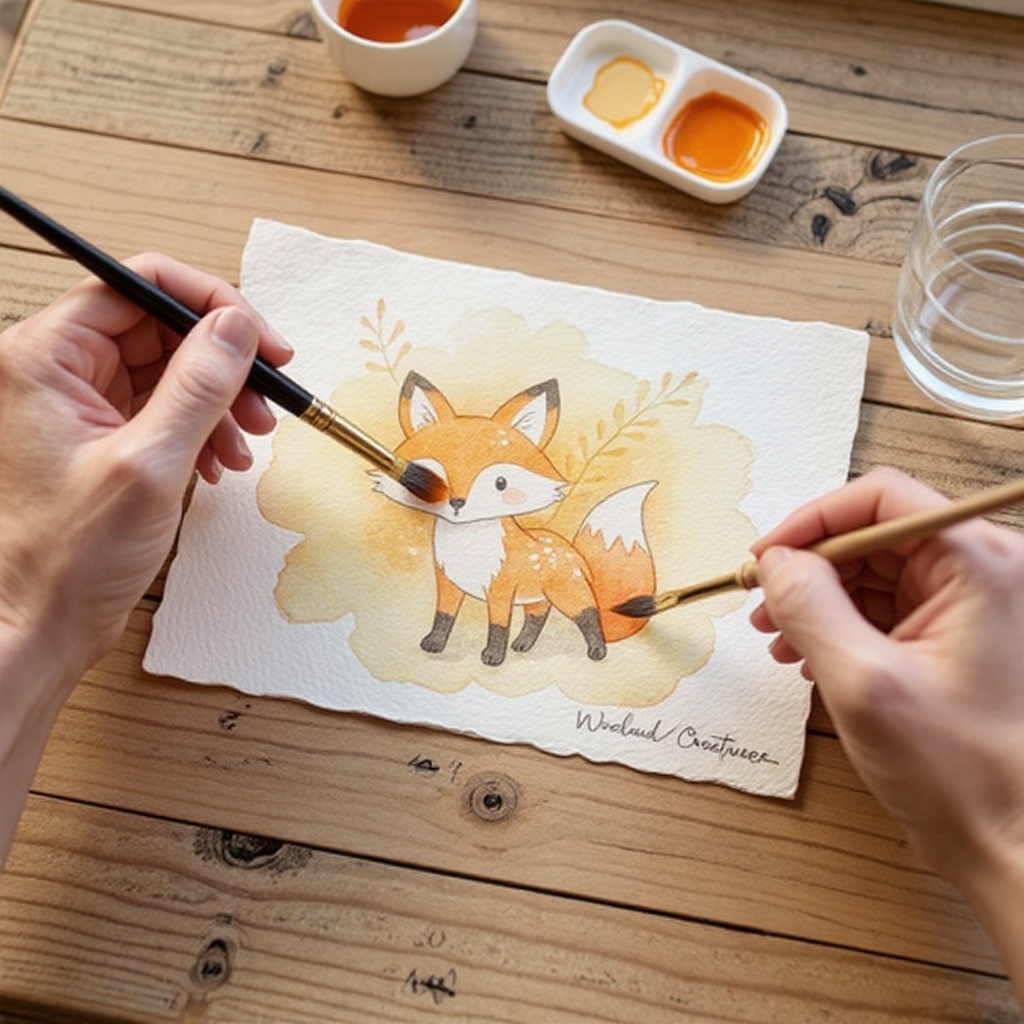
Prepare your first color by dipping your largest brush (size 12) into clean water and then swirling it in your chosen paint color for the creature's main body. Aim for a diluted, translucent wash by adding more water than paint. Apply this light wash generously to the largest area of your sketch, allowing it to flow and cover the form smoothly.
- 4
While the first wash is still damp (but not soaking wet), use your medium brush (size 8) to add a slightly darker shade of the same color to areas where you want to create depth and form. Think about where shadows would naturally fall, such as under the chin, along the back of the head, or on the underside of limbs. This is the beginning of building dimension.
- 5
Switch to a different, complementary color for accents and smaller features, using your smallest brush (size 4). This could be the warm orange for a fox's ears, the soft pink for a rabbit's nose, or the creamy white for an owl's chest. Apply these colors carefully to the designated areas, respecting the initial sketch.
- 6
Paint the eyes of your creature with care, as they are crucial for bringing personality to your artwork. Use black or a very dark brown for the iris and pupil, but remember to leave a small, intentional white dot or shape for a highlight. This simple highlight will make the eyes appear bright, alive, and full of expression.
- 7
Add finer details using your smallest brush and a darker, more concentrated color. For a fox or rabbit, this might involve painting delicate whiskers extending from the muzzle. For an owl, you might add subtle feather textures or define the edges of its facial disc. These small touches significantly enhance the realism and character of your creature.
- 8
If you wish to add a simple background, now is a good time to do so. Use your large brush with a diluted wash of green or brown to create a grassy or earthy effect around your creature. You can also introduce soft blues for a sky or muted purples for distant foliage. Let the background colors bleed slightly into each other for a natural, atmospheric feel.
- 9
Allow your painting to dry completely. This is a crucial step to prevent muddying colors when adding subsequent layers or details. You can speed up drying slightly with a hairdryer on a cool setting, but natural air drying often yields the best results for watercolor.
- 10
Once completely dry, you can go back with a very fine brush (size 2 or 4) and a darker, more opaque color to add any final outlines or small, crisp details if desired. This can help define edges, add subtle fur textures, or emphasize features like claws or beak. Use this sparingly to maintain the whimsical, soft feel.
- 11
Carefully erase any visible pencil lines that remain and are not covered by paint. Use a gentle touch with your eraser to avoid damaging the paper or smudging the watercolor. Admire your finished whimsical woodland creature, a testament to your artistic exploration!
- 12
Consider adding subtle shading to further enhance the three-dimensional quality of your creature. Use a slightly darker, diluted version of the main body color and apply it gently to areas that would naturally be in shadow, such as beneath the head or along the curve of the body. This adds depth without making the creature look heavy.
- 13
Introduce subtle variations in color to add richness and visual interest. For example, a fox's fur might have hints of ochre or even a touch of grey in the shadows. An owl's feathers could have subtle undertones of brown or grey mixed into the main white or brown wash. These nuances make the creature more believable and engaging.
- 14
If you're aiming for a softer, more ethereal look, consider using the wet-on-wet technique for some areas. Apply a clean wash of water to a section of the paper where you want a blended effect, then gently drop your paint colors into the wet area. The colors will diffuse and blend organically, creating beautiful, soft transitions.
- 15
Experiment with adding texture to mimic fur or feathers. While the paint is still wet, you can gently dab the surface with a crumpled paper towel to create a stippled effect. Alternatively, use a dry brush technique: load a brush with a small amount of paint and very little water, then lightly skim it across the paper to create broken lines that suggest texture.
- 16
Think about the creature's environment and add small, complementary elements. A tiny wildflower peeking out from behind a rabbit’s ear, a few scattered leaves near a fox’s paw, or a small branch for an owl to perch on can greatly enhance the woodland theme and tell a more complete story.
- 17
For a more polished look, you can use masking fluid to preserve pure white areas, such as the highlight in the eye or the brightest parts of fur. Apply the masking fluid with a fine brush or a masking fluid pen, let it dry completely, paint over it, and then gently rub it away once the paint is dry. This technique requires precision but yields stunning results.
- 18
Once your painting is completely dry, you can choose to add a subtle outline to further define your creature. Use a fine-tipped waterproof ink pen or a very dark watercolor wash with your smallest brush. This step is optional and depends on the desired aesthetic; a soft, lineless look is also very charming.
Tips & Troubleshooting
- 1Don't be afraid to mix colors! Experiment with adding a touch of blue to yellow for a variety of greens, or red to yellow for different shades of orange. Understanding basic color mixing will greatly expand your palette and allow you to create unique hues for your woodland creatures.
- 2If your paint looks too dark or you've made a mistake, you can often lift some of the color off the paper while it's still wet. Use a clean, damp brush to gently lift the pigment, or blot the area with a paper towel. This technique is one of watercolor's forgiving qualities.
- 3For a softer, more blended look, try the wet-on-wet technique. Apply a clean wash of water to an area of the paper first, then gently drop your paint colors into the wet area. The colors will diffuse and blend organically, creating beautiful, ethereal effects that are perfect for backgrounds or soft fur.
- 4You can add interesting texture by dabbing the paper with a crumpled paper towel while the paint is still wet. This creates a unique stippled or mottled effect. Alternatively, use a dry brush technique by loading a brush with a small amount of paint and very little water, then lightly skimming it across the paper to suggest fur or feather textures.
- 5Consider adding a small, complementary element to enhance the woodland theme. A tiny wildflower, a fallen leaf, or a delicate sprig of grass near your creature can add context and visual interest to your composition, making it feel more complete and story-like.
- 6When painting eyes, remember that the highlight is key to making them look alive. Even a tiny speck of white can make a huge difference in conveying personality and expression. Practice placing these highlights consistently for a natural look.
- 7Build up color gradually. Watercolor is best applied in thin, transparent layers. Instead of trying to achieve a dark color in one go, layer lighter washes on top of each other once they are dry. This allows for greater control and creates luminous, rich colors.
- 8Don't be afraid to let your imagination run wild with color choices. While naturalistic colors are beautiful, whimsical creatures can also sport vibrant, unexpected hues. Think about adding touches of purple to a fox's tail or a splash of turquoise to an owl's feathers for a truly unique look.
Related Activities You Might Enjoy
Frequently Asked Questions
What kind of paper is best for watercolor painting, and why?
Watercolor paper is ideal because it's specifically designed to handle large amounts of water without buckling or tearing. Unlike regular drawing paper, watercolor paper is thicker and has a sizing agent that controls how the water and pigment are absorbed. Look for paper that is at least 140lb (300gsm) for best results, as this weight provides good durability and minimizes warping. Cold-press paper is a popular choice for beginners as it has a slight texture that holds paint well and is forgiving. Hot-press paper is smoother and better for fine detail, while rough paper offers a pronounced texture for expressive washes.
How do I make my watercolor colors brighter and more vibrant?
To achieve brighter watercolor colors, use less water and more paint. Experiment with the ratio of water to pigment on your palette; a more concentrated mixture will yield more intense hues. Layering colors is also key; once a light wash is dry, you can add another layer of the same or a different color on top to build intensity and depth. Ensure your paper isn't overly saturated with water, as this can dilute the pigment too much. Using high-quality pigments in your paint set will also contribute to more vibrant results.
What are some easy watercolor painting ideas for beginners, especially for children?
Beginners can start with simple shapes and subjects that don't require complex anatomy or perspective. Easy watercolor painting ideas include fruits like apples and pears, simple vegetables such as carrots or peas, or basic landscapes with rolling hills and a sky. Painting single flowers, abstract washes with blended colors, or easy animal outlines like the woodland creatures in this tutorial are also great starting points. The focus should be on enjoying the process of color mixing and brush control rather than achieving perfect realism.
How can I prevent my watercolor paper from warping or buckling when I paint?
Warping is a common issue with watercolor due to the paper absorbing water. To prevent this, use heavier weight watercolor paper, ideally 140lb (300gsm) or more. For even better results, you can 'stretch' your paper before painting. This involves soaking the paper briefly and then taping it securely to a rigid board (like a piece of plywood or Gatorboard) using artist's tape. As the paper dries taut on the board, it will remain flat. Alternatively, using a watercolor block, which is a pad of paper glued on all four sides, also helps keep the paper flat during painting.
What's the difference between watercolor brushes, and which ones are best for this project?
Watercolor brushes come in various shapes and sizes, each suited for different techniques. Round brushes are versatile and are excellent for lines, details, and washes; their pointed tip allows for precision. Flat brushes are ideal for broad washes and sharp edges. For this whimsical woodland creature project, round brushes are particularly useful. A small round brush (sizes 2-4) is perfect for fine details like whiskers, eyes, and small accents. A medium round brush (size 8) is great for general application of color and building up layers. A larger round brush (size 12) is excellent for applying initial washes of color to larger areas of the creature and for backgrounds.
Can I use regular drawing paper for watercolor painting?
While you can technically apply watercolor to regular drawing paper, it is not recommended for optimal results. Drawing paper is much thinner and is not designed to absorb the amount of water used in watercolor painting. It will likely buckle, warp, and even tear easily, making the painting process frustrating. The colors may also appear duller as the paper absorbs the pigment too quickly. For the best experience and to achieve the luminous qualities of watercolor, investing in dedicated watercolor paper (at least 140lb) is highly recommended.
What Next?
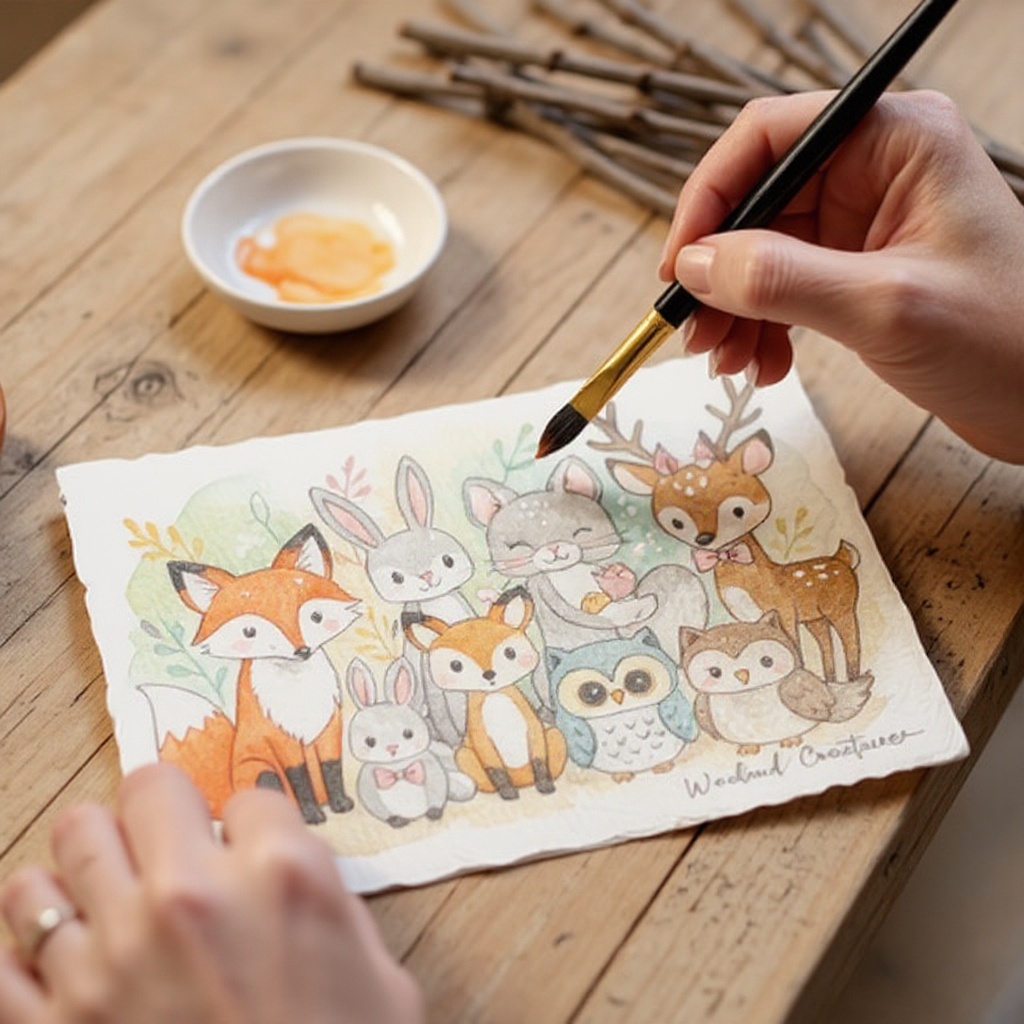
Congratulations on creating your own charming menagerie of whimsical watercolor woodland creatures! You've learned how to build up color, add depth, and bring your characters to life with simple yet effective watercolor techniques. Don't stop here – experiment with different animals like deer, badgers, or even mythical forest sprites. Consider creating a series of these creatures to adorn a nursery wall, frame them as unique gifts, or even use them as illustrations for a homemade storybook. Store your finished artwork in a cool, dry place away from direct sunlight to preserve their vibrant colors for years to come.
Free: 10 Paper Crafts Anyone Can Make in 5 Minutes
Get our beginner guide + new craft ideas weekly.
No spam. Unsubscribe anytime.
Did you complete this activity?