How to Paint Watercolor Flowers — Easy Step-by-Step Guide
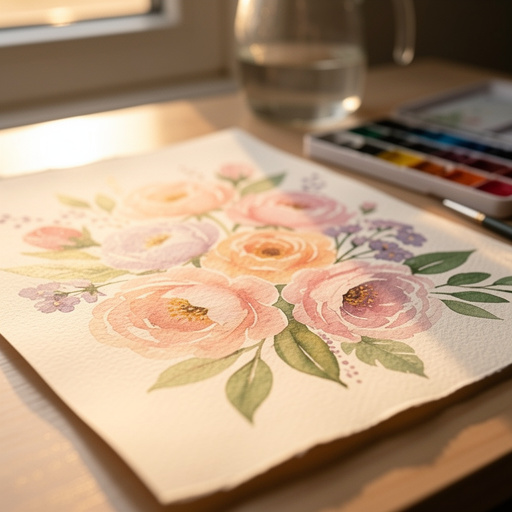
Discover the joy of painting delicate watercolor flowers with this simple, step-by-step tutorial. Perfect for a relaxing afternoon of creativity.
Quick answer
To paint watercolor flowers, you need watercolor paints, brushes, watercolor paper, and water. Start by sketching a simple flower shape. This beginner-friendly activity has 10 steps and is perfect for families and kids aged 6+.
What you need
Shop on Amazon · As an Amazon Associate we earn from qualifying purchases. Links above are affiliate links — we may earn a commission at no extra cost to you.
Embark on a delightful journey into the world of watercolor painting with this beginner-friendly guide to creating beautiful floral art. Watercolor flowers offer a unique blend of delicate beauty and vibrant expression, making them an incredibly rewarding subject for artists of all levels. This tutorial is designed to be accessible and enjoyable, perfect for a quiet afternoon of creative exploration, a fun family activity, or a way to introduce young minds to the magic of art. Get ready to transform simple strokes into blooming masterpieces!
On this page
Step-by-Step Instructions
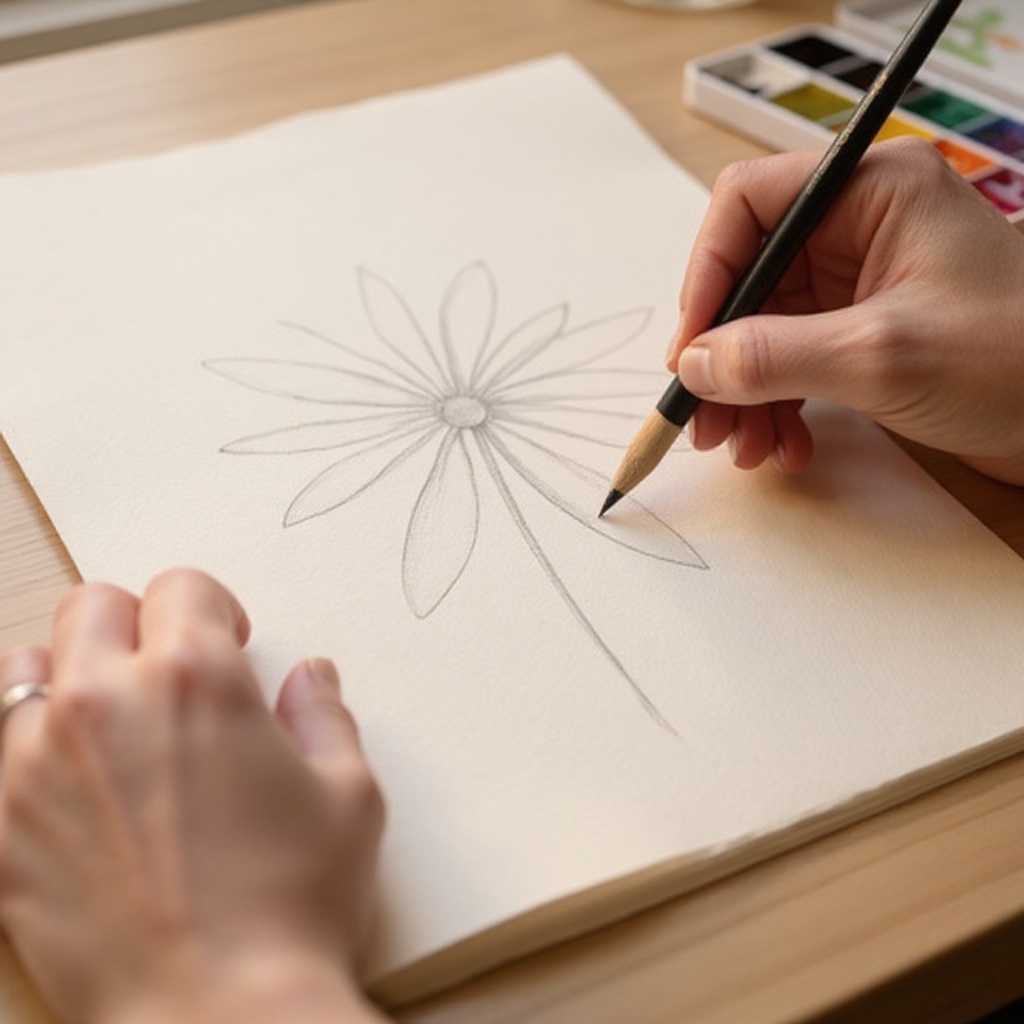
- 1
Lightly sketch a simple flower shape onto your watercolor paper using a pencil. Think about basic petal shapes like ovals or teardrops. Keep your lines very faint, as heavy pencil marks can be difficult to cover with transparent watercolors and may show through your final painting.
- 2
Prepare your first color by dipping your size 8 brush into clean water, then picking up a small amount of your desired petal color from your palette. Aim for a consistency that is like melted ice cream – not too watery, not too thick.
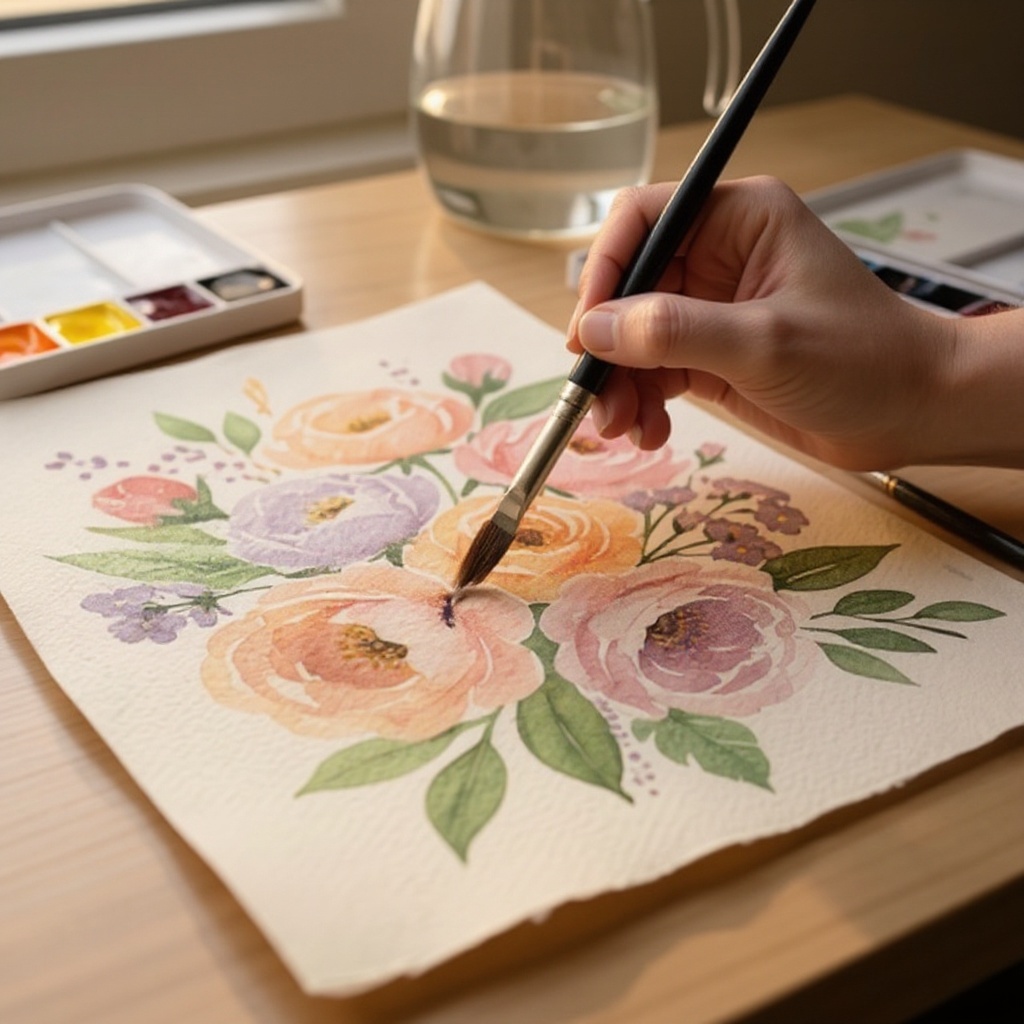
- 3
Gently apply the paint to one petal, allowing the water to spread the color naturally across the paper. Observe how the pigment blooms and softens at the edges; this is the beauty of watercolor. Avoid scrubbing or overworking the paint, as this can lift the pigment and create a duller effect.
- 4
Rinse your brush thoroughly in the first water container, swirling it to remove all pigment, then dip it into the clean water container. This ensures that your next color application isn't contaminated with the previous one, preventing muddy colors.
- 5
Pick up a slightly darker or complementary shade of your petal color, or even a hint of a contrasting color, and add it to the edges or base of the petal while the first layer is still damp. This technique, known as 'wet-on-wet,' allows the colors to blend softly and organically, creating depth and dimension without harsh lines.
- 6
Repeat steps 2-5 for all the petals of your flower, experimenting with color variations and the placement of darker tones. You can vary the intensity of your colors by adding more or less water to your pigment, and try leaving small white spaces for highlights.
- 7
Once the petals are complete and you're happy with their blended appearance, use your size 4 brush to add a center to your flower. This could be a simple dot of yellow or brown, or a cluster of smaller dots to suggest texture and detail.
- 8
Rinse your brush and pick up a green color for the stem and leaves. Sketch and paint a simple stem extending from the base of the flower, using a fluid stroke to mimic the natural growth of a plant.
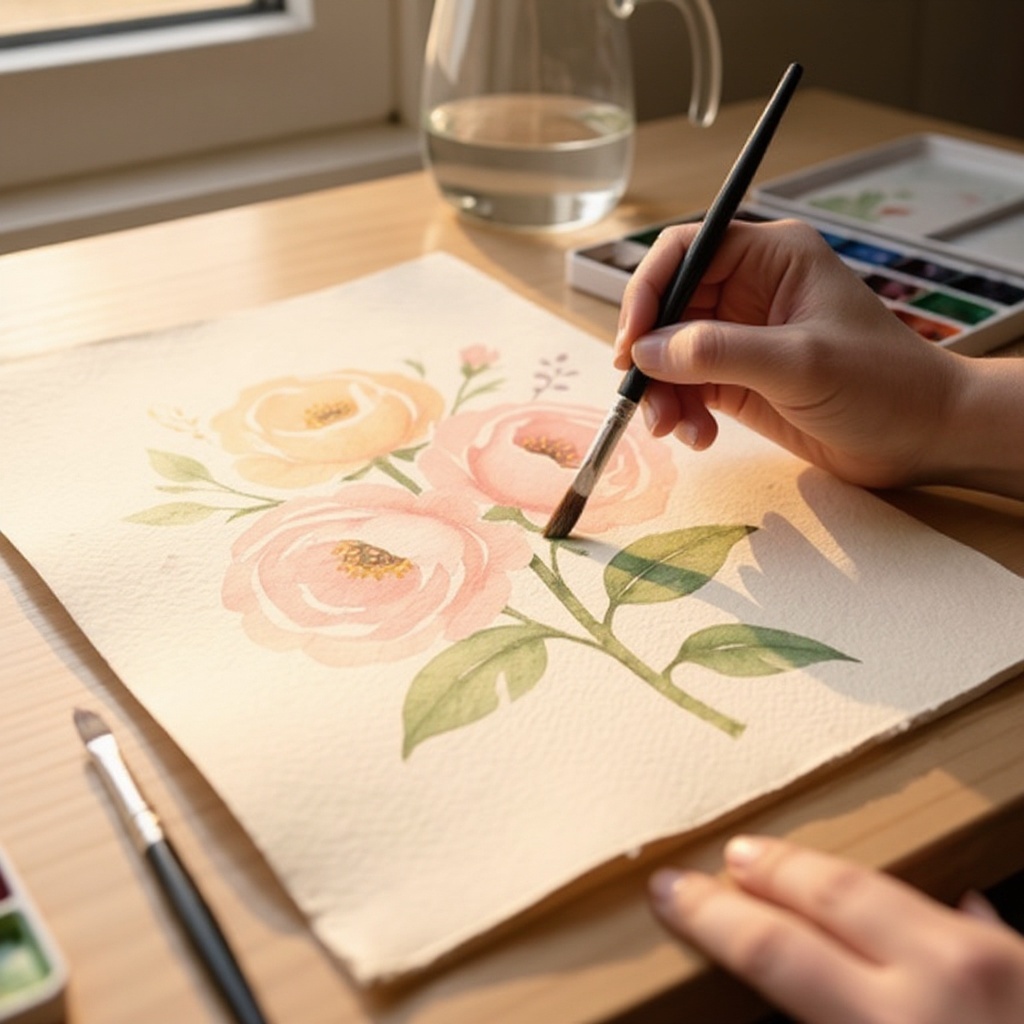
- 9
Add a few leaves to the stem, using similar wet-on-wet techniques as the petals for soft, blended leaves, or a slightly drier brush with less water for more defined shapes. You can also add subtle veins to the leaves by gently dragging a fine brush with a darker green along the center while the leaf is still wet.
- 10
Allow your watercolor flower to dry completely. This is a crucial step; rushing the drying process can lead to colors bleeding unintentionally. Once dry, you can then gently erase any visible pencil lines with your kneaded eraser if desired, being careful not to smudge the paint.
- 11
Consider adding a second, lighter wash of color to areas of the petals once the first layer is completely dry. This layering technique, known as 'glazing,' can build up richer hues and subtle color shifts, adding more depth and realism to your flower.
- 12
If you wish to add highlights or a touch of brightness, you can use a small amount of opaque white gouache or white watercolor with a fine brush once the painting is entirely dry. Apply these highlights sparingly to areas where light would naturally catch the petals or the center of the flower.
- 13
For a more defined edge on a petal or leaf, you can use a technique called 'wet-on-dry.' This involves applying paint to dry paper, which results in sharper lines and more controlled shapes. Experiment with this for elements that require more structure.
- 14
Don't be afraid to let your brush dance! For a more abstract or impressionistic feel, try flicking your brush or using a variety of strokes to create texture and movement within the petals and leaves.
- 15
If you're aiming for a softer, more ethereal look, use a larger brush and more water. This will create washes of color that blend seamlessly, giving your flowers a dreamy quality.
- 16
To create a sense of depth, consider painting the background elements or surrounding foliage after your main flower has dried. This ensures that your focal point remains clear and distinct.
Tips & Troubleshooting
- 1Don't be afraid of 'happy accidents'! Watercolor is known for its beautiful, unpredictable blooms and washes. Embrace these moments, as they often lead to unique and stunning effects that you couldn't have planned. Let the water and paint do their magic and see what emerges.
- 2For more defined petals and controlled shapes, allow the first layer of paint to dry completely before adding subsequent layers or details. This 'wet-on-dry' technique gives you sharper edges and prevents colors from bleeding into each other unintentionally, offering greater precision.
- 3Experiment with different flower shapes and color combinations to expand your repertoire. Try painting a whole bouquet by varying the sizes and colors of your blooms, or focus on a single, detailed bloom to practice intricate petal work and shading.
- 4If your colors become muddy, it usually means your brush isn't clean enough or you're using too much paint relative to water. Rinse your brush thoroughly between colors, ensuring all pigment is removed, and adjust your paint-to-water ratio for brighter, cleaner hues.
- 5You can add a touch of white gouache or opaque white watercolor for highlights once the painting is dry, for an extra pop of light and dimension. This technique can make your petals appear more luminous and give your flower a more polished finish.
- 6Practice color mixing on your palette before applying it to the paper. Understanding how colors interact will help you achieve the exact shades you envision for your petals and leaves, leading to more harmonious and visually appealing compositions.
- 7Consider the direction of your light source when adding darker tones or shadows. This will help you create a sense of three-dimensionality and make your watercolor flowers appear more natural and lifelike.
- 8Vary the pressure and angle of your brushstrokes to create different textures. Lighter, feathery strokes can suggest delicate petals, while firmer, more deliberate strokes can create bolder shapes and forms.
Related Activities You Might Enjoy
Frequently Asked Questions
What is the best paper for watercolor flowers?
Watercolor paper that is at least 140lb (200gsm) is ideal for painting flowers. This weight is crucial because it prevents the paper from buckling, warping, or tearing when it becomes saturated with water, which is common in watercolor techniques. Heavier paper allows for better control over the paint and water, enabling vibrant colors to sit on the surface without soaking through too quickly. Cold-press watercolor paper is a popular choice as its slightly textured surface holds pigment well and is forgiving for beginners, while hot-press paper offers a smoother surface for finer details.
How do I make watercolor flowers look realistic?
To achieve realism in your watercolor flowers, focus on keen observation of real flowers. Pay close attention to the unique shapes of individual petals, the subtle gradients of color within a single bloom, and the delicate shadows that give them form. Utilize a variety of brushstrokes, from soft washes to fine lines, and employ layering techniques to build depth and dimension. Experiment with mixing colors to capture the exact hues and undertones you see, and consider using a reference photo to accurately depict light and shadow patterns.
What colors are best for watercolor flowers?
Any colors can be used to paint watercolor flowers, offering endless creative possibilities! For beginners, starting with a basic set of primary and secondary colors (red, yellow, blue, green, orange, purple) is a great foundation. From there, you can explore more complex hues like crimson, cadmium yellow, ultramarine blue, and various shades of green. Mixing colors on your palette or directly on the paper can create beautiful, nuanced shades that mimic the natural variations found in real flowers. Don't be afraid to experiment with vibrant, unexpected color combinations to create unique and eye-catching floral art.
How can I prevent my watercolor paint from looking dull?
To prevent your watercolor paint from looking dull, ensure you're using enough water with your paint. Vibrant colors in watercolor come from a good ratio of pigment to water, creating luminous washes. Experiment with layering colors while the previous layer is still damp (the 'wet-on-wet' technique) for softer, more blended colors that retain their vibrancy. Also, make sure your brush is clean and you're not overworking the paint, which can lift pigment and dull the color. Using high-quality pigments will also contribute to brighter, more saturated results.
What is the 'wet-on-wet' technique and how do I use it for flowers?
The 'wet-on-wet' technique in watercolor involves applying wet paint onto paper that is already wet, or applying wet paint onto a layer of paint that is still damp. For painting flowers, this technique is fantastic for creating soft, blended petals and seamless color transitions. You can wet a petal area with clean water, then drop in your chosen colors, allowing them to spread and mingle organically. Alternatively, after applying the first layer of petal color, you can add a darker shade or a complementary color to the damp areas to create beautiful, natural-looking gradients and depth without harsh lines.
How can I create different textures for petals and leaves?
Creating different textures for petals and leaves in watercolor is achieved through variations in brushwork and water-to-paint ratios. For soft, delicate petals, use a brush with plenty of water and pigment, applying it to damp paper for a blended effect. For more defined petals with sharper edges, use the 'wet-on-dry' technique, applying paint to dry paper. To add texture to leaves, you can use a dry brush technique (using a brush with very little water and paint) to create scratchy, vein-like marks, or use a sponge to dab on color for a mottled appearance. Experimenting with different brush shapes and sizes will also yield varied textures.
What Next?
Congratulations on creating your beautiful watercolor flowers! You've unlocked a wonderful way to capture nature's beauty. Consider painting a series of different flowers to create a stunning bouquet, or try incorporating them into larger landscapes. Your finished pieces can be framed to adorn your walls, used to create personalized greeting cards, or even scanned to create digital art. For your next project, explore painting different types of flowers, experiment with more complex color blending, or try adding foliage and background elements to your compositions. Keep your supplies organized and your artwork stored flat to preserve their vibrancy.
Free: 10 Paper Crafts Anyone Can Make in 5 Minutes
Get our beginner guide + new craft ideas weekly.
No spam. Unsubscribe anytime.
Did you complete this activity?