How to Make Romantic Scented Candles — Easy Step-by-Step Guide
Craft your own romantic scented candles this Valentine's Day. A perfect way to add a personal touch and a lovely aroma to your home. This beginner-friendly project is ideal for adults seeking a mindful, screen-free activity.
Quick answer
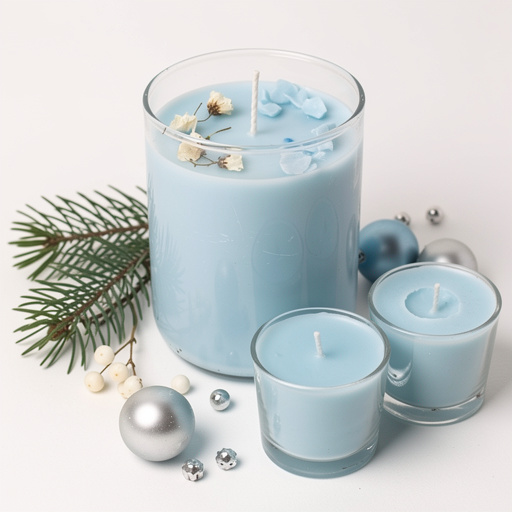
To make DIY scented candles, you need soy wax flakes, phthalate-free fragrance oil, cotton wicks with metal tabs, and heat-safe containers. The process involves melting the wax, adding fragrance, and pouring into containers, taking approximately 45 minutes of active work time, plus curing. This beginner-friendly activity has 15 steps and is perfect for adults looking for a screen-free project.
What you need
Shop on Amazon · As an Amazon Associate we earn from qualifying purchases. Links above are affiliate links — we may earn a commission at no extra cost to you.
Elevate your home's ambiance with the warm glow and captivating scent of your own handmade romantic candles. This DIY project is more than just a craft; it's an act of self-care and a beautiful way to express affection, whether for yourself or a loved one. Perfect for Valentine's Day, anniversaries, or simply creating a cozy retreat, these candles offer a personal touch that store-bought options can't match. Gather your materials and embark on this rewarding, beginner-friendly journey into the art of candle making.
On this page
Step-by-Step Instructions
- 1
Prepare your workspace by covering it with newspaper or a drop cloth to protect surfaces from wax spills and drips. Ensure good ventilation, especially when working with fragrance oils.
- 2
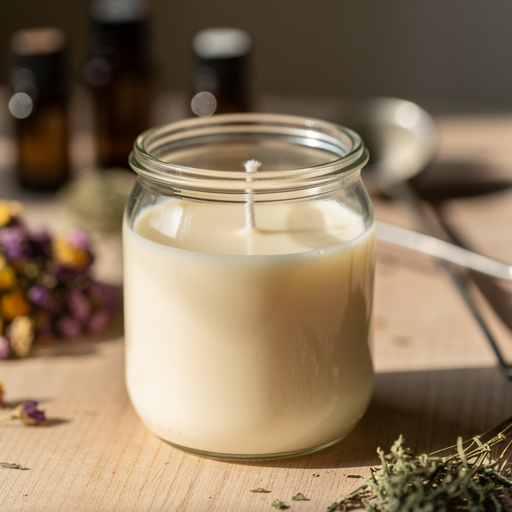
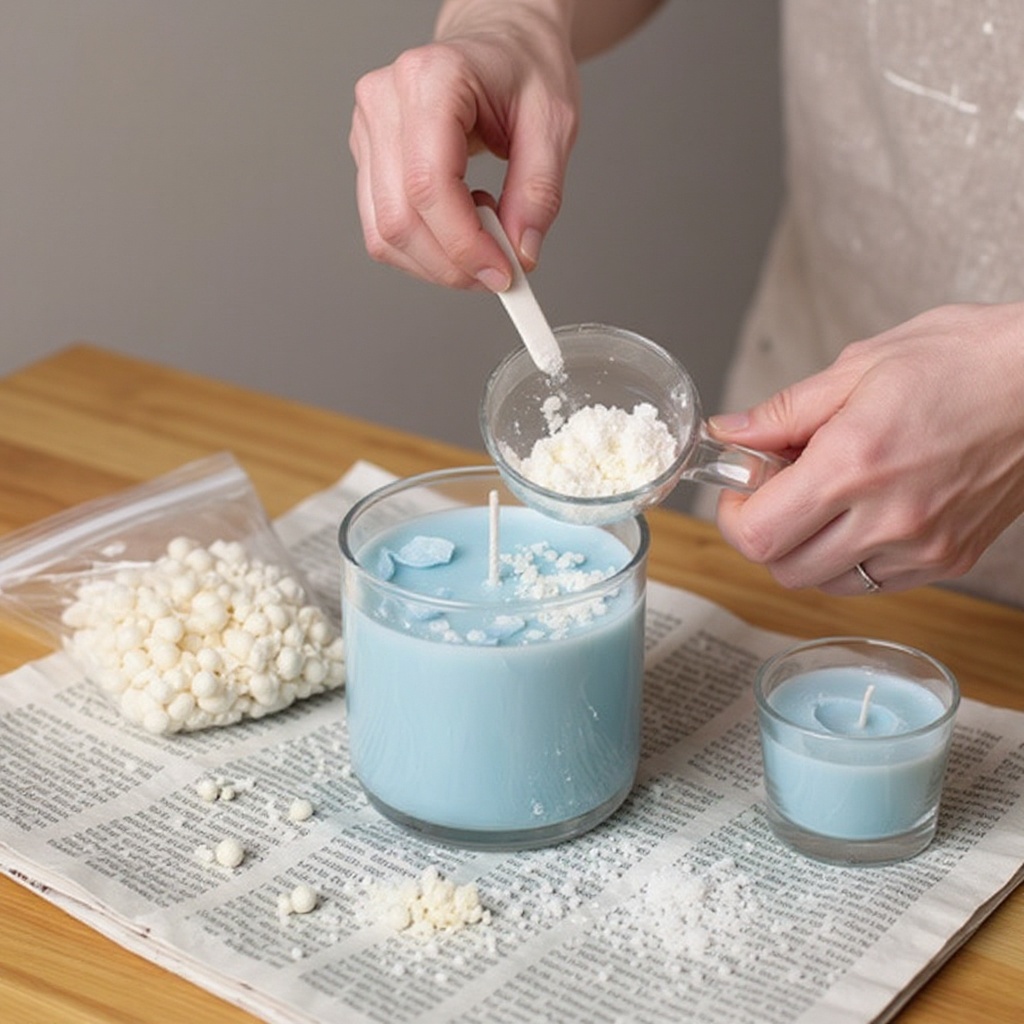
Measure 1 lb (approximately 454 grams) of soy wax flakes using a scale for accuracy, or by volume if a scale isn't available. Place the measured wax flakes into the pouring pot.
- 3
Fill the large pot with about 1-2 inches of water, ensuring it doesn't touch the bottom of the pouring pot when placed inside. This setup creates a gentle double boiler, preventing the wax from scorching.
- 4
Place the pouring pot containing the wax flakes into the larger pot of water. Heat the water over medium heat, stirring the wax occasionally with your stirring utensil until it is completely melted and clear. Avoid letting the water boil vigorously.
- 5
Monitor the wax temperature closely with your thermometer, aiming for a pouring temperature of around 180-185°F (82-85°C). This temperature is crucial for proper fragrance binding and a smooth pour.
- 6
Once the wax reaches the target temperature and is fully melted, carefully remove the pouring pot from the double boiler using oven mitts. Be cautious of steam and hot water.
- 7
Add 1 oz (approximately 28 grams) of your chosen phthalate-free fragrance oil to the melted wax. Stir gently but thoroughly for a full 2 minutes to ensure the fragrance oil is completely incorporated into the wax, which is vital for a strong scent throw.
- 8
Allow the fragranced wax to cool to approximately 130-135°F (54-57°C) before pouring. This lower temperature helps prevent fragrance loss and reduces the risk of cracking or sinkholes in the finished candle.
- 9
While the wax cools, prepare your candle containers. Ensure they are clean, dry, and free of any dust or debris. Wipe them down with rubbing alcohol and paper towels for a pristine finish.
- 10
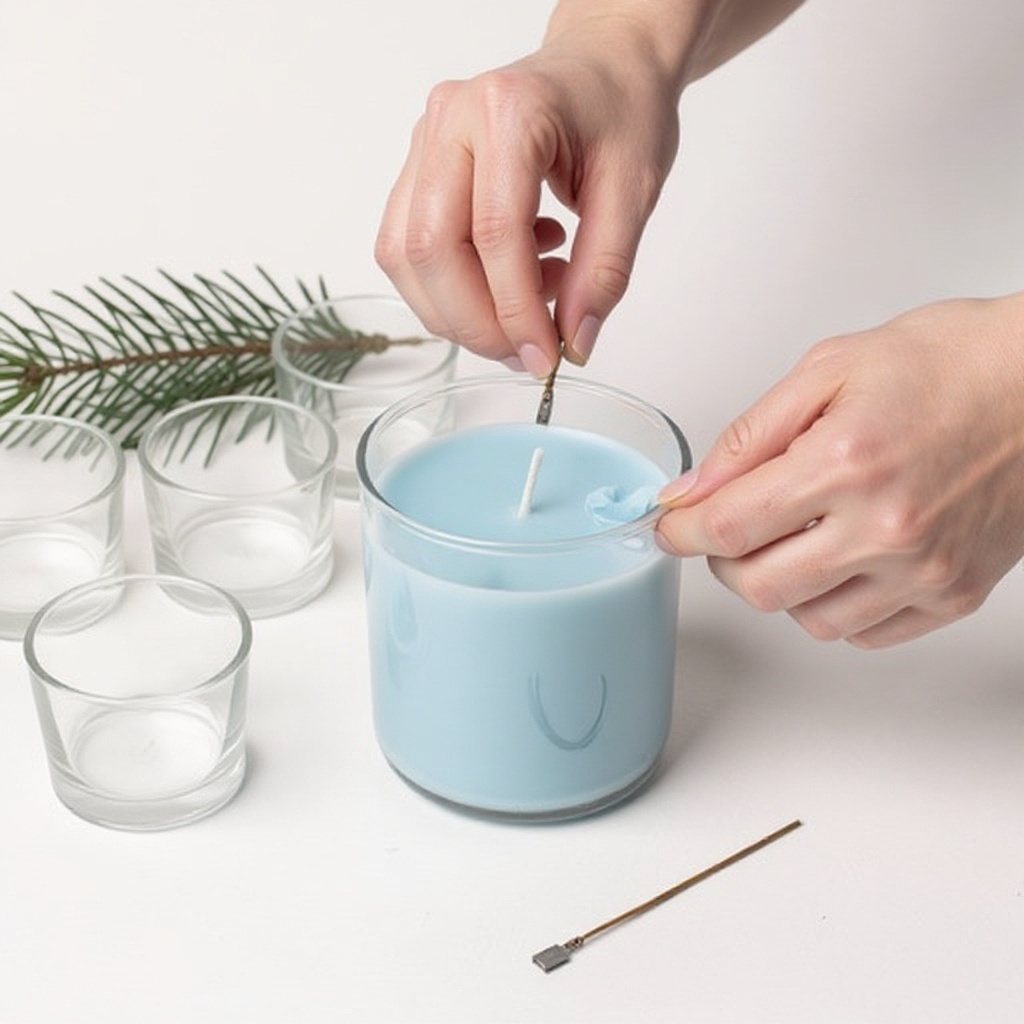
Attach the metal tab of each cotton wick to the bottom center of your candle containers. Use a wick sticker for a secure hold, or apply a small dab of hot glue to the tab and press it firmly into place.
- 11
Secure the top of each wick upright and centered using a wick centering tool. If you don't have one, rest a pencil or chopstick across the container rim and wrap the wick around it, ensuring it stays taut and centered.
- 12
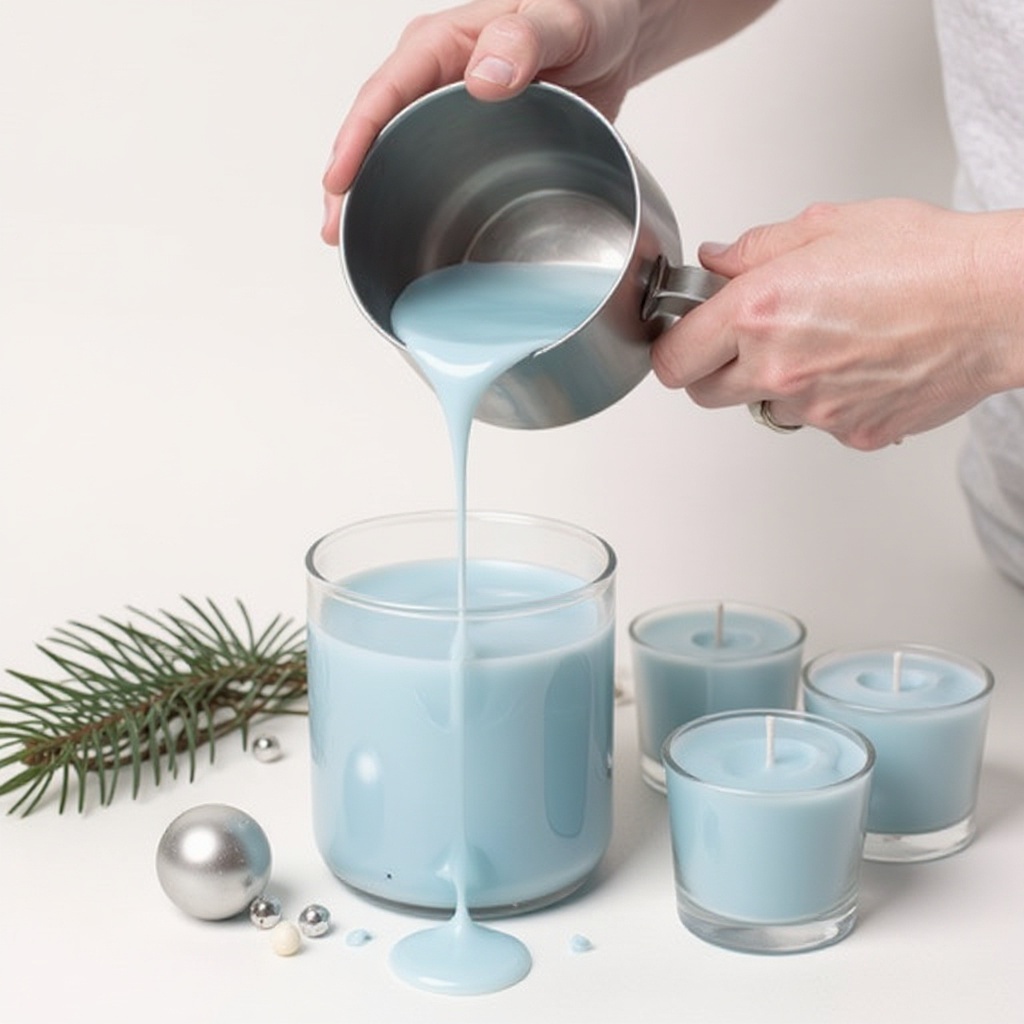
Carefully and slowly pour the cooled wax into the prepared containers. Fill each container, leaving about ½ inch (1.25 cm) of space at the top to allow for proper burning and to prevent overflow.
- 13
Allow the candles to cure undisturbed for at least 24 hours in a cool, dry place, away from drafts or direct sunlight. This curing period is essential for the wax to fully harden and for the fragrance to bind properly with the wax.
- 14
After the curing period, trim the wicks to ¼ inch (0.6 cm) before lighting. This step is crucial for a clean, safe, and efficient burn, preventing excessive flickering and soot.
- 15
Your romantic scented candles are now ready to be enjoyed or gifted! Admire your handiwork and prepare to fill your space with a beautiful, personalized aroma.
Tips & Troubleshooting
- 1If your candles develop sinkholes or cracks after cooling, don't worry! You can often fix them by gently reheating a small amount of wax and carefully pouring it over the affected area to create a smooth top layer. This is a common issue with some waxes and can be easily remedied.
- 2Experiment with different fragrance oil combinations for unique scents that evoke specific moods or memories. Always use fragrance oils specifically designed for candle making, as they are formulated to withstand heat and bind well with wax for optimal scent throw.
- 3For a decorative touch, you can add a small amount of mica powder or dye specifically made for candles to the melted wax before pouring. Stir well to distribute evenly, but be mindful that too much colorant can affect the burn quality.
- 4Ensure your containers are impeccably clean and completely dry before pouring to prevent any imperfections, such as frosting or adhesion issues, in the finished candle. Even a tiny bit of moisture can cause problems.
- 5Always supervise children when working with hot wax and keep flammable materials, such as paper towels or loose fabrics, away from the heat source to prevent accidents. Safety first is paramount in candle making.
- 6To achieve the best scent throw, allow your candles to cure for at least 1-2 weeks after making them. This extended curing time allows the fragrance molecules to fully integrate with the wax, resulting in a stronger and more consistent aroma when burned.
- 7If you notice wet spots (where the wax pulls away from the container), it might be due to temperature fluctuations during cooling. Try to cool your candles in a stable environment. Sometimes, a quick blast from a heat gun on the surface can help re-adhere the wax.
Related Activities You Might Enjoy
Frequently Asked Questions
What is the best wax for DIY scented candles?
Soy wax is a highly recommended choice for DIY scented candles, especially for beginners, due to its natural origin, clean-burning properties, and excellent fragrance-holding capabilities. It's derived from soybeans, making it a renewable resource. Soy wax typically burns cooler and longer than paraffin wax, and it's less prone to producing soot. Other popular options include beeswax, which has a natural honey scent and purifying qualities, and coconut wax blends, known for their creamy texture and superior scent throw. However, soy wax offers a fantastic balance of ease of use, performance, and eco-friendliness, making it ideal for creating romantic and artisanal candles.
How much fragrance oil should I use per pound of wax?
A general guideline for a good scent throw in DIY candles is to use about 1 ounce (approximately 28 grams) of fragrance oil per pound (approximately 454 grams) of wax. This is often referred to as a 6-8% fragrance load. However, it's crucial to always check the manufacturer's recommendations for both your specific wax and fragrance oil, as they can vary. Some waxes can hold more fragrance than others, and some fragrance oils are more potent. Overloading the wax with fragrance can lead to issues like sweating, poor burning, or even safety concerns, so adhering to recommended ratios is key for optimal results.
Can I use essential oils instead of fragrance oils?
While you can technically use essential oils in candle making, they are often more volatile and may not produce as strong or consistent a scent throw as dedicated fragrance oils designed for candles. Essential oils are natural plant extracts and can be more sensitive to heat, potentially evaporating during the melting process, which reduces their scent. Furthermore, some essential oils can be more expensive than fragrance oils, and their scent profiles might not be as complex or long-lasting in a candle. For a robust and reliable romantic aroma, phthalate-free fragrance oils specifically formulated for candle making are generally the preferred choice.
How long do homemade scented candles last?
When burned properly, a homemade scented candle can last anywhere from 20 to 40 hours, depending on its size, the type of wax used, and the wick's performance. Soy wax candles, for instance, tend to burn slower and longer than those made with paraffin wax. Proper wick trimming is absolutely key to maximizing burn time and ensuring a clean burn; a wick that is too long will cause the flame to be too large, consume wax faster, and produce more soot. Following the recommended burn time guidelines and practicing good candle care will help you enjoy your handmade creations for as long as possible.
What are the best containers for homemade candles?
Heat-safe containers are essential for homemade candles to safely contain the melted wax. Ideal choices include sturdy glass jars (like mason jars or repurposed food jars), ceramic vessels, or metal tins. Ensure that the containers are clean, dry, and free from any cracks or imperfections that could compromise their integrity when heated. The diameter of the container is also important, as it dictates the size of the wick you should use to ensure an even melt pool and prevent tunneling. Avoid thin or decorative glass that isn't designed for heat, and always test a new container type if you're unsure.
What is a 'cure time' for candles and why is it important?
Cure time, also known as aging time, refers to the period after a candle is made during which the wax and fragrance oil fully bind together. For soy wax candles, this typically ranges from 1 to 2 weeks. During this time, the fragrance molecules integrate deeply into the wax structure, leading to a significantly stronger and more consistent scent throw when the candle is burned. While you can burn a candle immediately after it hardens, the scent will be much weaker. Allowing your candles to cure properly ensures that you get the best possible aromatic experience from your handmade creations.
How do I prevent frosting on my soy wax candles?
Frosting is a natural characteristic of soy wax where white, crystalline patterns appear on the surface or sides of the candle. It's purely cosmetic and doesn't affect the burn quality. To minimize frosting, try pouring your wax at a slightly lower temperature, around 125-130°F (52-54°C), and ensure your containers are at room temperature or slightly warmed. Pouring the wax slowly and steadily into a clean, dry container can also help. Some crafters find that preheating their containers slightly before pouring can reduce temperature shock, which is a common cause of frosting.
What Next?
Congratulations on creating your own romantic scented candles! You've unlocked a world of aromatic possibilities. Consider experimenting with layered scents, adding dried botanicals (ensure they are placed away from the wick for safety), or using different container styles for a unique aesthetic. Store your finished candles in a cool, dark place to preserve their fragrance. These handmade treasures make thoughtful gifts or beautiful additions to your own decor, inviting warmth and romance into any space. Your next project could involve exploring different wax types or advanced pouring techniques.
Free: 10 Paper Crafts Anyone Can Make in 5 Minutes
Get our beginner guide + new craft ideas weekly.
No spam. Unsubscribe anytime.
Did you complete this activity?
Related