How to Make Sensory Sound Bottles — Easy Step-by-Step Guide
Discover how to create engaging sound activities for preschoolers with these simple DIY sensory bottles. Perfect for exploring different sounds and textures!
Quick answer
To make sensory sound bottles, you need empty plastic bottles and various filling materials like rice, beans, and beads. This beginner-friendly activity takes about 30 minutes and has 7 steps, perfect for preschoolers aged 2-5.
What you need
Shop on Amazon · As an Amazon Associate we earn from qualifying purchases. Links above are affiliate links — we may earn a commission at no extra cost to you.
Embark on a delightful journey of auditory exploration with these DIY Sensory Sound Bottles! This project is a fantastic way to introduce young children, particularly preschoolers aged 2-5, to the wonderful world of sound and texture in a safe and engaging manner. Creating these bottles is not only a fun craft activity but also a powerful tool for developing crucial early learning skills. They offer a hands-on, tactile experience that sparks curiosity and encourages imaginative play, making them a perfect addition to any home or classroom learning environment.
On this page
Step-by-Step Instructions
- 1
Gather all your materials and ensure the plastic bottles are thoroughly washed and dried. It's crucial that the bottles are completely dry inside and out to prevent mold or mildew, especially if you plan to use any water-based fillings later.
- 2
Select your first bottle and carefully pour 1/2 cup of uncooked white rice into it. Aim to fill the bottle about one-quarter to one-third full, as this provides ample room for the rice to move and create sound.
- 3
Take your second bottle and pour in 1/2 cup of uncooked brown rice. Notice how the texture and size of the brown rice might create a slightly different sound profile compared to the white rice, offering a subtle variation for exploration.
- 4
For the third bottle, measure and gently pour 1/4 cup of small pony beads. These larger beads will produce a distinct, clackety sound as they tumble against each other and the bottle walls.
- 5
In the fourth bottle, carefully spoon in 1/4 cup of small seed beads. These tiny beads will create a much finer, softer rattling sound, offering a contrast to the louder pony beads.
- 6
Now, take your fifth bottle and add 1/4 cup of small ditalini pasta. This small, tubular pasta will create a unique, dry rustling sound as it shifts within the bottle.
- 7
For the sixth bottle, spoon in 1/4 cup of orzo pasta. Orzo, being smaller and more grain-like than ditalini, will produce a different, perhaps more subtle, rustling or clicking sound.
- 8
In the seventh bottle, add 1/4 cup of small, smooth pebbles or gravel. Ensure the pebbles are free of sharp edges to prevent damage to the bottle or injury. This filling will create a heavier, more resonant sound.
- 9
If you wish to add more variety, take another bottle and add 1/4 cup of dried corn kernels. This will produce a distinct, hollow clicking and rattling sound.
- 10
Consider adding a bottle with a mix of materials for a complex sound. For instance, combine 1/4 cup of dried beans with 1/4 cup of small pasta for a layered auditory experience.
- 11
If you're feeling adventurous and want to add a visual element, you can prepare a water-based filling. For example, fill a bottle about one-third full with uncooked rice, then add a few drops of food coloring and a small amount of water. Shake gently to distribute the color, but be extremely cautious with water-based fillings and lid security.
- 12
Once all your desired fillings are in their respective bottles, it's time to prepare for sealing. Ensure the bottle openings are clear of any stray materials that might prevent a tight seal.
- 13
Securely screw the lids onto each bottle. This is a critical step for safety and longevity. Twist them as tightly as you possibly can by hand.
- 14
For extra security, especially if the bottles will be handled by very enthusiastic young children, you can add a bead of strong craft glue or hot glue around the rim of the lid before screwing it on tightly. This step requires adult supervision and should be done in a well-ventilated area. Allow the glue to dry completely before proceeding.
- 15
Shake each bottle gently to hear the different sounds they produce. Pay attention to the nuances – is it a sharp rattle, a soft rustle, a dull thud, or a crisp click?
- 16
Invite your preschooler to explore the different sounds by shaking, rolling, and tapping the bottles. Encourage them to hold the bottles in different ways and observe how the sound changes.
- 17
Encourage them to describe the sounds they hear using descriptive words. Prompt them with questions like, 'Does this sound like rain?' or 'Is this sound loud or soft?'
- 18
You can also play a guessing game. Before they shake a bottle, ask them to predict what might be inside based on the sound it makes when you gently tap it. This encourages critical thinking and auditory discrimination.
Tips & Troubleshooting
- 1Ensure all lids are screwed on very tightly. If your preschooler is a strong shaker or prone to trying to open things, consider using a non-toxic, strong craft glue or hot glue to permanently seal the lids. This is a crucial safety measure to prevent accidental spills or choking hazards.
- 2Experiment with different fillings! The possibilities are nearly endless. Try small buttons, dried corn, small erasers, pom-poms, metal washers, small craft gems, or even dried lentils for varied sounds and textures. Each new material offers a unique auditory experience.
- 3For a visual element, you can add a few drops of food coloring to water-based fillings like rice or pasta. However, be extra cautious about lid security when using water, as leaks can be messy and potentially damage the contents. Ensure the seal is absolutely foolproof.
- 4Store the sound bottles in a decorative basket, a clear bin, or a fabric bag for easy access and organization. This makes them readily available for spontaneous play or planned sensory activities, encouraging independent exploration.
- 5Introduce the concept of 'loud' and 'soft' sounds by having your child shake the bottles with varying degrees of force. This helps them understand volume and control.
- 6You can also explore 'fast' and 'slow' sounds by shaking the bottles quickly or slowly. This introduces the concept of tempo and rhythm in a simple, tangible way.
- 7Consider creating themed sound bottles. For example, a 'nature' bottle could contain small pebbles and dried leaves, while a 'craft' bottle might have buttons and beads. This adds an extra layer of engagement and learning.
- 8When introducing new bottles, spend time exploring them together. Model how to shake them, listen to the sounds, and describe them. This guidance helps children understand how to interact with the materials and what to listen for.
Related Activities You Might Enjoy
Frequently Asked Questions
Are these sound activities safe for toddlers?
Yes, these sound activities are generally safe for toddlers aged 2 and up, provided the lids are securely fastened and permanently sealed if necessary. Always supervise young children during play to ensure they don't attempt to open the bottles or ingest any small parts. The key is to use non-toxic materials and ensure the bottles are robust enough to withstand enthusiastic handling. Regularly check the bottles for any signs of wear or damage, especially around the lid, and discard them if they are compromised.
How can I make the sound bottles more durable?
To make the sound bottles more durable and child-proof, ensure the lids are screwed on as tightly as possible. For added security and to prevent accidental opening, consider using a strong, non-toxic craft glue or hot glue (with adult supervision) to permanently seal the lids. Apply a generous bead of glue around the rim of the bottle opening before screwing the lid on tightly. Allow the glue to cure completely according to the manufacturer's instructions before allowing children to play with the bottles. This significantly reduces the risk of spills and ensures the bottles can withstand vigorous play.
What other materials can I use for sound bottles?
You can use a wide variety of materials to create diverse sounds! Try small buttons, dried corn, small erasers, pom-poms, metal washers, small craft gems, dried lentils, small screws or nuts, or even small pieces of dried pasta like macaroni or shells for different auditory and visual effects. For a softer sound, consider using cotton balls or small fabric scraps. The goal is to experiment with different sizes, shapes, and densities to create a spectrum of sounds, from loud rattles to soft rustles.
How do sound activities help preschoolers?
Sound activities like these sensory bottles are invaluable for preschoolers' development. They help children develop their auditory discrimination skills, enabling them to distinguish between different sounds and their sources. They learn about cause and effect as they shake the bottle and hear the resulting sound. Manipulating the bottles enhances fine motor skills and hand-eye coordination. Furthermore, these activities encourage creative expression as children explore different sounds, rhythms, and textures, fostering imaginative play and language development as they describe their sensory experiences.
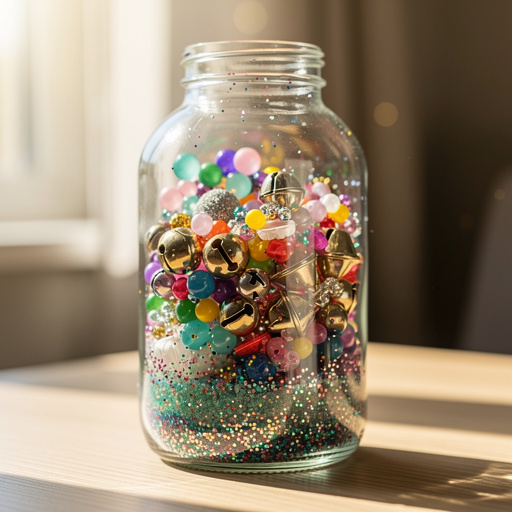
Can I add water to the sound bottles?
Yes, you can add water to sound bottles, but with significant caution. Water can be used to create different sound effects, especially when combined with materials like glitter or small beads. However, it's crucial to ensure the lids are absolutely, unequivocally secure. Leaks can be messy, potentially damage the contents, and create a slip hazard. If you choose to add water, use a very small amount and consider permanently sealing the lid with strong glue. It's often safer to stick to dry fillings for younger children or when a foolproof seal cannot be guaranteed.
How long does it take to make these sound bottles?
The actual filling and sealing of the sound bottles is a relatively quick process, typically taking around 30 minutes, depending on how many bottles you are making and the complexity of your chosen fillings. The majority of the time is spent gathering materials, carefully pouring them into the bottles, and ensuring the lids are securely fastened. If you opt to use glue to permanently seal the lids, you will need to factor in drying time for the adhesive, which can range from a few minutes for hot glue to several hours or overnight for craft glues. Overall, it's a very manageable project for a single afternoon.
What Next?
These Sensory Sound Bottles are a testament to how simple materials can create profound learning experiences. Once your collection is complete, store them in a decorative basket or a dedicated bin for easy access during playtime. Consider creating a 'sound station' where children can freely explore the bottles, perhaps with a simple chart to draw or write about the sounds they discover. For future projects, explore variations like adding glitter for a visual element, or even creating themed bottles for holidays. You could also investigate other sensory materials like dried lentils, small pom-poms, or even tiny bells for an even wider range of auditory experiences.
Free: 10 Paper Crafts Anyone Can Make in 5 Minutes
Get our beginner guide + new craft ideas weekly.
No spam. Unsubscribe anytime.
Did you complete this activity?
Related
You might also like
Cornstarch Cloud Dough
Leaf & Stick Nature Sculptures
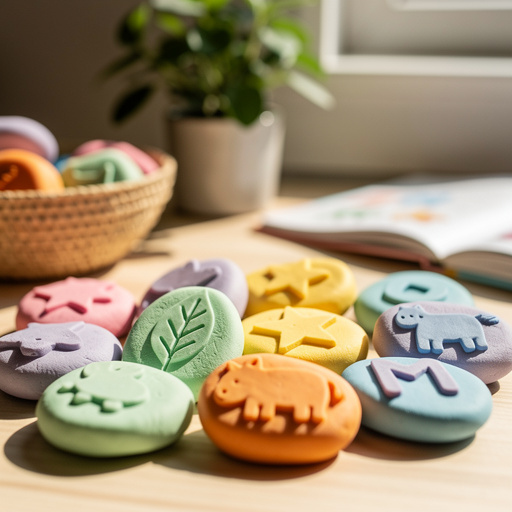
Playdough Sensory Story Stones
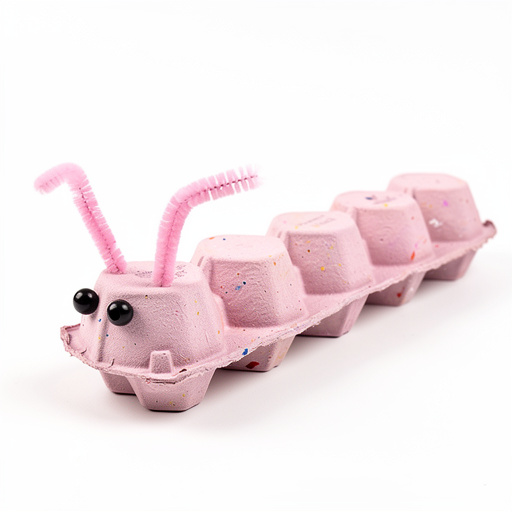
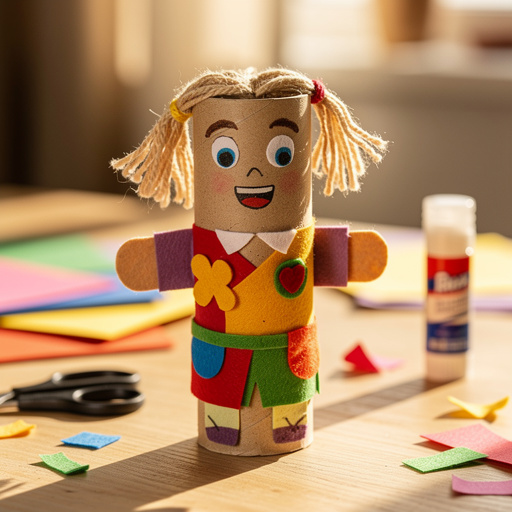
Egg Carton Caterpillar Critters
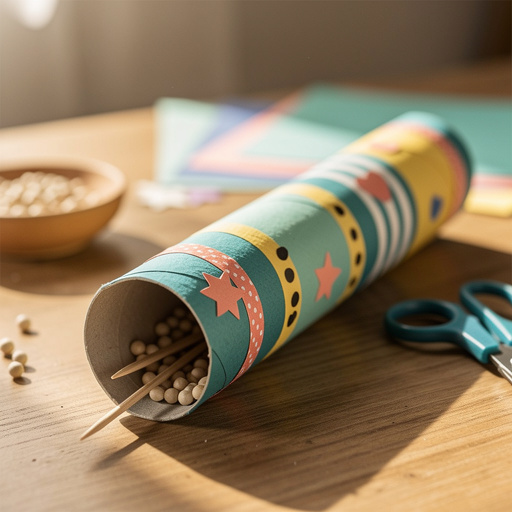
Paper Roll Rainmaker