How to Create Playdough Sensory Story Stones — Easy Step-by-Step Guide
Spark imagination with homemade playdough sensory story stones! This fun activity uses simple ingredients and encourages creative storytelling for young children. It's a fantastic way to combine tactile play with language development, making it a perfect project for parents, educators, and anyone looking to foster creativity in kids. The process is simple, engaging, and results in a beautiful, interactive toy that can be used again and again.

Quick answer
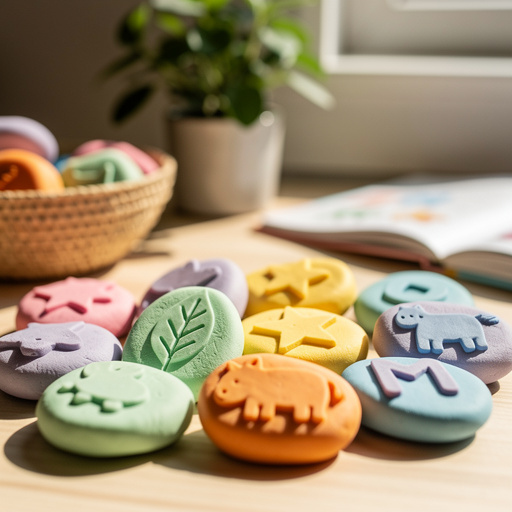
To make playdough sensory story stones, you need homemade playdough, small objects, and about 30 minutes of active crafting time. Start by making your playdough using basic pantry staples, then flatten small portions and gently embed various small objects into them. Allow them to air dry for 24-48 hours until firm. This beginner-friendly activity has 10 core steps and is perfect for kids aged 3 and up, offering endless storytelling possibilities.
What you need
Shop on Amazon · As an Amazon Associate we earn from qualifying purchases. Links above are affiliate links — we may earn a commission at no extra cost to you.
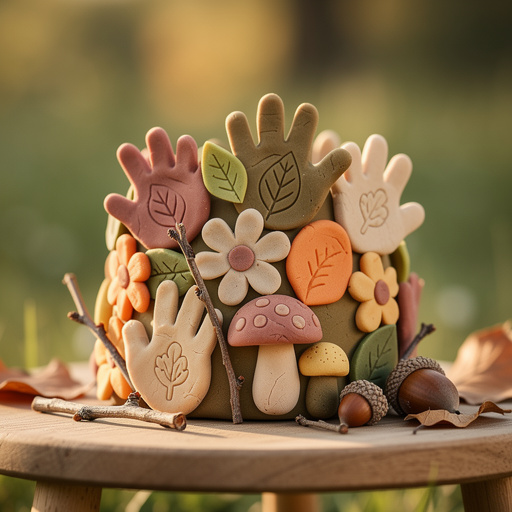
Unleash a world of imagination with homemade Playdough Sensory Story Stones! This delightful DIY project is more than just a craft; it's a gateway to boundless storytelling adventures for young minds. By combining the tactile joy of playdough with the intrigue of embedded objects, these stones become powerful tools for language development, creative thinking, and imaginative play. Perfect for toddlers, preschoolers, and even older children who enjoy crafting and storytelling, this activity is incredibly accessible, requiring only common household ingredients and a sprinkle of creativity. Get ready to embark on a journey where every stone tells a tale!
On this page
Step-by-Step Instructions
- 1
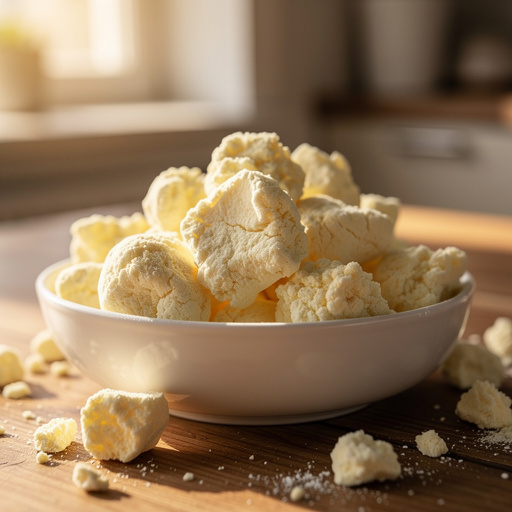
In a large mixing bowl, combine the dry ingredients: 2 cups of all-purpose flour, 1 cup of salt, and 2 tablespoons of cream of tartar. Whisk these together thoroughly to ensure the salt and cream of tartar are evenly distributed throughout the flour, which helps create a smoother, more pliable dough and prevents clumping.
- 2
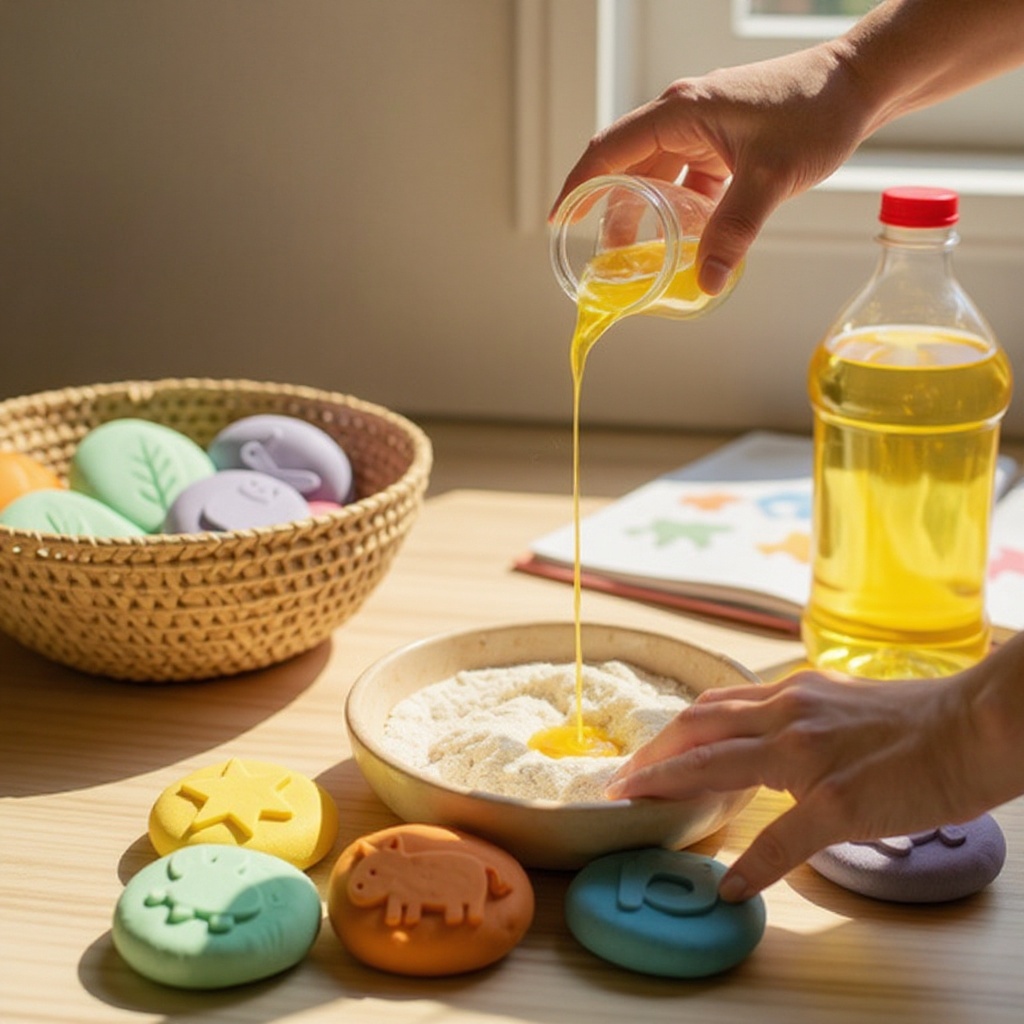
Add 2 tablespoons of vegetable oil to the dry ingredients. The oil is crucial for making the playdough soft, pliable, and less sticky, contributing to its overall texture and longevity.
- 3
Gradually pour in 1 cup of water while stirring continuously with a sturdy spoon or spatula until a shaggy dough begins to form. It's important to add the water slowly to avoid making the dough too wet; you can always add a little more if needed, but it's harder to fix overly sticky dough.
- 4
Once the ingredients are mostly combined and a dough mass has formed, turn it out onto a lightly floured surface. Begin kneading the dough vigorously for 5-7 minutes until it becomes smooth, elastic, and no longer sticky. This kneading process develops the gluten in the flour, giving the playdough its characteristic stretchy and moldable texture.
- 5
If you desire colorful story stones, this is the time to divide the playdough into separate portions. For each portion, knead in a few drops of food coloring (liquid or gel works well) until the color is evenly distributed throughout the dough. Start with a small amount of coloring and add more until you achieve your desired vibrant hue; gel colors tend to be more concentrated.
- 6
Take a small portion of your prepared playdough, about the size of a golf ball or slightly larger depending on the size of your chosen objects. Gently flatten this portion into a disc shape, aiming for a thickness of about 1/2 inch. Ensure the edges are relatively smooth, though a slightly rustic look is perfectly fine.
- 7
Select a small, smooth object that you want to embed into your story stone. Carefully and gently press the object into the center of the flattened playdough disc. The goal is to embed it securely so it becomes a permanent part of the stone, but avoid pressing it all the way through or leaving sharp edges exposed.
- 8
Continue this process by repeating steps 6 and 7 with different playdough colors and a variety of small objects. Aim to create a diverse collection of story stones, each featuring a unique object or combination of objects, to provide a rich vocabulary for storytelling.
- 9
Once you have created your desired number of playdough story stones, place them on a clean surface, ideally lined with parchment paper or a silicone mat to prevent sticking. Allow the playdough story stones to air dry completely. This process typically takes 24-48 hours, depending on the thickness of the stones and the humidity in your environment. They are ready when they feel firm to the touch and no longer yield to gentle pressure.
- 10
After the playdough story stones have fully dried and hardened, they are ready for imaginative play and storytelling! You can gently brush off any excess flour or dust with a soft brush before presenting them to your children.
- 11
For those seeking a more durable and permanent craft, consider baking the playdough story stones. Place them on a baking sheet lined with parchment paper and bake in a preheated oven at a very low temperature, around 200°F (95°C), for 1-2 hours, or until they feel completely hardened. It is crucial to supervise this process closely to prevent burning or cracking.
- 12
Once baked and cooled, your story stones will be significantly more robust and less prone to damage than air-dried ones. This baking step transforms the playdough into a harder, more permanent material, making them ideal for frequent use and for younger children who might be rougher with their toys.
Tips & Troubleshooting
- 1If your playdough feels too sticky during the kneading process, don't panic! Gradually add a little more all-purpose flour, a tablespoon at a time, and continue kneading until it reaches a smooth, elastic consistency. Conversely, if the dough feels too dry and crumbly, add a tiny bit more water, just a teaspoon at a time, until it becomes pliable.
- 2For playdough story stones that are intended to last for a very long time and withstand more vigorous play, baking them is an excellent option. Place the finished stones on a baking sheet lined with parchment paper and bake at a very low temperature, around 200°F (95°C), for 1-2 hours until they are completely hardened. Always supervise the baking process closely to prevent any burning or cracking.
- 3Encourage children to actively participate in the storytelling process using their newly created stones. Ask open-ended questions that prompt creativity, such as 'What happens next in the story?', 'Who is this character and what do they want?', or 'Where is this stone taking us on our adventure?' This helps develop their narrative skills and imagination.
- 4Proper storage is key to prolonging the life of your playdough story stones. Once completely dry, store them in a breathable bag, such as a cotton drawstring bag, or a container with ventilation to prevent moisture buildup, which can lead to mold or stickiness. Avoid airtight plastic containers if the stones are not fully cured.
- 5When selecting small objects to embed, prioritize safety and smoothness. Ensure there are no sharp edges that could pose a hazard to children. Objects like buttons, beads, and small plastic toys are generally safe, but always supervise younger children to ensure they don't try to ingest the objects or the playdough.
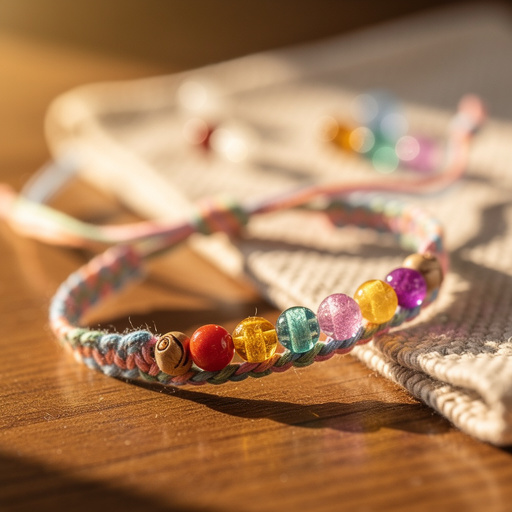
- 6To add an extra layer of sensory experience, consider using different types of objects. For instance, smooth, cool pebbles offer a different feel than soft buttons or textured beads. You could also incorporate natural elements like small, dried leaves or tiny, smooth shells for added tactile variety.
- 7If you find that the colors of your playdough stones are fading or becoming dull over time, consider sealing them with a clear, non-toxic sealant once they are completely dry. This can help preserve their vibrancy and add a slight sheen, though it's an optional step.
- 8Don't be afraid to experiment with different playdough recipes! While this recipe is excellent for its simplicity and texture, you can explore variations that include scents (like adding a drop of essential oil) or even glitter for extra sparkle, making your story stones even more unique and engaging.
Related Activities You Might Enjoy
Frequently Asked Questions
How do you make homemade playdough for story stones?
Making homemade playdough for story stones is incredibly simple and uses common pantry ingredients. In a large bowl, combine 2 cups of all-purpose flour, 1 cup of salt, and 2 tablespoons of cream of tartar. Stir in 2 tablespoons of vegetable oil, then gradually add 1 cup of water while mixing until a dough forms. Knead this mixture on a lightly floured surface for about 5-7 minutes until it's smooth and elastic. For vibrant story stones, divide the dough into portions and knead in a few drops of food coloring until evenly distributed. This process yields a soft, pliable dough perfect for embedding objects.
What kind of objects can I use for playdough story stones?
The possibilities for objects are vast, but the key is to use small, smooth items that can be safely embedded into the playdough. Excellent choices include buttons of various sizes and colors, smooth beads, small plastic toys like miniature animals, cars, or figures, clean and smooth pebbles, small shells, dried beans, or even interesting pasta shapes. Ensure that any object you choose doesn't have sharp edges and is large enough not to be a choking hazard for very young children. The variety of objects will directly influence the diversity of stories that can be created.
How long do playdough story stones last?
The longevity of playdough story stones depends on how they are made and stored. Air-dried playdough story stones will typically last for several days to a week if stored properly in a cool, dry place away from moisture. For a more permanent and durable craft, consider baking the playdough stones at a low temperature (around 200°F or 95°C) for 1-2 hours until hardened. Baked stones can last for months or even years with proper care. Alternatively, using air-dry clay or polymer clay instead of homemade playdough will result in significantly more durable and long-lasting story stones.
Are there other playdough activities for kids?
Absolutely! Playdough is a wonderfully versatile material that offers a multitude of engaging activities for children of all ages. Beyond creating story stones, kids can use cookie cutters to make fun shapes, build miniature sculptures and structures, create pretend food items for a play kitchen, or simply enjoy the sensory experience of squishing, rolling, and molding the dough. You can also introduce tools like plastic knives, rollers, and stamps to enhance their play. Playdough is fantastic for developing fine motor skills, creativity, and imaginative thinking, making it a staple in many early childhood settings.
Can I make the playdough ahead of time?
Yes, you can definitely make the playdough ahead of time! Homemade playdough can be stored in an airtight container or a sealed plastic bag at room temperature for up to a week, or in the refrigerator for even longer. If refrigerated, allow it to come to room temperature before using it, as it might be a bit stiff initially. Making the playdough in advance can be a great way to prepare for a craft session, ensuring that the dough is ready to go when the children are eager to start creating their story stones. Just ensure it's well-sealed to prevent it from drying out.
What is the purpose of cream of tartar in playdough?
Cream of tartar plays a crucial role in creating superior homemade playdough. It acts as an acid that reacts with the flour and water, helping to develop the gluten structure more effectively. This results in a playdough that is significantly smoother, more elastic, and less sticky than playdough made without it. The cream of tartar also contributes to the playdough's longevity, helping it stay soft and pliable for longer periods. It's a key ingredient for achieving that perfect, professional-quality playdough texture that's ideal for crafting and extended play.
How can I make my playdough story stones more durable?
To enhance the durability of your playdough story stones, consider baking them after they have been formed and the objects embedded. Place the stones on a baking sheet lined with parchment paper and bake in a preheated oven at a very low temperature, around 200°F (95°C), for 1 to 2 hours, or until they feel completely hardened. This process transforms the playdough into a much firmer material. Another option for extreme durability is to use air-dry clay or polymer clay instead of homemade playdough for your story stones, as these materials are designed to harden significantly and withstand more wear and tear.
What Next?
Congratulations on creating your very own set of Playdough Sensory Story Stones! These versatile creations are a fantastic way to encourage imaginative play and language skills. Consider expanding your collection by adding stones with different textures, natural elements like leaves or small twigs (ensure they are thoroughly dried and safe), or even tiny printed pictures. Once dry, these stones can be displayed in a decorative bowl or stored in a breathable fabric bag to keep them fresh. For a more permanent keepsake, explore using air-dry clay or polymer clay for future batches, offering even greater durability and a wider range of creative possibilities. Happy storytelling!
Free: 10 Paper Crafts Anyone Can Make in 5 Minutes
Get our beginner guide + new craft ideas weekly.
No spam. Unsubscribe anytime.
Did you complete this activity?
Related