How to Make Slime with Glue and Water — Easy Step-by-Step Guide
Discover the magic of slime! This easy tutorial shows you how to make stretchy, gooey slime using just glue and water, perfect for screen-free family fun. With just a few common household ingredients, you can create a sensory delight that's both fun to make and play with. Get ready for hours of squishy, stretchy entertainment!
Quick answer
To make slime with glue and water, you need PVA glue, water, and a slime activator like borax solution or contact lens solution, taking about 15 minutes. Start by mixing glue and water. This beginner-friendly activity has 8 steps and is perfect for kids aged 6+. You'll need 1/2 cup white PVA school glue, 1/2 cup water, 1/2 teaspoon baking soda, and 1 tablespoon contact lens solution. Optional additions include food coloring and glitter for customization.
What you need
Shop on Amazon · As an Amazon Associate we earn from qualifying purchases. Links above are affiliate links — we may earn a commission at no extra cost to you.
Embark on a journey of tactile discovery with this incredibly simple yet endlessly entertaining slime recipe! Making slime with just glue and water is a classic science experiment that transforms everyday ingredients into a mesmerizing, stretchy, and gooey substance. It’s the perfect activity for sparking creativity, encouraging fine motor skills, and providing a fantastic screen-free escape for children and adults alike. This project is a gateway to understanding basic chemical reactions in a fun, hands-on way, making it an ideal choice for rainy days, birthday parties, or just a spontaneous burst of crafting fun.
On this page
Step-by-Step Instructions
- 1
Gather all your materials on a clean, protected surface. This ensures you have everything readily available and minimizes mess during the slime-making process. Laying down newspaper or a plastic mat will protect your table from any spills or sticky residue.
- 2
Pour 1/2 cup (4 fl oz) of white PVA school glue into a mixing bowl. This is the base of your slime and provides the essential polymers that will react with the activator. Ensure you're using PVA glue, as other types of glue won't create the desired stretchy texture.
- 3
Add 1/4 cup (2 fl oz) of lukewarm water to the glue and stir until well combined. Using lukewarm water helps the glue and water to emulsify smoothly, creating a more consistent base. Stir gently but thoroughly until there are no streaks of glue or water visible, aiming for a uniform liquid consistency.
- 4
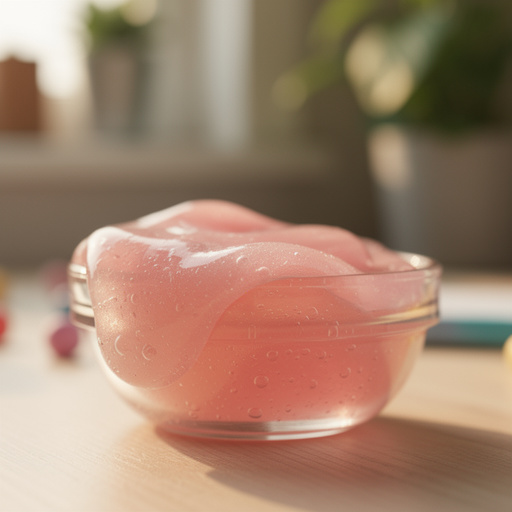
If using, add a few drops of food coloring to the mixture and stir until the color is evenly distributed. Start with just 2-3 drops, as food coloring can be quite potent. Stir until the color is uniform throughout the glue and water mixture. For more vibrant colors, you can add another drop or two, or even mix colors in separate small bowls before adding to the main mixture.
- 5
Add 1/2 teaspoon of baking soda to the colored glue and water mixture and stir thoroughly. Baking soda acts as a pH adjuster and helps to thicken the slime, making it less sticky and more cohesive. Ensure the baking soda is completely dissolved and integrated into the mixture; any clumps can affect the slime's texture.
- 6
Gradually add the contact lens solution, starting with about 1 tablespoon, stirring continuously. This is your slime activator. The boric acid and sodium borate in the contact lens solution react with the PVA glue to form cross-links, transforming the liquid into a solid, stretchy slime. Add it slowly, a little at a time, to avoid over-activating.
- 7
Continue stirring vigorously as you add the contact lens solution. You will notice the mixture starting to thicken and pull away from the sides of the bowl. Keep stirring until the slime begins to form a cohesive blob and is no longer sticking excessively to the bowl. This process might take a few minutes of consistent stirring.
- 8
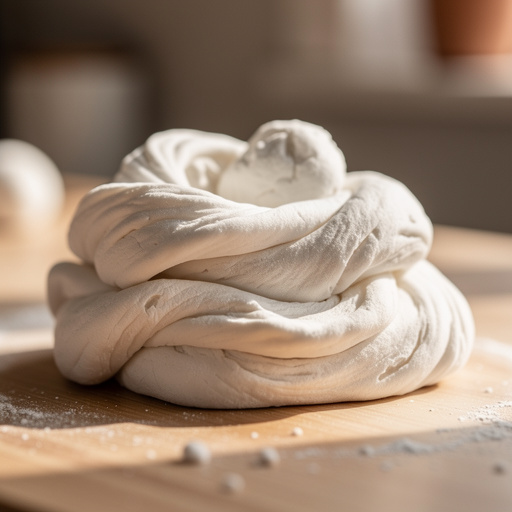
Once the slime is mostly formed and pulling away from the bowl, take it out and begin kneading it with your hands. This is a crucial step for developing the slime's texture. Initially, it might feel sticky, but as you knead, it will become smoother, stretchier, and less prone to sticking to your fingers.
- 9
Knead the slime for 3-5 minutes, or until it reaches your desired consistency. Stretch it, fold it, and squish it. If it's still too sticky after a few minutes of kneading, you can add a few more drops of contact lens solution directly to your hands or the slime and continue kneading. Be cautious not to add too much activator, as this can make the slime stiff.
- 10
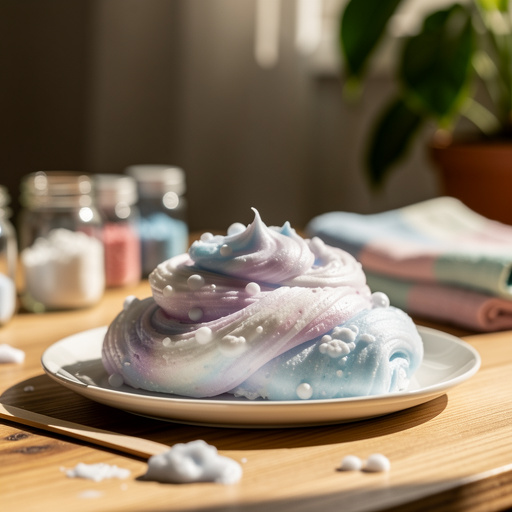
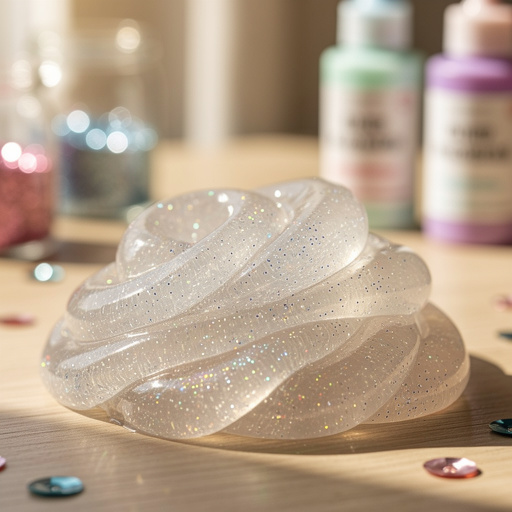
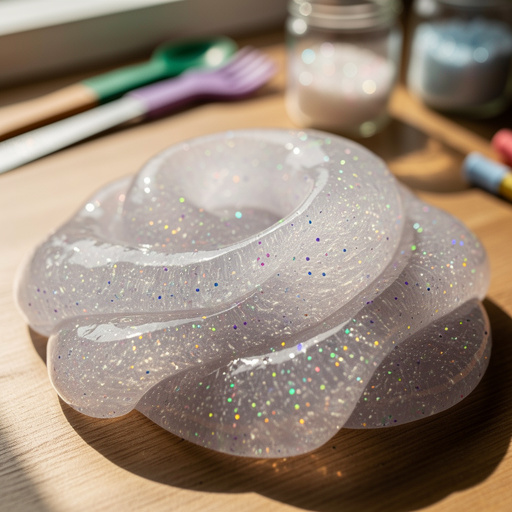
If you're adding glitter, now is the perfect time to incorporate it. Sprinkle your chosen glitter over the kneaded slime and continue to knead it in until evenly distributed. This will give your slime a beautiful sparkly effect. You can also try adding small foam beads for a crunchy texture or even a tiny amount of lotion for extra stretchiness.
- 11
Test the slime's stretchiness and consistency. It should be able to stretch significantly without breaking easily. If it breaks too quickly, it might need a little more kneading or a tiny bit more glue to improve its elasticity. If it's too stiff, you may have added too much activator, and a small amount of warm water or lotion can sometimes help to soften it.
- 12
Once you are happy with the texture and consistency of your slime, it's ready to play with! Enjoy the satisfying squishy, stretchy, and gooey feel. Remember to play with it on a protected surface to avoid any accidental messes on furniture or carpets.
Tips & Troubleshooting
- 1If your slime is too sticky, add a tiny bit more contact lens solution (a few drops at a time) and knead it in. It's better to add activator in small increments to avoid making the slime too stiff. Continue kneading until the stickiness subsides and the slime becomes manageable.
- 2If your slime is too stiff or breaks easily, it might be because you added too much activator. Try adding a little more glue and kneading it in. You can also try adding a small amount of warm water or a teaspoon of lotion to help soften it and improve its elasticity.
- 3Experiment with different colors and add glitter for a sparkly slime! You can also add small foam beads for a crunchy texture, or even tiny plastic charms for a fun surprise. Consider using metallic or neon food coloring for a vibrant effect.
- 4Store your slime in an airtight container or a zip-top bag at room temperature when not in use to prevent it from drying out. This will help maintain its stretchy and gooey texture for future play sessions. Ensure the container is completely sealed to keep air out.
- 5Always supervise young children during the slime-making process and play. While this recipe uses common household ingredients, it's important to ensure that children do not ingest the slime or its components. Wash hands thoroughly after playing with slime.
- 6For a smoother, more pliable slime, you can add a teaspoon of baby oil or lotion to the mixture during the kneading stage. This helps to make the slime less sticky and more elastic, providing a luxurious feel.
- 7If you find your slime is a bit too watery, try adding a pinch more baking soda and kneading it in. Baking soda helps to absorb excess moisture and firm up the slime. Remember to add it gradually to avoid making it too stiff.
- 8Clean up any spills immediately with warm water and soap. Dried slime can be difficult to remove, so it's best to tackle messes while they are fresh. A damp cloth or sponge should do the trick for most surfaces.
Related Activities You Might Enjoy
Frequently Asked Questions
What kind of glue is best for making slime with water?
White PVA school glue, like Elmer's or similar craft glues, is the best choice for making slime with water. These glues contain polyvinyl acetate (PVA) polymers, which are essential for creating the stretchy, gooey texture when they react with a slime activator. Other types of glue, such as clear glue (which is also PVA-based but can sometimes yield slightly different results) or glues that do not contain PVA, will not activate properly and will not form slime. Always check the label to ensure it's a PVA-based glue for the most reliable slime-making experience.
Why is my slime not activating with just glue and water?
Glue and water alone do not contain the necessary ingredients to activate slime. The magic of slime comes from a chemical reaction between the polymers in the PVA glue and a specific type of activator. You need a slime activator, such as a borax solution (made by dissolving borax powder in water) or a contact lens solution that specifically contains boric acid and sodium borate as active ingredients, to create the cross-linking reaction that transforms the liquid glue mixture into a solid, stretchy slime. Without one of these activators, the glue and water will simply remain a liquid mixture.
How do I make slime less sticky?
If your slime is too sticky, the most effective solution is to add a little more slime activator (like contact lens solution) and knead it in thoroughly. A few drops at a time is usually sufficient, as adding too much activator can make the slime stiff and brittle. Continue kneading the slime with your hands, incorporating the extra activator gradually. The stickiness should decrease as the polymers form more cross-links. If it's still slightly sticky after kneading, you can try adding a tiny bit of baby oil or lotion to your hands before playing.
Can I make slime without borax?
Yes, you can absolutely make slime without using traditional borax powder! Contact lens solution that contains boric acid and sodium borate is a common and effective alternative activator. Many people prefer this method as it's often readily available in medicine cabinets. Baking soda is also frequently used in conjunction with contact lens solution; it helps to adjust the pH and aids in the activation process, making the slime less sticky and more cohesive. This combination is a popular and reliable way to achieve great slime results.
How long does it take to make slime?
Making slime with glue and water is a wonderfully quick and rewarding craft! The actual mixing and activation process typically takes about 10-15 minutes from start to finish. This includes gathering your materials, mixing the glue and water, adding any optional color or glitter, incorporating the baking soda, and then gradually adding the activator while stirring. The final kneading stage to achieve the perfect texture might add another 3-5 minutes. So, you can have a batch of fun, stretchy slime ready to play with in under 20 minutes, making it an ideal activity for spontaneous crafting sessions.
What should I do if my slime breaks easily?
If your slime breaks easily and doesn't stretch well, it's likely due to an imbalance in the ingredients, most commonly too much activator or not enough glue. If you suspect too much activator was added, try adding a little more glue to the mixture and kneading it in thoroughly. This can help reintroduce more polymers to create a more flexible structure. Alternatively, a small amount of warm water or a teaspoon of lotion can sometimes help to soften stiff slime and improve its elasticity. Knead these additions in well until the slime becomes more pliable.
What Next?
Congratulations on creating your own batch of amazing glue and water slime! The possibilities for customization are endless; consider adding scented oils for a fragrant experience, glow-in-the-dark powder for nighttime fun, or even small plastic toys for a treasure-hunt slime. Once you've mastered this basic recipe, you can explore more advanced slime variations like fluffy slime, clear slime, or butter slime. Store your finished slime in an airtight container or a resealable bag at room temperature to keep it fresh and playable for days. Enjoy your homemade slime creations!
Free: 10 Paper Crafts Anyone Can Make in 5 Minutes
Get our beginner guide + new craft ideas weekly.
No spam. Unsubscribe anytime.
Did you complete this activity?
Related
You might also like
Sparkly Glue Slime Fun
Fluffy Glue Cloud Dough
Sparkly Borax Slime Fun
Cloud Dough Slime Creation
Fluffy Glue Slime Fun