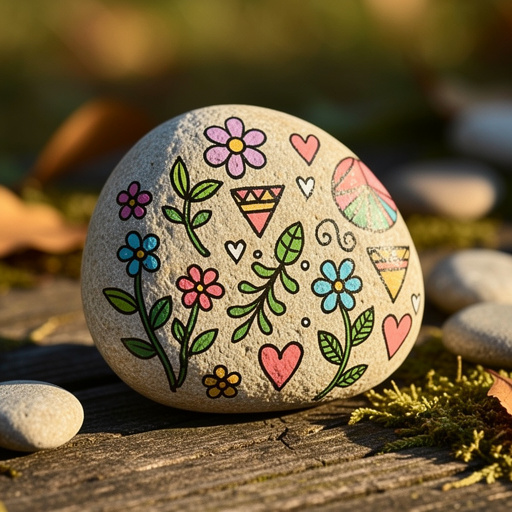
DIY Shrink Plastic Charms for Crocs and Shoes: Personalize Your Footwear!
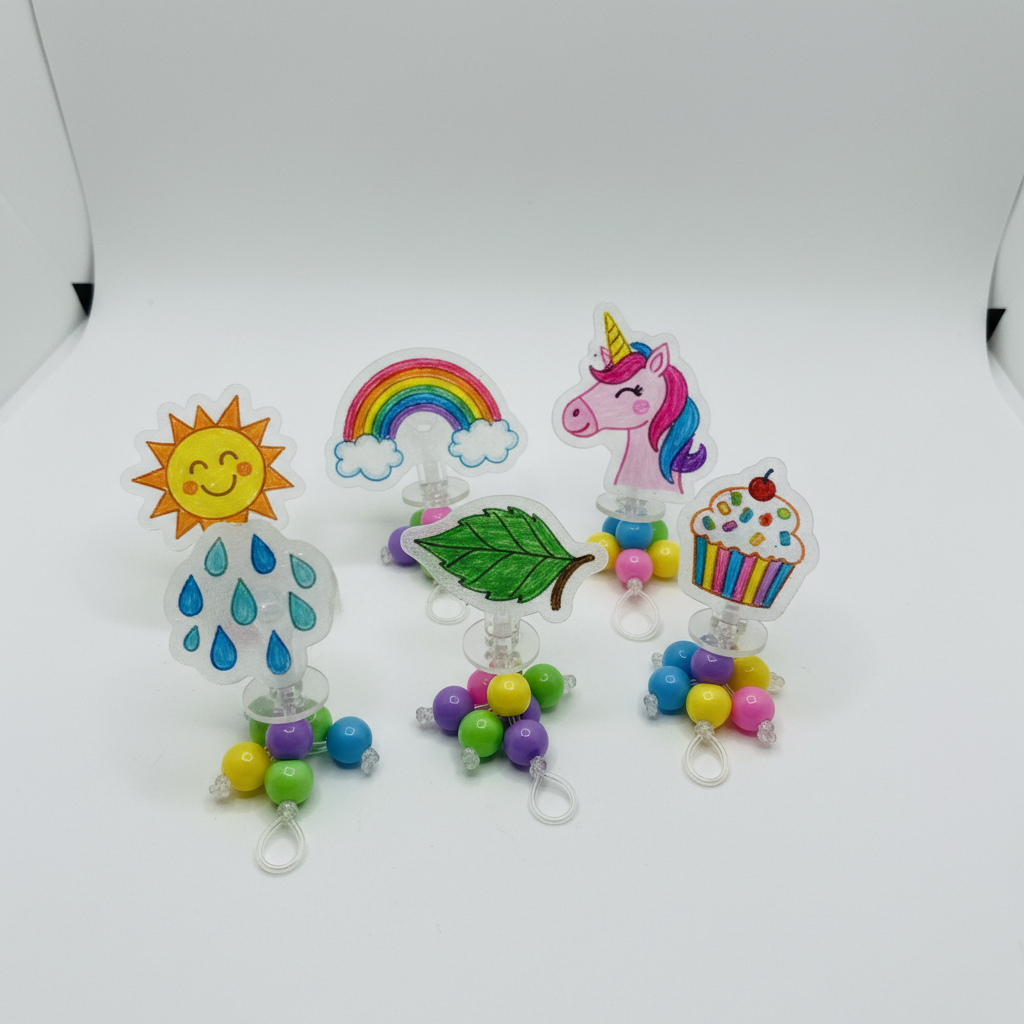
Create your own unique shoe charms using shrink plastic! This fun and easy DIY project allows you to personalize your Crocs, sneakers, and other footwear with custom designs. Perfect for kids and adults alike, you can make charms featuring your favorite characters, inside jokes, or just fun patterns. Get ready to step out in style with your one-of-a-kind shoe accessories!
Quick answer
Create custom shoe charms by drawing designs on shrink plastic, cutting them out, baking them until they shrink and flatten, and then attaching them to shoe charm findings.
What you need
Shop on Amazon · As an Amazon Associate we earn from qualifying purchases. Links above are affiliate links — we may earn a commission at no extra cost to you.
Tired of boring shoes? Want to add a splash of personality to your favorite pair of Crocs or sneakers? Look no further than this incredibly fun and accessible DIY project: creating your own shrink plastic charms! This craft is a fantastic way to express your individuality, whether you're a kid with a passion for cartoon characters or an adult who loves subtle, quirky details. It’s a low-cost, high-reward activity that results in durable, eye-catching accessories that are sure to turn heads and spark conversations. Get ready to transform your footwear into a canvas for your creativity!
On this page
Step-by-Step Instructions
- 1
Gather all your materials: Ensure you have your shrink plastic sheets, a variety of permanent markers (including fine-tip for details), sharp scissors, a hole punch (if desired for jump rings), your oven, parchment paper or a silicone mat, a baking sheet, and your shoe charm findings. Having everything readily accessible will make the process smoother and more enjoyable.
- 2
Prepare your workspace: Find a well-ventilated area, as permanent markers can have strong fumes. Lay out your parchment paper or silicone mat on a clean, flat surface, ready for when your charms come out of the oven. This will prevent them from sticking to the baking sheet.
- 3
Draw your design on the shrink plastic using permanent markers: This is where your creativity shines! Opt for simple shapes and bold lines, as the design will shrink and become more concentrated. Think about the size of the final charm – it will shrink to about 1/3 of its original size, so don't make your initial drawing too small or overly detailed. Consider characters, logos, abstract patterns, or even your initials.
- 4
Consider the shrink factor: Remember that your design will shrink significantly, so it's helpful to draw it larger than you want the final charm to be. A good rule of thumb is to draw it about three times the desired final size. You can even draw a small test shape to get a feel for the shrinkage before committing to your main design.
- 5
Add color and detail: Use your permanent markers to fill in your design with vibrant colors. For intricate details, switch to a fine-tip permanent marker. Be aware that some colors may appear slightly different after shrinking, so experimenting with a test piece can be beneficial. Avoid using too much marker, as it can bleed or become muddy when shrunk.
- 6
Correcting mistakes: Don't fret if you make a mistake! For minor smudges or errors, you can often carefully rub them away with rubbing alcohol on a cotton swab or even an eraser. For larger errors, you might need to wipe the entire area clean with rubbing alcohol and start that section again, or even use a new piece of shrink plastic.
- 7
Carefully cut out your design along the drawn lines: Use sharp scissors to precisely cut out your shrink plastic creations. Take your time, especially with curved or intricate edges, to ensure a clean finish. A small, pointed pair of scissors can be very helpful for getting into tight corners and achieving smooth curves.
- 8
If you plan to use a jump ring, punch a small hole near the top of your design before shrinking: This hole will be used to attach the charm to your shoe. Make sure the hole is large enough for a jump ring but not so large that it weakens the charm. Position it strategically so it doesn't interfere with your design and will allow the charm to hang nicely.
- 9
Preheat your oven to the temperature specified on your shrink plastic packaging: This is a crucial step for successful shrinking. Most shrink plastics require a temperature between 300-350°F (150-175°C). Using an oven thermometer can help ensure your oven is at the correct temperature, as oven thermostats can sometimes be inaccurate.
- 10
Line a baking sheet with parchment paper or a silicone baking mat: This step is essential to prevent your shrink plastic from sticking to the baking sheet. Parchment paper is readily available, while a silicone mat offers a reusable and non-stick surface. Ensure the paper or mat covers the entire surface where your charms will be placed.
- 11
Place your cut-out shrink plastic designs on the parchment-lined baking sheet: Arrange your designs with enough space between them so they don't touch each other while shrinking. If they touch, they can fuse together, ruining your individual charms. Place them flat and evenly on the prepared surface.
- 12
Carefully place the baking sheet into the preheated oven: Use oven mitts for safety. It's best to place the baking sheet directly on the oven rack, or on the middle rack if your oven has one. Ensure the oven door is closed to maintain a consistent temperature.
- 13
Observe your designs as they bake; they will curl and then flatten: This is the magical part! The shrink plastic will dramatically curl up and appear to be wrinkling. Keep a close eye on it; after a short period, it will begin to flatten out. This entire process usually takes between 1 to 3 minutes, depending on your oven and the thickness of your plastic.
- 14
Once flattened and still, carefully remove the baking sheet from the oven using oven mitts: The plastic will be very hot. As soon as your designs have flattened completely and stopped moving, it's time to remove them. Leaving them in too long after they've flattened can cause them to scorch or become too brittle.
- 15
Allow the shrink plastic to cool completely on the baking sheet for a few minutes: Resist the urge to touch them immediately! The charms will be extremely hot and soft. Letting them cool on the baking sheet for a few minutes allows them to harden and become more stable before you attempt to move them.
- 16
Gently remove the cooled shrunken charms from the parchment paper: Once they have cooled sufficiently and are firm to the touch, carefully peel them off the parchment paper. They should release easily. If a charm seems stuck, give it a little more time to cool.
- 17
Prepare your shoe charm findings: These are the plastic or metal pieces with a post that attach to your shoes. Most findings come with a flat surface on the back. If your findings have an adhesive backing, you can proceed to the next step. If not, you'll need strong craft glue.
- 18
Attach a shoe charm finding to the back of your shrunken charm: If your findings have adhesive, peel off the backing and carefully align the finding with the back of your shrunken charm. If using glue, apply a small amount of strong craft glue to the back of your shrunken charm or the flat surface of the finding. Ensure you use enough glue to create a strong bond but not so much that it oozes out the sides.
- 19
Press the charm finding firmly onto the back of your shrunken plastic design to secure it: Hold the finding in place for a minute or two to ensure it adheres properly. If using glue, allow it to dry completely according to the glue manufacturer's instructions before proceeding. This is crucial for a durable charm.
- 20
If you punched holes and are using jump rings, now is the time to attach them: Open a jump ring using pliers, thread it through the hole in your charm, and then attach it to the post of your shoe charm finding. Close the jump ring securely. This method provides a more secure attachment if you're concerned about glue failing over time.
- 21
Once the charm finding is attached and any glue is dry, your shrink plastic charm is ready to be clipped onto your Crocs or shoes! Test the charm by gently pressing it into one of the holes on your Crocs or sliding the post into a suitable spot on your shoe. Enjoy your personalized footwear!
- 22
Optional: Seal your charms for extra durability: For added protection against wear and tear, you can apply a thin layer of clear sealant, such as Mod Podge or a clear acrylic spray, to the front of your finished charms. Allow it to dry completely before attaching the findings. This can help prevent marker colors from fading or smudging over time.
- 23
Optional: Add glitter or other embellishments: Before the glue dries on your charm finding, you can sprinkle a little glitter onto the glue for extra sparkle, or even attach small beads or rhinestones for a more elaborate design. Ensure any embellishments are securely attached.
- 24
Optional: Create charms with a 3D effect: For a more dynamic look, you can cut out multiple layers of your design, shrink them individually, and then glue them together before attaching the shoe finding. This creates a layered, dimensional effect that adds depth to your charms.
- 25
Optional: Use stencils or templates: If freehand drawing isn't your strong suit, you can find or create stencils and templates to trace onto your shrink plastic. This is a great way to achieve consistent shapes and designs, especially for beginners.
- 26
Optional: Experiment with different types of shrink plastic: Beyond clear and frosted, shrink plastic comes in a variety of colors, textures, and even pre-printed patterns. Exploring these options can lead to even more unique and exciting charm designs.
- 27
Optional: Create charms for other accessories: While designed for shoes, these shrink plastic charms can also be attached to keychains, zippers, bracelets, or even used as unique gift tags. The possibilities are truly limitless!
- 28
Optional: Consider the texture of your markers: Different permanent markers have varying ink flow and opacity. Experimenting with different brands and tip sizes can give you a better understanding of how they will perform on shrink plastic and how their colors will appear after shrinking.
- 29
Optional: Use a heat gun for a quick flattening: While the oven is the standard method, a heat gun can be used to quickly flatten the charms after they've curled. Be very careful with a heat gun, as it can easily scorch the plastic if held too close or for too long. This method is best for experienced crafters.
- 30
Optional: Create a template for consistent sizing: If you plan to make many charms of the same design, consider creating a template on cardstock or another sturdy material. This will help you ensure that each charm is the same size and shape before you start drawing on the shrink plastic.
- 31
Optional: Add a protective coating to the back: For extra durability, especially if using glue, you can apply a thin layer of clear sealant or even a layer of clear shrink plastic over the back of the charm after the finding is attached and dry. This can help prevent the finding from peeling off over time.
- 32
Optional: Consider the weight of your charms: While shrink plastic is lightweight, adding multiple layers or heavy embellishments can increase the weight. Ensure your shoe charm findings can adequately support the weight of your finished charm.
- 33
Optional: Create charms that are reversible: Draw a design on both sides of the shrink plastic, or draw a design on one side and a complementary pattern on the other. This allows the charm to look good from any angle.
- 34
Optional: Use a craft knife for intricate cuts: For very detailed designs, a craft knife can be used in conjunction with scissors. Be sure to use a cutting mat and exercise extreme caution when using a craft knife.
- 35
Optional: Test your glue adhesion: Before committing to your final charms, test the craft glue you plan to use on a scrap piece of shrink plastic and a shoe charm finding to ensure it creates a strong bond.
- 36
Optional: Organize your findings: Keep your shoe charm findings organized in a small container or bag so they are readily accessible when you're ready to attach them to your finished shrink plastic designs.
- 37
Optional: Consider the flexibility of the charm: Depending on the design and how much it shrinks, some charms might be more flexible than others. This can affect how they attach to shoes and how they hold up to wear.
- 38
Optional: Use a permanent marker eraser for clean lines: If you find your permanent marker lines are too thick or smudged, a permanent marker eraser can be a lifesaver for cleaning up edges and creating crisper designs before shrinking.
- 39
Optional: Create charms that are waterproof: Once shrunk and sealed with a clear sealant, your shrink plastic charms will be fairly water-resistant, making them suitable for outdoor wear.
- 40
Optional: Personalize with names or dates: Add names, initials, or important dates to your charms for a truly personalized touch. This makes them excellent for gifts or commemorating special occasions.
- 41
Optional: Use a hole punch for consistent hole placement: If you're punching holes for jump rings, using a hole punch ensures consistent placement and size, making the jump ring attachment process much easier.
- 42
Optional: Consider the heat resistance of your markers: While most permanent markers are fine, some inks might react differently to heat. It's always a good idea to test your markers on a scrap piece of shrink plastic first.
- 43
Optional: Create charms that tell a story: Design a series of charms that, when placed together, tell a visual story or represent a theme. This can be a fun way to create a cohesive look for your shoes.
- 44
Optional: Use a light touch with markers: Over-saturation of ink can lead to bleeding and muddy colors after shrinking. Aim for a solid, even color application with a light touch.
- 45
Optional: Consider the thickness of your shrink plastic: Thicker shrink plastic will result in a more robust charm, while thinner plastic will be more delicate. Choose the thickness that best suits your design and intended use.
- 46
Optional: Use a toothpick to spread glue evenly: If you're using craft glue, a toothpick can be a handy tool for spreading a thin, even layer of glue onto the back of your charm or the finding, ensuring good adhesion without excess mess.
- 47
Optional: Create charms with a matte finish: If you prefer a matte look, you can use matte-finish permanent markers or apply a matte clear sealant over your finished charms.
- 48
Optional: Use a ruler for straight lines: For designs that require straight lines, use a ruler as a guide when drawing on the shrink plastic. This will help you achieve professional-looking results.
- 49
Optional: Consider the flexibility of the finding: Some shoe charm findings are more flexible than others. Choose findings that are sturdy enough to hold your charm securely but also flexible enough to easily attach and detach from your shoes.
- 50
Optional: Use a pencil to sketch your design first: For complex designs, you can lightly sketch your design with a pencil on the shrink plastic first. Once you're happy with the sketch, go over it with permanent markers. The pencil lines will usually disappear or become very faint after shrinking.
- 51
Optional: Create charms that are waterproof: Once shrunk and sealed with a clear sealant, your shrink plastic charms will be fairly water-resistant, making them suitable for outdoor wear.
- 52
Optional: Personalize with names or dates: Add names, initials, or important dates to your charms for a truly personalized touch. This makes them excellent for gifts or commemorating special occasions.
- 53
Optional: Use a hole punch for consistent hole placement: If you're punching holes for jump rings, using a hole punch ensures consistent placement and size, making the jump ring attachment process much easier.
- 54
Optional: Consider the heat resistance of your markers: While most permanent markers are fine, some inks might react differently to heat. It's always a good idea to test your markers on a scrap piece of shrink plastic first.
- 55
Optional: Create charms that tell a story: Design a series of charms that, when placed together, tell a visual story or represent a theme. This can be a fun way to create a cohesive look for your shoes.
- 56
Optional: Use a light touch with markers: Over-saturation of ink can lead to bleeding and muddy colors after shrinking. Aim for a solid, even color application with a light touch.
- 57
Optional: Consider the thickness of your shrink plastic: Thicker shrink plastic will result in a more robust charm, while thinner plastic will be more delicate. Choose the thickness that best suits your design and intended use.
- 58
Optional: Use a toothpick to spread glue evenly: If you're using craft glue, a toothpick can be a handy tool for spreading a thin, even layer of glue onto the back of your charm or the finding, ensuring good adhesion without excess mess.
- 59
Optional: Create charms with a matte finish: If you prefer a matte look, you can use matte-finish permanent markers or apply a matte clear sealant over your finished charms.
- 60
Optional: Use a ruler for straight lines: For designs that require straight lines, use a ruler as a guide when drawing on the shrink plastic. This will help you achieve professional-looking results.
- 61
Optional: Consider the flexibility of the finding: Some shoe charm findings are more flexible than others. Choose findings that are sturdy enough to hold your charm securely but also flexible enough to easily attach and detach from your shoes.
- 62
Optional: Use a pencil to sketch your design first: For complex designs, you can lightly sketch your design with a pencil on the shrink plastic first. Once you're happy with the sketch, go over it with permanent markers. The pencil lines will usually disappear or become very faint after shrinking.
- 63
Optional: Create charms that are waterproof: Once shrunk and sealed with a clear sealant, your shrink plastic charms will be fairly water-resistant, making them suitable for outdoor wear.
- 64
Optional: Personalize with names or dates: Add names, initials, or important dates to your charms for a truly personalized touch. This makes them excellent for gifts or commemorating special occasions.
- 65
Optional: Use a hole punch for consistent hole placement: If you're punching holes for jump rings, using a hole punch ensures consistent placement and size, making the jump ring attachment process much easier.
- 66
Optional: Consider the heat resistance of your markers: While most permanent markers are fine, some inks might react differently to heat. It's always a good idea to test your markers on a scrap piece of shrink plastic first.
- 67
Optional: Create charms that tell a story: Design a series of charms that, when placed together, tell a visual story or represent a theme. This can be a fun way to create a cohesive look for your shoes.
- 68
Optional: Use a light touch with markers: Over-saturation of ink can lead to bleeding and muddy colors after shrinking. Aim for a solid, even color application with a light touch.
- 69
Optional: Consider the thickness of your shrink plastic: Thicker shrink plastic will result in a more robust charm, while thinner plastic will be more delicate. Choose the thickness that best suits your design and intended use.
- 70
Optional: Use a toothpick to spread glue evenly: If you're using craft glue, a toothpick can be a handy tool for spreading a thin, even layer of glue onto the back of your charm or the finding, ensuring good adhesion without excess mess.
- 71
Optional: Create charms with a matte finish: If you prefer a matte look, you can use matte-finish permanent markers or apply a matte clear sealant over your finished charms.
- 72
Optional: Use a ruler for straight lines: For designs that require straight lines, use a ruler as a guide when drawing on the shrink plastic. This will help you achieve professional-looking results.
- 73
Optional: Consider the flexibility of the finding: Some shoe charm findings are more flexible than others. Choose findings that are sturdy enough to hold your charm securely but also flexible enough to easily attach and detach from your shoes.
- 74
Optional: Use a pencil to sketch your design first: For complex designs, you can lightly sketch your design with a pencil on the shrink plastic first. Once you're happy with the sketch, go over it with permanent markers. The pencil lines will usually disappear or become very faint after shrinking.
- 75
Optional: Create charms that are waterproof: Once shrunk and sealed with a clear sealant, your shrink plastic charms will be fairly water-resistant, making them suitable for outdoor wear.
- 76
Optional: Personalize with names or dates: Add names, initials, or important dates to your charms for a truly personalized touch. This makes them excellent for gifts or commemorating special occasions.
- 77
Optional: Use a hole punch for consistent hole placement: If you're punching holes for jump rings, using a hole punch ensures consistent placement and size, making the jump ring attachment process much easier.
- 78
Optional: Consider the heat resistance of your markers: While most permanent markers are fine, some inks might react differently to heat. It's always a good idea to test your markers on a scrap piece of shrink plastic first.
- 79
Optional: Create charms that tell a story: Design a series of charms that, when placed together, tell a visual story or represent a theme. This can be a fun way to create a cohesive look for your shoes.
- 80
Optional: Use a light touch with markers: Over-saturation of ink can lead to bleeding and muddy colors after shrinking. Aim for a solid, even color application with a light touch.
- 81
Optional: Consider the thickness of your shrink plastic: Thicker shrink plastic will result in a more robust charm, while thinner plastic will be more delicate. Choose the thickness that best suits your design and intended use.
- 82
Optional: Use a toothpick to spread glue evenly: If you're using craft glue, a toothpick can be a handy tool for spreading a thin, even layer of glue onto the back of your charm or the finding, ensuring good adhesion without excess mess.
- 83
Optional: Create charms with a matte finish: If you prefer a matte look, you can use matte-finish permanent markers or apply a matte clear sealant over your finished charms.
- 84
Optional: Use a ruler for straight lines: For designs that require straight lines, use a ruler as a guide when drawing on the shrink plastic. This will help you achieve professional-looking results.
- 85
Optional: Consider the flexibility of the finding: Some shoe charm findings are more flexible than others. Choose findings that are sturdy enough to hold your charm securely but also flexible enough to easily attach and detach from your shoes.
- 86
Optional: Use a pencil to sketch your design first: For complex designs, you can lightly sketch your design with a pencil on the shrink plastic first. Once you're happy with the sketch, go over it with permanent markers. The pencil lines will usually disappear or become very faint after shrinking.
Tips & Troubleshooting
- 1Test your markers: Before committing to your final design, test your permanent markers on a scrap piece of shrink plastic. This will show you how the colors appear after shrinking and how they interact with the plastic.
- 2Embrace simplicity: While intricate designs are possible, simpler shapes and bold lines tend to translate best after shrinking. They remain clear and recognizable, making your charms stand out.
- 3Watch the oven closely: The shrinking process is quick, usually only 1-3 minutes. Keep a close eye on your designs to prevent them from scorching or becoming too brittle by removing them as soon as they flatten.
- 4Cooling is key: Allow your shrink plastic charms to cool completely on the baking sheet before attempting to move them. They will be very hot and fragile when they first come out of the oven.
- 5Glue with care: When attaching the shoe charm findings, use a strong craft glue and apply it evenly. Press firmly and allow ample drying time to ensure a secure bond that will withstand wear and tear.
- 6Consider the hole placement: If you're adding a jump ring, punch the hole before shrinking. Position it strategically so it doesn't interfere with your design and allows the charm to hang correctly.
- 7Ventilation is important: Work in a well-ventilated area when using permanent markers, as their fumes can be strong. This ensures a more comfortable crafting experience.
- 8Have fun with variations: Don't be afraid to experiment with different colors, patterns, and even layering multiple shrink plastic pieces for a 3D effect. The more you practice, the more creative you'll become!
Related Activities You Might Enjoy
Frequently Asked Questions
What kind of shrink plastic should I use for shoe charms?
For creating shoe charms, you'll want to use shrink plastic specifically designed for permanent markers. These sheets are typically smooth and have a slightly matte finish, which allows the markers to adhere well. You can find clear shrink plastic, which is great for seeing through your design, or frosted shrink plastic, which gives a more opaque and colored look. Brands like Shrinky Dinks or Grafix are popular and readily available. It's important to use the type recommended for marker art, as some craft plastics are designed for stamping or other mediums and may not yield the same results. Always check the packaging to ensure it's suitable for permanent markers and oven baking.
Can I use colored pencils or crayons on shrink plastic?
While permanent markers are the most recommended medium for shrink plastic shoe charms due to their vibrant colors and permanence, you can experiment with other coloring tools. Colored pencils can work, but you'll need to press firmly to get good color saturation, and the colors may appear lighter after shrinking. Crayons are generally not recommended as they can melt unevenly and create a waxy, uneven finish. If you do decide to use colored pencils, ensure you are coloring on the correct side of the shrink plastic (usually the rougher, frosted side) and that you apply enough pressure for the color to be visible after the dramatic shrinkage. For the best and most vibrant results, permanent markers are the way to go.
How do I make sure my shrink plastic charms are durable enough for shoes?
Durability is key for shoe charms! To ensure your creations withstand the wear and tear of being on shoes, start with a good quality shrink plastic and use permanent markers for vibrant, lasting color. After shrinking and cooling, consider adding a protective top coat. A clear sealant like Mod Podge or a spray acrylic sealant can add a layer of protection against scratches and fading. When attaching the shoe charm finding, use a strong craft glue that is designed for plastics and adheres well. Press the finding firmly and allow it to cure completely according to the glue's instructions. If you're using jump rings, ensure they are securely closed. For extra reinforcement, you can even add a small amount of sealant around the edges where the finding meets the charm.
What if my shrink plastic doesn't flatten completely in the oven?
If your shrink plastic designs aren't flattening completely after curling, it usually means they need a little more time in the oven. Keep a close eye on them; the curling action is followed by a flattening phase. If they remain stubbornly curled, you can carefully use a metal spatula or the back of a spoon to gently press them flat while they are still hot and pliable. Be extremely cautious when doing this, as the plastic will be very hot. Ensure the spatula or spoon is clean and won't scratch your design. You can also try slightly increasing your oven temperature by 5-10 degrees Fahrenheit, but do so cautiously to avoid scorching. Sometimes, a second quick trip into the oven for 30 seconds to a minute can help them flatten out.
Can I make these charms for other accessories besides shoes?
Absolutely! Shrink plastic charms are incredibly versatile and can be used for a wide range of accessories beyond just shoes. They make fantastic zipper pulls for backpacks, jackets, or pencil cases. You can attach them to keychains for a personalized touch, or even use them as unique embellishments for bracelets, necklaces, or earrings (though for jewelry, you'd likely use different findings). They can also be used as decorative elements on greeting cards, scrapbooks, or even as personalized gift tags. The possibilities are truly endless, limited only by your imagination and the types of findings you have available. Just remember to adjust the finding type to suit the accessory you're decorating.
How do I attach the shoe charm findings if they don't have adhesive?
If your shoe charm findings don't come with an adhesive backing, you'll need to use a strong craft glue. Look for glues specifically designed for plastics and crafts, such as E6000, super glue (use with caution and adult supervision), or a strong fabric glue that also adheres to plastic. Clean the back of your shrunken charm and the flat surface of the finding to ensure they are free of dust and oils. Apply a small, even amount of glue to either the charm or the finding – too much glue can ooze out and look messy. Press the finding firmly onto the back of your charm and hold it in place for a minute or two to allow the glue to start setting. Then, let it dry completely according to the glue manufacturer's instructions, which can sometimes take several hours or even overnight for maximum strength.
What are the best designs to create for shoe charms?
The best designs for shoe charms are those that are recognizable and appealing even when small and shrunk. Think about popular characters from cartoons, movies, or video games that you love. Simple icons, emojis, or symbols are also great choices. Inside jokes, favorite foods, or abstract patterns can add a unique personal touch. Consider creating a theme, like a set of charms for a particular holiday or season. When designing, remember that the charm will shrink to about 1/3 of its original size, so bold lines and clear shapes will be more visible than very fine details. It's also a good idea to consider the overall aesthetic of the shoes you'll be attaching them to. For example, bright and playful designs might suit Crocs, while more subtle or geometric patterns could work well on sneakers.
What Next?
Now that you've mastered the art of creating shrink plastic charms for your shoes, the possibilities are endless! Consider creating themed sets for holidays, special events, or even matching charms for you and your friends. You can also explore different types of shrink plastic, like frosted or colored varieties, for added visual interest. Once your charms are complete, store them in a small box or pouch to keep them organized and prevent them from getting lost. This project is a gateway to a world of personalized accessories, so don't be afraid to experiment and have fun!
Free: 10 Paper Crafts Anyone Can Make in 5 Minutes
Get our beginner guide + new craft ideas weekly.
No spam. Unsubscribe anytime.
Did you complete this activity?
Related
You might also like
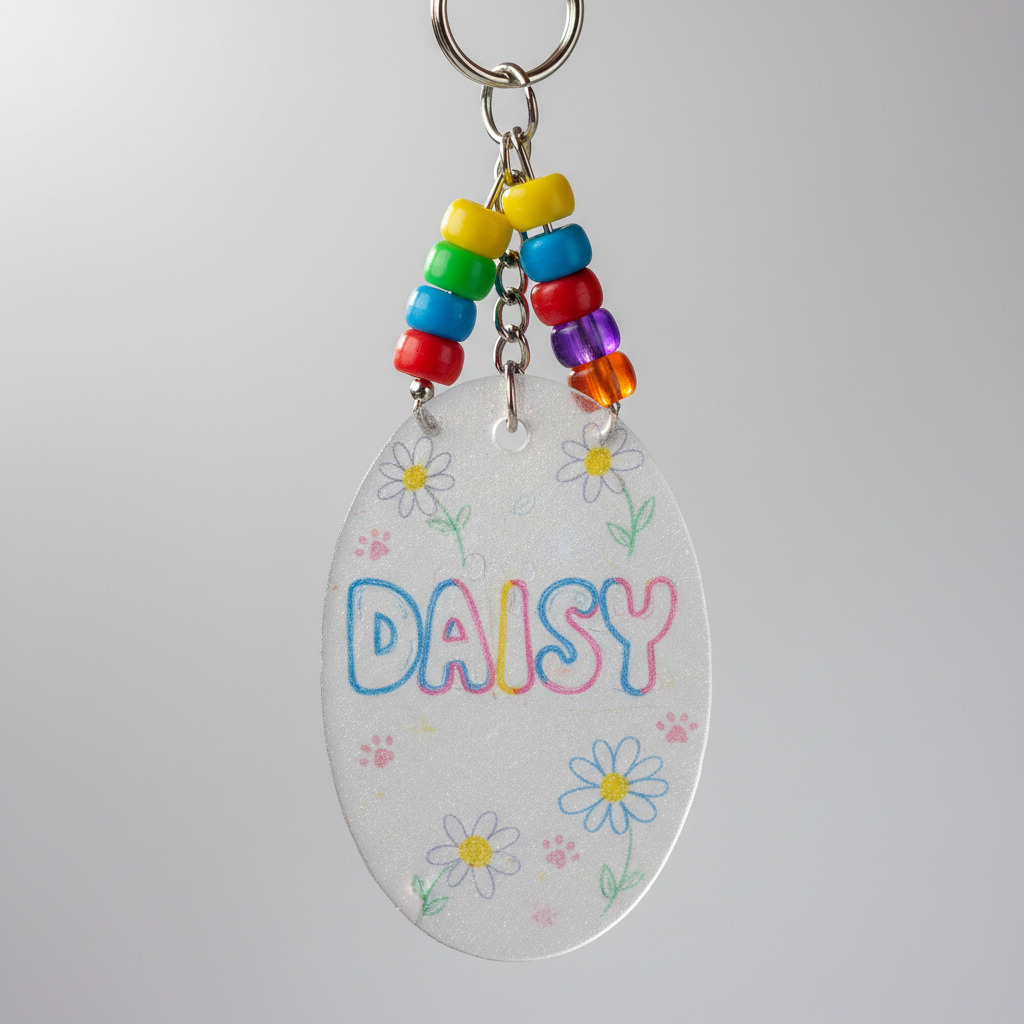
Shrink Plastic Name Tag Pet Tag
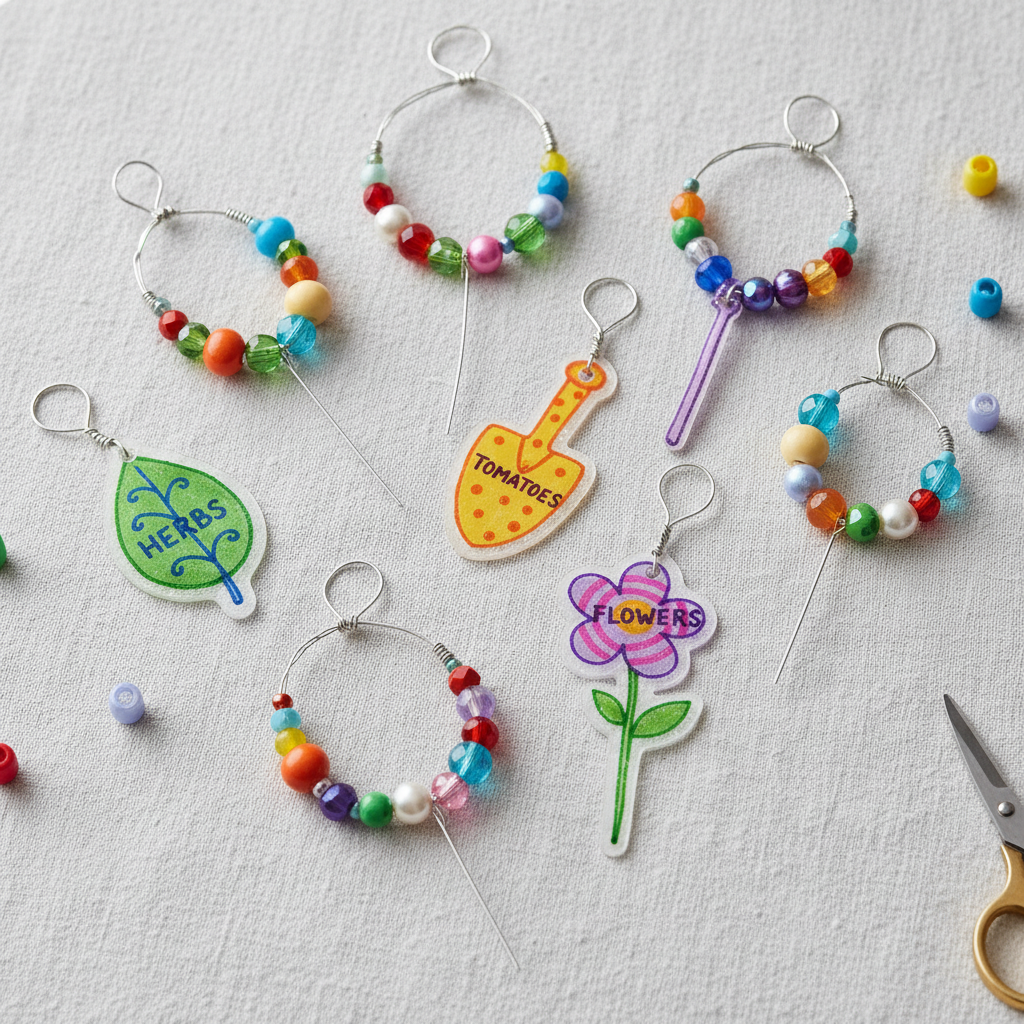
Shrink Plastic Plant Markers
Clay Bead & Charm Creations
Rainbow Stretch Bead Bracelets
Clay & Button Charm Bracelets