How to Make Polymer Clay Jewelry Dishes — Easy Step-by-Step Guide
Unleash your creativity with these simple polymer clay ideas for adults. Craft charming and functional jewelry dishes that add a personal touch to your space. This beginner-friendly project is a fantastic way to create unique home decor or thoughtful handmade gifts.
Quick answer
To make polymer clay jewelry dishes, you need polymer clay, a rolling pin, and a small oven-safe dish for shaping. This beginner-friendly activity takes about 45 minutes to complete and has 10 steps, perfect for adults seeking screen-free creative outlets. You'll knead, roll, shape, trim, bake, and optionally finish your creation for a personalized touch.
What you need
Shop on Amazon · As an Amazon Associate we earn from qualifying purchases. Links above are affiliate links — we may earn a commission at no extra cost to you.
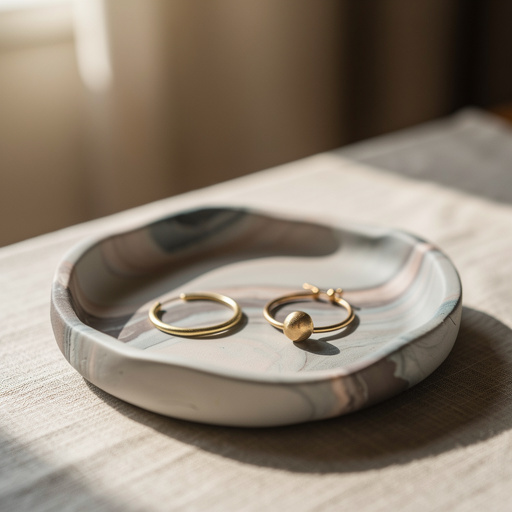
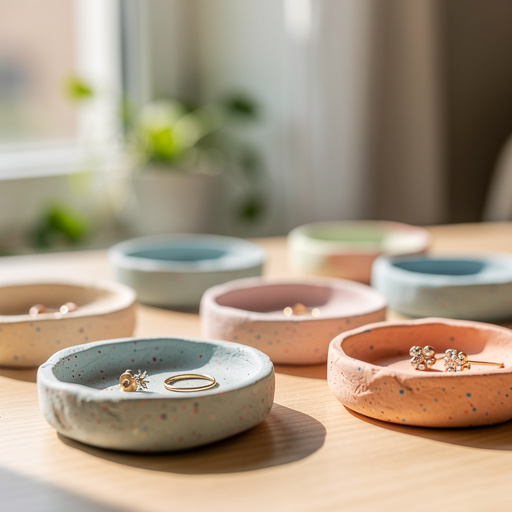
Looking for a delightful and accessible craft project that combines creativity with practicality? Making your own polymer clay jewelry dishes is an incredibly rewarding experience. These charming creations are perfect for organizing your precious rings, earrings, and trinkets, adding a splash of handmade artistry to your dresser or nightstand. This project is ideal for adults seeking a mindful, screen-free activity that allows for endless customization and results in a beautiful, functional piece of decor. Whether you're a seasoned crafter or a complete beginner, this guide will walk you through every step to success.
On this page
Step-by-Step Instructions
- 1
Preheat your oven according to the polymer clay manufacturer's instructions (usually around 275°F or 135°C). Ensure your oven is accurately calibrated, as incorrect temperatures can lead to under-curing or burning.
- 2
Knead your polymer clay until it is soft and pliable. This process warms the clay, making it easier to work with and preventing cracking. If the clay is stiff, you can warm it gently in your hands or place it on a warm surface for a few minutes before kneading.
- 3
Roll out a portion of the clay into a flat sheet, about 1/8 inch thick, using your rolling pin. Aim for an even thickness across the entire sheet to ensure consistent baking and a smooth finish. You can use acrylic spacers or the edges of your rolling pin to help achieve uniform thickness.
- 4
Place the oven-safe dish upside down on a protected surface, such as a cutting mat or a piece of scrap cardboard. This inverted dish will serve as your mold for shaping the jewelry dish.
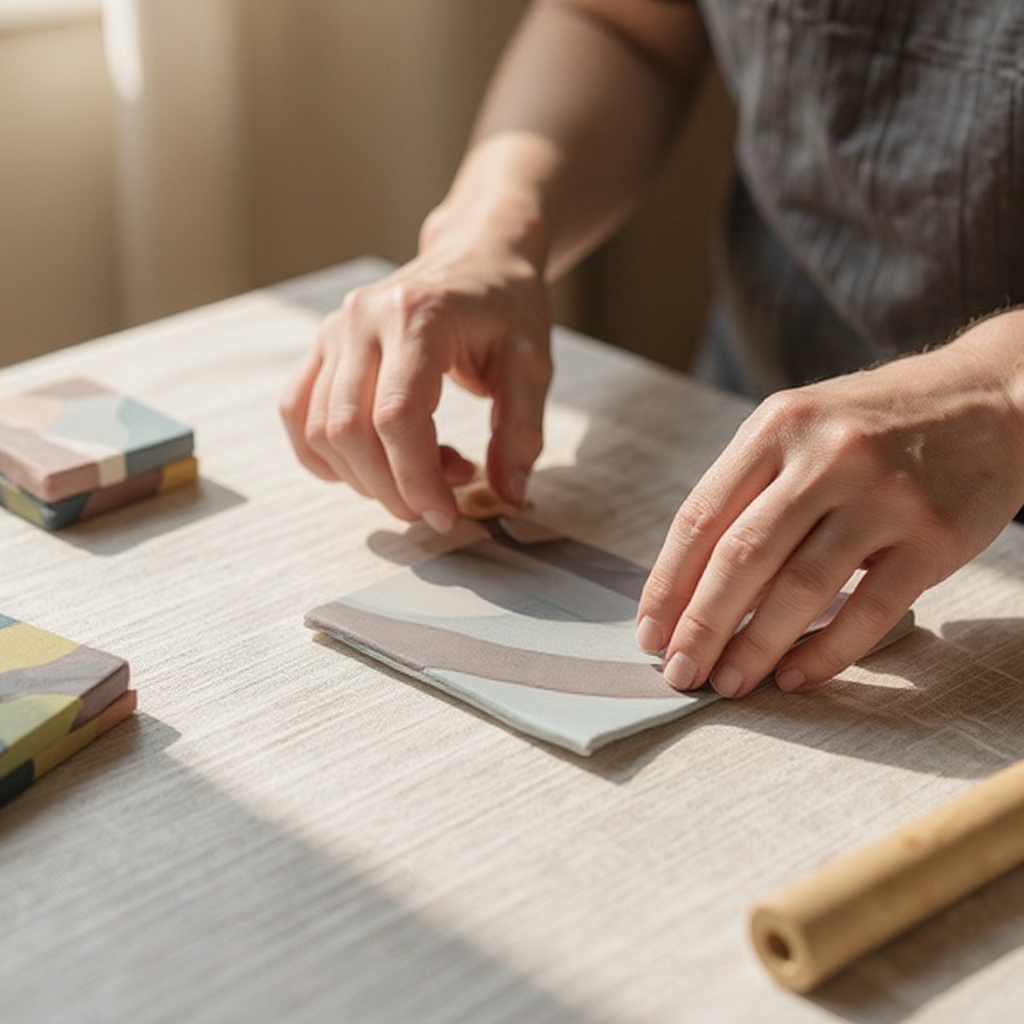
- 5
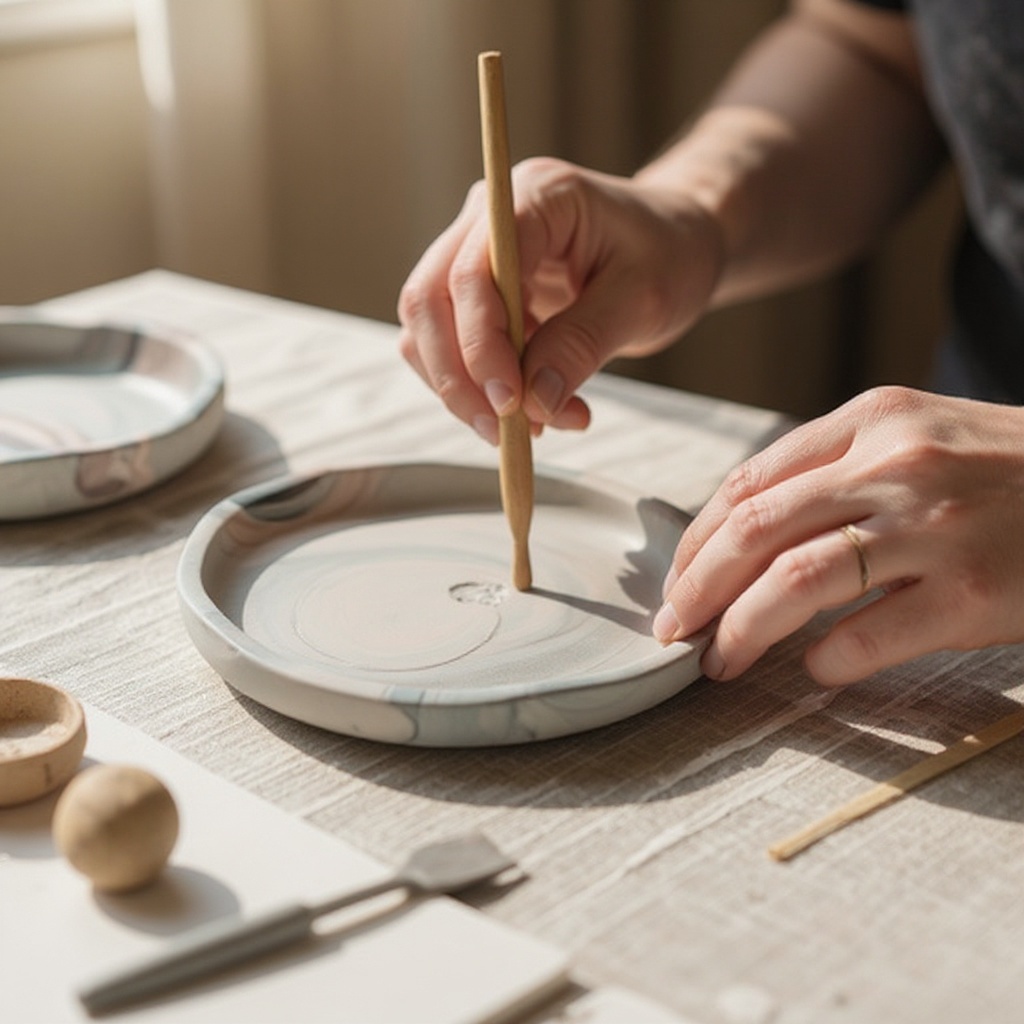
Drape the rolled-out clay over the inverted dish, gently pressing it to conform to the dish's shape. Start from the top and work your way down, smoothing out any wrinkles or air bubbles as you go. Ensure the clay adheres well to the contours of the dish.
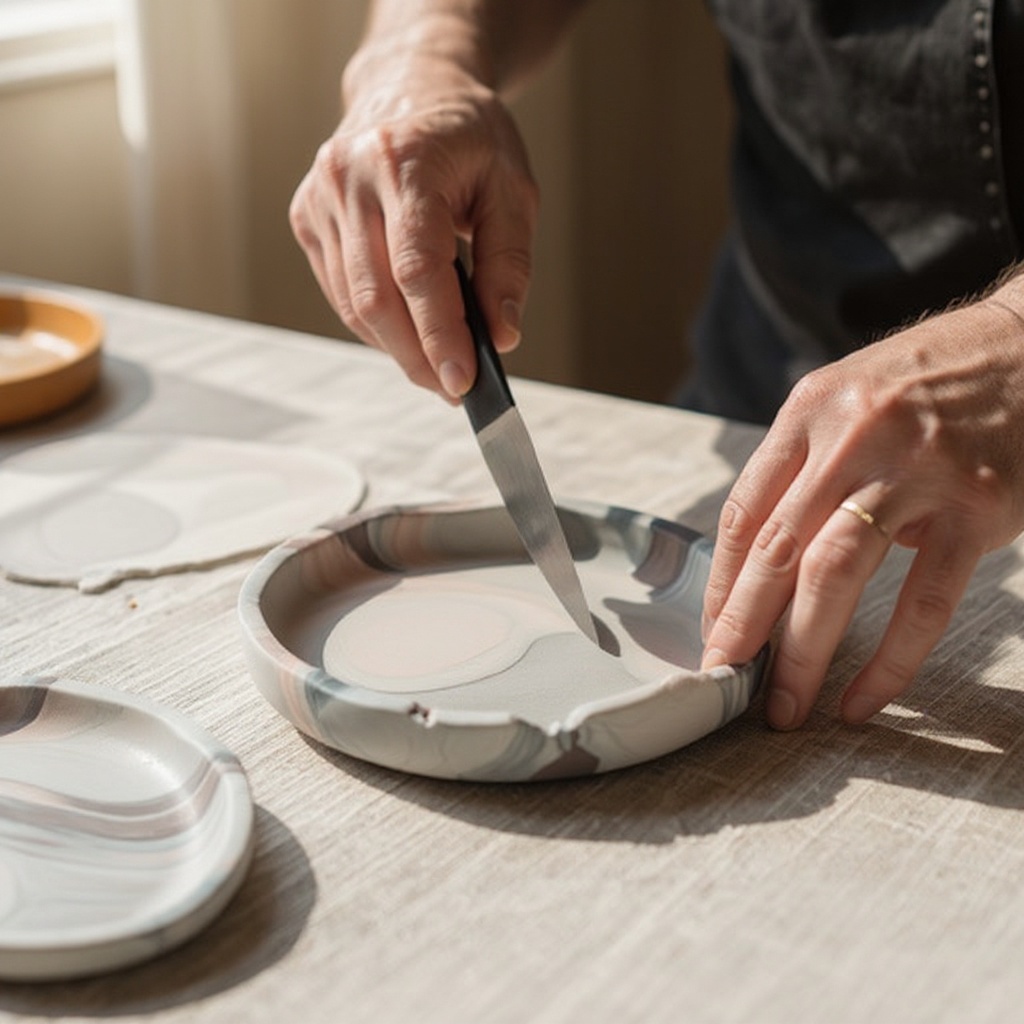
- 6
Trim any excess clay from the rim of the dish using your craft knife. Hold the knife at a slight angle to create a clean, even edge. You can also use this opportunity to refine the shape of your dish, making it more symmetrical or adding decorative elements to the rim.
- 7
Carefully remove the clay from the dish, leaving you with a dish-shaped piece that has taken on the form of your mold. Gently peel the clay away, being mindful not to distort the shape you've created. If any areas seem thin or weak, you can reinforce them by adding small pieces of clay and smoothing them in.
- 8
If desired, use clay tools to add texture or patterns to the inside or outside of your dish. This is where you can truly personalize your creation. Experiment with different tools to create unique designs, such as geometric patterns, floral motifs, or even imprints from natural objects like leaves or lace.
- 9
If you're using metallic leaf, now is the time to apply it. Apply a thin layer of adhesive to the areas where you want the leaf to adhere, then gently press the metallic leaf onto the adhesive. Once dry, gently brush away any excess leaf to reveal a shimmering metallic effect.
- 10
Place the clay dish on a baking sheet lined with parchment paper. This prevents the clay from sticking to the baking sheet and ensures even heat distribution during baking. Make sure the dish is placed on a flat surface on the baking sheet.
- 11
Bake the clay dish in the preheated oven for the time recommended by the clay manufacturer (usually 15-30 minutes per 1/4 inch thickness). It's crucial to follow the manufacturer's guidelines precisely for proper curing. Over-baking can make the clay brittle, while under-baking will result in a soft, uncured piece.
- 12
Allow the dish to cool completely before handling. This is a critical step, as the clay is still somewhat fragile when hot and can easily warp or break if handled too soon. Let it cool on the baking sheet or a wire rack.
- 13
Once cool, you can optionally sand and buff the edges for a smooth finish. Use fine-grit sandpaper to gently smooth any rough edges or imperfections. Follow up with a soft cloth to buff the surface to a subtle sheen.
- 14
If desired, apply a glaze or varnish for extra shine and durability. This step protects your creation from scratches and adds a professional, polished look. Apply thin, even coats, allowing each layer to dry completely according to the product's instructions.
Tips & Troubleshooting
- 1If your clay is too stiff, warm it in your hands or place it on a warm surface for a few minutes before kneading. You can also try using a pasta machine on its widest setting to condition the clay, which helps to make it more pliable and easier to work with.
- 2Experiment with color combinations by marbling different clay colors together before rolling. To marble, flatten small pieces of different colored clay, stack them, and then gently twist and fold them together several times. Avoid over-mixing, or the colors will become muddy.
- 3For a metallic effect, gently press metallic leaf onto the surface of the clay before baking. Ensure the clay surface is clean and free of dust. You can apply the leaf to the entire surface or just specific areas for a more targeted design.
- 4Ensure your oven temperature is accurate; too hot can burn the clay, making it brittle and discolored, while too cool can prevent proper curing, leaving the clay soft and prone to damage. Consider using an oven thermometer to verify your oven's temperature.
- 5Clean up any stray clay bits immediately with a damp cloth or rubbing alcohol to prevent them from sticking to your work surface and contaminating other clay colors. It's also a good practice to wash your hands thoroughly between working with different colors.
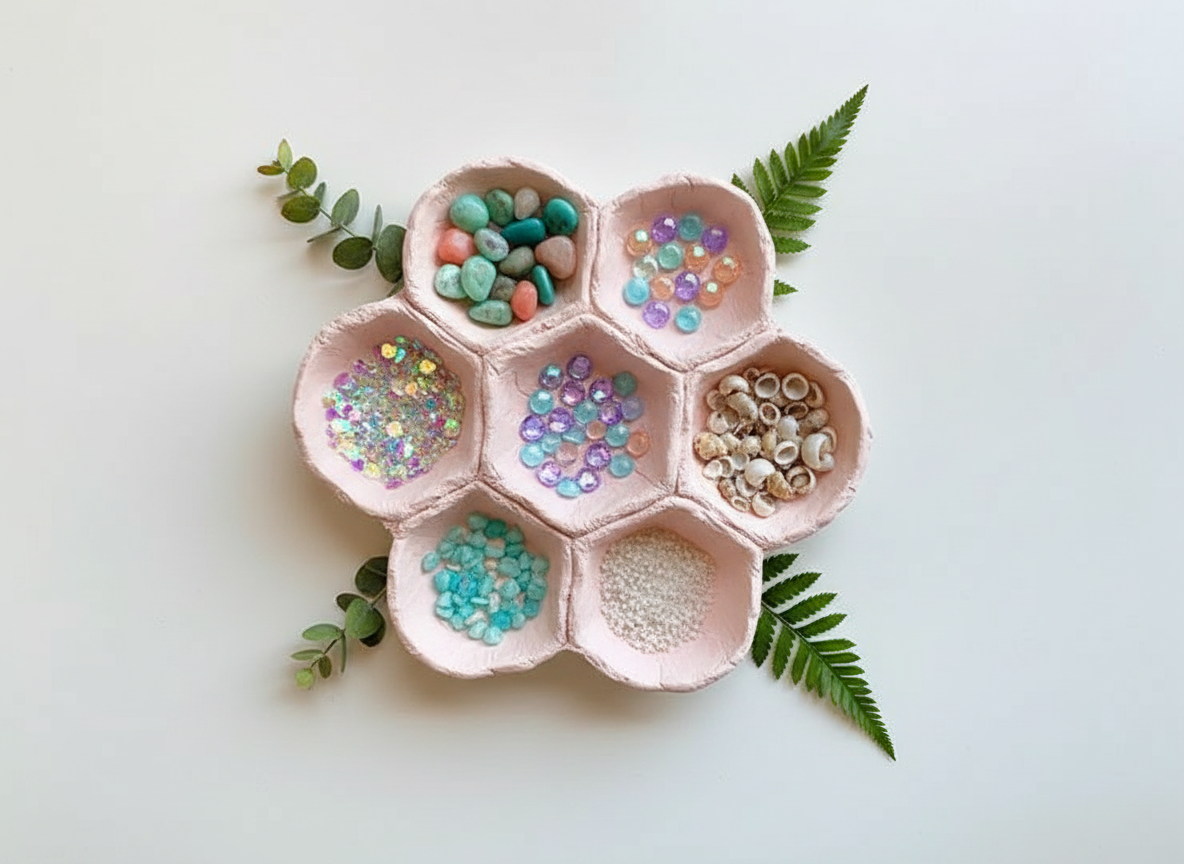
- 6Don't be afraid to experiment with different shaping methods. Instead of a dish, you could create a shallow tray by draping the clay over a curved surface or even freehand sculpt a more organic shape.
- 7For a professional finish, consider using a sealant like a UV-resistant varnish. This not only adds shine but also protects your jewelry dish from fading and minor scratches, ensuring it remains beautiful for years to come.
- 8If you notice any fingerprints or smudges on your clay before baking, you can often smooth them out by gently buffing the surface with a soft cloth or a bit of baby oil.
Related Activities You Might Enjoy
Frequently Asked Questions
What are some easy polymer clay ideas for adults?
Polymer clay is incredibly versatile and offers a plethora of easy project ideas for adults looking to explore their creative side. Beyond jewelry dishes, you can craft personalized beads for necklaces and bracelets, create charming small figurines or characters, design decorative tiles for your walls or tabletops, and even make custom keychains. Other popular options include making decorative magnets, embellishing picture frames, or creating unique coasters. The beauty of polymer clay lies in its ability to mimic other materials like stone, metal, and wood, allowing for a wide range of aesthetic possibilities with relatively simple techniques.
Can I make jewelry dishes with polymer clay without a specific mold?
Absolutely! You can successfully make beautiful polymer clay jewelry dishes without needing a specialized mold. As demonstrated in this tutorial, everyday oven-safe dishes like ramekins, small ceramic bowls, or even sturdy glass jar lids serve as excellent shaping forms. Simply drape your conditioned and rolled-out clay over the inverted dish, press it gently to conform to the shape, trim the excess, and bake. This method is fantastic for beginners as it utilizes readily available household items and allows for a wide variety of dish shapes and sizes depending on the form you choose.
How do I cure polymer clay jewelry dishes?
Polymer clay jewelry dishes are cured through baking in a standard home oven. It's crucial to follow the specific baking instructions provided by the polymer clay manufacturer, as temperatures and times can vary slightly between brands. Typically, polymer clay is baked at around 275°F (135°C) for a duration based on the thickness of the clay, usually 15-30 minutes per 1/4 inch. Ensure your oven is preheated accurately, and avoid using a microwave. Once baked, allow the dish to cool completely before handling, as it will be quite fragile while hot.
What is the best way to finish polymer clay creations?
The finishing touches can elevate your polymer clay jewelry dishes from handmade to professional. After baking and cooling, you can achieve a smooth finish by gently sanding any rough edges with fine-grit sandpaper (400-600 grit), followed by buffing with a soft cloth. For added shine and durability, applying a clear acrylic glaze or varnish is highly recommended. These sealants protect the clay from scratches, moisture, and UV fading. Metallic leaf can also be applied before baking for a luxurious metallic effect, or you can use acrylic paints for detailed designs after curing.
How do I prevent my polymer clay from cracking during baking?
Cracking in polymer clay can occur due to several factors, but it's often related to the clay's condition or the baking process. Ensure your clay is thoroughly conditioned and pliable before you start shaping; stiff clay is more prone to cracking. Rolling the clay to an even thickness is also important, as thin areas can become brittle. When shaping, avoid creating sharp, unsupported edges that can break off. During baking, make sure you are following the manufacturer's recommended temperature and time precisely. Over-baking can make the clay brittle, leading to cracks, while under-baking means it won't cure properly.
Can I combine different colors of polymer clay for unique designs?
Yes, combining different colors of polymer clay is one of the most exciting aspects of working with this medium! You can achieve stunning effects through various techniques. Marbling involves layering and gently twisting or folding different colored clays together to create swirled patterns. You can also create gradients by blending colors gradually. For more intricate designs, techniques like mokume gane (Japanese woodgrain) or millefiori (thousand flowers) involve layering and slicing clay to reveal complex patterns. Remember to condition each color before combining them and avoid overworking the clay, which can lead to muddy colors.
What Next?
Congratulations on creating your beautiful polymer clay jewelry dish! You've transformed simple clay into a functional work of art. Consider making a set in coordinating colors or different sizes to hold various types of jewelry. These dishes also make wonderful personalized gifts for friends and family. Display your handmade treasures proudly on your vanity, or use them to store small office supplies or craft notions. For your next project, explore different polymer clay techniques like mokume gane or millefiori to create even more intricate designs.
Free: 10 Paper Crafts Anyone Can Make in 5 Minutes
Get our beginner guide + new craft ideas weekly.
No spam. Unsubscribe anytime.
Did you complete this activity?
Related
You might also like
Air Dry Clay Trinket Dishes

Polymer Clay Tiny Trinket Boxes
Air Dry Clay Geometric Trinket Dish
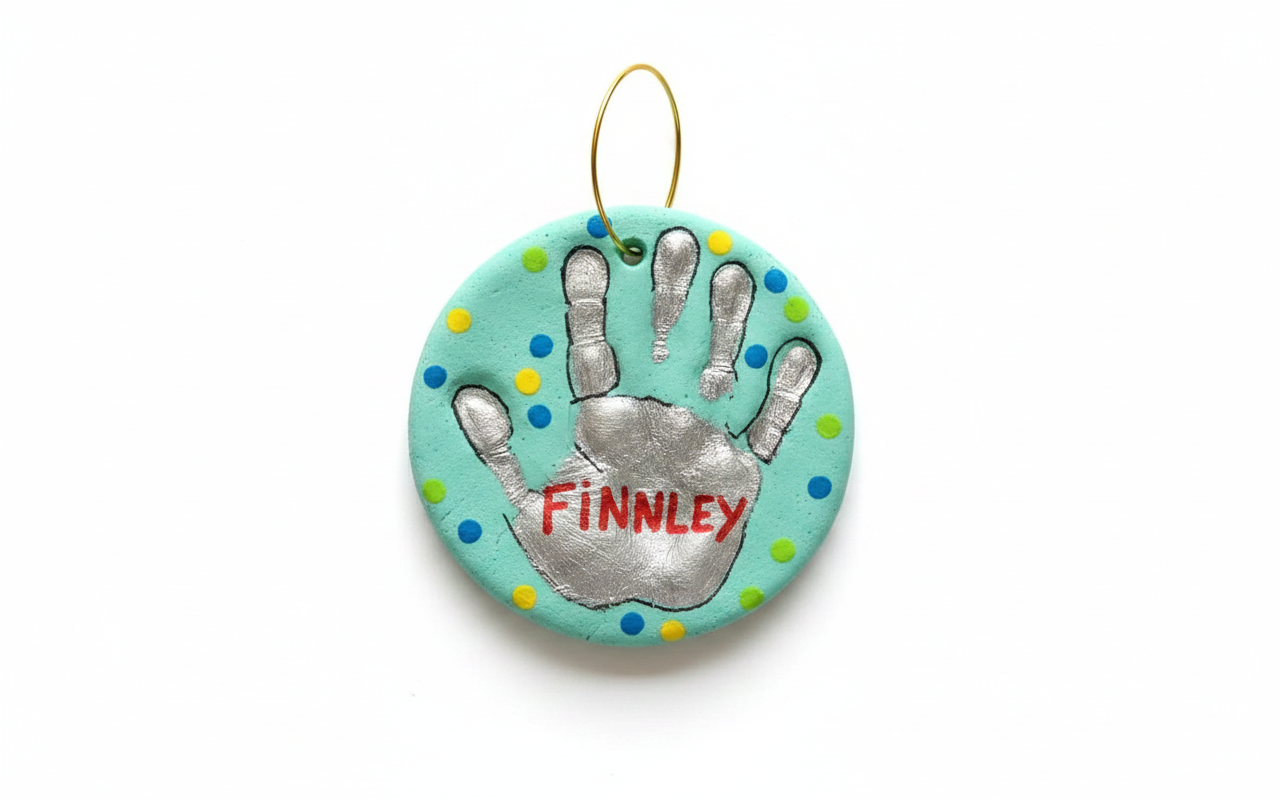
Salt Dough Handprint Keepsake Ornament
Polymer Clay Charms