Screen Printing Kits — Your Ultimate Beginner's Guide (Step-by-Step)
Unlock your creative potential with a screen printing kit! This guide walks you through everything from unboxing to your first flawless print, covering common issues, diverse projects, and personal tips from my own crafting journey. We'll even compare popular beginner kits to help you choose the best one!
Quick answer
To make custom graphic screen prints, you need a screen printing kit, fabric ink, a design, and a surface to print on. Expect to spend about 2-3 hours for your first project, including setup and cleanup. My first attempt took longer, but the thrill of seeing my design come to life was totally worth it!
What you need
Shop on Amazon · As an Amazon Associate we earn from qualifying purchases. Links above are affiliate links — we may earn a commission at no extra cost to you.
Hey there, fellow crafters! Ready to dive into the awesome world of screen printing? I remember my first time using a kit, and how thrilling it was to see my own design appear on a plain tote bag! Forget those generic tutorials; this is your real-deal guide, packed with everything I've learned – the good, the bad, and the slightly inky. Whether you're looking for a fun family project or dreaming of a creative side hustle, we'll break down each step so it feels totally manageable, even if you've never touched a screen before. We'll get you from unboxing to amazing results, sharing what can go wrong and how to fix it along the way. Plus, I'll share my thoughts on a few popular beginner kits to help you pick the perfect starting point. Let's get printing!
On this page
Step-by-Step Instructions
- 1
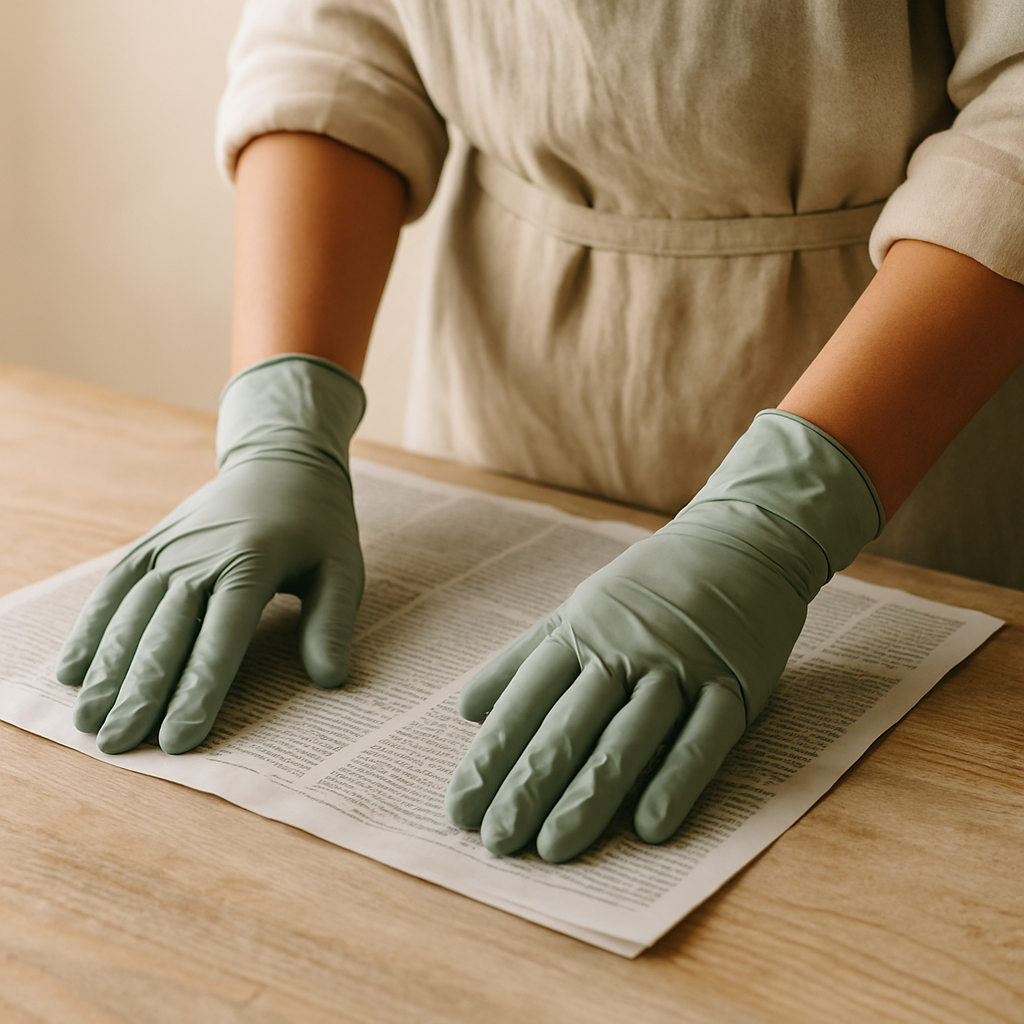
Step 1: Set up your printing haven. Find a well-lit, well-ventilated area and lay down newspaper or a drop cloth to protect your surfaces – trust me, ink has a way of finding its way everywhere! You'll need a sturdy, flat surface to work on for all the printing steps.
- 2
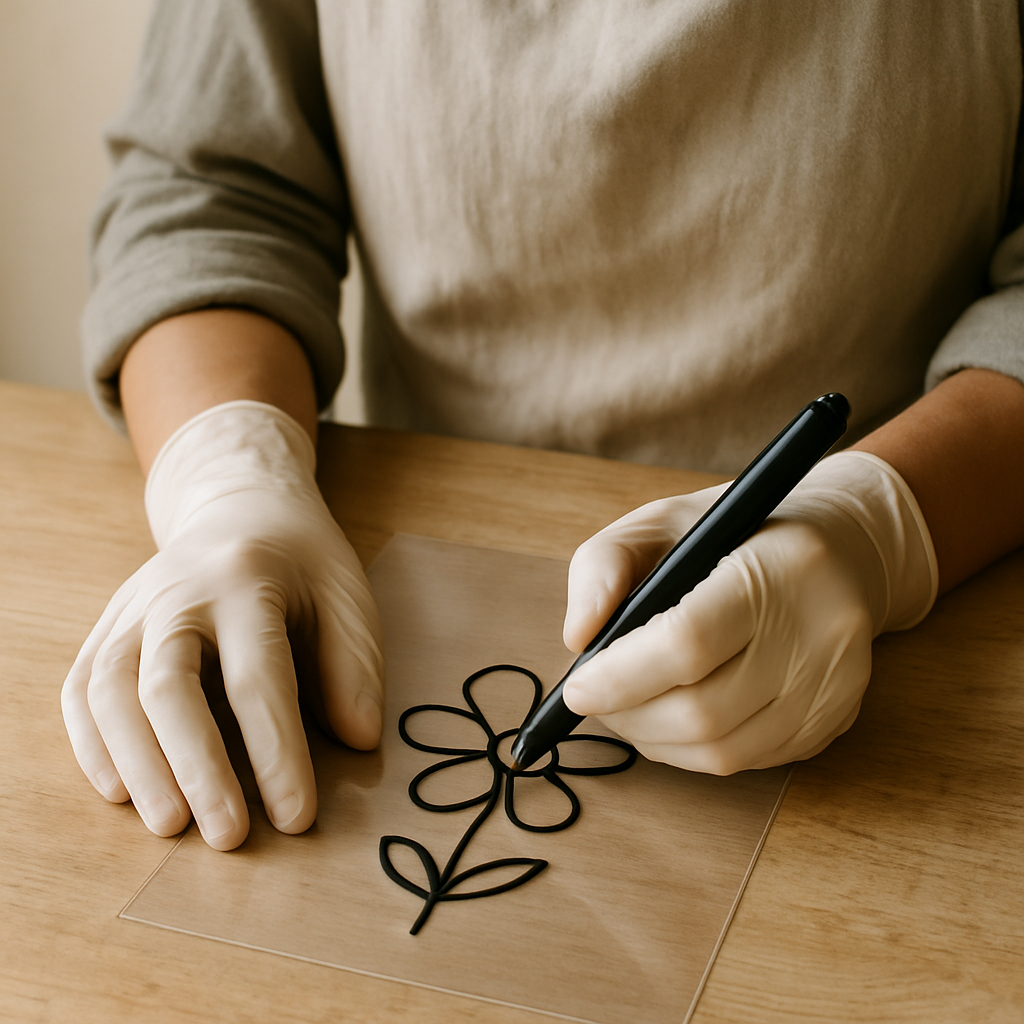
Step 2: Get your design ready. Draw your design directly onto the transparency film with a permanent marker, aiming for solid, opaque lines. For laser printing, create your design digitally and print it onto the transparency film; ensure the ink is completely dry and opaque. If you're using an inkjet printer, you'll need special inkjet transparency sheets, or you can try spraying a regular print with a fixative spray (do this in a well-ventilated area!).
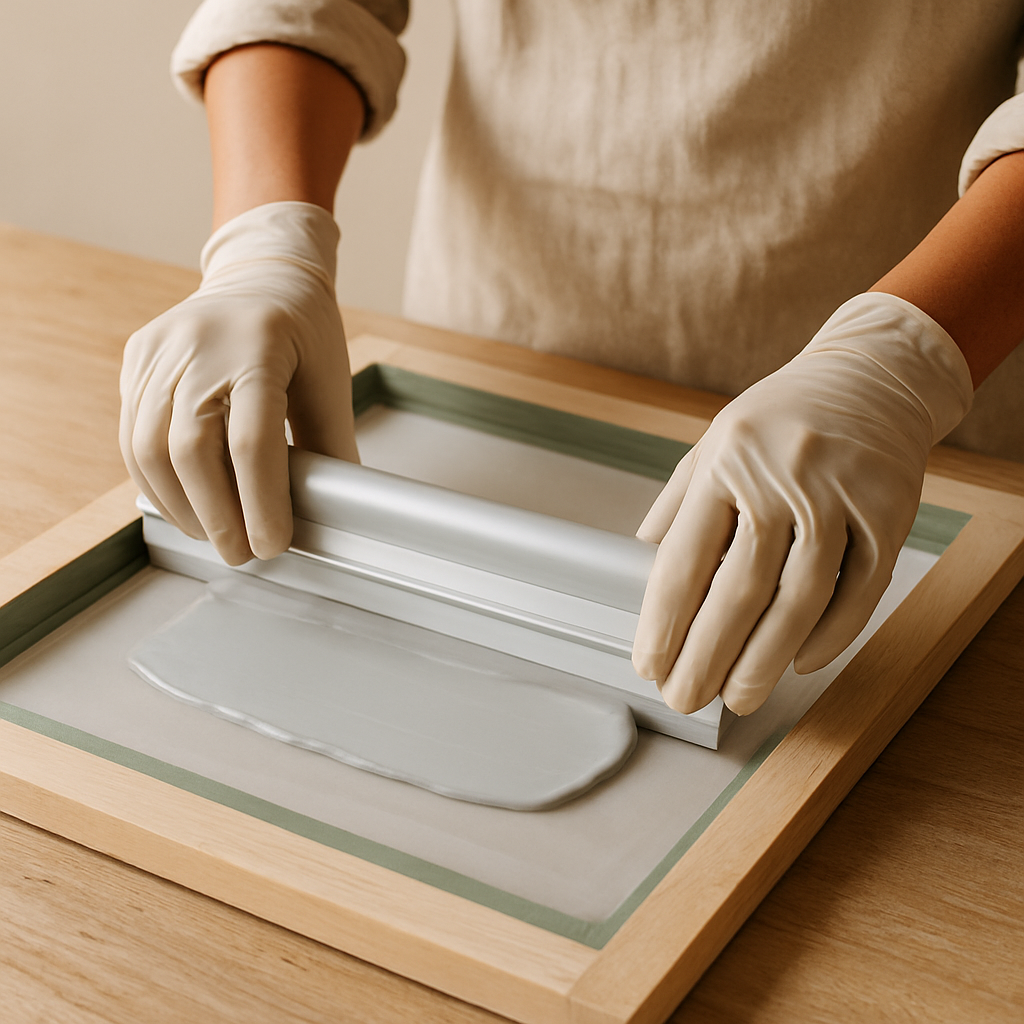
- 3
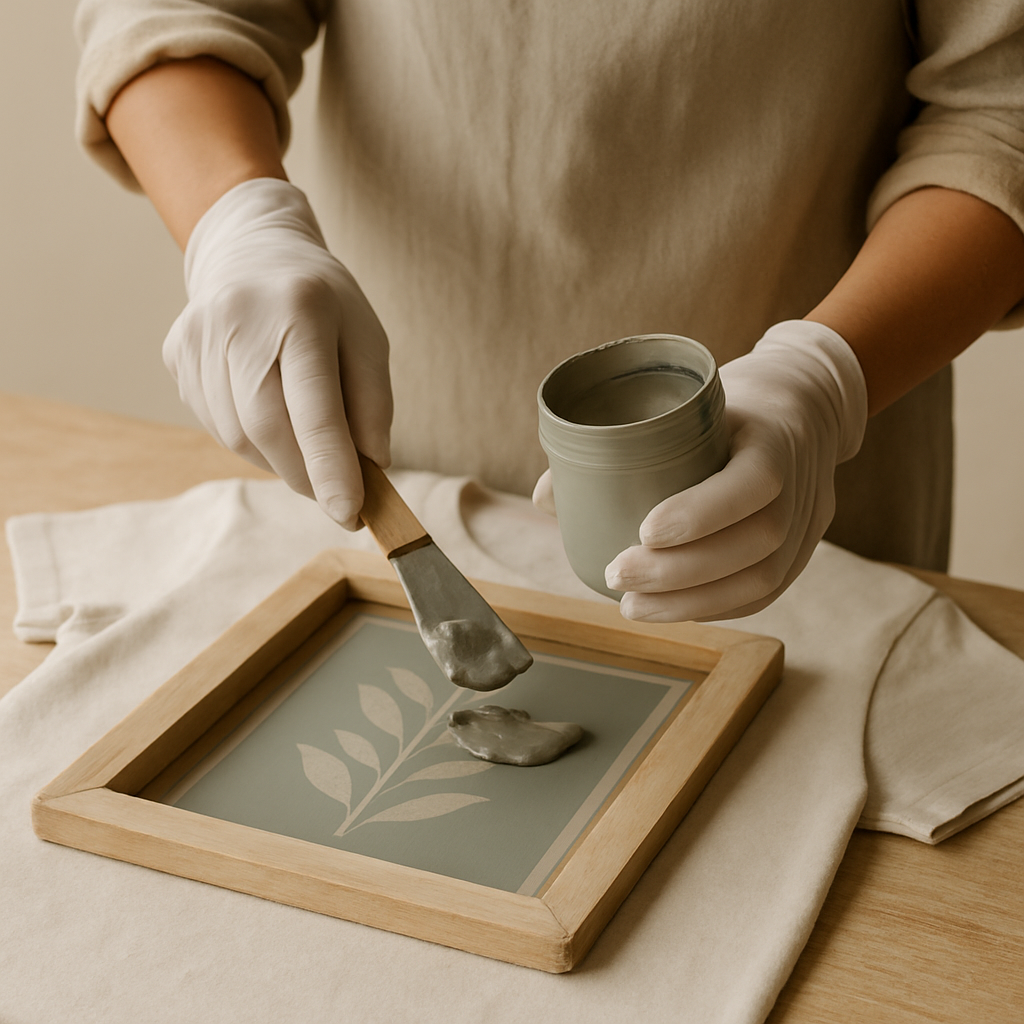
Step 3: Coat your screen with magic (emulsion). Place your screen flat on your protected surface. Using the scoop coater, apply a thin, even layer of emulsion to both sides of the screen, ensuring full coverage without drips. Let it dry completely in a dark, dust-free area; this can take 30-60 minutes depending on humidity and temperature. The emulsion should feel dry to the touch and not tacky; if it feels tacky, it needs more drying time.
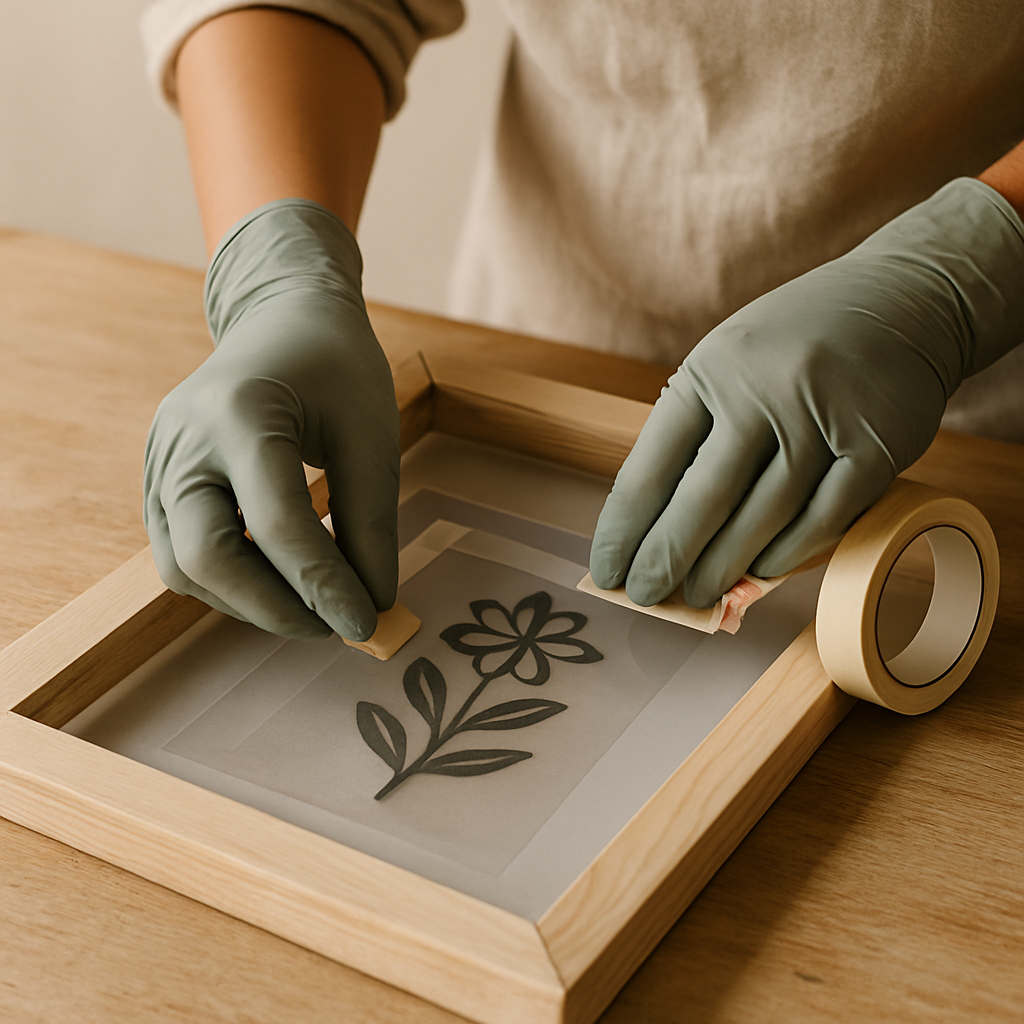
- 4
Step 4: Burn your design onto the screen. Once the emulsion is dry, carefully tape your transparency design onto the underside of the screen, making sure it's centered and lies flat. Position the screen onto a light source: use a 100-watt incandescent bulb or a daylight-balanced LED bulb positioned 6-12 inches from the screen, exposing for 5-10 minutes for incandescent or 10-20 minutes for LED. Alternatively, place the screen in direct sunlight for 5-10 minutes, avoiding the hottest midday sun. Be cautious when working with the light source, especially incandescent bulbs, as they can get very hot. Ensure it is placed securely and out of reach of young children.
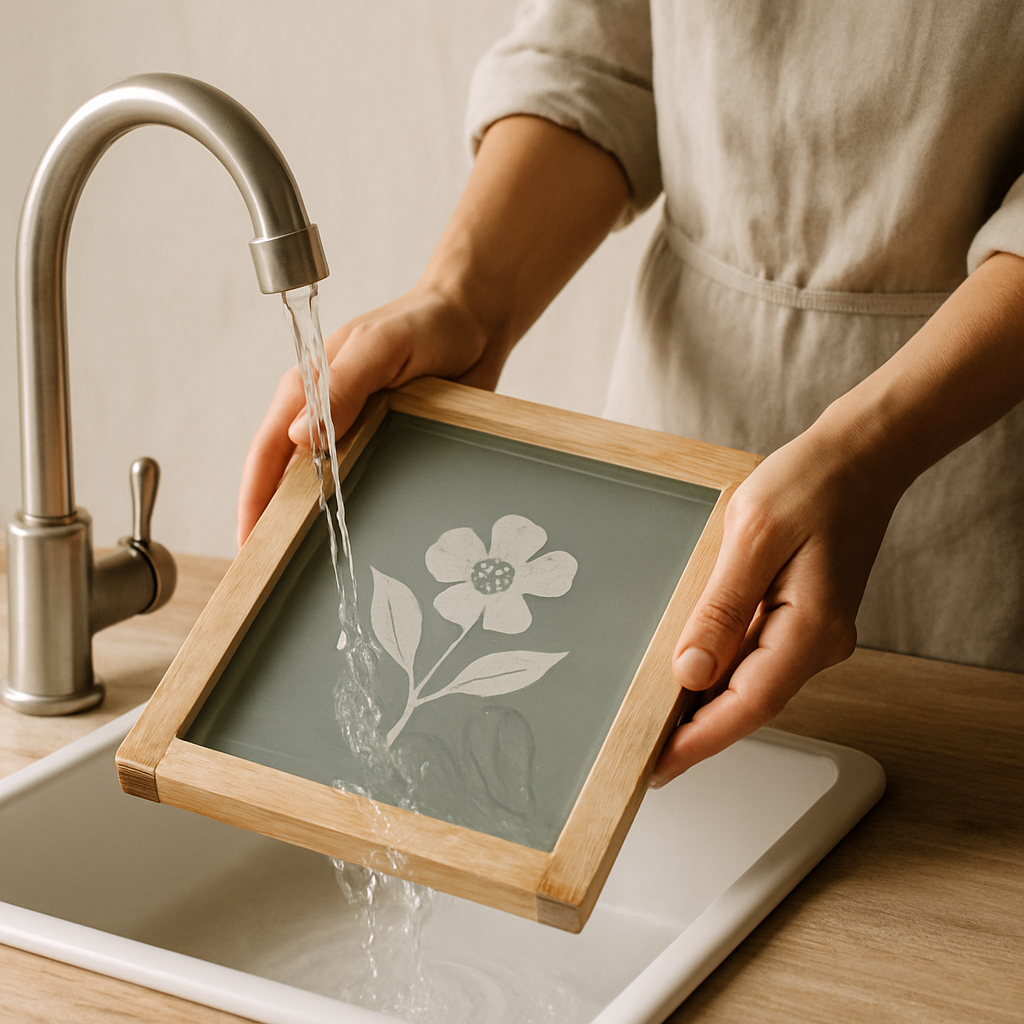
- 5
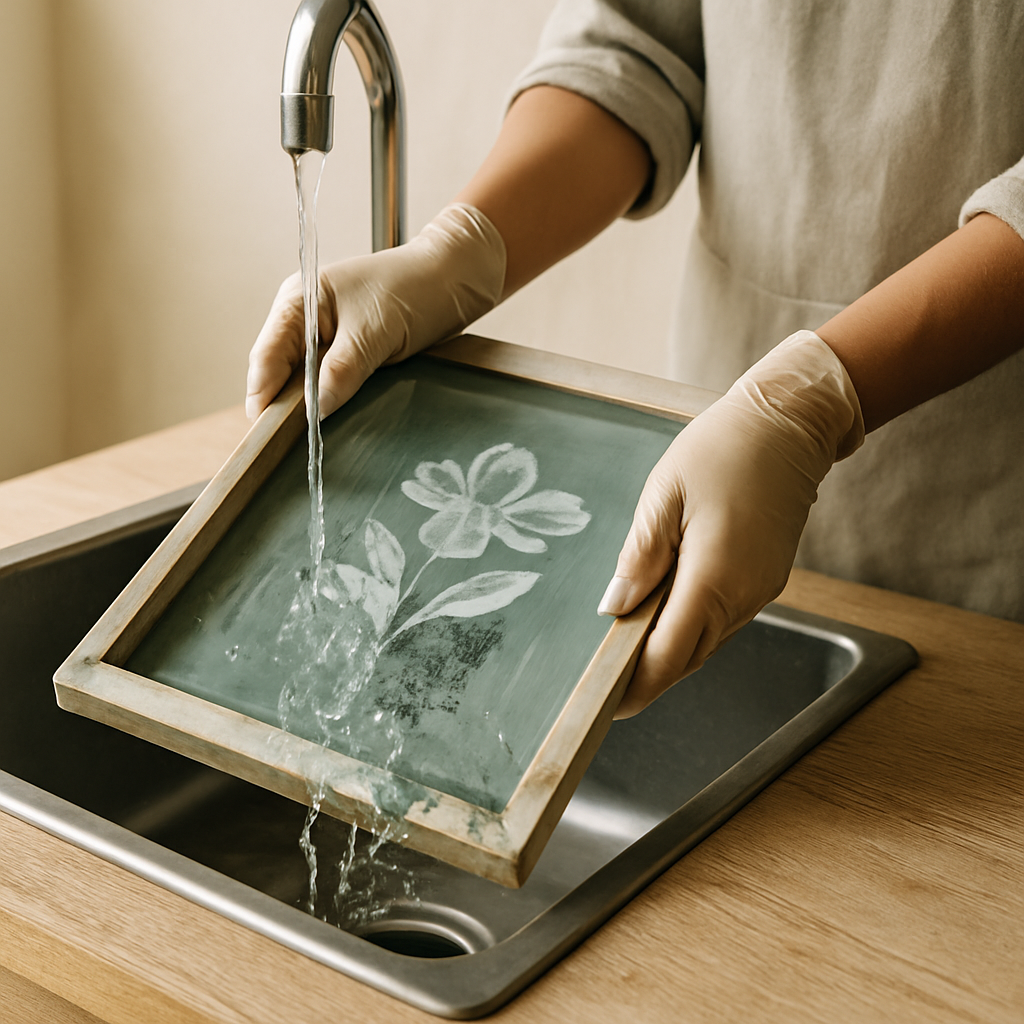
Step 5: Reveal your stencil. Gently rinse the screen with cool water, letting the water flow over the design area. The unexposed emulsion (where your design was) will wash away, leaving your design open for ink. If parts of the design didn't wash out completely, try gently scrubbing the area with a soft brush and cool water, or consider a slightly longer exposure time for your next print; don't worry, this is a common learning curve!
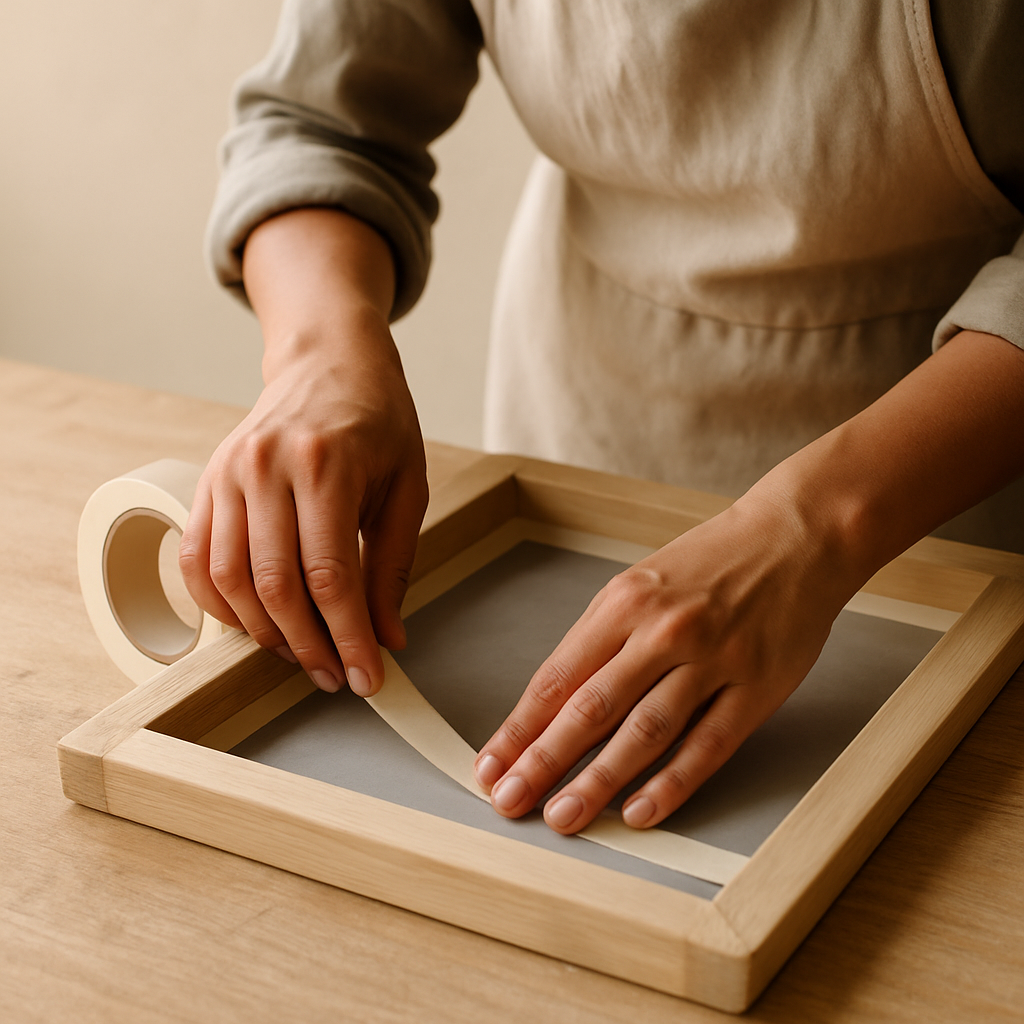
- 6
Step 6: Dry and seal the edges. Let the screen dry completely, then use masking tape to carefully tape off the inside edges of the screen frame. This prevents ink from seeping through the frame itself and creating unwanted marks on your prints. Ensure the tape is smooth and adheres well to the screen material; if the tape lifts, ink can seep underneath.
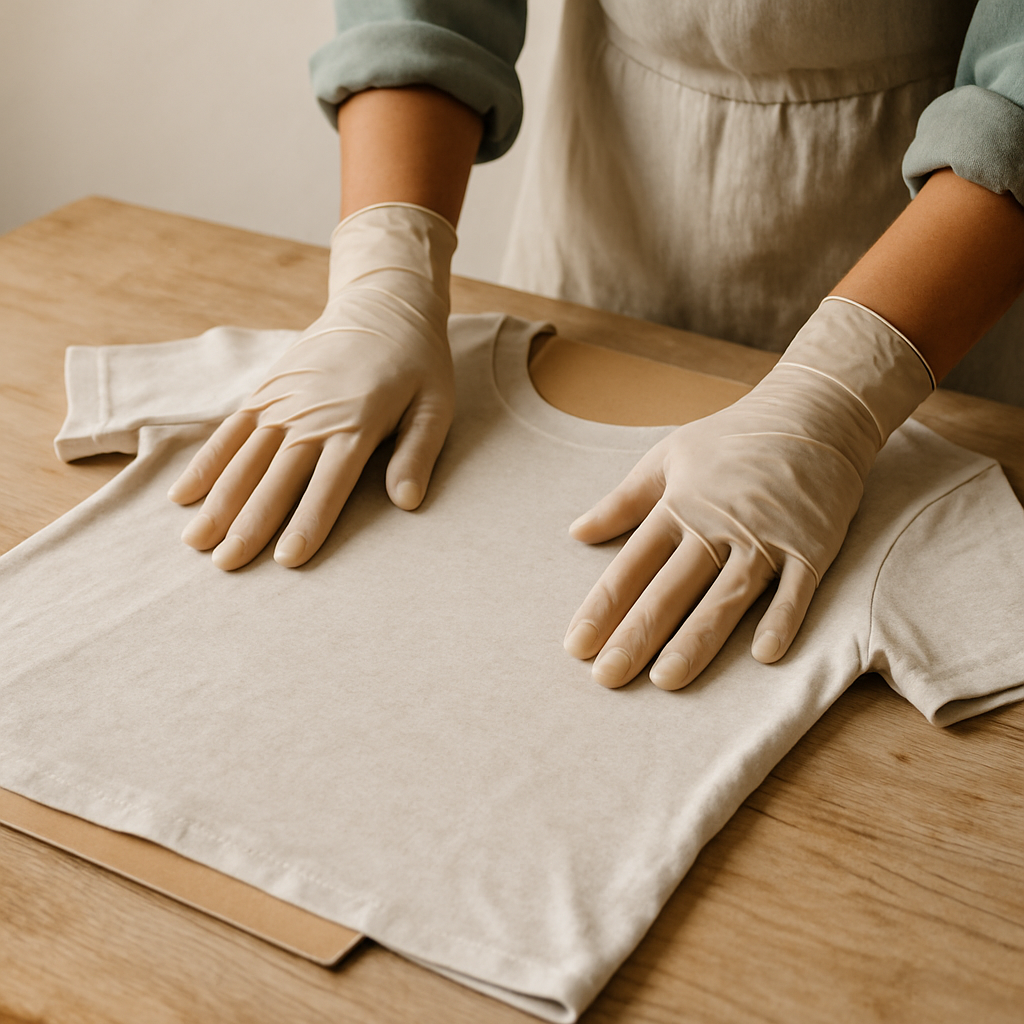
- 7
Step 7: Prep your printing canvas. Lay your t-shirt or tote bag flat on your workspace, smoothing out any wrinkles. Slide a piece of cardboard inside the garment to prevent ink from bleeding through to the back – this is a lifesaver, especially with lighter fabrics! For younger crafters (ages 5-7), pre-cut simple shapes from cardstock or use pre-made stencil sheets, and let them focus on the ink application with close adult supervision.
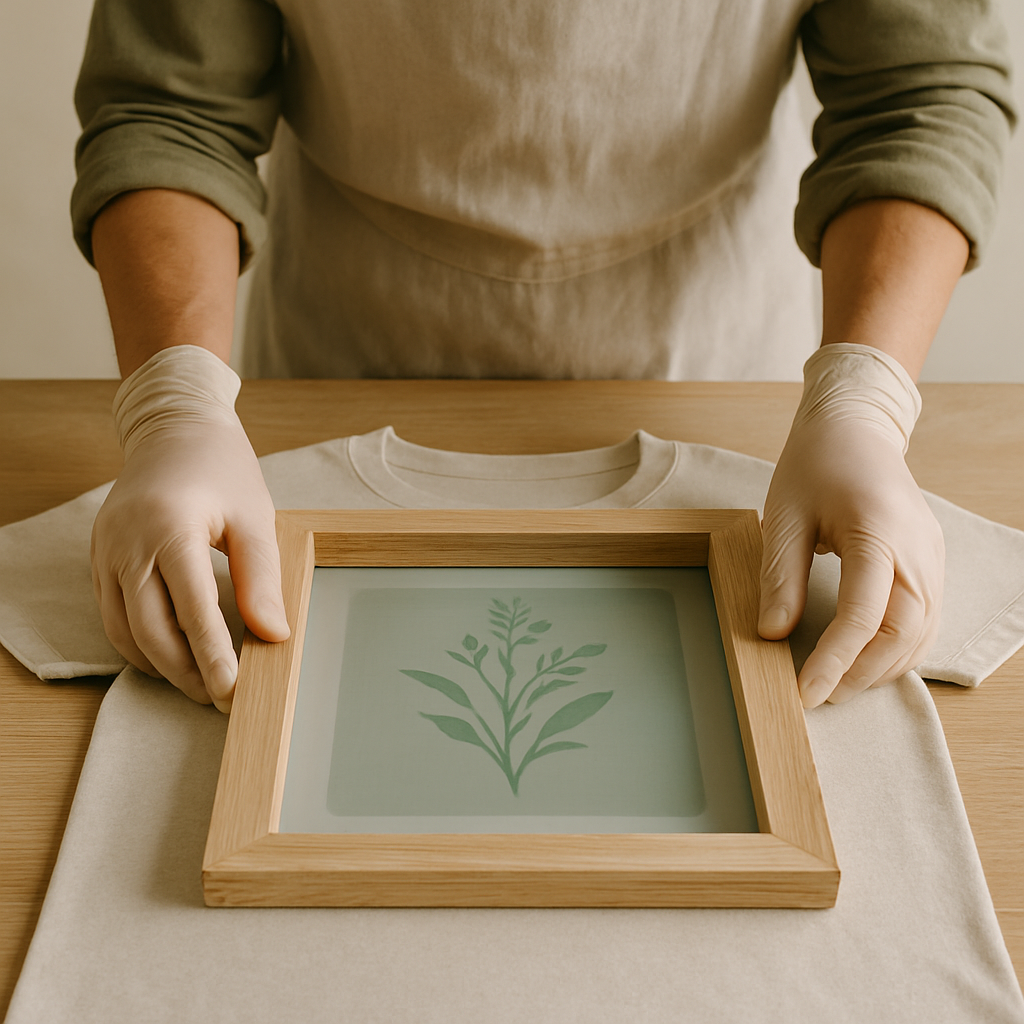
- 8
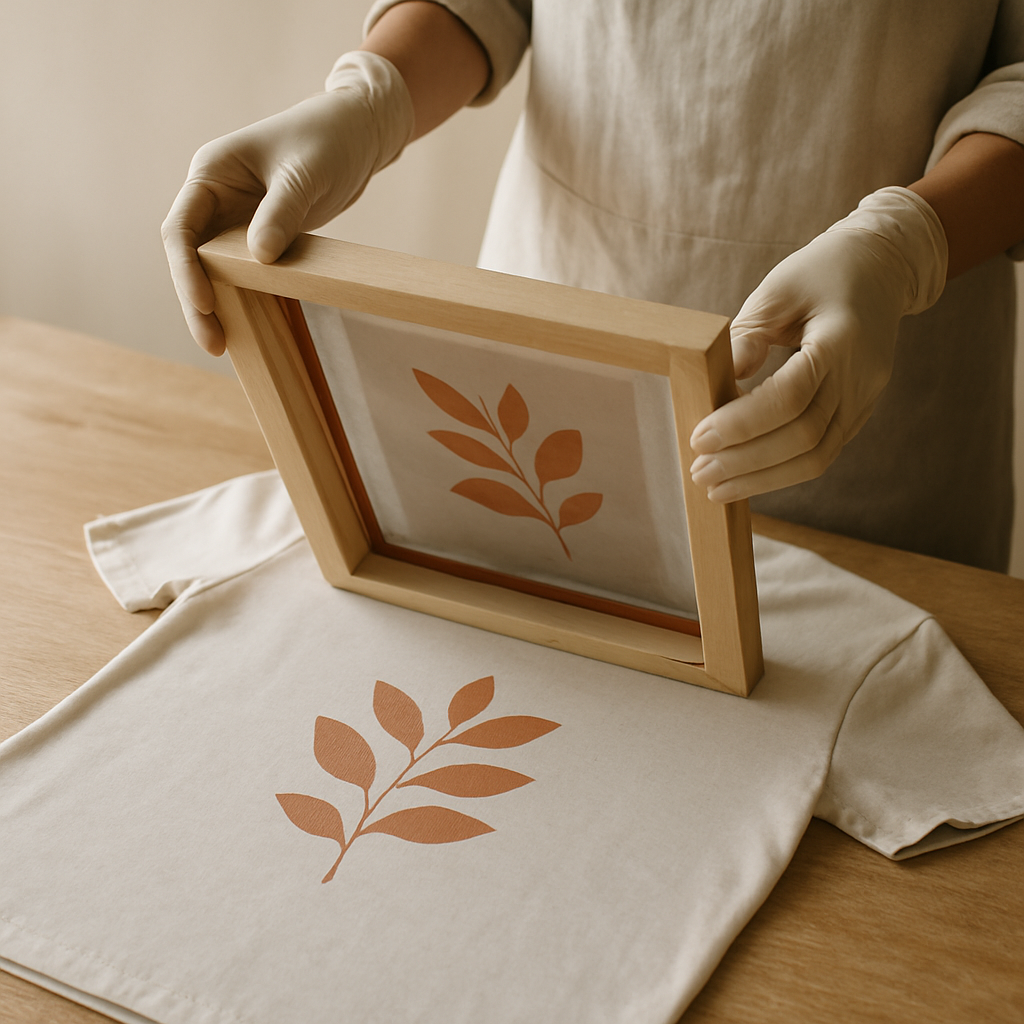
Step 8: Position the screen perfectly. Carefully place the prepared screen onto your garment, aligning it precisely where you want your design to appear. Double-check that it's level and centered before you apply any ink; if it's crooked, lift and reposition it before the ink goes down.
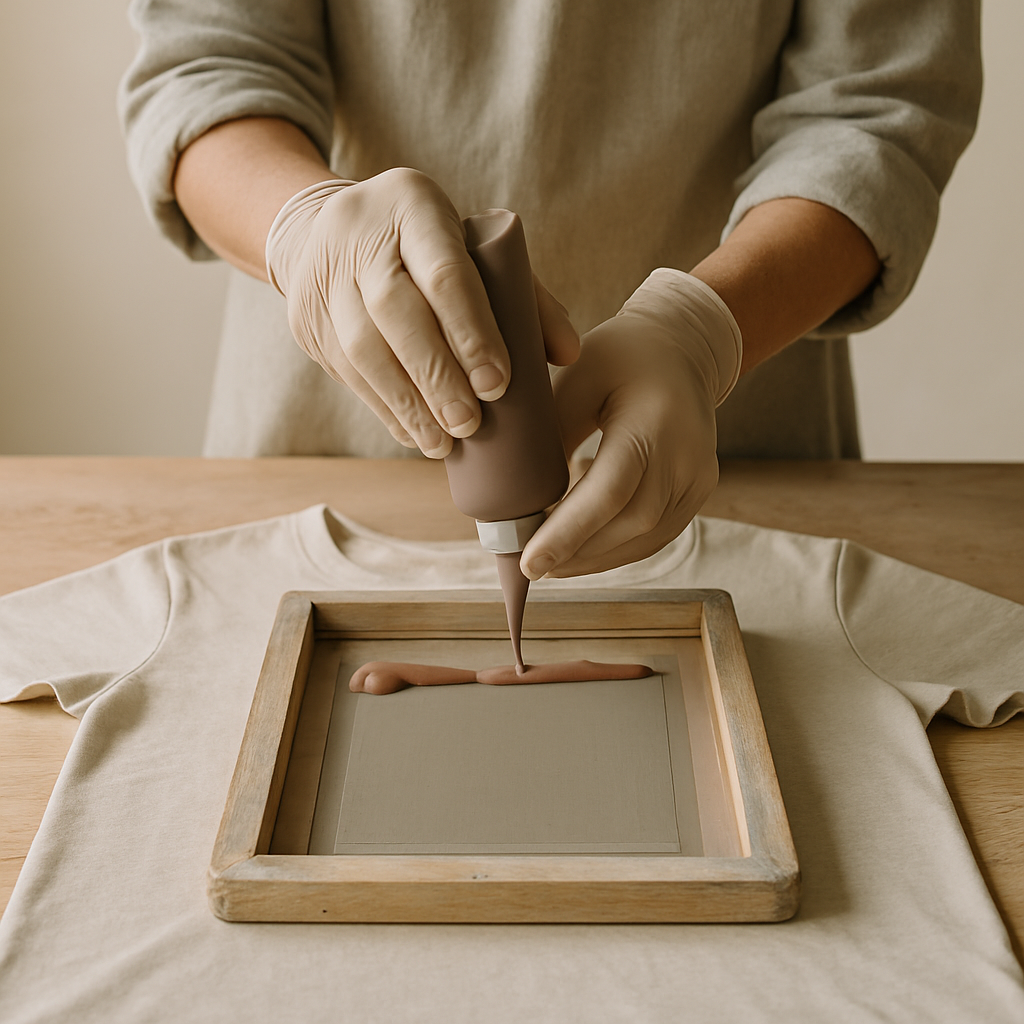
- 9
Step 9: Ink it up! Squeeze a line of fabric ink approximately 2-3 cm wide and about 1 cm thick across the top edge of your design on the screen, about 1-2 cm away from the top of the design area. This should be enough ink to cover the design in one pass without being excessive; if you have too much, it can flood the screen and cause smudges.
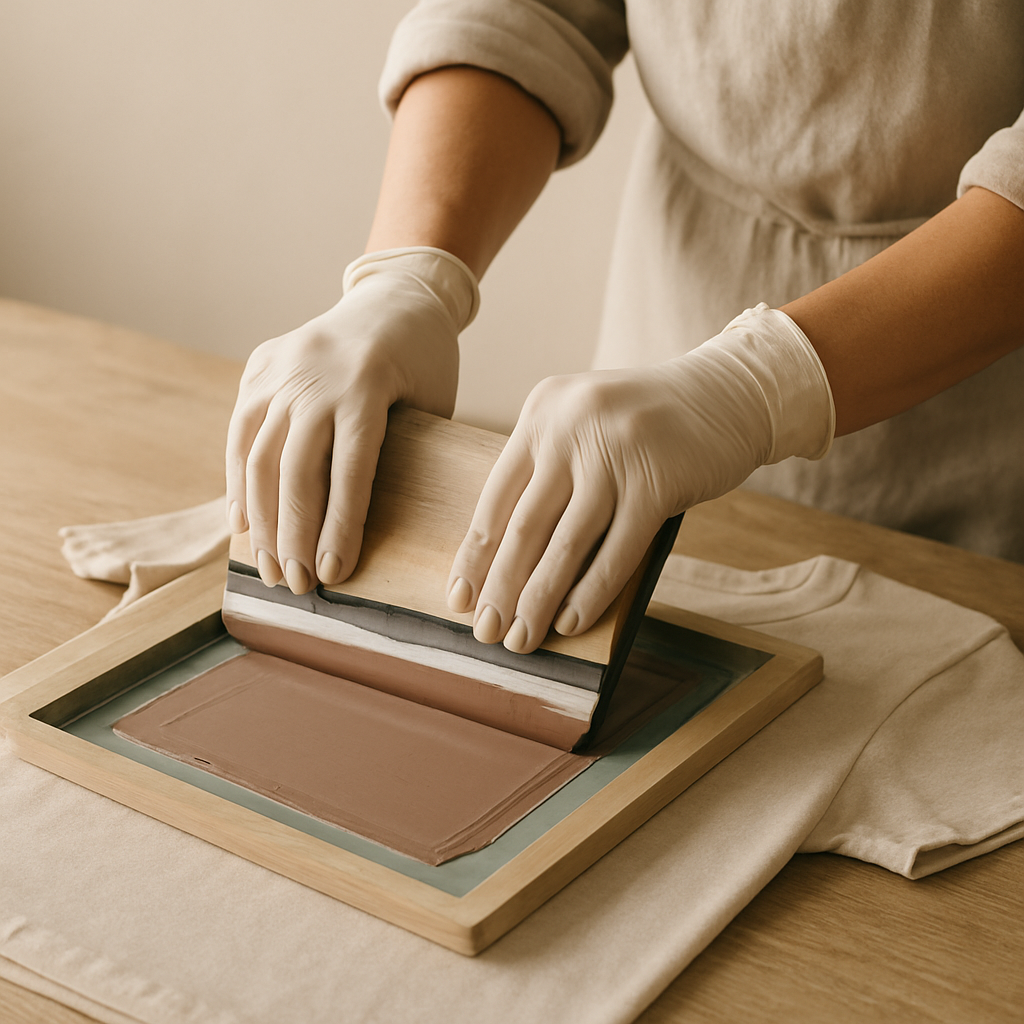
- 10
Step 10: The magic pull. Hold the screen firmly in place with one hand. With the other hand, hold the squeegee at a consistent 45-degree angle to the screen surface, ensuring the squeegee blade is in full contact with the screen. Apply firm, even pressure and pull the squeegee down across the design in one smooth, continuous stroke, pushing the ink through the open areas of your stencil. If the ink doesn't cover fully, you might need to do a second pull with slightly more pressure.
- 11
Step 11: The grand reveal. Carefully lift the screen straight up from the garment. If the print looks faint or has gaps, you may need to apply more ink or use more pressure on your next pull. If you notice ink bleed around the edges, your emulsion might have been too thin or not fully exposed; try a second, thinner layer of emulsion next time or ensure adequate exposure.
- 12
Step 12: Keep the print party going. Re-apply ink to the screen as needed for subsequent prints. You can usually get several good prints from one ink application before needing to add more. If your screen starts to clog with drying ink, work a bit faster, use an ink retarder additive, or lightly mist the screen with water (just a little!).
- 13
Step 13: Clean up like a pro. Once you're finished printing, carefully remove the tape. Rinse the screen thoroughly with water to remove all ink – don't let it dry! If any ink residue remains, use rubbing alcohol and a cloth to gently scrub it away. This is crucial for preventing 'ghosting' (faint images from previous prints) later on.
- 14
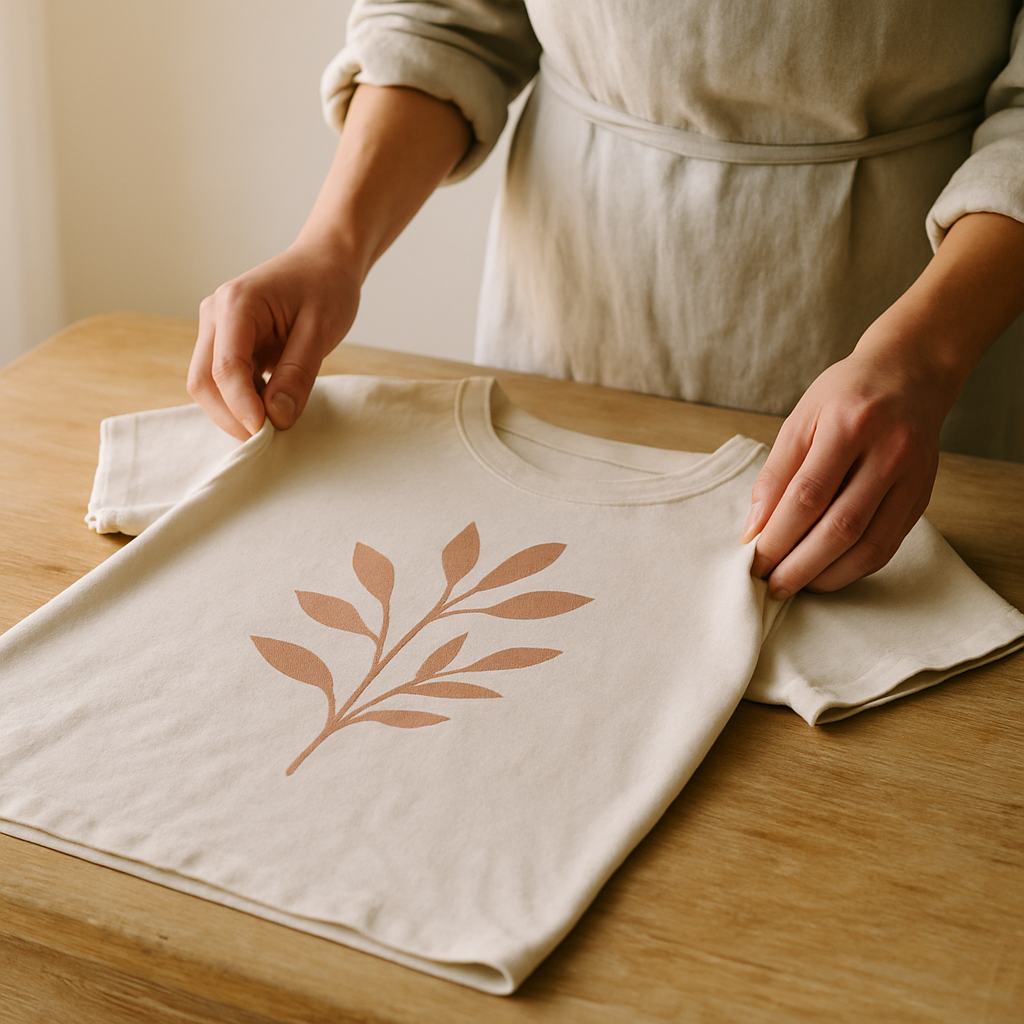
Step 14: Set that print! Allow the printed fabric to air dry completely for at least 24 hours. Then, heat-set the ink according to the ink manufacturer's instructions, usually by ironing the print on a medium-high setting (without steam) for 3-5 minutes, or tumble drying on high heat for 30 minutes, depending on the ink type. This makes your design permanent and washable.
- 15
Step 15: Reclaim your screen for round two (optional). If you want to reuse the screen for a different design, you'll need to reclaim it. Use a specialized emulsion remover (follow its instructions carefully!) to break down the hardened emulsion, allowing you to wash it away and start fresh. This process can sometimes be a bit tricky, so don't get discouraged if it takes a couple of tries to get it perfectly clean.
Tips & Troubleshooting
- 1Ink Bleed Fix: If you notice ink bleeding around the edges of your design, it could be due to the emulsion being too thin or not fully hardened. If emulsion feels tacky after drying or washes away too easily, it's likely too thin or underexposed. Ensure your emulsion layer is even and allow adequate drying and exposure time. For future prints, try applying a second, thinner layer of emulsion after the first has dried, or ensure your exposure time is sufficient for your light source.
- 2Ghosting Prevention: 'Ghosting' is when a faint image of a previous print appears, usually because the screen wasn't fully cleaned or reclaimed. Always ensure all ink and emulsion residue is removed after each printing session. A thorough reclaiming process is essential for reusing screens multiple times.
- 3Screen Clogging Solutions: If your screen clogs during printing, it's often because the ink is drying too quickly. Work in a cooler environment, use an ink retarder additive if necessary, or mist the screen lightly with water (be careful not to oversaturate). Clean clogged areas immediately with a damp cloth and reapply ink.
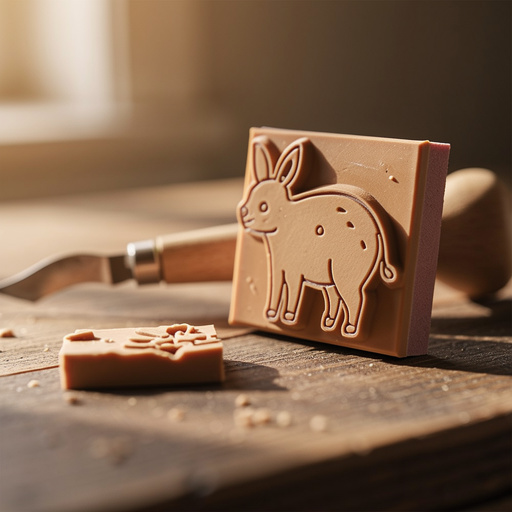
- 4Custom Stencil Creation: For beginners wanting to create their own stencils, start simple! Draw your design on paper, then trace it onto the transparency film with a permanent marker. For more intricate designs, consider using graphic design software and printing onto transparency film with a laser printer. You can also experiment with hand-cutting stencils from cardstock for simpler, blocky designs, though these are less durable for screen printing.
- 5Ink Choice Matters: Water-based inks are generally best for beginners as they are easy to clean up with water and are less toxic. For printing on dark fabrics, you'll need opaque inks; some kits include these, or you may need to purchase them separately. Always check your ink's compatibility with your fabric and follow curing instructions carefully.
- 6Age Adaptation: For younger children (ages 5-7), simplify the design process. Pre-cut simple shapes from cardstock or use pre-made stencil sheets. Focus their involvement on the ink application and squeegee pull, with close adult supervision. Older kids (8+) can participate in most steps with guidance, and teens can often handle the entire process independently.
- 7Cost Breakdown for Side Hustle: A starter kit can range from $50-$150, with more comprehensive kits costing upwards of $200. Ink costs around $10-$20 per color. Blank t-shirts can be bought in bulk for $3-$5 each. If you sell prints for $20-$30, your profit margin per shirt after materials could be $10-$20, making it a viable side hustle with consistent sales. Remember to factor in the initial kit cost as your primary investment.
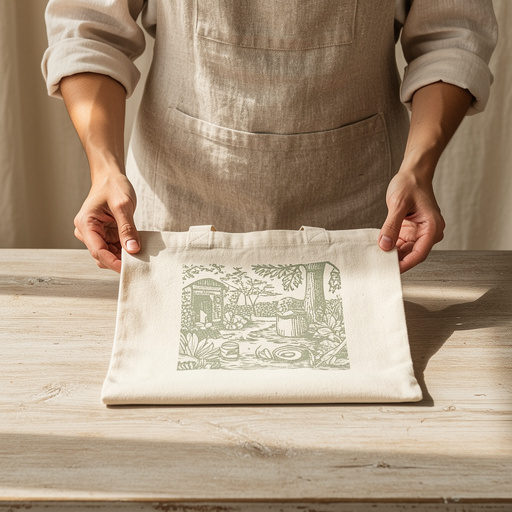
- 8Beyond T-Shirts: Don't limit yourself! Screen printing kits are fantastic for creating unique art prints on paper (use acrylic inks for this!), custom stationery, or even personalizing home decor items like tea towels or pillow covers. Experimenting with different surfaces is where the real fun begins!
- 9Kit Comparison: For beginners, look for kits that include a good quality screen with a medium mesh count (around 110-160), a comfortable squeegee, and reliable emulsion. Brands like Speedball and Grafix offer solid entry-level options. Avoid kits with very flimsy screens or unclear instructions. If you plan on printing detailed designs, investing in a finer mesh screen might be worthwhile later on. Speedball's kits are generally very accessible and include everything you need to start, making them a great choice for absolute beginners. Grafix kits often offer slightly more professional-grade components, which might be a good step up if you're already familiar with the basics or want to invest a bit more upfront for potentially better results.
Related Activities You Might Enjoy
Frequently Asked Questions
What's the difference between screen printing kits for beginners and professional kits?
Beginner kits are designed for ease of use and affordability, typically including fewer screens, basic emulsion, and water-based inks. They focus on teaching the fundamental process. Professional kits often feature higher-quality screens with finer mesh counts, specialized emulsions for different applications, a wider range of inks (like plastisol), more durable squeegees, and sometimes even exposure units. While beginner kits are perfect for starting out and small projects, professional kits offer greater precision, durability, and the ability to achieve more complex results for higher volume production.
Can I really print on materials other than t-shirts with a starter kit?
Absolutely! While t-shirts and tote bags are popular, starter kits can be used on various materials. For fabrics like canvas, cotton, or linen, water-based inks work well. For smoother surfaces like ceramic tiles, metal, or plastic, you'll need to ensure you're using the correct type of ink specifically designed for those materials, as standard fabric inks may not adhere properly. Always test on a scrap piece first to check adhesion and durability. Proper surface preparation (cleaning and sometimes priming) is crucial for non-fabric items.
How do I create my own custom designs for screen printing?
Creating custom designs is the heart of screen printing! For beginners, start with simple, bold graphics. You can draw your design by hand and then trace it onto transparency film with a permanent marker. Ensure the lines are solid and opaque. For more complex or detailed designs, consider using graphic design software like Adobe Illustrator or free alternatives like Inkscape to create your artwork digitally. Then, print this digital design onto transparency film using a laser printer. Remember, the design on the transparency film acts as a stencil; any gaps will allow ink through.
What are the most common screen printing mistakes and how can I fix them?
Common mistakes include ink bleed (emulsion too thin or not exposed enough), ghosting (incomplete cleaning), and screen clogging (ink drying too fast). To fix ink bleed, ensure your emulsion is applied evenly and exposed properly; try a second, thinner layer of emulsion or use a screen sealant. For ghosting, be meticulous with cleaning and reclaiming your screens after each use. If your screen clogs, work faster, use an ink retarder, or lightly mist the screen with water. Always clean your squeegee and screen immediately after printing.
What Next?
So, there you have it! You're officially ready to start making your own custom prints. Don't sweat it if your first few prints aren't perfect – I definitely had my share of ink smudges and wonky lines when I started! The key is to keep practicing and learn from any hiccups. Check out the troubleshooting tips and FAQs if you get stuck. I can't wait to see what amazing designs you create. Share your successes (and even your learning moments!) with us – let's inspire each other!
Free: 10 Paper Crafts Anyone Can Make in 5 Minutes
Get our beginner guide + new craft ideas weekly.
No spam. Unsubscribe anytime.
Did you complete this activity?
Related
You might also like
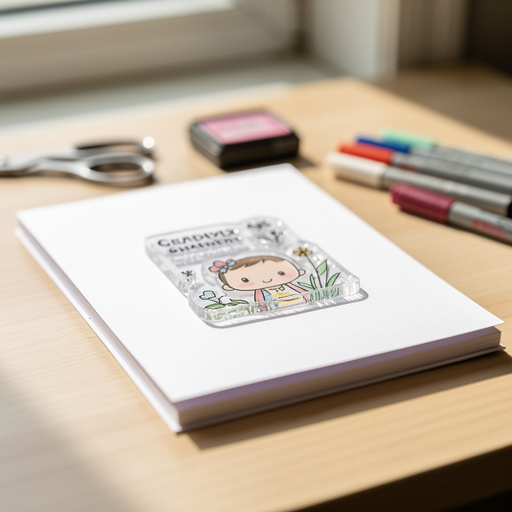
Digital Stamp Design Fun
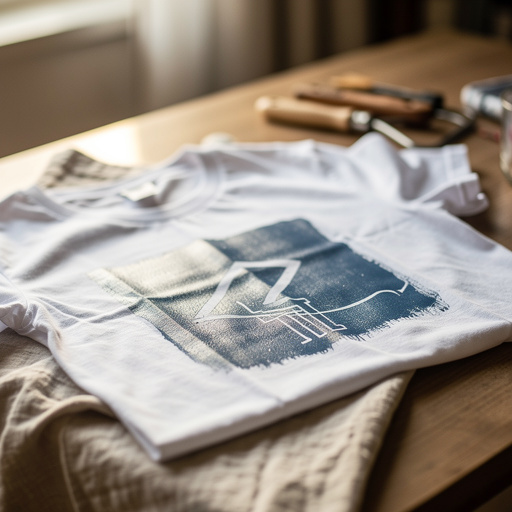
DIY Stencil T-Shirt Prints
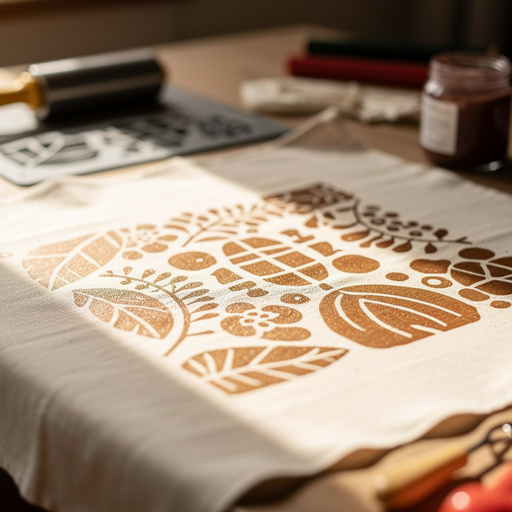
Fabric Ink Stencil Prints

Fabric Paint Stencil Prints
Potato Stamp Art