How to Create Custom Art with a Screen Printing DIY Kit — Easy Step-by-Step Guide
Unleash your inner artist with a screen printing DIY kit! Create vibrant, custom artwork on paper or fabric in just a few simple steps. This guide breaks down the process, making it accessible for beginners and families alike.
Quick answer
To make custom art with a screen printing DIY kit, you'll need the kit's components, paper or fabric, and about 60 minutes for the printing process itself, plus drying time. Start by preparing your design and exposing your screen. This beginner-friendly activity has 12 core steps and is perfect for families with kids aged 8+.
What you need
Shop on Amazon · As an Amazon Associate we earn from qualifying purchases. Links above are affiliate links — we may earn a commission at no extra cost to you.
Embark on a creative journey and transform everyday materials into personalized masterpieces with a screen printing DIY kit. This accessible printmaking technique allows you to replicate designs with stunning clarity and vibrant color, making it ideal for artists of all levels, crafters, and families looking for a fun, hands-on project. Whether you're aiming to create unique art prints, custom apparel, or personalized gifts, screen printing offers a rewarding and surprisingly simple way to bring your artistic visions to life. Get ready to discover the magic of transferring your designs onto almost any surface with professional-looking results.
On this page
Step-by-Step Instructions
- 1
Prepare your design: Print your design in solid black and white onto transparency film, ensuring it's the exact size you want for your final print. Alternatively, if using stencil paper, carefully cut out your design with a craft knife, leaving the areas you want to print open. For digital designs, ensure they are high contrast and free of grayscale tones, as these will not expose properly.
- 2
Prepare the screen: In a dimly lit area, carefully coat the inside of your screen with photo emulsion using the scoop coater provided in your kit. Apply an even layer, then let the emulsion drip off before placing the screen face down to dry completely in a dark, dust-free environment. Ensure there are no streaks or drips, as these can affect your final print.
- 3
Expose the screen: Once the emulsion is completely dry, position your transparency design onto the emulsion-coated side of the screen, securing it with tape if necessary to prevent shifting. Expose the screen to your chosen light source for the duration specified in your kit's instructions, typically ranging from a few minutes in direct sunlight to longer periods under artificial lights. This process hardens the emulsion where the light hits it, leaving the design area soft.
- 4
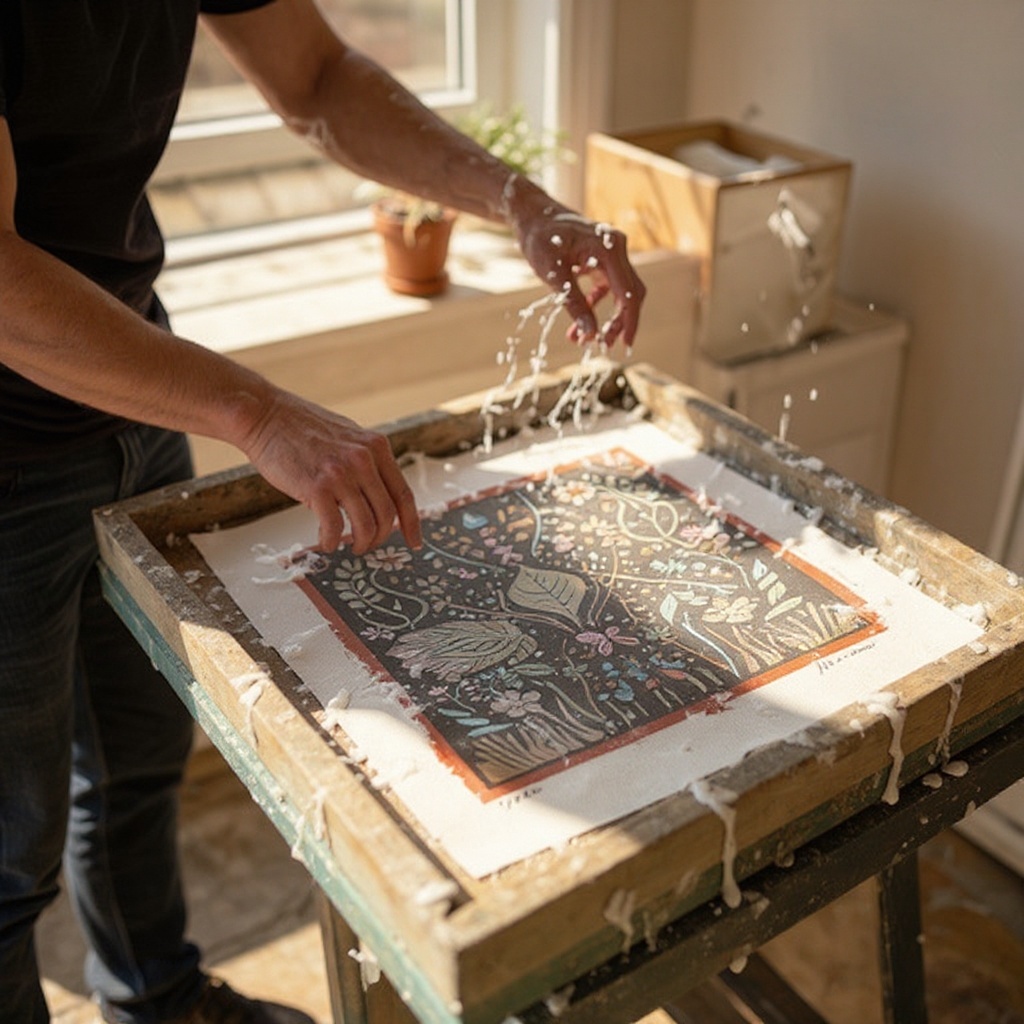
Wash out the design: After exposure, gently rinse the screen under cool running water, holding it at an angle. The unexposed emulsion, which corresponds to your design, will wash away, leaving open mesh areas where ink can pass through. Be patient and use a soft brush if needed to help clear any stubborn emulsion, but avoid aggressive scrubbing.
- 5
Dry the screen thoroughly: Allow the washed-out screen to dry completely. You can speed this up with a hairdryer on a cool setting or by placing it in a well-ventilated area. Once dry, inspect the screen for any pinholes or unwanted open areas; carefully block these out with masking tape on both sides of the screen to ensure a clean print.
- 6
Set up your printing surface: Place your paper or fabric flat on a stable, level surface. For consistent alignment across multiple prints, create registration marks on your workspace or on a piece of cardboard that will act as a guide for positioning your screen. This is crucial for multi-color prints or when printing multiple items.
- 7
Position the screen: Carefully place the prepared screen over your paper or fabric, aligning it precisely with your registration marks if you're using them. Ensure the screen is level and that there's a slight gap between the screen and the printing surface, often achieved by placing a few layers of paper or cardboard underneath the screen frame itself.
- 8
Apply the ink: Squeeze a generous line of screen printing ink across the top edge of your design on the screen, directly above the open areas. Use enough ink to cover the width of your design, but avoid overfilling, which can lead to excess ink and a messier print.
- 9
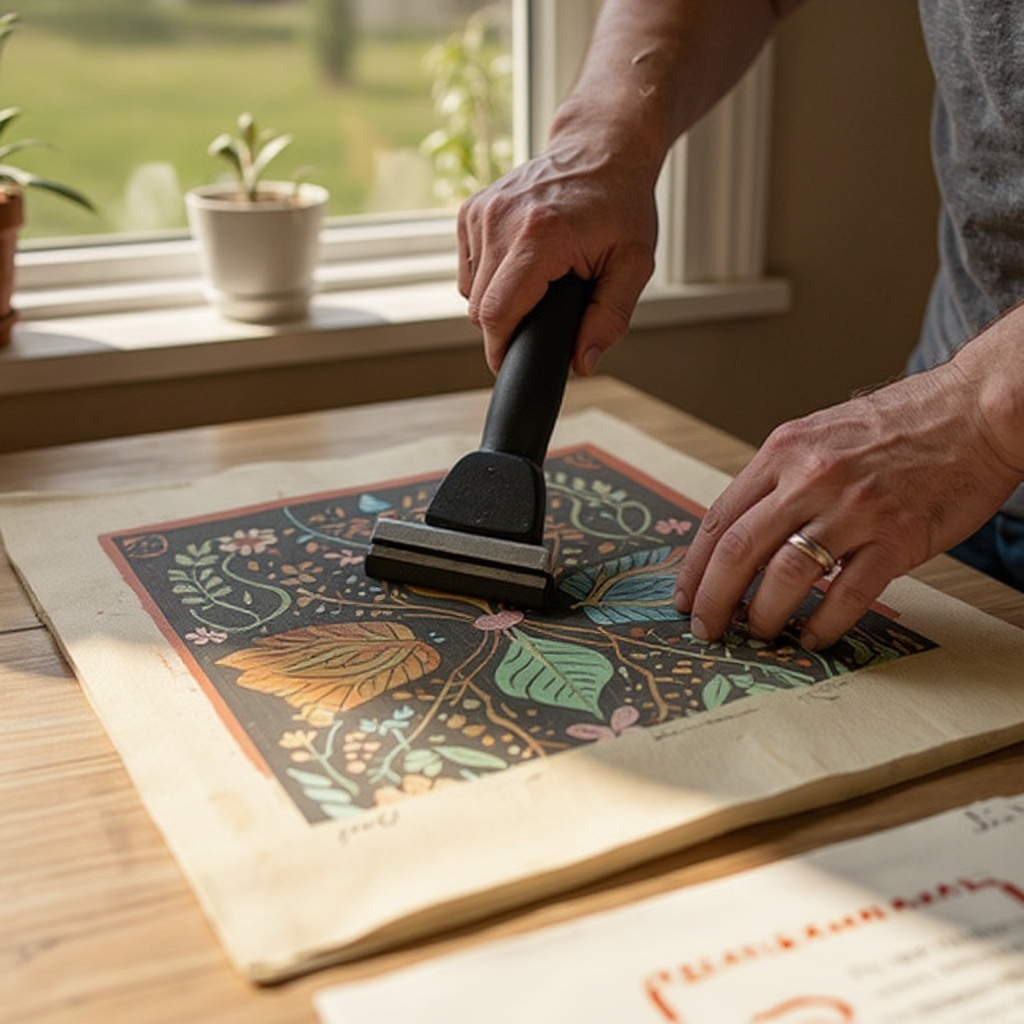
Squeegee the ink: Hold the squeegee at a consistent 45-degree angle to the screen and pull it firmly and evenly across the entire design in one smooth stroke. Apply even pressure to push the ink through the open mesh of your stencil and onto your printing surface. A second, lighter pass might be necessary if the first stroke didn't fully transfer the ink.
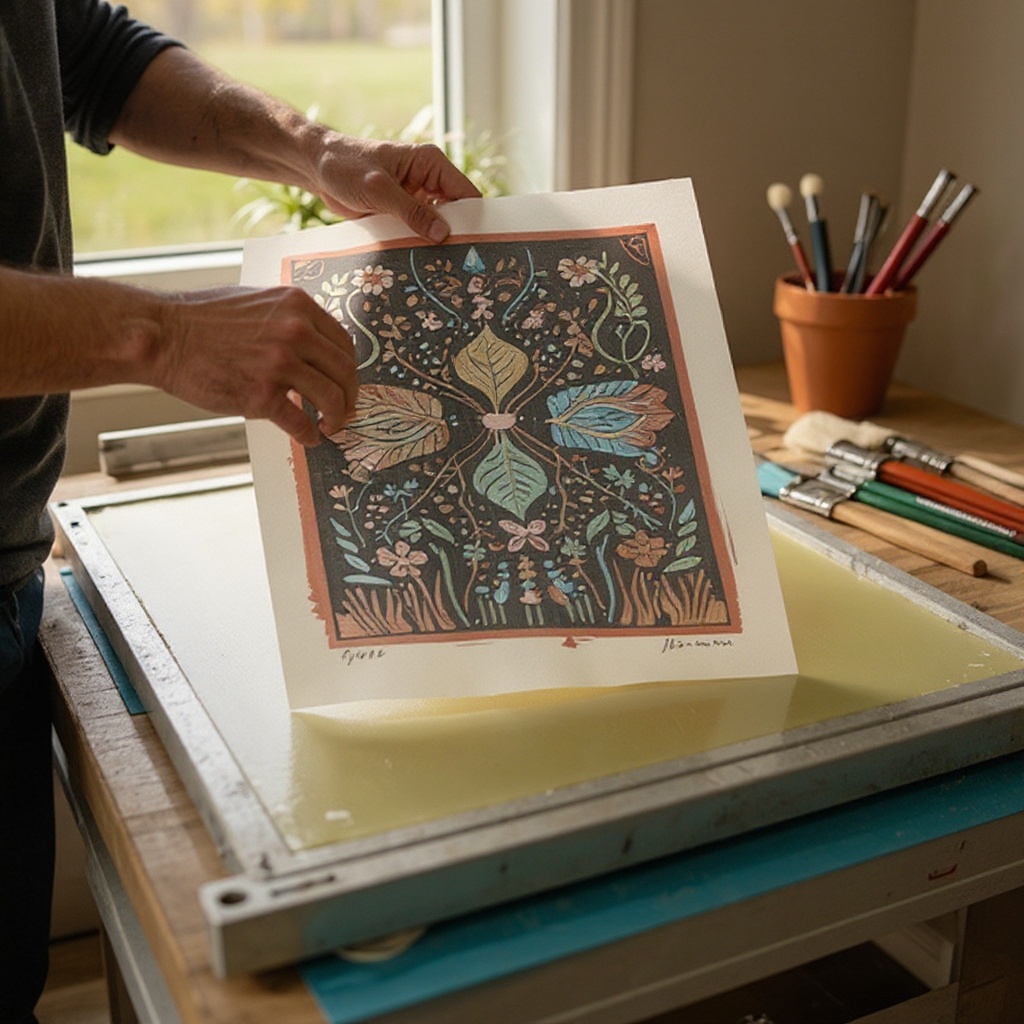
- 10
Lift the screen and reveal: Carefully lift the screen straight up from your printing surface, taking care not to smudge the wet ink. Immediately inspect your print for clarity and completeness, and if you're happy with the result, set it aside to dry.
- 11
Clean your screen immediately: As soon as you've finished printing, thoroughly clean your screen with water and a soft brush or sponge to remove all traces of ink. If using water-based inks, this is usually sufficient. For other ink types, follow the manufacturer's instructions for cleaning solvents. Prompt cleaning prevents ink from drying and clogging the mesh, which can render the screen unusable for future prints.
- 12
Allow ink to dry completely: Let your printed item dry according to the ink manufacturer's instructions. Water-based inks typically air dry within a few hours, while others may require heat setting with an iron or a heat gun for maximum durability. Ensure the ink is fully cured before handling or washing the item.
Tips & Troubleshooting
- 1If your ink isn't transferring well, try applying more pressure with the squeegee or ensuring your stencil is completely open and free of any dried emulsion. You might also need to adjust the angle of your squeegee to a slightly steeper pitch for better ink coverage.
- 2For multi-color prints, allow each layer of ink to dry partially before applying the next color, and use precise registration marks to ensure perfect alignment. A light mist of water or a brief period under a fan can help speed up the drying process between colors.
- 3Clean your screen immediately after use with water and a soft brush to prevent ink from drying and clogging the mesh. For stubborn inks, use the appropriate screen cleaner recommended by the ink manufacturer, and always rinse thoroughly afterward.
- 4Experiment with different types of paper and fabric to see how the ink behaves and the final look of your prints. Heavier weight papers and natural fibers like cotton often yield the best results, absorbing ink evenly.
- 5Consider using a light table or a bright window to inspect your screen for pinholes before taping. These tiny imperfections can lead to unwanted ink transfer, so carefully tape them over with masking tape on both sides of the screen.
- 6When exposing your screen, test different exposure times with small test prints. Overexposure can make the stencil too hard to wash out, while underexposure can cause the design to wash away too easily, resulting in a weak or incomplete print.
- 7For a more professional finish, consider using a screen printing press, which helps maintain consistent pressure and alignment, especially for larger projects or multiple prints. However, for a DIY kit, a stable surface and careful hand movements are usually sufficient.
- 8If you're printing on fabric, pre-wash your material to remove any sizing or finishes that might interfere with ink adhesion. This ensures a more durable and vibrant print that will last through multiple washes.
Related Activities You Might Enjoy
Frequently Asked Questions
What is a screen printing DIY kit and what does it typically include?
A screen printing DIY kit is a curated collection of essential tools and materials designed to enable beginners to create their own screen prints at home. These kits are perfect for exploring printmaking without a significant initial investment in professional equipment. Typically, a kit will contain a pre-stretched screen with a specific mesh count (determining the detail level of your print), a squeegee for applying ink, photo emulsion and a scoop coater for creating the stencil, and at least one color of screen printing ink. Some kits may also include transparency film for your designs, basic instructions, and sometimes even a small exposure unit or suggestions for DIY light sources. The beauty of these kits is their all-in-one nature, providing a straightforward entry point into the world of custom printing.
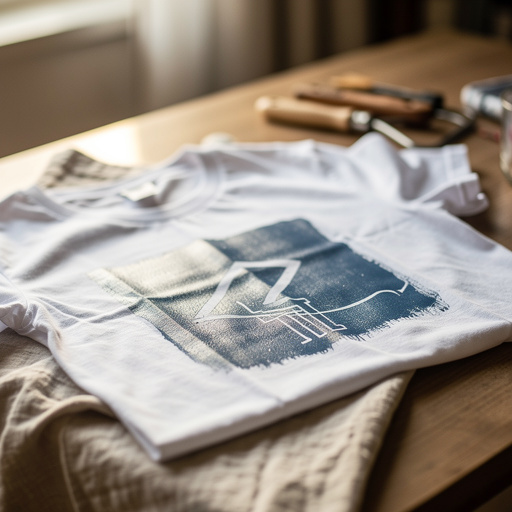
Can I use a screen printing DIY kit on fabric like t-shirts and tote bags?
Absolutely! Screen printing DIY kits are exceptionally well-suited for printing on fabric, making them ideal for customizing apparel, accessories, and home décor items. When printing on fabric, it's crucial to use inks specifically formulated for textiles, which are often included in fabric-focused kits or available for separate purchase. These fabric inks are designed to adhere strongly to fibers and withstand washing and wear. Ensure you follow the ink's drying and curing instructions carefully, as many fabric inks require heat setting (using an iron or heat gun) to achieve maximum durability. Pre-washing your fabric items is also recommended to remove any sizing that could affect ink adhesion.
How long does screen printing ink take to dry and cure?
The drying and curing times for screen printing ink can vary significantly depending on the type of ink used and environmental conditions such as temperature and humidity. Water-based inks, commonly found in DIY kits, are generally the fastest drying and often air dry within a few hours. However, for optimal durability and washability, especially on fabric, these inks usually require heat setting. This typically involves ironing the print with a dry iron on a medium-high setting for a few minutes or using a heat gun. Other ink types, like plastisol inks (less common in basic DIY kits), require higher temperatures for curing and may take longer to dry initially. Always refer to the ink manufacturer's specific instructions for the most accurate drying and curing times.
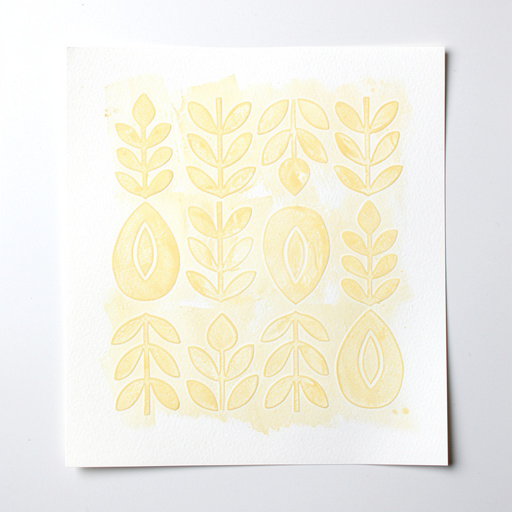
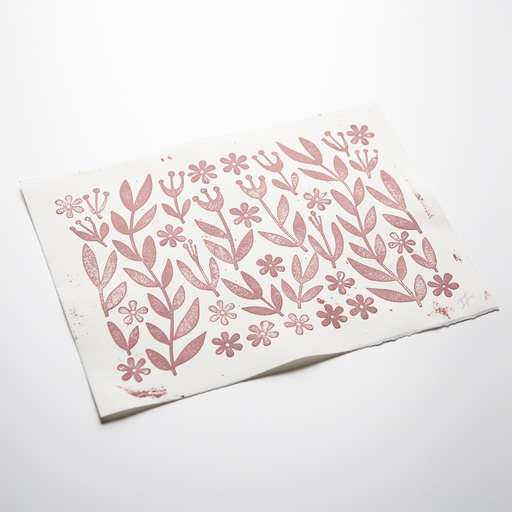
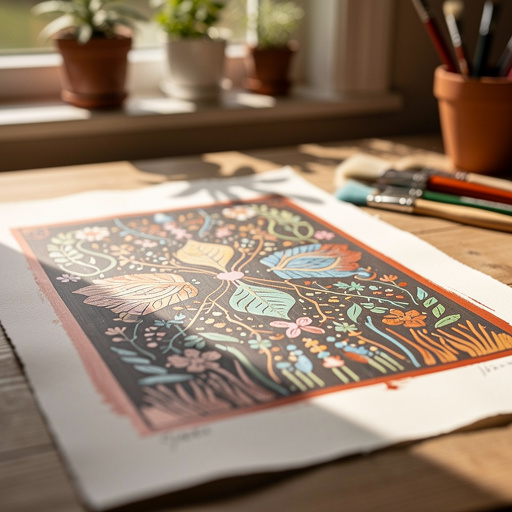
What kind of designs can I make with a screen printing DIY kit?
With a screen printing DIY kit, you can create a surprisingly wide variety of designs, from simple text and bold geometric patterns to more intricate illustrations. The key to successful screen printing lies in the contrast of your design: it needs to be composed of solid areas of black (or a dark color) on a white background for the stencil creation process. This means that fine gradients, subtle shading, or very thin, wispy lines might not translate perfectly without specialized techniques or screens. However, for most beginner projects, you can achieve clean, crisp prints of logos, graphics, lettering, and even detailed drawings, as long as they are simplified into distinct positive and negative spaces. The mesh count of your screen will also influence the level of detail you can achieve.
What is the typical lifespan of a screen printing screen and how can I maintain it?
A well-maintained screen printing screen can last for a very long time, potentially for hundreds or even thousands of prints. The lifespan primarily depends on the quality of the screen mesh, the frame, and how diligently you clean and store it. After each printing session, it is absolutely crucial to clean the screen thoroughly with water and a soft brush to remove all ink residue. For more stubborn inks, use the appropriate screen cleaner recommended by the manufacturer. Avoid using abrasive materials or harsh chemicals that can damage the mesh. Store screens flat in a dry, dust-free environment, away from direct sunlight, to prevent warping or degradation of the emulsion coating. Proper care ensures your screen remains a reliable tool for many creative projects to come.
What are registration marks and why are they important in screen printing?
Registration marks are small, precise indicators that you place on your printing surface and use as a guide to align your screen accurately for each print. They are particularly vital when you are creating multi-color designs, where each color is printed separately. Without proper registration, your colors will be misaligned, resulting in a muddy or unprofessional-looking final image. To create them, you typically print small crosses or dots on a piece of paper or cardboard that matches the size of your intended print area. You then position your screen so these marks align with corresponding marks on your workspace or a registration jig. After printing the first color, you carefully reposition the screen to print the second color, ensuring the design elements line up perfectly with the previous layer.
What Next?
Congratulations on creating your own custom screen prints! You've unlocked a versatile art form that can be applied to countless projects. Consider framing your paper prints for a gallery-worthy display or washing your fabric creations gently to preserve their longevity. For future endeavors, explore layering colors for more complex designs, try different mesh counts on your screens for varying levels of detail, or even experiment with specialty inks like metallic or puff paint. The possibilities are truly endless, and your screen printing journey has just begun!
Free: 10 Paper Crafts Anyone Can Make in 5 Minutes
Get our beginner guide + new craft ideas weekly.
No spam. Unsubscribe anytime.
Did you complete this activity?
Related