Salt Dough Scented Holiday Ornaments: A Festive Craft for All Ages
Salt Dough Scented Holiday Ornaments are a delightful and aromatic way to add a personal touch to your Christmas tree or holiday decor. This classic craft is perfect for families, offering a hands-on activity that results in charming, keepsake ornaments. Infused with the warm scents of cinnamon, nutmeg, and cloves, these ornaments not only look festive but also fill your home with the comforting aromas of the season. Easy to make and highly customizable, this project is ideal for crafters of all skill levels, from beginners to seasoned DIY enthusiasts looking for a simple yet rewarding holiday project.

Quick answer
Make scented salt dough ornaments by mixing flour, salt, water, and spices, then cutting shapes, baking at 250°F until hard, and decorating. Add ribbon to hang.
What you need
Shop on Amazon · As an Amazon Associate we earn from qualifying purchases. Links above are affiliate links — we may earn a commission at no extra cost to you.
Embrace the spirit of the season with a timeless crafting tradition: salt dough ornaments! This project is more than just a DIY; it's an invitation to create cherished memories and add a unique, fragrant touch to your holiday décor. Imagine the delight of children pressing cookie cutters into the dough, the warm scent of spices filling your kitchen, and the satisfaction of hanging your handmade creations on the tree. Perfect for family gatherings, classroom activities, or a cozy afternoon crafting session, these ornaments are a wonderful way to express your creativity and bring the joy of the holidays to life. They make thoughtful, personalized gifts too!
On this page
Step-by-Step Instructions
- 1
Prepare the Dough: In a large mixing bowl, combine 2 cups of all-purpose flour, 1 cup of fine table salt, and 2 tablespoons of your chosen holiday spices (such as cinnamon, nutmeg, or cloves). Whisk these dry ingredients together thoroughly to ensure the spices are evenly distributed throughout the flour and salt, preventing pockets of concentrated flavor or color.
- 2
Form the Dough: Gradually add approximately 3/4 cup of water to the dry ingredients, mixing with a wooden spoon or spatula until a stiff, shaggy dough begins to form. You may need to add a tablespoon more or less water depending on the humidity and the type of flour used; the goal is a dough that holds together without being overly sticky.
- 3
Knead the Dough: Transfer the dough to a clean, lightly floured work surface. Knead the dough for approximately 5-7 minutes, pushing, folding, and turning it until it becomes smooth, pliable, and no longer sticky to the touch. Proper kneading develops the gluten, making the dough easier to work with and less prone to cracking during baking.
- 4
Rest the Dough (Optional but Recommended): For even easier handling and to prevent shrinkage during baking, wrap the kneaded dough tightly in plastic wrap and let it rest in the refrigerator for at least 30 minutes. This allows the gluten to relax and the moisture to distribute evenly.
- 5
Preheat Oven: Preheat your oven to a low temperature of 250°F (120°C). A low and slow baking process is crucial for salt dough to dry out thoroughly without burning or puffing up excessively.
- 6
Roll Out the Dough: Lightly flour your rolling pin and your work surface. Take a portion of the rested dough and roll it out evenly to a thickness of about 1/4 inch. Aim for consistent thickness across the entire piece to ensure uniform baking; thicker areas will take longer to dry and may crack.
- 7
Cut Shapes: Use your favorite holiday cookie cutters to cut out various festive shapes from the rolled-out dough. Press the cutters firmly and straight down to get clean edges. Re-roll scraps of dough as needed, but try to handle them as little as possible to maintain a smooth texture.
- 8
Prepare for Baking: Carefully transfer the cut-out shapes to a baking sheet lined with parchment paper or a silicone baking mat. This prevents sticking and makes cleanup easier. Leave a small amount of space between each ornament to allow for even air circulation during baking.
- 9
Create Hanging Holes: Before baking, use a drinking straw or a skewer to carefully poke a hole near the top of each ornament. Make sure the hole is large enough for your chosen ribbon or twine to pass through easily once the ornament is baked and cooled. Be sure to poke the hole before baking, as hardened salt dough can be difficult to pierce.
- 10
Initial Bake: Place the baking sheet with the ornaments into the preheated oven. Bake for 1 to 1.5 hours initially. This initial baking period begins to dry out the ornaments and firm them up.
- 11
Flip and Continue Baking: After the initial bake, carefully remove the baking sheet from the oven. Gently flip each ornament over using a spatula. This ensures that both sides of the ornament dry evenly and helps prevent warping. Return the baking sheet to the oven.
- 12
Bake Until Completely Dry: Continue baking the ornaments for another 1 to 1.5 hours, or until they are completely dry, hard, and have a pale, even color. The total baking time can range from 2 to 3 hours or more, depending on the thickness of your ornaments and your oven's temperature. They should feel hard to the touch and sound hollow when tapped.
- 13
Cool Completely: Remove the ornaments from the oven and let them cool completely on the baking sheet for about 15-20 minutes, then carefully transfer them to a wire rack to finish cooling. Ensure they are thoroughly cool before attempting to decorate them, as any residual warmth can affect paint or sealant.
- 14
Decorate (Optional): Once cooled, you can unleash your creativity! Use acrylic paints to add color and detail to your ornaments. Consider painting festive scenes, simple patterns, or even writing names or dates on them. Allow any paint to dry thoroughly between coats and before moving to the next step.
- 15
Apply Sealant (Optional): For added durability, a glossy finish, and to protect the paint, you can apply a clear sealant or varnish to the dried ornaments. Use a paintbrush to apply a thin, even coat and let it dry completely according to the product's instructions.
- 16
Add Hangers: Thread a festive ribbon, twine, or yarn through the hole in each ornament to create a hanger. Tie a secure knot, ensuring the loop is long enough to easily hang the ornament on a tree branch or hook.
Tips & Troubleshooting
- 1Spice Selection: Feel free to experiment with different spice combinations to create unique scents. Beyond cinnamon, nutmeg, and cloves, consider ginger, cardamom, or even a touch of allspice for a richer aroma. You can also use pre-made gingerbread spice blends for convenience.
- 2Dough Consistency: If your dough is too dry and crumbly, add water a teaspoon at a time until it comes together. If it's too sticky, add a tablespoon of flour at a time until it's manageable. The goal is a firm, non-sticky dough that holds its shape.
- 3Preventing Cracking: To minimize the risk of cracking, ensure your dough is kneaded thoroughly and rolled to an even thickness. Baking at a low temperature for an extended period is also key. If small cracks do appear, they can often be disguised with paint or sealant.
- 4Hole Placement: When creating the hanging hole, ensure it's not too close to the edge of the ornament, as this can lead to breakage. Placing it slightly higher and towards the center of the top edge is usually a safe bet.
- 5Baking Time Variations: Baking times can vary significantly based on ornament thickness, oven calibration, and humidity. It's better to err on the side of caution and bake longer at a lower temperature to ensure the ornaments are completely dry and hard throughout.
- 6Storage for Longevity: To keep your salt dough ornaments looking their best for years to come, store them in a cool, dry place away from direct sunlight and moisture. A padded box or a breathable fabric bag can help protect them from damage.
- 7Creative Decoration: Don't limit yourself to just paint! You can press small embellishments like beads or glitter into the dough before baking, or use stencils for intricate designs. Edible glitter can also add a festive shimmer.
Related Activities You Might Enjoy
Frequently Asked Questions
How do I prevent my salt dough ornaments from cracking?
Cracking in salt dough ornaments is often due to uneven drying or rapid temperature changes. To minimize this, ensure your dough is well-kneaded and rolled to a consistent thickness. Baking at a low temperature (250°F or 120°C) for an extended period allows the ornaments to dry out slowly and evenly. Flipping the ornaments halfway through the baking process also promotes uniform drying. Avoid placing hot ornaments on a cold surface immediately after baking, and allow them to cool completely on a wire rack. If minor cracks do appear, they can often be cleverly disguised with paint, sealant, or even a bit of glue and glitter.
Can I make my salt dough ornaments without spices?
Absolutely! While spices like cinnamon, nutmeg, and cloves add a wonderful festive aroma and a subtle color to the ornaments, they are entirely optional. If you prefer a neutral scent or are sensitive to spices, you can simply omit them from the recipe. The salt dough will still bake up beautifully and can be decorated in countless ways. You can achieve a lovely aesthetic and fragrance through painting and adding other decorative elements. If you still desire a scent, consider adding a few drops of essential oils like pine or orange to the dough after it's formed, though this may slightly alter the dough's texture.
How long do salt dough ornaments last?
When properly made and stored, salt dough ornaments can last for many years, becoming treasured keepsakes. The key to their longevity is ensuring they are completely dry and hard after baking, as any moisture left within the dough can lead to mold or deterioration over time. Once baked and cooled, decorating them with acrylic paints and then sealing them with a clear varnish or sealant provides an extra layer of protection against moisture and wear. Store them in a cool, dry place, away from direct sunlight and humidity, ideally in a padded box or a breathable fabric bag to prevent them from chipping or breaking.
What is the best way to store salt dough ornaments?
Proper storage is crucial for preserving your beautiful salt dough ornaments for years to come. After they have been completely baked, cooled, and decorated (and sealed, if you choose), they should be stored in a cool, dry environment. Avoid areas with high humidity, such as bathrooms or basements, as moisture can degrade the dough. A great option is to place them in a sturdy cardboard box, perhaps with tissue paper or bubble wrap between each ornament to prevent them from scratching or chipping against each other. Alternatively, a breathable fabric bag can also work well. Keep the storage container away from direct sunlight, which can cause fading of painted designs.
Can I add food coloring to the salt dough?
Yes, you can definitely add food coloring to your salt dough to create vibrantly colored ornaments! It's best to add the food coloring to the water before you mix it into the dry ingredients. Start with a few drops and mix thoroughly, adding more color until you achieve your desired shade. Keep in mind that the color will lighten slightly as the dough bakes and dries. For deeper, more intense colors, consider using gel food coloring, which is more concentrated. Remember that food coloring can stain, so wear old clothes and protect your work surfaces. You can also use the colored dough as a base for painting or leave it as is for a solid color effect.
What if my ornaments puff up during baking?
Ornament puffing, also known as 'bloating,' is a common issue with salt dough, usually caused by trapped air or moisture expanding too quickly. To prevent this, ensure your dough is kneaded thoroughly to develop gluten, which helps stabilize it. Rolling the dough to an even thickness is also important. Baking at a very low temperature (250°F/120°C) and for a longer duration allows moisture to escape gradually. If you notice puffing, you can try gently pressing down on the puffed areas with a spatula while the ornaments are still warm but firm enough to handle. Some crafters also prick the dough all over with a fork before baking to allow steam to escape.
What Next?
These delightful salt dough ornaments are just the beginning of your holiday crafting adventures! Consider experimenting with different spice blends, adding glitter for extra sparkle, or even using food coloring to tint the dough before baking. Once cooled and decorated, these ornaments can be stored year after year in a cool, dry place, perhaps in a decorative box or fabric bag to protect them. For a truly unique display, string them together to create a festive garland or attach them to gift packages for an extra special touch. Next, why not try making larger salt dough figures or even decorative bowls?
Free: 10 Paper Crafts Anyone Can Make in 5 Minutes
Get our beginner guide + new craft ideas weekly.
No spam. Unsubscribe anytime.
Did you complete this activity?
Related
You might also like
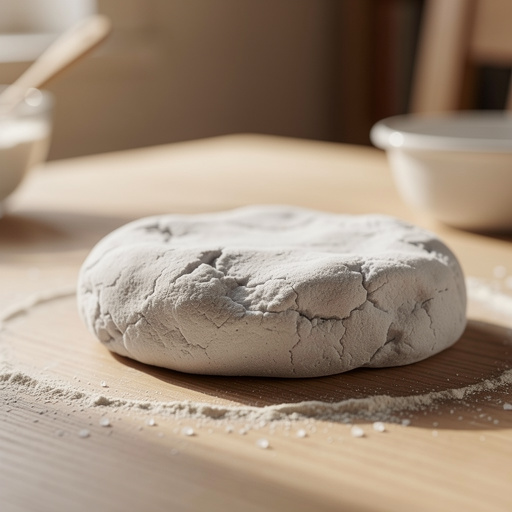
Easy Salt Dough Creations

Salt Dough Handprint Keepsake Ornament
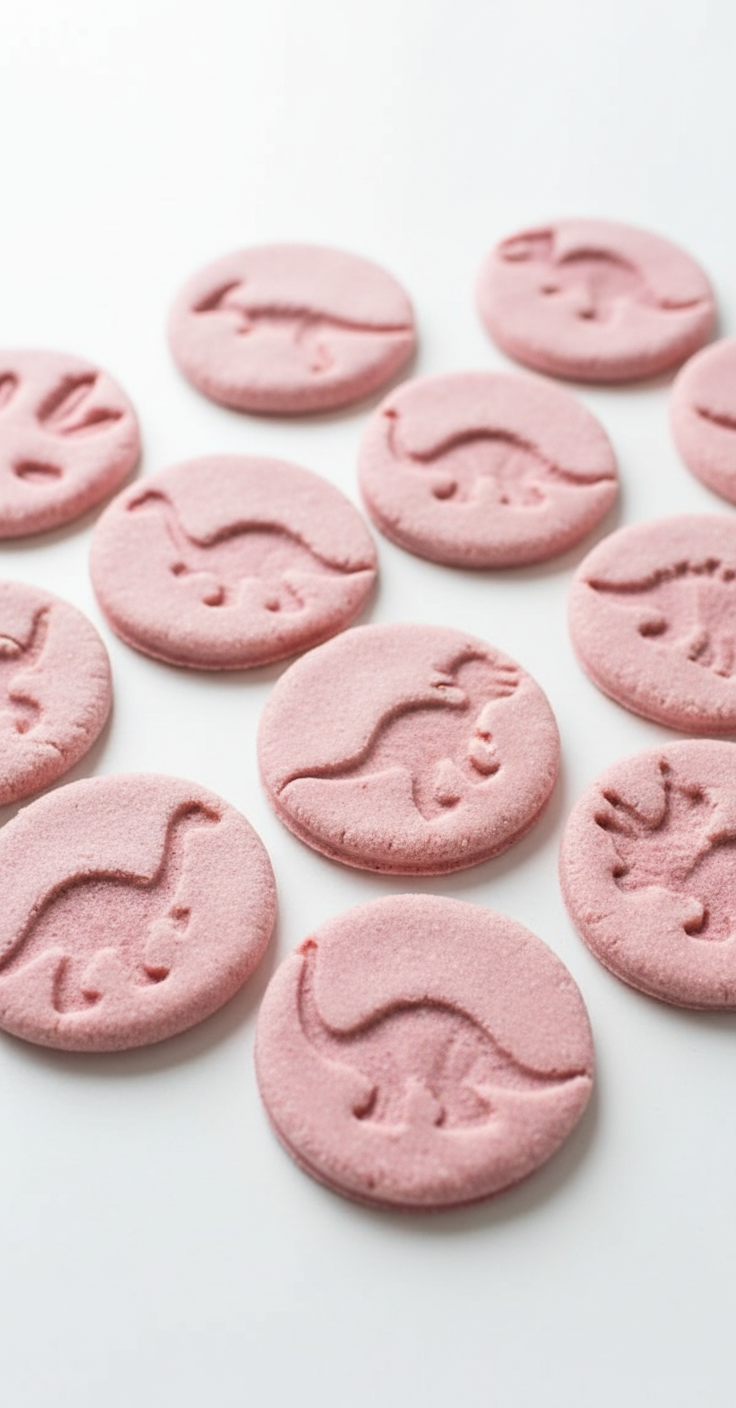
Salt Dough 'Dinosaur Fossil' Dig Excavation
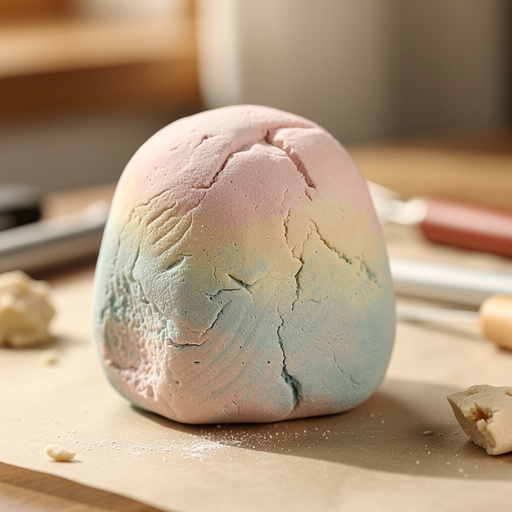
Salt Dough Sculptures

Polymer Clay Tiny Trinket Boxes