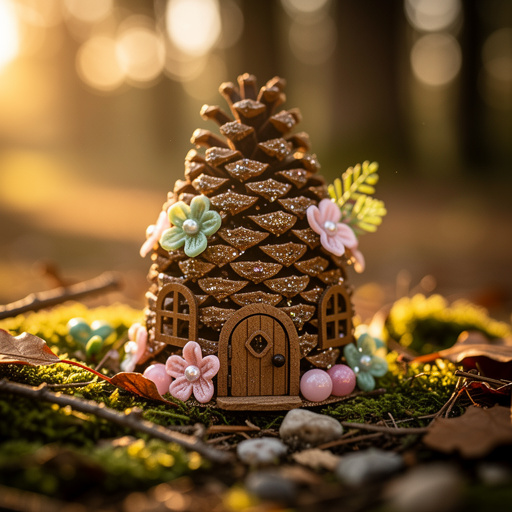
How to Create Gilded Pinecone Forest Decor — Easy Step-by-Step Guide
Transform ordinary pinecones into elegant, gilded forest decor perfect for selling. This simple craft adds a touch of nature-inspired sparkle to any home. It's a beginner-friendly project that can be completed in about an hour, making it ideal for families or anyone looking to create beautiful, sellable nature crafts.
Quick answer
To make gilded pinecone forest decor, you need pinecones, metallic paint, and sealant, taking about 60 minutes. Start by cleaning and drying your pinecones thoroughly. This beginner-friendly activity has 10 steps and is perfect for families looking to create sellable nature crafts.
What you need
Shop on Amazon · As an Amazon Associate we earn from qualifying purchases. Links above are affiliate links — we may earn a commission at no extra cost to you.
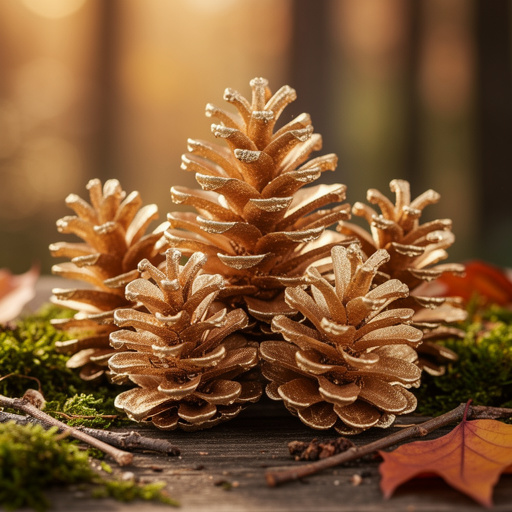
Embrace the beauty of nature with this enchanting Gilded Pinecone Forest Decor project. Transforming humble pinecones into shimmering works of art is incredibly rewarding and surprisingly simple. This craft is perfect for anyone seeking to add a touch of rustic elegance and natural sparkle to their home decor, seasonal displays, or even for creating unique, sellable items. Whether you're a seasoned crafter or a complete beginner, this project offers a delightful way to connect with the outdoors and unleash your creativity, all within a manageable timeframe.
On this page
Step-by-Step Instructions
- 1
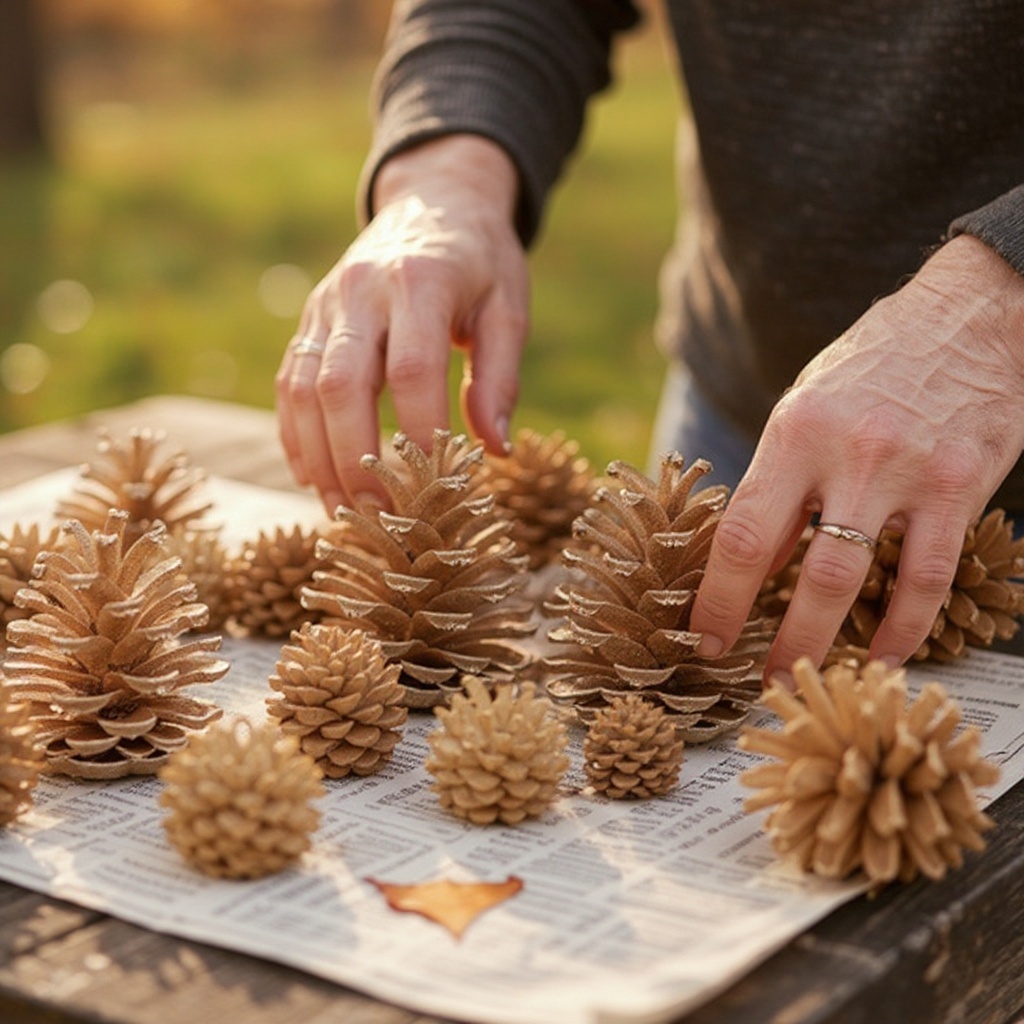
Gather your clean and completely dry pinecones. Ensure there are no insects, loose bark, or significant debris clinging to them; a gentle brushing or a quick rinse followed by thorough air drying is usually sufficient. If you've collected them recently, consider baking them at a low temperature (around 200°F or 93°C) for 30-60 minutes to eliminate any hidden critters and ensure they are bone dry.
- 2
Lay down newspaper or a drop cloth to protect your work surface. This project can get a bit messy, especially with metallic paints and potential glitter, so ensure you have ample coverage, extending beyond your immediate crafting area. This will make cleanup significantly easier.
- 3
Select your primary metallic paint color. Give the bottle a good shake if it's a new or infrequently used bottle to ensure the pigment is well-mixed. If you're using multiple colors, have them ready and open.
- 4
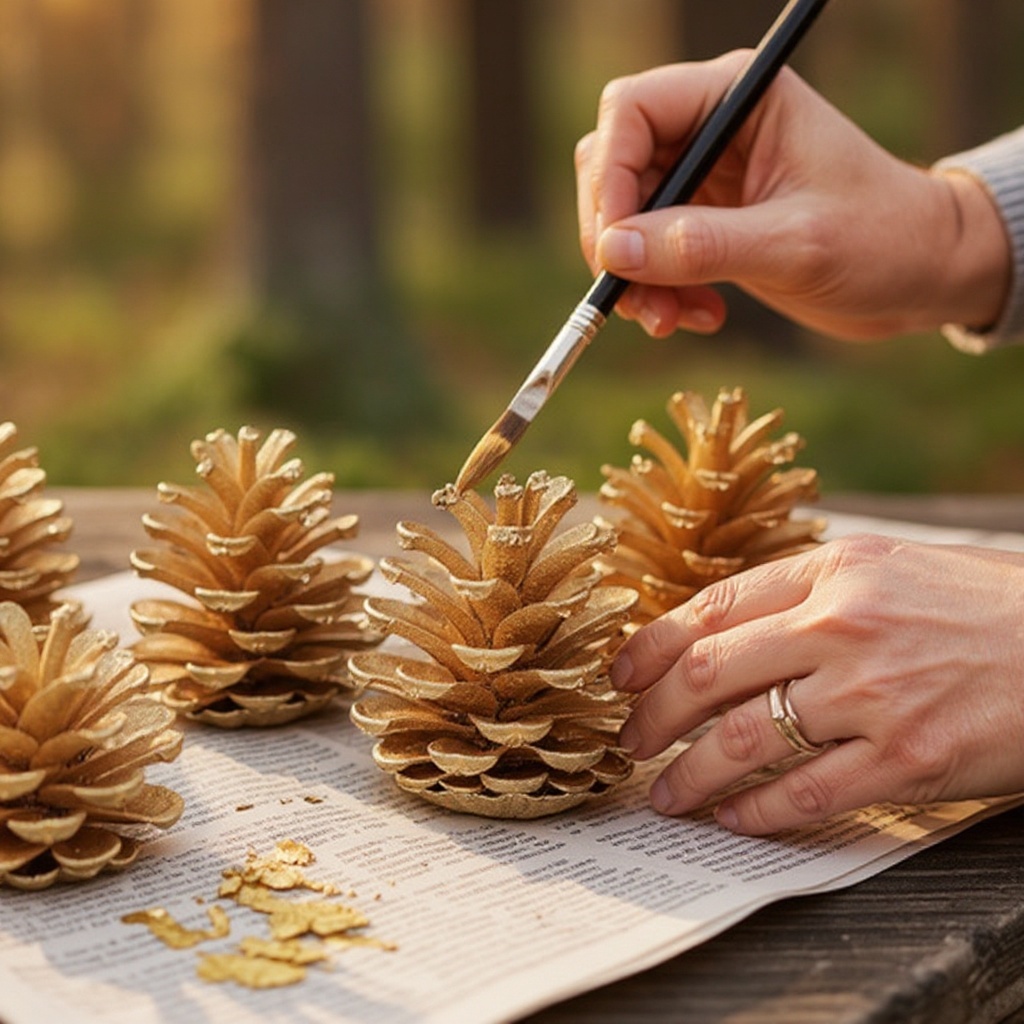
Using your small, stiff-bristled paintbrush, carefully begin to paint the tips and edges of the pinecone scales. Focus on applying the paint to the outermost layers of the scales to create a gilded effect. You can choose to paint the entire pinecone for a bold look, or selectively highlight specific areas for a more subtle, naturalistic shimmer.
- 5
Work in small sections, ensuring you achieve even coverage on the areas you've chosen to paint. For a more rustic and organic aesthetic, intentionally leave some of the natural brown pinecone showing through; this contrast adds depth and visual interest. Avoid overloading your brush with paint, which can lead to globs and an uneven finish.
- 6
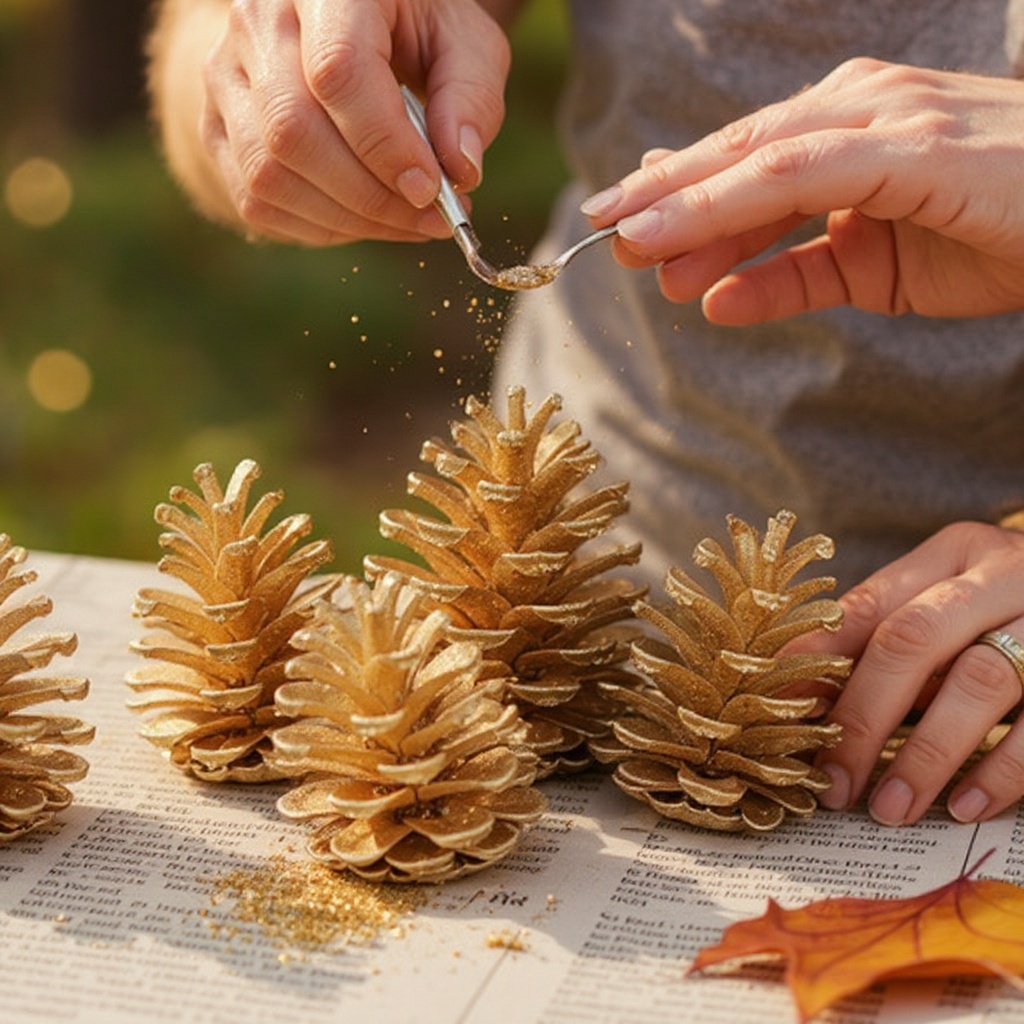
If you're incorporating glitter for extra sparkle, lightly sprinkle it onto the wet paint while it's still tacky. Use a fine-tip glitter for a delicate shimmer or a chunkier glitter for a more dramatic effect. Gently tap off any excess glitter once it has adhered to the paint; this prevents loose glitter from transferring everywhere.
- 7
Allow the first coat of paint to dry completely before proceeding. This drying time can vary from 15 to 30 minutes, depending on the humidity in your crafting space and the thickness of the paint application. Ensure the paint is no longer tacky to the touch.
- 8
Apply a second coat of metallic paint if you desire a more opaque or intense metallic finish. This is especially helpful if your first coat was a bit thin or if you want to deepen the color saturation. Again, allow this second coat to dry thoroughly.
- 9
Once the paint is completely dry, it's time to apply the clear acrylic sealant. This crucial step protects the delicate paint and glitter, prevents chipping, and adds a subtle sheen that enhances the metallic effect. Apply a thin, even coat, ensuring you cover all painted areas.
- 10
Allow the sealant to dry completely according to the product's instructions before handling or packaging. This can take anywhere from 30 minutes to a few hours, depending on the type of sealant and environmental conditions. Proper drying ensures durability and prevents the finish from being smudged or damaged.
- 11
Prepare additional pinecones by repeating steps 3-9, experimenting with different metallic color combinations or highlighting techniques. Varying the colors and the extent of the gilding will create a more dynamic and visually appealing collection of forest decor.
- 12
If you notice any stray paint drips or areas that didn't quite turn out as planned after the paint has dried but before sealing, you can carefully use a small craft knife or the edge of your brush to gently scrape away the excess. Be delicate to avoid damaging the pinecone itself.
- 13
For a truly magical 'frosted' or 'snow-kissed' effect, consider using a dry-brushing technique with white or silver paint. Lightly load your brush with a small amount of paint, wipe off most of it on a paper towel, and then gently flick or brush the tips of the pinecone scales. This creates a subtle, ethereal look.
- 14
Once the sealant is fully cured, inspect each pinecone for any areas that might need a touch-up or an extra light spray of sealant. This final check ensures a professional and durable finish for your beautiful gilded creations.
Tips & Troubleshooting
- 1For a more professional and intricate finish, use a small, stiff-bristled brush to meticulously get into all the nooks and crannies of the pinecone scales. This allows for precise application and prevents paint from pooling in the deeper crevices, ensuring a clean, gilded edge.
- 2Don't be afraid to experiment with different color combinations and layering techniques. Layering a darker metallic base coat with a lighter metallic dry-brushed over the top can create a beautiful, multi-dimensional effect that mimics natural depth and shimmer.
- 3If you plan to sell these gilded pinecone creations at craft fairs or online, consider attaching a small, attractive tag with care instructions. Include details such as 'Keep dry,' 'For decorative purposes only,' and perhaps a brief note about the materials used to add value and inform potential buyers.
- 4To create a delicate 'frosted' or 'snow-kissed' look, use white, pale blue, or silver paint sparingly. Load a dry brush with a tiny amount of paint, wipe off the excess, and then lightly flick or brush the tips of the pinecone scales. This technique adds a subtle, ethereal touch without overwhelming the metallic base.
- 5Ensure pinecones are thoroughly dry before painting to prevent any potential issues with mold or mildew developing later on. Even a small amount of moisture trapped within the scales can cause problems over time, compromising the integrity of your craft.
- 6Consider using a small container or tray to hold the pinecone while you paint it, especially if you're painting the entire surface. This allows you to rotate the pinecone easily and reach all angles without getting paint on your hands or your work surface.
- 7For a truly unique finish, try mixing a small amount of fine glitter directly into your metallic paint before applying it. This integrates the sparkle seamlessly into the paint itself, offering a subtle, all-over shimmer rather than just surface glitter.
- 8If you're working with very delicate or brittle pinecones, handle them with extra care. You might opt for a brush-on sealant instead of spray to have more control over the application and avoid potentially blowing delicate scales off with the spray.
Related Activities You Might Enjoy
Frequently Asked Questions
How do I properly prepare pinecones for crafting to ensure they are clean and safe?
Ensuring pinecones are clean and completely dry is the first crucial step for any craft project. Begin by brushing off any loose dirt, debris, or cobwebs with a stiff brush. For an extra layer of cleanliness and to eliminate any potential insect inhabitants, you can bake the pinecones. Place them on a baking sheet lined with parchment paper and bake in a preheated oven at a low temperature, around 200°F (93°C), for about 30 to 60 minutes. Keep an eye on them to prevent scorching. This process kills any hidden insects and ensures they are thoroughly dry, preventing mold or mildew issues in your finished decor.
What type of paint is best suited for decorating pinecones, and what about sealing them?
Acrylic paints, especially metallic acrylics, are an excellent choice for decorating pinecones. They adhere well to the rough, textured surface of pinecones and offer a wide range of vibrant colors, including popular metallic shades like gold, silver, and copper. For durability and to protect your painted finish from chipping or fading, applying a clear acrylic sealant is highly recommended. You can choose between a spray sealant for quick, even coverage or a brush-on sealant for more controlled application. A matte or satin finish often looks more natural and sophisticated than a high gloss.
Are gilded pinecone crafts a good item to sell at craft fairs or online marketplaces?
Absolutely! Pinecone crafts, particularly those with an elegant gilded finish, are very popular at craft fairs and online marketplaces. Their natural appeal, combined with the ability to customize them with various metallic colors and embellishments, makes them attractive to a wide range of buyers looking for unique home decor or seasonal items. To maximize their selling potential, ensure your items are well-finished, neatly presented, and perhaps offer a variety of sizes and color options. Attractive packaging can also significantly enhance their perceived value.
How can I make my gilded pinecone crafts look more expensive and professional?
To elevate the look of your gilded pinecone crafts and make them appear more expensive, focus on quality materials and meticulous application. Using high-quality metallic paints in rich shades like deep gold, antique bronze, or shimmering silver can make a difference. Applying the paint with precision, focusing on the tips and edges of the scales for a subtle shimmer, rather than a heavy, opaque coat, often looks more sophisticated. Adding a touch of fine glitter or subtle embellishments like faux moss or tiny berries can also enhance their appeal. Finally, a good quality clear acrylic sealant applied evenly will add a professional sheen and protect your work.
What are some creative ways to use gilded pinecones in home decor or for events?
Gilded pinecones are incredibly versatile decorative elements. For home decor, they can be displayed in clear glass bowls or vases, scattered artfully across a mantelpiece, incorporated into wreaths, or used as part of a festive centerpiece. For events like weddings or holiday parties, they make beautiful table scatter, place card holders (by adding a small slit), or can be hung as delicate ornaments. You can also group them with other natural elements like acorns, dried leaves, or branches to create a cohesive woodland-themed display. Their shimmering finish adds a touch of magic to any setting.
Can I use spray paint for gilding pinecones, and what are the advantages/disadvantages?
Yes, spray paint can be an effective option for gilding pinecones, offering speed and broad coverage. The primary advantage is its efficiency; you can quickly coat multiple pinecones. However, spray paint can be trickier to control for detailed work, potentially leading to overspray or uneven application on the intricate scales. It's crucial to work in a well-ventilated area, wear a mask, and use light, even coats to avoid drips. For a more controlled, artisanal look, especially when highlighting specific scale tips, a small paintbrush with acrylic paint is often preferred. If using spray paint, consider applying it in a spray booth or a well-protected outdoor area.
What Next?
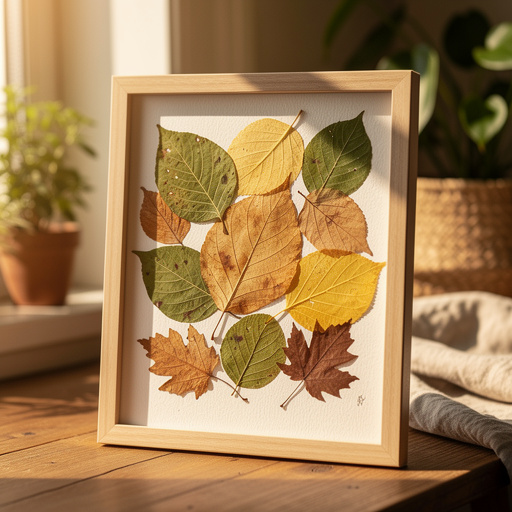
Once your gilded pinecones are complete, the possibilities for display are endless! Arrange them in bowls, scatter them on mantels, incorporate them into wreaths, or use them as festive table scatter. For a truly magical forest scene, consider adding faux moss, miniature trees, or even battery-operated fairy lights. Store them in a cool, dry place away from direct sunlight to preserve their beauty. This project is a fantastic starting point for exploring more nature-inspired crafts, such as painted acorns, dried leaf arrangements, or even DIY woodland creature figurines.
Free: 10 Paper Crafts Anyone Can Make in 5 Minutes
Get our beginner guide + new craft ideas weekly.
No spam. Unsubscribe anytime.
Did you complete this activity?
Related