Resin Paperweight with Found Objects: A Personalized Keepsake
Transform ordinary found objects into extraordinary art with this simple resin paperweight tutorial. Perfect for preserving memories or adding a touch of personality to your desk, this project is accessible to beginners and offers endless creative possibilities.

Quick answer
Create a personalized resin paperweight by embedding found objects like buttons, shells, or dried flowers in a silicone mold using 2-part epoxy resin. Follow careful mixing, pouring, and curing steps for a beautiful, durable keepsake.
What you need
Shop on Amazon · As an Amazon Associate we earn from qualifying purchases. Links above are affiliate links — we may earn a commission at no extra cost to you.
Discover the joy of transforming everyday treasures into a stunning, personalized paperweight with this engaging resin craft project. This DIY is perfect for anyone looking to preserve sentimental items, commemorate a special occasion, or simply add a unique artistic touch to their workspace. By embedding cherished found objects – be it a tiny seashell from a memorable beach trip, a vintage button from a beloved garment, or delicate dried flowers from a special bouquet – you create a truly one-of-a-kind piece that tells a story. It’s a fantastic way to upcycle and give new life to items that might otherwise be forgotten, making it an eco-conscious and deeply personal craft.
On this page
Step-by-Step Instructions
- 1
Prepare Your Workspace and Yourself: Before you begin, ensure you are working in a well-ventilated area, ideally with an open window or a fan. Put on your disposable gloves and protective eyewear to shield your skin and eyes from the resin. Lay down a protective covering, such as a plastic sheet or old newspaper, on your work surface to catch any accidental drips or spills.
- 2
Read Your Resin Kit Instructions: This is a crucial step that cannot be overlooked. Carefully read the entire instructions provided with your 2-part epoxy resin kit. Pay extremely close attention to the specific mixing ratios (usually by volume or weight), the recommended working time (pot life), and the estimated curing time. Understanding these details will prevent common mistakes and ensure a successful outcome.
- 3
Prepare Your Found Objects: Take your chosen small found objects and ensure they are thoroughly clean, completely dry, and free of any dust, oil, or debris. For porous items like dried flowers, you might need to seal them with a spray sealant or a thin layer of resin beforehand to prevent them from absorbing uncured resin and causing discoloration or air bubbles. Coins should be free of any grease or grime.
- 4
Measure Resin Components: Accurately measure equal amounts of Part A (resin) and Part B (hardener) of your epoxy resin kit into separate, clean mixing cups. Use the measuring lines on the cups or a digital scale if your kit specifies weight measurements. Precision is key here; even a slight deviation from the recommended ratio can affect the curing process and the final hardness of your paperweight.
- 5
Combine and Mix Resin: Carefully pour both measured parts of the resin into a single, clean mixing cup. Begin stirring the resin mixture gently but thoroughly with a stir stick. Scrape the sides and bottom of the cup frequently to ensure all components are incorporated. Continue stirring for the amount of time recommended in your kit's instructions, typically 3-5 minutes, until the mixture is completely clear and uniform, with no streaks or cloudy patches visible.
- 6
Allow Resin to Degas: After thoroughly mixing, let the resin mixture sit undisturbed in the mixing cup for a few minutes, as recommended by your kit (usually 2-5 minutes). This resting period allows larger air bubbles that were introduced during mixing to rise to the surface, making them easier to remove before pouring.
- 7
Remove Initial Bubbles: Gently use your heat gun on a low setting or a long-handled lighter to briefly wave over the surface of the mixed resin in the cup. This will pop many of the surface bubbles. Be careful not to overheat the resin, as this can cause it to cure prematurely or become cloudy. Repeat this process if you see many bubbles rising.
- 8
Prepare Your Mold: Ensure your silicone mold is clean, dry, and free of any dust or lint. You can lightly dust the inside of the mold with a tiny amount of cornstarch or talcum powder if you're concerned about sticking, though most silicone molds are designed for easy release. Place the mold on a perfectly level surface to ensure even curing.
- 9
Arrange Objects in Mold (First Layer): Carefully arrange your chosen found objects inside the silicone mold. For a paperweight with objects suspended throughout, you'll likely pour in layers. Start by placing a few objects at the bottom of the mold, ensuring they are positioned as you want them to appear in the final piece. Use tweezers for precise placement if needed.
- 10
Pour First Resin Layer: Carefully pour a thin layer of the degassed and bubble-popped resin into the bottom of the mold, just enough to cover the base and slightly submerge the first set of objects you've placed. This initial layer acts as an adhesive and helps to secure the objects in place, preventing them from floating to the top in later pours.
- 11
Submerge Objects and Release Bubbles: Gently press down on the objects with a clean stir stick to ensure they are fully submerged in the initial resin layer and to help release any trapped air bubbles clinging to their surfaces. You can also use your heat gun or lighter again to gently wave over this layer to pop any new bubbles that have formed.
- 12
Allow First Layer to Partially Cure: Let this first thin layer of resin cure until it is tacky but not fully hardened – this is often referred to as the 'gel' stage. This usually takes a few hours, depending on your resin kit. This tacky surface will help the next layer of resin and objects adhere better, preventing them from shifting.
- 13
Arrange More Objects: Once the first layer has reached the gel stage, carefully arrange your next set of found objects within the mold. Consider the visual appeal and how the objects will interact with each other in the final piece. Ensure they are positioned above the first layer of resin.
- 14
Pour Subsequent Resin Layers: Carefully pour more of your mixed resin over the newly placed objects, ensuring they are covered. Continue this process of arranging objects and pouring thin layers of resin, allowing each layer to reach the gel stage before adding the next. This layering technique is crucial for embedding objects throughout the paperweight and avoiding them all settling at the bottom.
- 15
Fill the Mold Completely: Continue adding resin layers and objects until the mold is filled to your desired level, ensuring all objects are completely submerged and the mold is filled to the brim or slightly below, depending on your preference for a flat or domed top. Avoid overfilling, as this can lead to messy overflow during curing.
- 16
Final Bubble Removal: Once the mold is filled, use your heat gun or lighter one last time to gently wave over the entire surface of the resin. This will help to pop any remaining surface bubbles and ensure a smooth, clear finish. Be thorough but quick to avoid overheating.
- 17
Cure the Resin: Carefully move the filled mold to a level, dust-free environment where it can remain undisturbed. Allow the resin to cure completely according to the time specified in your resin kit's instructions, which typically ranges from 24 to 72 hours. Resist the urge to touch or move the mold during this critical curing period.
- 18
Demold Your Paperweight: Once the resin is fully cured and hard to the touch, it's time for the exciting part! Carefully peel back the edges of the silicone mold to release your resin paperweight. If it feels slightly resistant, gently flex the mold to help loosen it. Be patient and work slowly to avoid damaging your newly created piece.
- 19
Finishing Touches (Optional): If there are any sharp edges or small imperfections on your paperweight, you can gently sand them down with fine-grit sandpaper (e.g., 400-600 grit) and then polish the surface with a plastic polish or a soft cloth to restore its shine. This step is optional but can elevate the professional look of your paperweight.
Tips & Troubleshooting
- 1Ventilation is paramount when working with resin. Ensure you are in a well-ventilated area to avoid inhaling fumes, which can be harmful. Open windows, use fans, or work outdoors if possible. Proper ventilation will also help prevent dust from settling into your uncured resin.
- 2Always wear gloves and eye protection. Epoxy resin can be sticky and difficult to remove from skin, and some individuals may experience allergic reactions. Safety glasses protect your eyes from accidental splashes or fumes.
- 3Accurate measuring is critical for successful resin curing. If your resin doesn't cure properly, it's often due to an incorrect mixing ratio. Double-check your measurements and stir thoroughly for the recommended time to ensure both parts are fully incorporated.
- 4To minimize bubbles, stir slowly and deliberately, scraping the sides and bottom of the mixing cup. Avoid whipping the mixture, as this incorporates more air. Using a heat gun or lighter briefly over the surface of the mixed resin and each poured layer will help pop any bubbles that do form.
- 5Consider the weight and buoyancy of your found objects. Heavier items like coins may sink, while lighter items like dried leaves might float. Layering and partially curing resin between object placements helps to suspend them evenly throughout the paperweight.
- 6If you want to add color to your paperweight, use resin dyes or mica powders specifically designed for epoxy resin. Add them to the mixed resin before pouring and stir until evenly distributed. Start with a small amount and add more to achieve your desired shade.
- 7For a perfectly flat surface, you can pour your final layer of resin slightly below the rim of the mold and then, after it has cured, sand and polish it to a smooth finish. Alternatively, for a domed effect, fill the mold slightly above the rim and let the resin naturally form a dome as it cures.
Related Activities You Might Enjoy
Frequently Asked Questions
What kind of found objects can I use in my resin paperweight?
The beauty of this project lies in its versatility! You can use a wide array of small, dry, and clean found objects. Think sentimental items like buttons from old clothes, small seashells or pebbles collected on a memorable trip, tiny charms, or even small pieces of jewelry. Natural elements like dried flowers, leaves, or small twigs also work wonderfully, but ensure they are completely dry and ideally sealed to prevent them from degrading or releasing moisture into the resin. Coins, small screws, or even tiny figurines can add a unique industrial or whimsical touch. The key is that the objects are small enough to fit within your mold and are completely dry and free of any oils or dirt that could interfere with the resin's curing process.
How do I prevent air bubbles from ruining my resin paperweight?
Air bubbles are the bane of resin crafters, but with a few techniques, you can significantly minimize them. First, ensure you stir your resin slowly and deliberately, scraping the sides and bottom of the mixing cup to avoid whipping air into the mixture. After mixing, let the resin sit for a few minutes to degas naturally. Use a heat gun or a long-handled lighter to gently wave over the surface of the mixed resin and each poured layer; the heat will cause bubbles to rise and pop. For objects, ensure they are completely dry, as trapped moisture can create bubbles. If an object has nooks and crannies, you can try pre-coating it with a thin layer of resin or using a toothpick to coax bubbles out from around it before it cures.
How long does it take for the resin to cure, and how do I know when it's ready?
The curing time for epoxy resin can vary significantly depending on the specific product, ambient temperature, and humidity. Most 2-part epoxy resin kits will specify a curing time, typically ranging from 24 to 72 hours for a full cure. You'll know your resin is fully cured when it is hard to the touch, no longer tacky, and has a solid, glassy finish. It should feel completely rigid and not yield to pressure. It's crucial to let it cure undisturbed in a level, dust-free environment for the entire recommended time. Attempting to demold too early can result in a soft, warped, or damaged paperweight.
Can I add color to my resin paperweight?
Absolutely! Adding color is a fantastic way to personalize your resin paperweight. You can use specialized resin dyes or mica powders, which are designed to be compatible with epoxy resin. Add the colorant to your mixed resin *before* pouring it into the mold. Start with a very small amount, as these colorants are often highly concentrated, and stir thoroughly until the color is evenly distributed and you achieve your desired shade. You can create opaque colors, translucent tints, or even shimmering effects with mica powders. Experiment with different colors or even swirl multiple colors together for a marbled effect.
What if my resin paperweight has sharp edges or imperfections after demolding?
It's common for resin pieces to have minor imperfections like small sharp edges or slightly uneven surfaces after demolding. Don't worry, these can usually be fixed! For sharp edges, you can gently sand them down using fine-grit sandpaper (start with around 400 grit and move to finer grits like 600 or 800). Always sand wet to keep dust down and prevent scratching. After sanding, you can restore the shine by polishing the area with a plastic polish or a soft cloth. If there are small surface imperfections like minor scratches or a slightly dull finish, a good polish can often bring back the clarity and gloss of the resin.
How should I care for and display my finished resin paperweight?
Your finished resin paperweight is quite durable, but a little care will ensure it stays beautiful for years to come. To clean it, simply wipe it down with a soft, damp cloth. Avoid using harsh chemicals, abrasive cleaners, or excessive water, as these can damage the resin's surface. It's best to avoid prolonged exposure to direct sunlight, as UV rays can cause resin to yellow over time. Display your paperweight on your desk, bookshelf, or any surface where it can be admired. It's a functional piece of art that adds a personal touch to any space.
What Next?
Congratulations on creating your unique resin paperweight! This project opens the door to countless variations; consider using different mold shapes, experimenting with resin tints, or even layering multiple objects for a more complex design. For future projects, explore embedding glitter, small photographs, or even tiny toys. Your finished paperweight is not only a functional desk accessory but a beautiful piece of art that can be proudly displayed. To keep it looking its best, avoid prolonged exposure to direct sunlight, which can cause yellowing over time, and clean it gently with a soft, damp cloth.
Free: 10 Paper Crafts Anyone Can Make in 5 Minutes
Get our beginner guide + new craft ideas weekly.
No spam. Unsubscribe anytime.
Did you complete this activity?
Related
You might also like
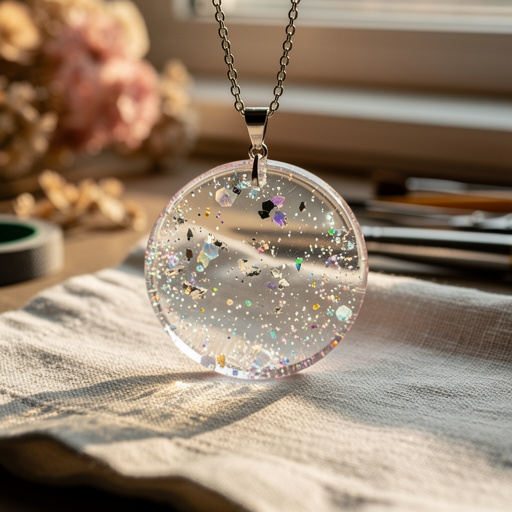
Floating Glitter Resin Pendants
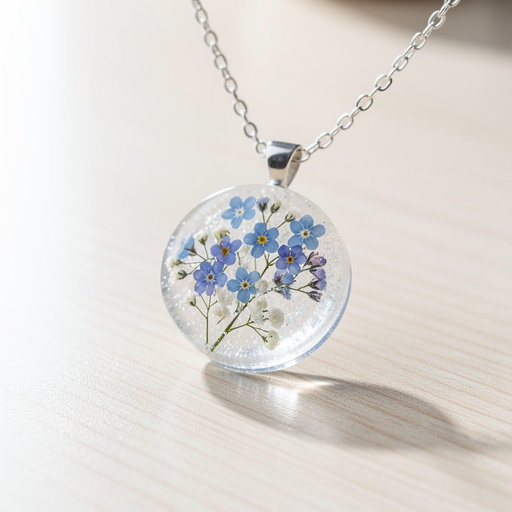
Layered Botanical Resin Pendant
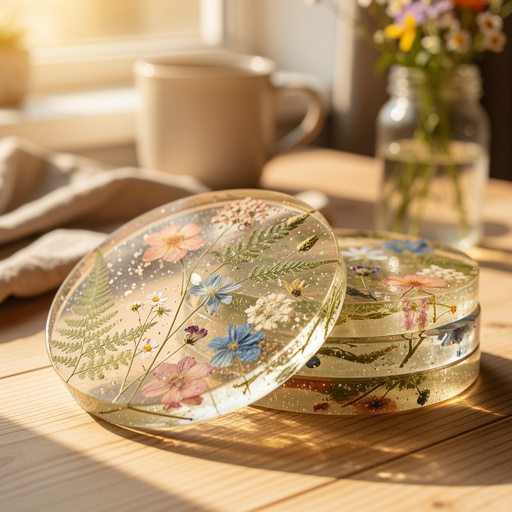
Pressed Flower Resin Coasters
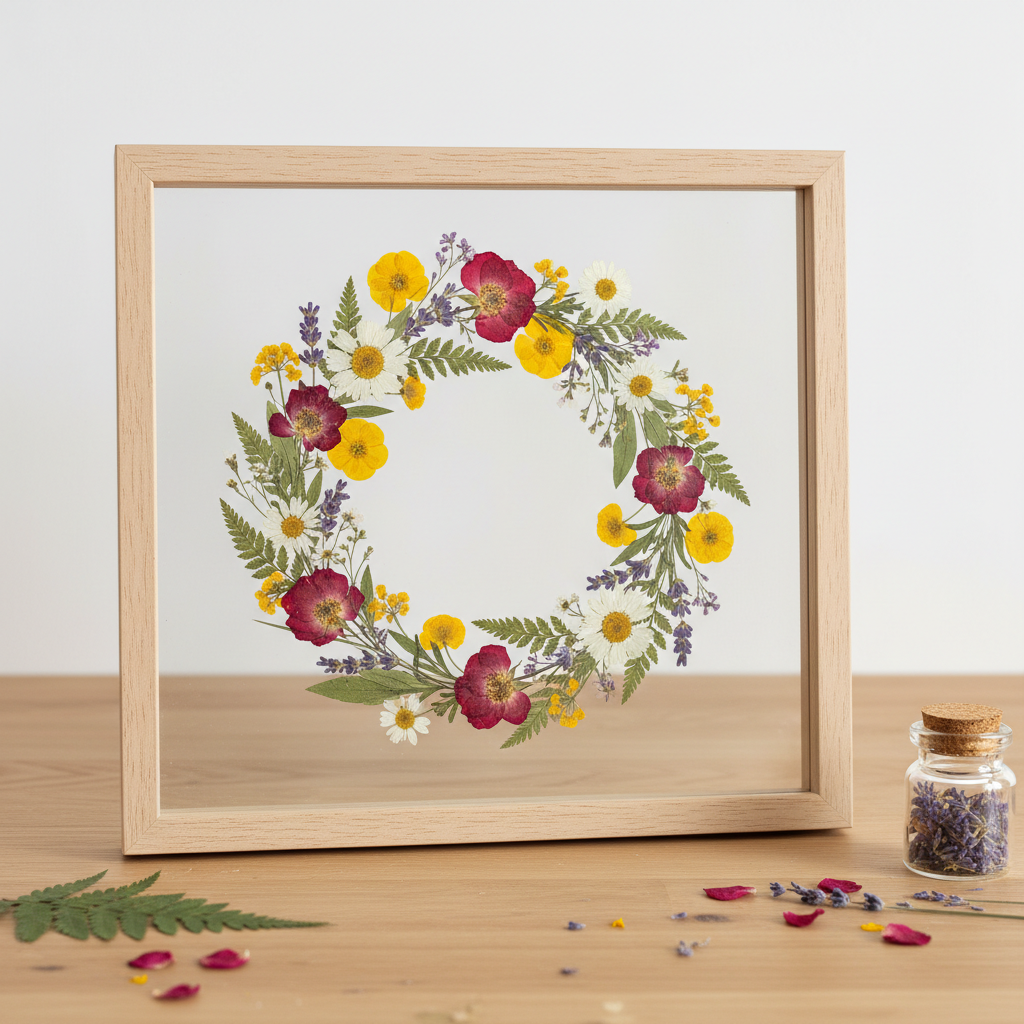
Pressed Flower Resin Coasters

Shrink Plastic Pet Portraits