How to Make Seed Starter Soil — Easy Step-by-Step Guide
Create the perfect environment for your seeds to sprout with this easy DIY seed starter soil recipe. Get your little ones excited about gardening!

Quick answer
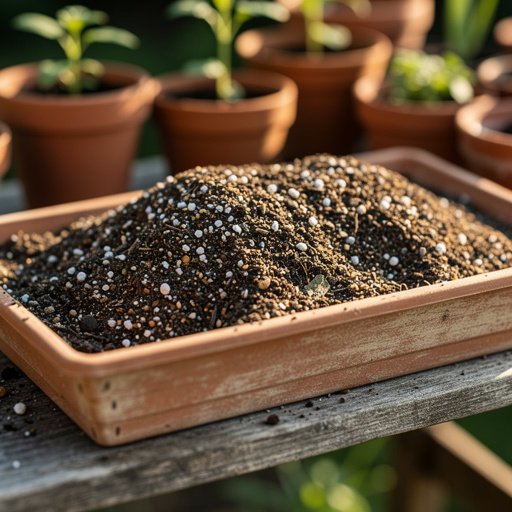
To make seed starter soil, you need peat moss, vermiculite, and compost, taking about 15 minutes. Start by thoroughly mixing the ingredients. This beginner-friendly activity has 7 steps and is perfect for families with children aged 6+.
What you need
Shop on Amazon · As an Amazon Associate we earn from qualifying purchases. Links above are affiliate links — we may earn a commission at no extra cost to you.
Embarking on the journey of growing your own plants from seed is incredibly rewarding, and the foundation for success lies in the soil. This DIY seed starter mix is designed to be light, airy, and perfectly balanced, providing an optimal environment for those precious first sprouts. It’s a fantastic, cost-effective project that’s also a wonderful educational activity for children, teaching them about plant life cycles and the importance of good soil. Get ready to give your seedlings the best possible start!
On this page
Step-by-Step Instructions
- 1
Gather all your ingredients and tools in a spacious, well-ventilated area, such as outdoors or in a garage. Having everything readily accessible will make the mixing process smooth and efficient, preventing last-minute scrambles and ensuring a consistent blend.
- 2
Add the 4 cups of peat moss to your large mixing bin or wheelbarrow. Peat moss forms the base of your mix, providing excellent moisture retention and aeration, crucial for preventing seeds from drying out too quickly.
- 3
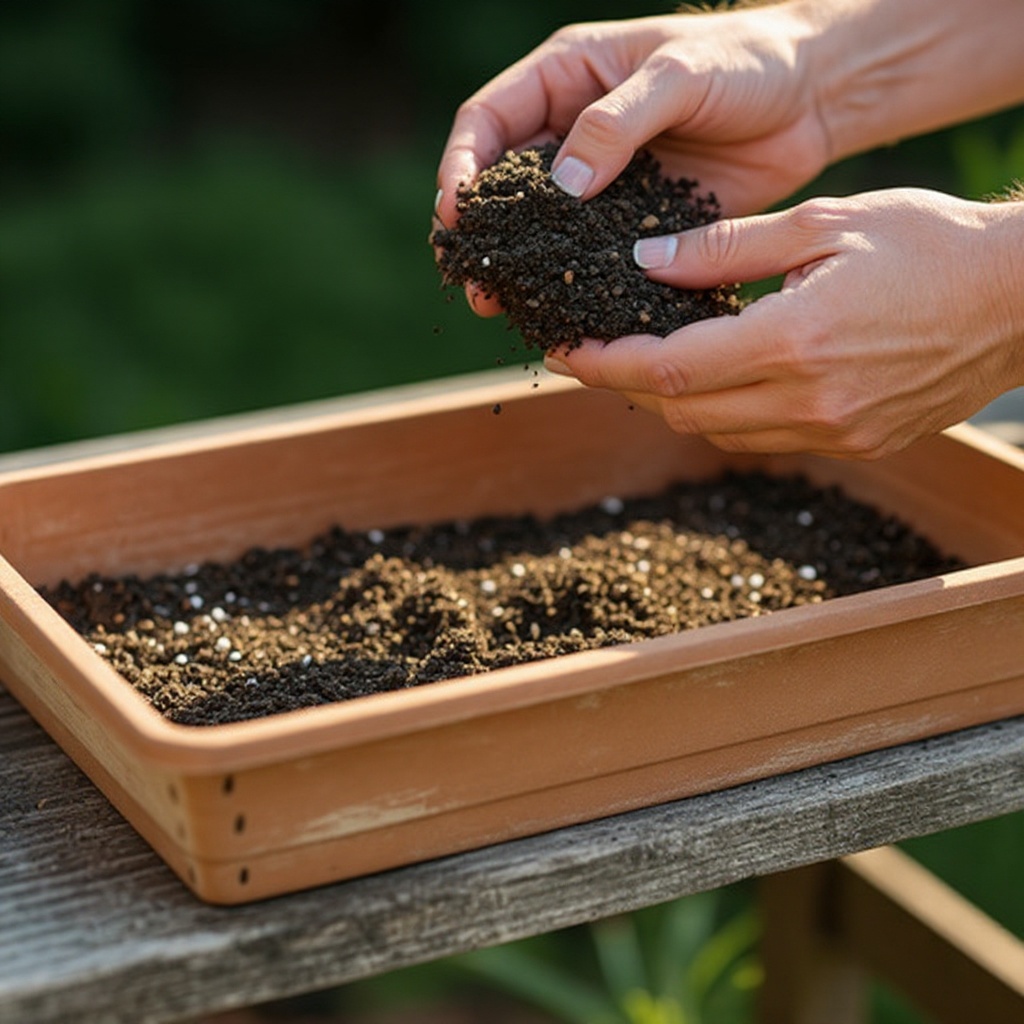
Gently break up any large clumps of peat moss with your hands or a trowel. This ensures an even distribution of moisture and nutrients throughout the final mix, preventing pockets of dryness or sogginess that can hinder germination.
- 4
Add the 2 cups of vermiculite to the bin. Vermiculite is a natural mineral that expands when heated, creating a lightweight, airy structure that promotes root growth and retains moisture effectively, acting like tiny sponges within the soil.
- 5
Carefully incorporate the 2 cups of well-rotted compost into the bin. Ensure your compost is fully decomposed and free from any recognizable food scraps or large twigs, as these can harbor pests or diseases and may contain too many nutrients for delicate seedlings.
- 6
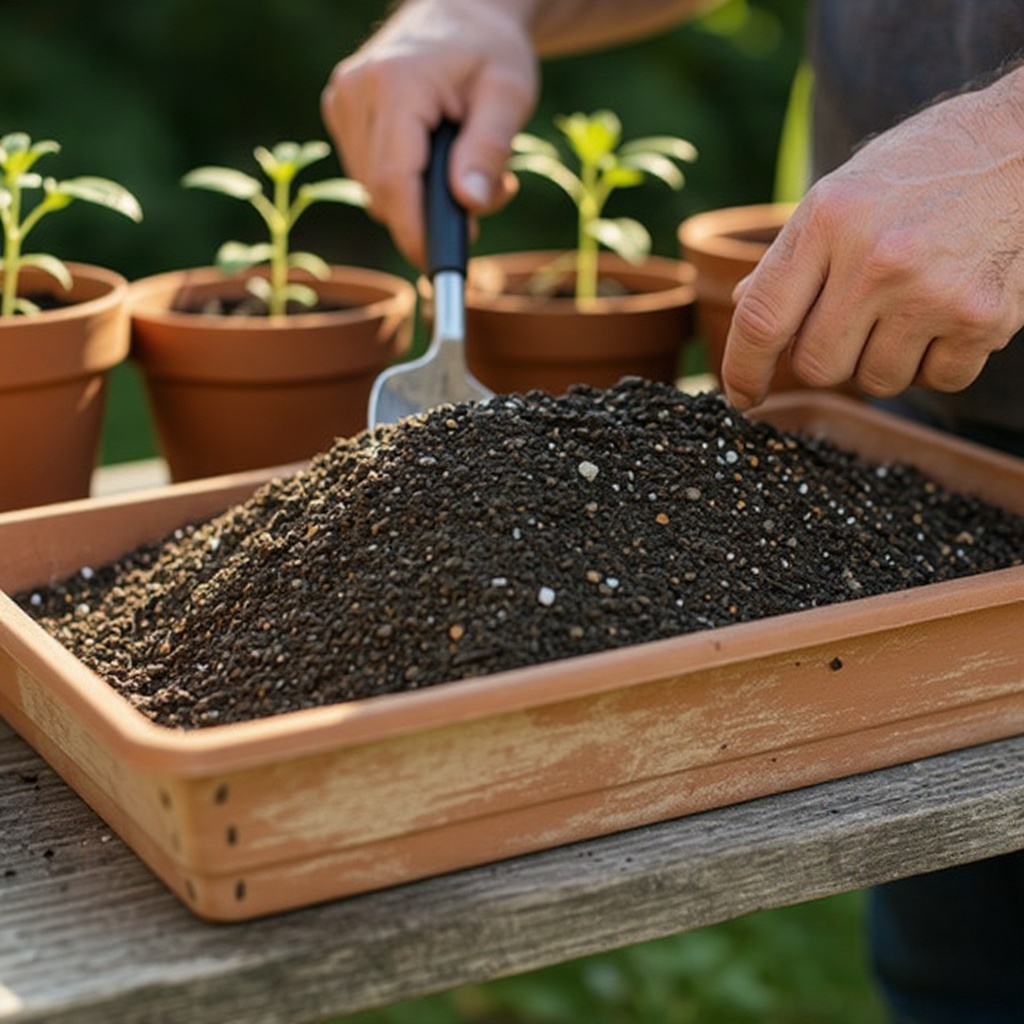
Begin the initial dry mixing process by using a trowel, your hands, or a sturdy mixing tool to thoroughly combine all the ingredients. Mix until the peat moss, vermiculite, and compost are evenly distributed and the color of the mixture is uniform, indicating a homogenous blend.
- 7
Continue mixing, ensuring there are no pockets of unmixed ingredients or areas where one component is significantly more concentrated than another. A well-mixed soil will provide consistent conditions for all your seeds, leading to more uniform germination and growth.
- 8
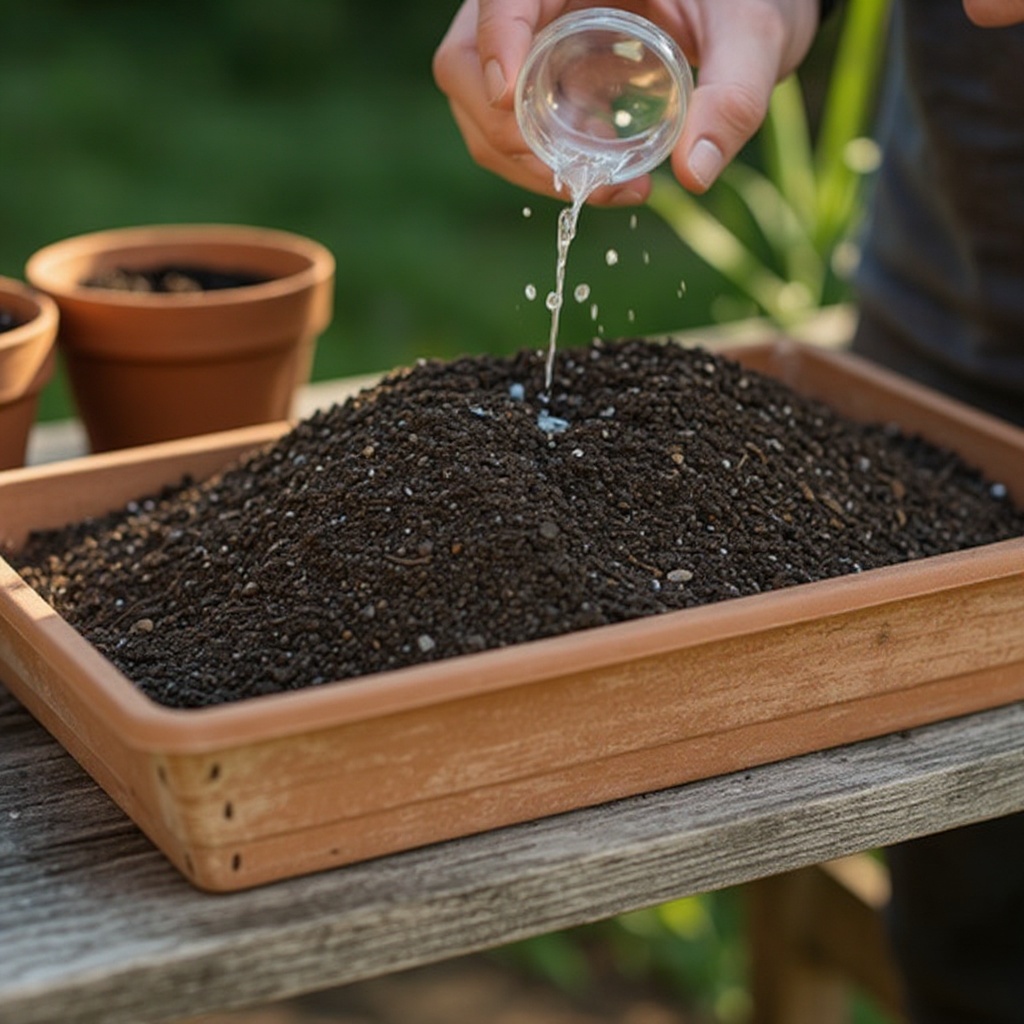
Once the dry ingredients are thoroughly combined, it's time to add moisture. Lightly moisten the mixture by gradually adding a small amount of water from a watering can or spray bottle while continuing to mix gently.
- 9
Mix the water in thoroughly, aiming for a consistency that is damp to the touch, similar to a wrung-out sponge. It should hold its shape slightly when squeezed but not drip water, signifying the perfect moisture balance for seed germination.
- 10
Avoid overwatering, as a soggy mix can lead to root rot and fungal diseases, which are detrimental to delicate seedlings. If it becomes too wet, you can add a little more dry peat moss or vermiculite to absorb excess moisture and improve aeration.
- 11
Test the moisture level by squeezing a handful. If it clumps together and a few drops of water escape, it's perfect. If it crumbles apart easily and feels dry, it needs a bit more water; if water drips freely, it's too wet.
- 12
Your DIY seed starter soil is now ready to be used for planting your seeds! Fill your seed starting trays or pots with this light and airy mixture, providing the ideal environment for germination and early root development.
- 13
Gently firm the soil into your seed starting containers, leaving about a quarter-inch of space at the top. This ensures good contact between the seed and the soil, promoting consistent moisture uptake and preventing seeds from being dislodged.
- 14
Water the filled trays lightly after sowing your seeds to settle the soil and ensure good seed-to-soil contact. This initial watering is crucial for initiating the germination process and establishing a stable environment for the seed.
- 15
Label your seed trays clearly with the plant name and sowing date. This will help you keep track of your different varieties and their progress throughout the growing season, preventing mix-ups and aiding in future planning.
- 16
Place your seed trays in a warm location with appropriate light conditions for the specific seeds you are planting. Some seeds require darkness to germinate, while others need light, so research your specific plant's needs for optimal sprouting.
Tips & Troubleshooting
- 1If your peat moss is very dry, it might be dusty. You can lightly mist it with water before adding other ingredients to help control dust and make it easier to handle. This also helps it absorb moisture more readily when you add water later, ensuring a more even hydration of the entire mix.
- 2Ensure your compost is fully composted and free of weed seeds. This will prevent unwanted plants from growing in your seed trays and competing with your seedlings for resources. Look for compost that is dark, crumbly, and has an earthy smell, indicating it's ready for use.
- 3For a finer texture, you can sift the compost before mixing it in. This removes any larger particles, creating a more uniform and delicate mix that is ideal for very small seeds that might struggle to emerge from coarser soil.
- 4Store any unused seed starter soil in a sealed container or bag in a cool, dry place. This prevents moisture from entering, which can lead to mold or mildew growth, and keeps the mix fresh for future use, maintaining its quality and preventing contamination.
- 5Consider wearing gloves when working with peat moss, as it can be a bit messy and some people find it irritating to their skin. This also helps keep your hands clean during the process and makes cleanup easier after you're done mixing.
- 6If you have sensitive allergies, consider wearing a mask while mixing, especially if your peat moss is particularly dry and dusty. This will help prevent inhalation of fine particles and ensure a more comfortable experience during the preparation of your seed starting mix.
- 7You can adjust the ratios slightly based on your needs. For example, if you live in a very hot and dry climate, you might want to increase the peat moss slightly for better moisture retention, or add a bit more vermiculite if drainage is a concern in your region.
- 8This DIY mix is excellent for most common vegetable and flower seeds. However, some specialized seeds, like those requiring specific pH levels or sterile conditions, might benefit from commercially prepared seed starting mixes. Always research the specific needs of your chosen seeds.
Related Activities You Might Enjoy
Frequently Asked Questions
What is the best soil for starting seeds?
The best seed starter soil is light, airy, and sterile, providing good drainage and moisture retention. It should be free of large particles, weed seeds, and pathogens that can harm delicate seedlings. Our DIY mix uses peat moss for moisture retention and aeration, vermiculite for lightness and drainage, and compost for a gentle nutrient boost. This combination creates an ideal environment for germination, allowing roots to establish easily without being waterlogged or compacted. A sterile mix is crucial to prevent damping-off disease, a common fungal issue that affects young seedlings, ensuring a higher success rate for your plantings.
Can I use regular potting soil for seed starting?
While you can technically start seeds in regular potting soil, it's not ideal for optimal germination and seedling health. Potting soil can be too dense, hindering root development and making it difficult for fragile seedlings to push through. Furthermore, it often contains a higher concentration of nutrients than young seedlings can tolerate, potentially 'burning' their delicate roots. Seed starter mixes are formulated to be lighter and less nutrient-rich, providing a gentler environment specifically designed for the critical germination phase before transplanting into richer soil.
How long does homemade seed starter soil last?
Homemade seed starter soil can last for a year or more if stored properly in a sealed container in a cool, dry place. Ensure it stays free from moisture to prevent mold or mildew, which can compromise its quality and introduce unwanted fungi. Keeping it sealed also prevents it from drying out or becoming contaminated by pests or airborne spores. Regularly check the stored mix for any signs of spoilage before using it for your next planting season to ensure the health of your seedlings.
Why is vermiculite important in seed starter soil?
Vermiculite is crucial because it helps retain moisture and nutrients while also aerating the soil. This creates a balanced environment for seeds to germinate and young roots to grow strong. Its unique layered structure allows it to absorb and release water and nutrients as needed, preventing the soil from becoming too dry or too waterlogged. Vermiculite's lightweight nature also contributes to the overall looseness of the seed starting mix, which is essential for easy root penetration and healthy plant development, making it a vital component.
Can I substitute any of the ingredients in this DIY seed starter mix?
Yes, you can make some substitutions, but it's important to understand the role of each ingredient. For peat moss, coconut coir is a popular and sustainable alternative that offers similar moisture-retaining properties. If you can't find vermiculite, perlite can be used for aeration and drainage, though it retains less moisture. For compost, well-rotted leaf mold or a small amount of sterile, balanced organic fertilizer can be used, but ensure it's not too potent for seedlings. Always aim for a light, airy, and well-draining mix that mimics the properties of the original recipe.
How do I know if my seed starter soil is too wet or too dry?
You can easily test the moisture level by taking a handful of the mix and squeezing it. If it holds its shape and only a few drops of water escape, it's perfectly moist – like a wrung-out sponge. If it crumbles apart easily and feels dry, it needs more water. If water drips freely from your hand when squeezed, it's too wet and needs to be aerated or have some dry ingredients added. Consistent, appropriate moisture is key for successful germination and preventing issues like damping-off.
What are the benefits of making your own seed starter soil?
Making your own seed starter soil offers several advantages, including cost savings compared to purchasing pre-made mixes, and the ability to control the ingredients for a customized blend. It's also a fantastic way to teach children about gardening and where their food comes from, fostering a connection with nature. Furthermore, you can ensure the mix is free from synthetic fertilizers or pesticides, making it a more natural and potentially healthier option for your seedlings. This DIY approach empowers you to create the perfect environment for your seeds to thrive.
What Next?
With your custom-made seed starter soil ready, you're well on your way to a flourishing garden. Consider experimenting with different ratios for future batches based on your climate and the specific needs of your plants. For next steps, explore creating your own seed bombs or building a simple seed starting station. Store any leftover mix in airtight containers in a cool, dry place, ensuring it remains fresh and ready for your next planting adventure. Happy growing!
Free: 10 Paper Crafts Anyone Can Make in 5 Minutes
Get our beginner guide + new craft ideas weekly.
No spam. Unsubscribe anytime.
Did you complete this activity?
Related
You might also like
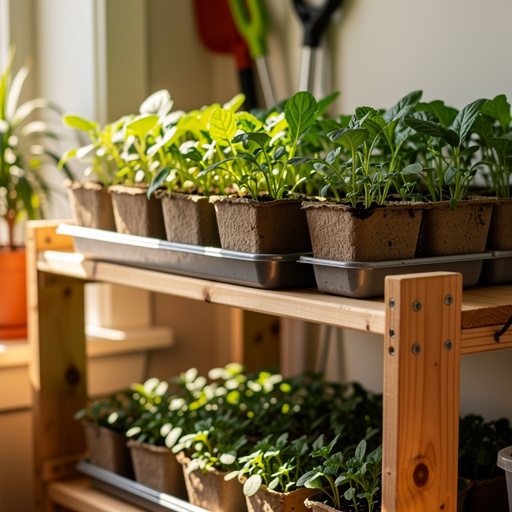
Indoor Seedling Station Setup
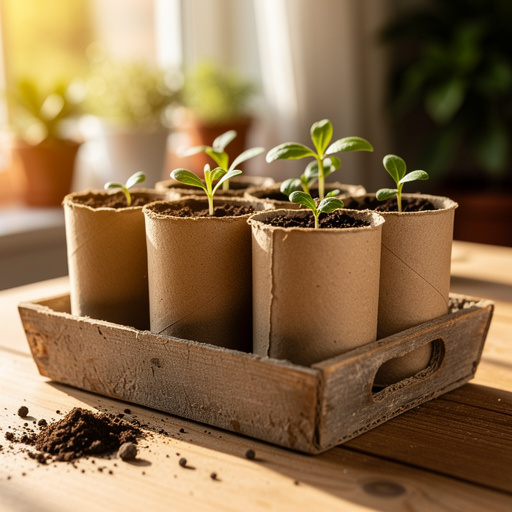
Cardboard Tube Seed Starters
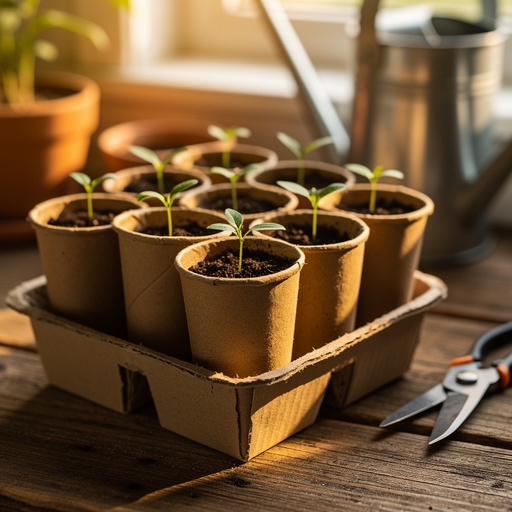
Cardboard Tube Seedling Starters
Mason Jar Seed Feeder
Pinecone Peanut Butter Feeder