How to Create Playdough Nature Sculptures — Easy Step-by-Step Guide
Spark creativity with playdough nature sculptures! This simple activity encourages fine motor skills and imaginative play for preschoolers. Learn how to make your own playdough and gather natural treasures for a fun, educational craft project.
Quick answer
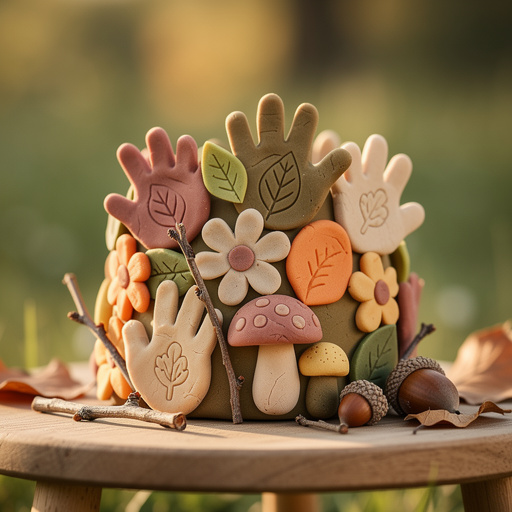
To make playdough nature sculptures, you need homemade or store-bought playdough and natural items like leaves and twigs, taking about 30 minutes. Start by gathering your natural treasures. This beginner-friendly activity has 10 steps and is perfect for preschoolers aged 3-6.
What you need
Shop on Amazon · As an Amazon Associate we earn from qualifying purchases. Links above are affiliate links — we may earn a commission at no extra cost to you.
Embark on a delightful journey of creativity and nature exploration with our Playdough Nature Sculptures project! This engaging activity seamlessly blends the tactile joy of playdough with the organic beauty of the natural world, offering a screen-free adventure for young minds. It's a fantastic way to foster fine motor skills, encourage imaginative thinking, and connect children with the wonders of their surroundings. Perfect for preschoolers and early elementary-aged children, this project is designed to be accessible, fun, and rewarding for everyone involved.
On this page
Step-by-Step Instructions
- 1
In a large mixing bowl, combine the dry ingredients: 2 cups of all-purpose flour, 1 cup of salt, and 2 tablespoons of cream of tartar. Whisk these together thoroughly to ensure the salt and cream of tartar are evenly distributed throughout the flour, which helps create a smooth and long-lasting playdough.
- 2
Add 2 tablespoons of vegetable oil to the dry ingredients. The oil is crucial for making the playdough soft and pliable, preventing it from becoming too stiff or crumbly.
- 3
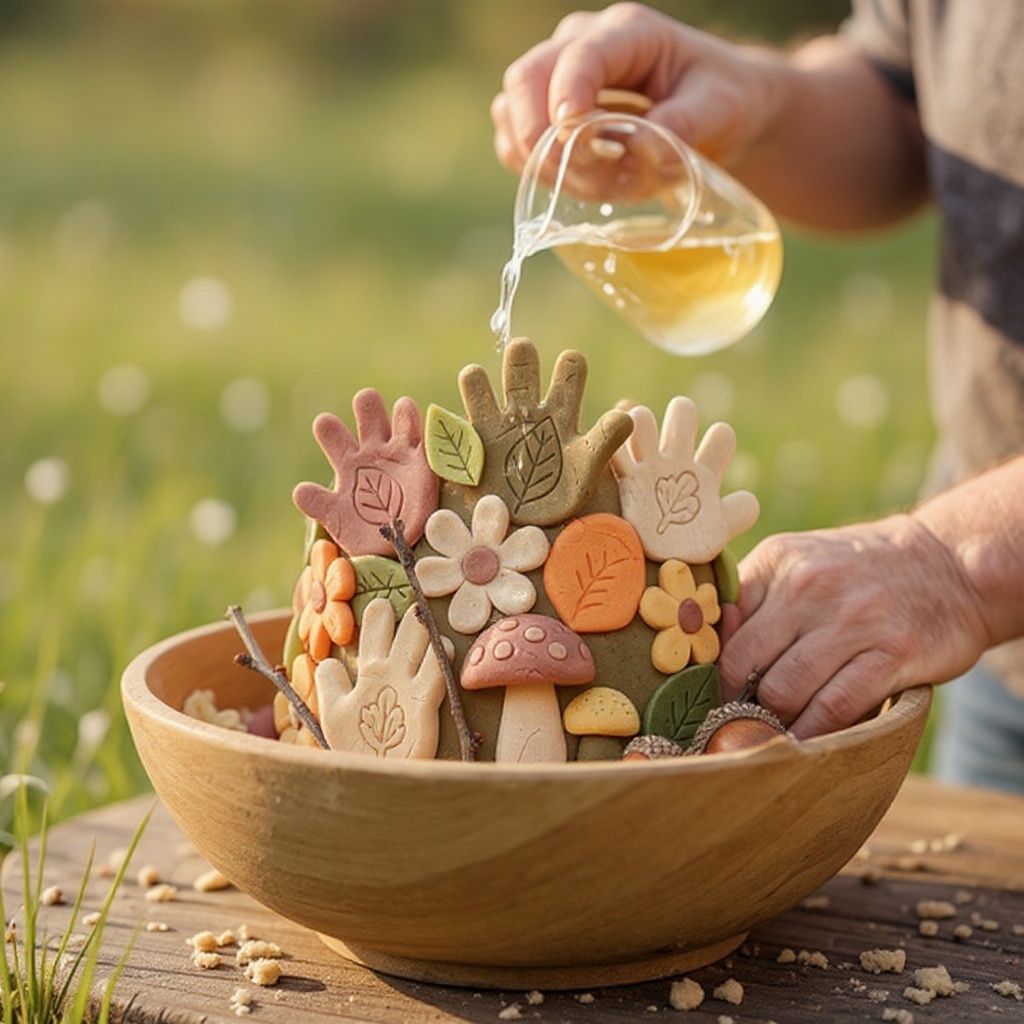
Gradually pour in 1.5 cups of water while stirring continuously with a sturdy spoon or spatula. Continue to mix until a shaggy dough begins to form, incorporating all the dry ingredients into a cohesive mass.
- 4
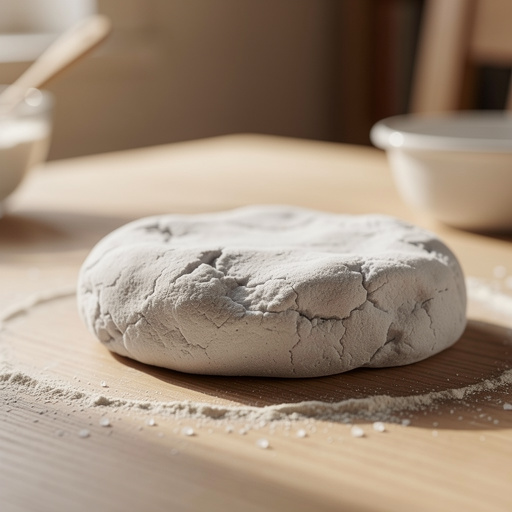
Turn the dough out onto a lightly floured surface. Begin to knead the dough with your hands for 5-7 minutes, pushing, folding, and stretching it until it becomes smooth, elastic, and no longer sticky. This kneading process develops the gluten in the flour, giving the playdough its characteristic texture.
- 5
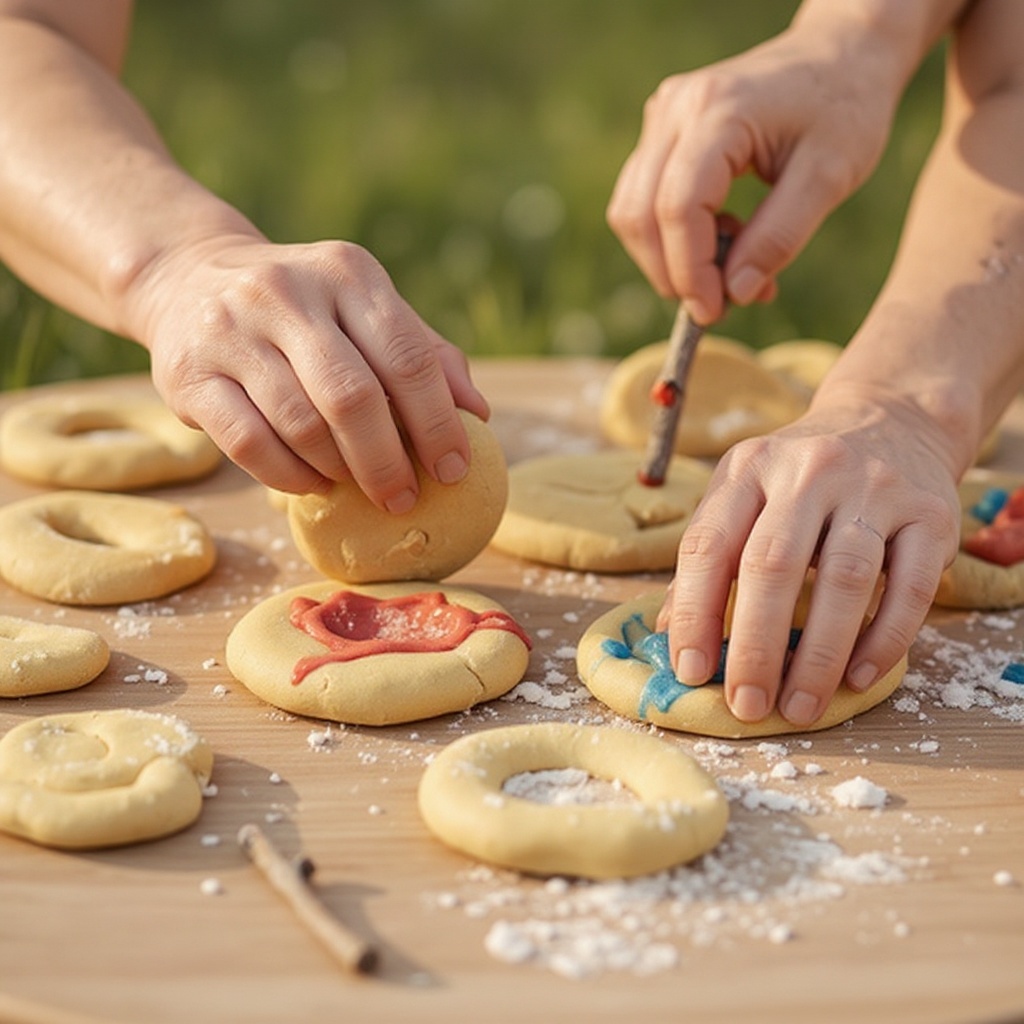
If you desire colored playdough, now is the time to add it. Divide the kneaded dough into as many portions as you have colors. Make a small well in the center of each portion and add a few drops of food coloring. Knead each portion thoroughly until the color is evenly distributed and vibrant, being careful not to overwork the dough.
- 6
While the playdough is being prepared or after it's made, it's time to gather your natural treasures. Take a walk outdoors with your child and collect a variety of clean, dry natural items. Look for interesting textures, shapes, and colors in leaves, small twigs, smooth pebbles, fallen flower petals, and seeds.
- 7
Ensure all collected natural items are free from dirt, excessive moisture, or sharp edges. Gently brush off any loose soil and allow them to air dry completely if they feel damp. This step is important for both the longevity of the playdough and the safety of the activity.
- 8
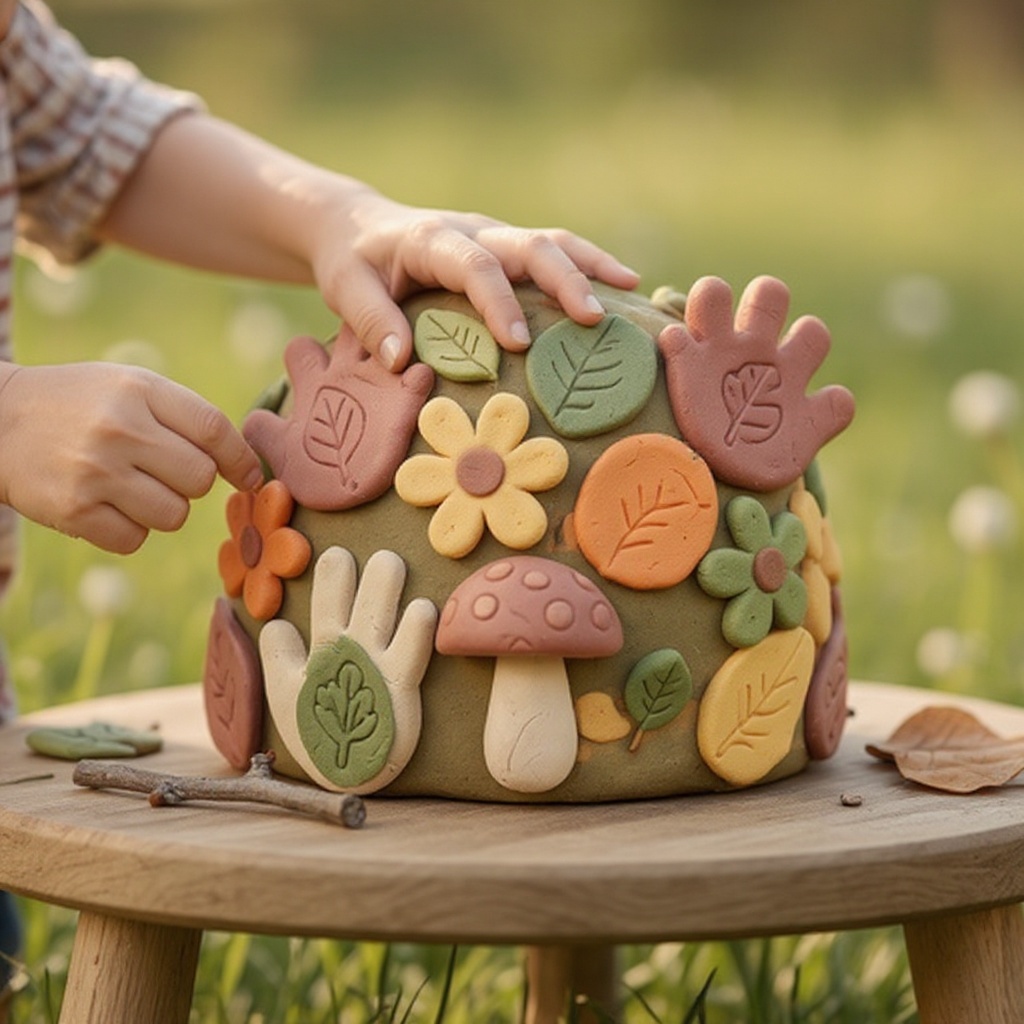
Once your playdough is ready and your natural items are gathered, invite your preschooler to begin their sculpture. Encourage them to take a portion of playdough and roll it between their hands to form a ball, or flatten it into a pancake shape on their placemat. This initial shaping helps develop their fine motor control.
- 9
Guide your child to press the collected natural items into the playdough base. They can create patterns by arranging leaves in a circle, add texture by embedding small pebbles, or make designs with seeds. Show them how to gently push the items in so they stick without falling out.
- 10
Encourage your child to think three-dimensionally. Suggest building upwards by rolling smaller pieces of playdough into logs or balls and stacking them to create height. As they build, help them embed more natural elements into these new sections of their sculpture.
- 11
Introduce the concept of layering and combining different natural elements. For instance, they could place a large leaf as a base, then add twigs to create branches, and finally dot it with flower petals for color.
- 12
If your child wants to create a specific shape, like an animal or a house, help them by demonstrating how to mold the playdough into basic forms before decorating with natural items. This can involve pinching, pulling, and smoothing the dough.
- 13
For added detail, show your child how to use the tips of twigs or their fingers to etch lines and patterns into the playdough before or after adding natural elements. This adds another layer of texture and visual interest.
- 14
Allow your child to experiment with different combinations of playdough colors and natural materials. There's no right or wrong way to create these sculptures; the focus is on exploration and self-expression.
- 15
Once the sculptures are complete, you can choose to let them air dry for 24-48 hours if you wish for them to harden slightly. This process can make them a bit more durable for display, though they will still be delicate.
- 16
Alternatively, and often preferred by young children, is to enjoy playing with the sculptures immediately. They can be gently handled, rearranged, and enjoyed as part of imaginative play before the playdough is eventually put away.
- 17
If you plan to store the playdough for future use, ensure it is kept in an airtight container. This will prevent it from drying out and becoming hard, allowing for many more creative sessions.
- 18
When the playdough has dried and become brittle, you can carefully remove the natural elements. These can then be cleaned and saved for other craft projects, making this a sustainable activity.
- 19
Supervise young children closely throughout the entire process. Ensure they do not ingest the playdough or any of the small natural items, as these can pose choking hazards. Remind them to keep the materials on their workspace.
Tips & Troubleshooting
- 1If your playdough feels too sticky during the kneading process, don't panic! Add a little more all-purpose flour, just a tablespoon at a time, and continue kneading until it reaches a smooth, non-sticky consistency. Be careful not to add too much flour, as this can make the dough dry and crumbly.
- 2Conversely, if your playdough seems too dry and is cracking as you knead it, add a tiny bit more water, just a teaspoon at a time, and continue kneading. The goal is a soft, pliable dough that holds its shape without being sticky.
- 3For playdough that lasts longer and remains soft for multiple play sessions, always store it in an airtight container. Keeping it in the refrigerator can further extend its shelf life, ensuring it's ready for spontaneous creative moments.
- 4To add an extra touch of magic and sparkle to your playdough, consider incorporating glitter into the dough when you add the food coloring. This creates a dazzling effect that children often adore, especially for fantasy-themed sculptures.
- 5Before pressing natural elements into the playdough, you can use cookie cutters to create interesting shapes like stars, hearts, or animals. This adds another dimension to the sculpture and provides a defined base for decorating.
- 6When gathering natural items, encourage your child to look for items with unique textures. For example, a rough piece of bark can create a contrasting texture against smooth pebbles, or delicate fern fronds can add intricate detail.
- 7If you're making playdough with multiple colors, consider creating a marbled effect by gently twisting two or more colors of playdough together before shaping. This can lead to beautiful, multi-toned bases for your sculptures.
- 8Always supervise young children closely during this activity. Ensure they understand that the playdough is for playing and sculpting, not for eating, and that small natural items should not be put in their mouths to prevent choking hazards.
Related Activities You Might Enjoy
Frequently Asked Questions
How do you make homemade playdough for preschoolers?
Making homemade playdough is incredibly simple and rewarding! In a large bowl, combine 2 cups of all-purpose flour, 1 cup of salt, and 2 tablespoons of cream of tartar. These dry ingredients form the base. Next, add 2 tablespoons of vegetable oil for softness and gradually pour in 1.5 cups of water while stirring until a dough forms. Turn the mixture out onto a lightly floured surface and knead for 5-7 minutes until it's smooth and elastic. If you wish, divide the dough and knead in a few drops of food coloring for vibrant colors. This process is safe, fun, and results in a wonderful tactile experience for young children.
What are the benefits of playdough activities for preschoolers?
Playdough activities offer a wealth of developmental benefits for preschoolers. The act of squeezing, rolling, and shaping playdough significantly boosts fine motor skills and strengthens hand muscles, which are essential for writing and other daily tasks. It also enhances hand-eye coordination as children manipulate the dough and place natural items. Furthermore, playdough encourages creativity and imaginative thinking as children invent their own worlds and characters. The sensory exploration involved in touching and molding the dough can be very calming and grounding, while problem-solving skills are developed as they figure out how to attach elements or build structures. It's a fantastic screen-free way to engage young minds.
Can playdough nature sculptures be preserved?
While playdough itself is a temporary medium that will eventually dry out and crumble, you can help preserve the natural elements incorporated into the sculptures. Once the playdough has completely air-dried and become brittle (which can take 24-48 hours or longer depending on humidity), you can carefully remove the leaves, twigs, and other natural items. These preserved natural elements can then be used for other craft projects, such as creating collages, pressing them into books, or even using them as decorative elements in other art forms. The playdough itself is best enjoyed fresh or stored for future play.
What natural items are safe for playdough activities?
When selecting natural items for playdough activities with young children, safety is paramount. Opt for clean, dry, and non-toxic materials. Excellent choices include smooth leaves of various shapes and sizes, small, clean twigs and branches, smooth pebbles and small stones (ensure they are not sharp), colorful flower petals (fresh or dried), and various seeds like sunflower or pumpkin seeds. Avoid anything that could be sharp, brittle, or easily break into small, sharp pieces. Always supervise children closely to prevent them from ingesting any items, as even seemingly safe natural materials can pose choking hazards for very young children.
How long does homemade playdough last?
Homemade playdough, when stored properly, can last for several weeks to a few months. The key to its longevity is airtight storage. After playing, ensure the playdough is completely dry and then place it in a sealed plastic container or a zip-top bag, squeezing out as much air as possible before sealing. Refrigerating the playdough can further extend its shelf life by slowing down any potential bacterial growth. If the playdough starts to feel a bit dry upon retrieval, you can often revive it by kneading in a few drops of water. If it develops an off smell or mold, it's time to discard it and make a fresh batch.
What is the role of cream of tartar in playdough?
Cream of tartar plays a crucial role in creating high-quality, long-lasting homemade playdough. It acts as an emulsifier and a stabilizer, helping to bind the ingredients together more effectively and creating a smoother, more elastic texture. Without cream of tartar, playdough can become crumbly and dry out much faster. It also contributes to a slightly glossy finish and helps the playdough retain its pliability for a longer period, making it ideal for repeated use and extended play sessions. It's a small ingredient that makes a big difference in the overall quality of your homemade playdough.
What Next?
Once your playdough nature sculptures are complete, you have a few options for enjoying your creations. You can admire them as they are, allowing the playdough to air dry for a slightly firmer texture, or you can carefully dismantle them and reuse the playdough and natural elements for future artistic endeavors. Consider displaying them on a shelf or windowsill as a testament to your child's creativity. For a future project, explore creating nature collages or pressing leaves and flowers to preserve their beauty. This activity is a wonderful springboard for further exploration of the natural world and the endless possibilities of art.
Free: 10 Paper Crafts Anyone Can Make in 5 Minutes
Get our beginner guide + new craft ideas weekly.
No spam. Unsubscribe anytime.
Did you complete this activity?
Related
You might also like
Playdough Sensory Story Stones
Salt Dough 'Dinosaur Fossil' Dig Excavation
Salt Dough Sculptures
Preschool Leaf Rubbing Art
Cornstarch Cloud Dough