How to Knit for Beginners: Easy Mug Hugger Guide
Discover the joy of knitting with this beginner-friendly tutorial for a charming mug hugger. A perfect screen-free family activity!
Quick answer
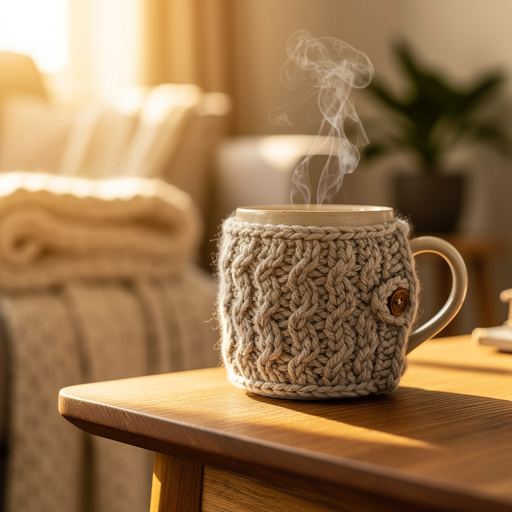
To knit a mug hugger, you need yarn, knitting needles, and scissors, taking about 30 minutes. Start by casting on stitches. This beginner-friendly activity has 10 steps and is perfect for families and new knitters.
What you need
Shop on Amazon · As an Amazon Associate we earn from qualifying purchases. Links above are affiliate links — we may earn a commission at no extra cost to you.
Embark on a delightful journey into the world of knitting with this incredibly simple and rewarding mug hugger project. Designed specifically for absolute beginners, this tutorial breaks down the process into manageable steps, making it accessible even if you've never held knitting needles before. Beyond just creating a cozy accessory for your favorite beverage, knitting offers a wonderful opportunity to disconnect from screens, engage your mind, and foster quality time with loved ones. Imagine the satisfaction of sipping your morning coffee or evening tea from a mug adorned with a handmade creation – it’s a small touch that brings immense warmth and personality to everyday moments.
On this page
Step-by-Step Instructions
- 1
Cast on 15 stitches onto your right needle. To do this, make a slip knot on your left needle, then hold both needles together. Wrap the yarn from the ball around the tip of the right needle, creating a loop. Pull this loop through the slip knot on the left needle, and slide the original slip knot off the left needle. Repeat this process, creating a total of 15 loops on your right needle, ensuring they are not too tight or too loose.
- 2
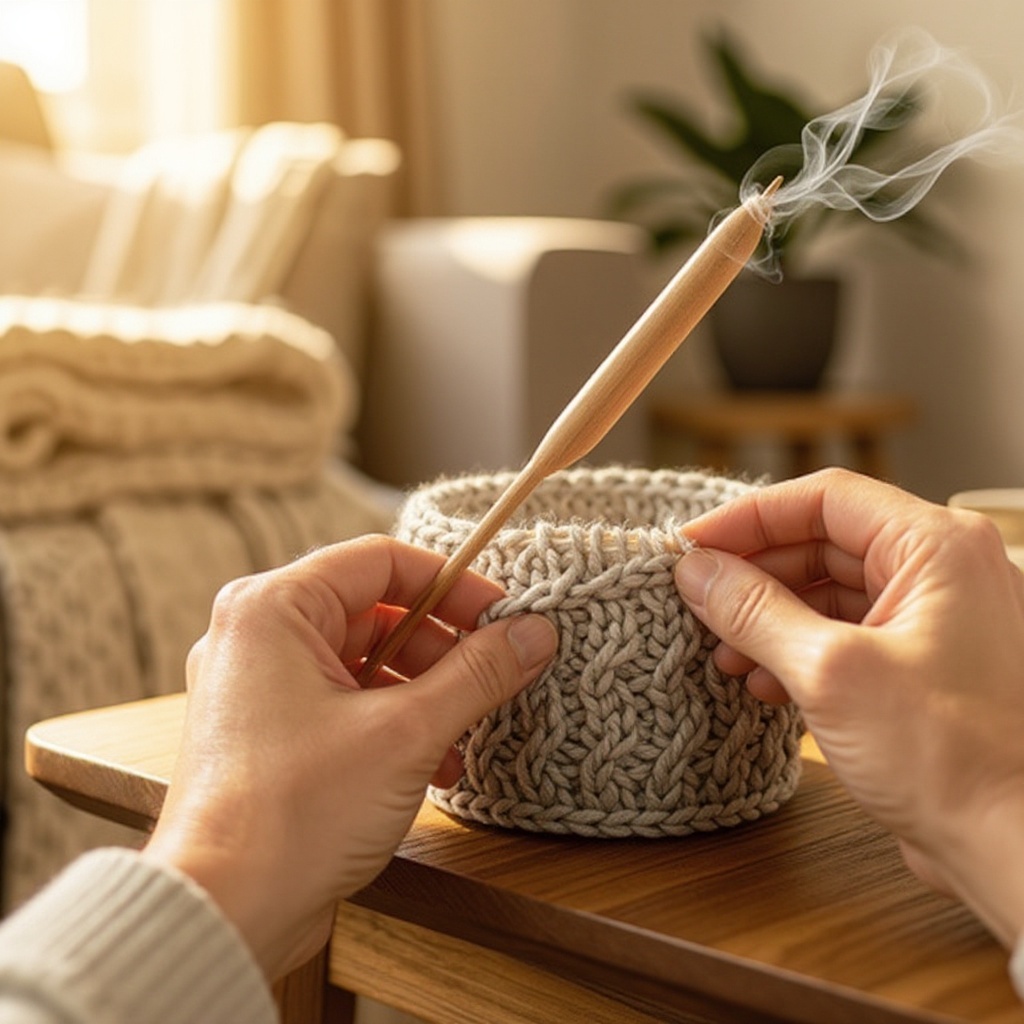
Knit the first row by inserting the tip of your right needle into the first stitch on the left needle, from front to back. Wrap the working yarn (the yarn attached to the ball) counter-clockwise around the tip of the right needle. Use the tip of the right needle to pull this wrapped yarn through the stitch on the left needle, creating a new loop on your right needle. Once the new loop is formed, slide the original stitch off the left needle. Repeat this entire process for all 15 stitches on the left needle.
- 3
Turn your work so the needle with the newly knitted stitches is now in your left hand, and the empty needle is in your right hand. This prepares you to knit the next row, ensuring your stitches are worked in the correct direction.
- 4
Knit the second row using the exact same technique as the first row. Insert the right needle into the first stitch on the left needle, wrap the yarn, pull a loop through, and slide the old stitch off the left needle. Continue this for all 15 stitches. This consistent action of knitting every row is what creates the Garter stitch.
- 5
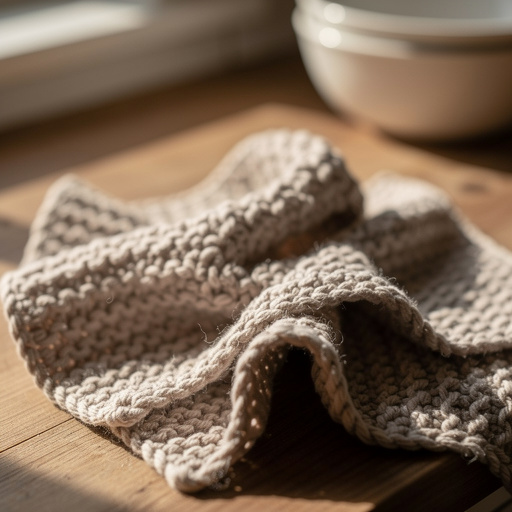
Continue knitting every row (this is called the Garter stitch) until your piece measures approximately 10 inches long. As you knit, you'll notice the fabric developing a slightly bumpy, reversible texture. Periodically hold your knitting up to a ruler or measuring tape to check its length, and don't be afraid to adjust your grip or yarn tension if it feels uncomfortable.
- 6
To bind off, knit the first two stitches of the row as you normally would. You will now have two stitches on your right needle.
- 7
Using your left needle, carefully lift the first stitch you knitted (the one furthest to the right on your right needle) up and over the second stitch, and then off the tip of the right needle. This secures the first stitch and reduces the number of stitches on your right needle to one.
- 8
Knit the next stitch on the left needle. You now have two stitches on your right needle again, ready for the next bind-off step.
- 9
Repeat the process of lifting the first stitch you knitted over the second stitch and off the needle until only one stitch remains on your right needle. This technique effectively closes off the row and prevents your knitting from unraveling.
- 10
Cut the yarn, leaving a tail of about 6 inches. This tail will be used to secure the final stitch. Pull this tail completely through the last loop remaining on your right needle and tug gently to secure it tightly. This prevents the final stitch from coming undone.
- 11
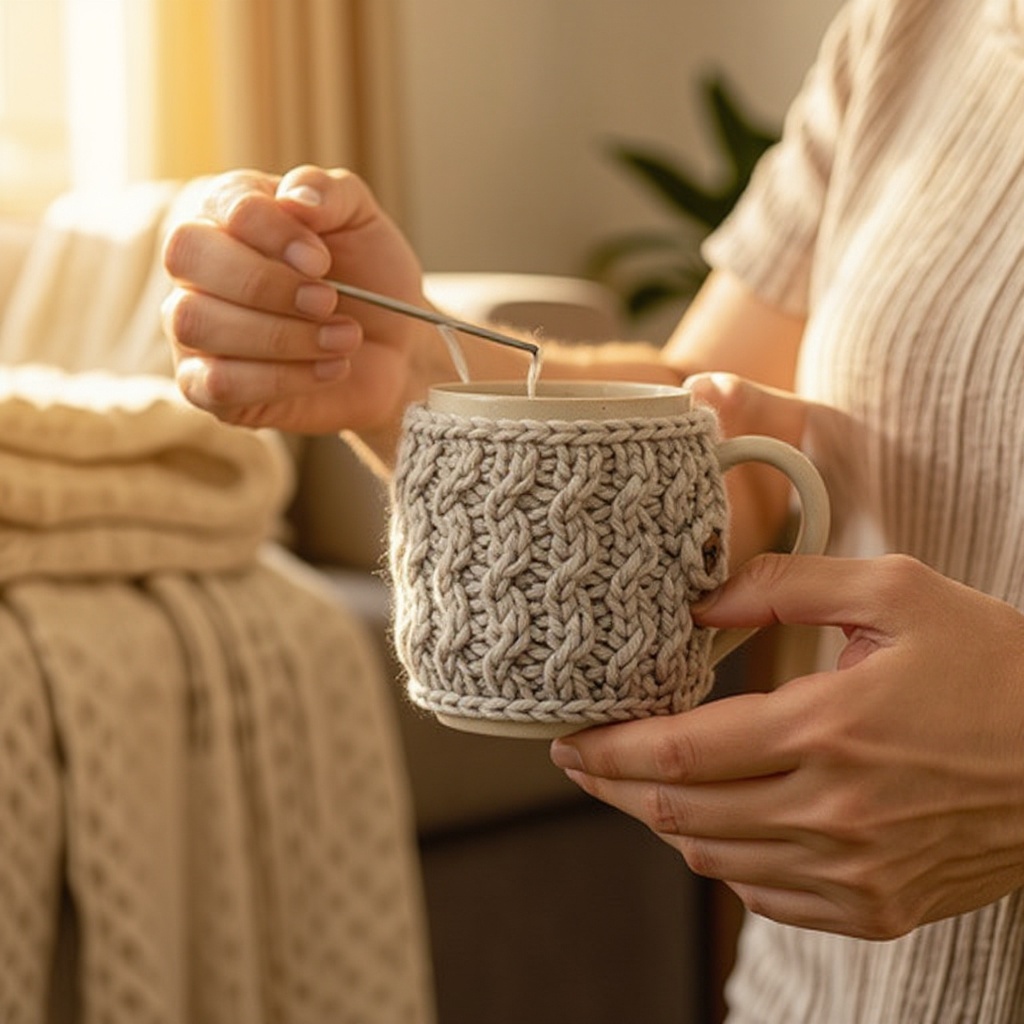
Weave in both yarn tails (the one from the beginning and the one you just cut) using the tapestry needle. Thread each tail into the tapestry needle and carefully pass it through several stitches on the wrong side of your knitted fabric, going in one direction and then back in the other. This hides the tails neatly within the knitted fabric, giving your mug hugger a professional finish.
- 12
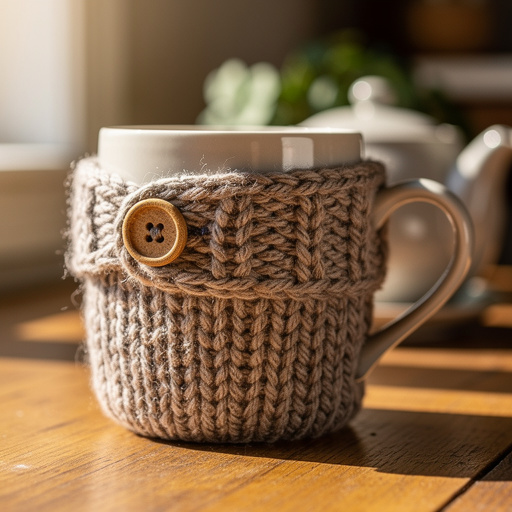
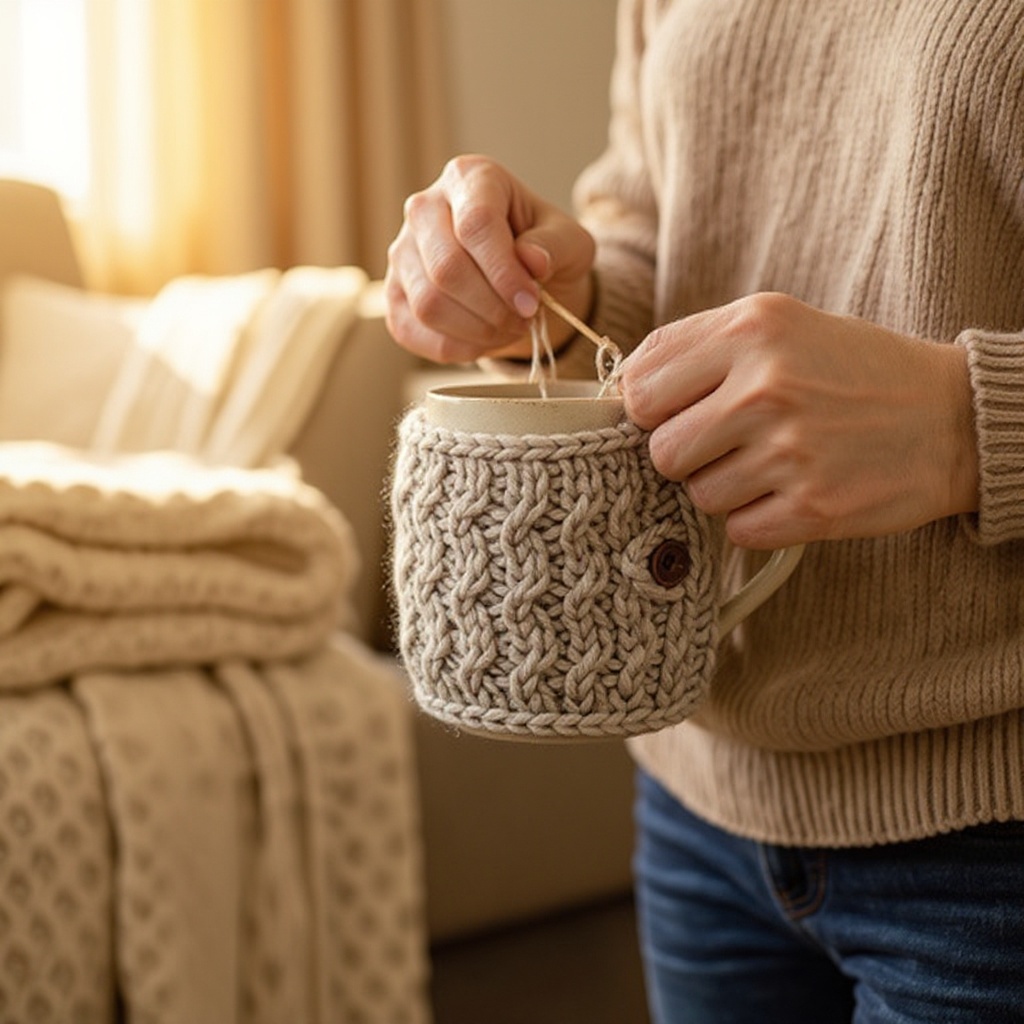
Optional: If you are adding a button closure, sew the button securely to one end of your mug hugger. You can create a simple yarn loop on the other end to fasten the button through, or simply wrap the hugger around your mug and tie the ends together.
Tips & Troubleshooting
- 1If your stitches feel too tight or too loose, try adjusting your grip on the needles or the yarn tension. A consistent tension is key to creating an even fabric, so practice holding the needles and yarn in a relaxed yet controlled manner. If stitches are too tight, you might be pulling the yarn too hard; if too loose, you might not be pulling it enough.
- 2Don't worry if your first few rows aren't perfect. Knitting takes practice, and even experienced knitters make mistakes. The Garter stitch is very forgiving, so minor inconsistencies will likely blend in. Focus on learning the motions and enjoying the process rather than striving for immediate perfection.
- 3You can easily customize the length of your mug hugger by knitting more or fewer rows. Measure it around your favorite mug to get the perfect fit, ensuring it wraps snugly without being too tight or too loose. Remember to account for the stretch of the yarn when measuring.
- 4To add a decorative touch, you can use different colored yarns for stripes by simply joining a new color when you finish a row and continue knitting. Alternatively, you can try a simple button closure at the end by sewing a button onto one end and creating a small loop on the other for it to fasten through.
- 5When casting on, aim for a relaxed grip. If your cast-on edge is too tight, it can be difficult to knit the first row. Conversely, if it's too loose, the edge might be uneven. Practice casting on a few times to find a comfortable and consistent tension.
- 6For beginners, using a lighter colored yarn can make it easier to see your stitches and identify any mistakes. As you gain confidence, you can experiment with darker or more textured yarns.
- 7When weaving in your ends, try to weave them through stitches that are the same color as the yarn tail. This will make them virtually invisible. Go back and forth a few times to ensure the tail is securely anchored and won't come loose with washing.
- 8If you find yourself struggling with a particular step, don't hesitate to search for video tutorials online. Seeing the movements demonstrated can be incredibly helpful for visual learners.
Related Activities You Might Enjoy
Frequently Asked Questions
What is the easiest stitch for beginners to learn?
The Garter stitch, where you knit every row, is widely considered the simplest and most forgiving stitch for beginners to learn. It creates a reversible, bumpy fabric that is both durable and aesthetically pleasing. Because you are always performing the same basic knitting motion, it allows you to focus on mastering the mechanics of holding the needles and yarn, and controlling your tension. The Garter stitch doesn't curl at the edges, which is a common issue with other basic stitches, making it ideal for projects like scarves, dishcloths, and of course, mug huggers. Its simplicity allows new knitters to build confidence quickly and enjoy the satisfaction of creating a finished item.
How do I know what size knitting needles to use?
Yarn labels are your best friend when it comes to selecting the correct needle size. Most yarn packaging will have a recommended needle size range printed on it, often indicated by both US and metric sizing. For beginners, a medium weight yarn, such as worsted weight, is generally recommended because it's easy to handle and works up relatively quickly. For worsted weight yarn, US size 7 (4.5mm) or US size 8 (5.0mm) knitting needles are typically a good starting point. Using the recommended needle size ensures that your fabric will have the intended drape and density. If you're unsure, it's always a good idea to knit a small swatch to see how the yarn and needles work together.
What's the difference between casting on and binding off?
Casting on and binding off are two fundamental techniques that mark the beginning and end of your knitting project, respectively. Casting on creates the initial row of stitches on your needle, forming the foundation of your knitted piece. It's like setting up the first line of stitches that you will then manipulate to build your fabric. Binding off, on the other hand, is the process of finishing your project by securing the last row of stitches so they don't unravel. It creates a neat, finished edge that prevents your work from coming undone. Think of casting on as opening a book and binding off as closing it – they are essential for creating a complete and stable knitted item.
Can I knit a mug hugger with different yarn?
Absolutely! You can knit a mug hugger with various yarn types, but for beginners, acrylic or wool yarns are highly recommended due to their ease of handling and affordability. Acrylic yarns are durable, washable, and come in a vast array of colors, making them perfect for practice projects. Wool yarns offer warmth and elasticity, though some can be a bit more challenging to work with for absolute beginners. Thicker yarns, like bulky or super bulky weight, will create a much bulkier and quicker-to-knit hugger, while thinner yarns like sport or fingering weight will result in a more delicate and time-consuming project. The key is to match your needle size to the yarn weight for optimal results.
How long does it typically take to knit a mug hugger?
For a beginner who is learning the basic knit stitch and the casting on and binding off techniques, a mug hugger can typically take anywhere from 30 minutes to an hour to complete. This timeframe can vary depending on your individual learning speed, how quickly you can manipulate the yarn and needles, and whether you encounter any minor hiccups that require a bit of unraveling and re-knitting. As you become more proficient and your knitting speed increases, you'll likely find yourself completing these cozy accessories in even less time, perhaps as little as 20-30 minutes. It's a fantastic project for a quick crafting session or to make several as gifts.
What are some common mistakes beginners make and how can I avoid them?
Some common mistakes beginners make include inconsistent tension (knitting too tightly or too loosely), dropping stitches, and accidentally twisting stitches. To avoid inconsistent tension, focus on a relaxed grip and try to maintain the same pressure on the yarn throughout your knitting. If you drop a stitch, don't panic! You can often pick it back up with your needle or a crochet hook. To prevent twisting stitches, ensure you are always inserting your needle into the front of the stitch when knitting. Reading your knitting, which means understanding how the stitches are oriented on the needle, is also a valuable skill that develops with practice and helps prevent many common errors.
What Next?
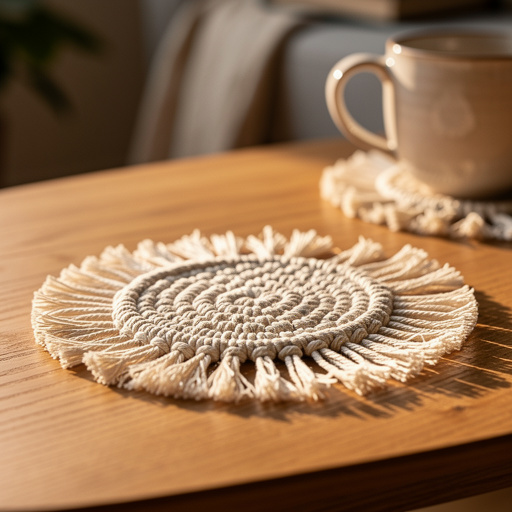
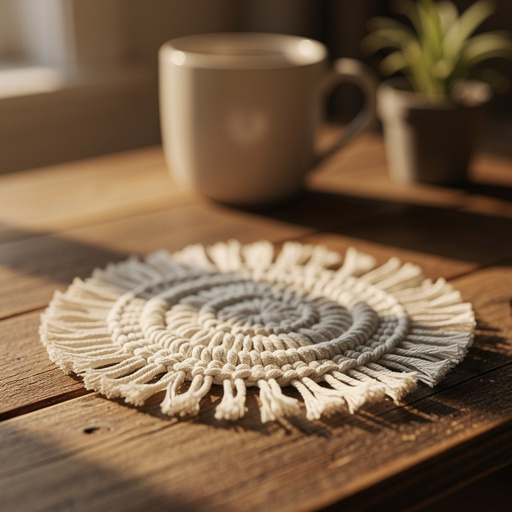
Congratulations on knitting your very own cozy mug hugger! This project is just the beginning of your knitting adventure. Feel free to experiment with different yarn colors to create vibrant stripes or even ombre effects. You could also explore adding a simple button closure for a more secure fit or a decorative tassel. Once you've mastered this basic technique, consider knitting a set for friends and family as thoughtful, handmade gifts. Store your finished mug huggers neatly in a drawer or display them proudly on your kitchen counter, ready to add a touch of handmade charm to your daily routine. Your next project could be a matching coaster or a simple knitted scarf!
Free: 10 Paper Crafts Anyone Can Make in 5 Minutes
Get our beginner guide + new craft ideas weekly.
No spam. Unsubscribe anytime.
Did you complete this activity?