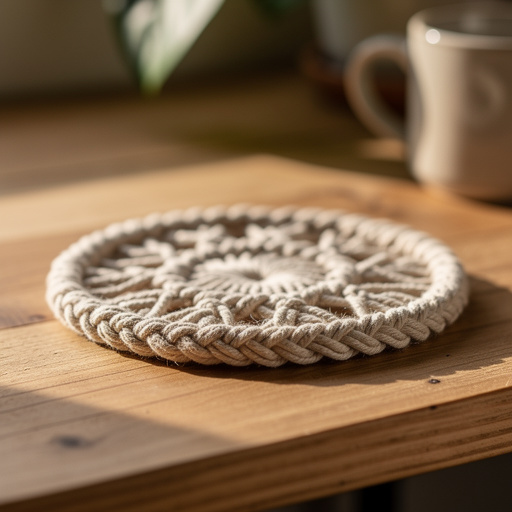
How to Make Macrame Coasters — Easy Step-by-Step Guide
Discover the satisfying art of macrame by creating your own stylish coasters. This beginner-friendly project is perfect for a screen-free family activity. Learn the basic knots and techniques to craft unique home decor that's both functional and beautiful. Ideal for crafters of all ages, especially those looking for a simple yet rewarding DIY project.
Quick answer
To make macrame coasters, you need a macrame kit with cotton cord (approximately 40 feet total of 4mm or 5mm cord) and sharp scissors, taking about 30 minutes per coaster. Start by cutting your cords and tying a gathering knot to secure them. This beginner-friendly activity has 12 detailed steps and is perfect for families with kids aged 8+ with adult supervision. The finished coasters will measure roughly 4-5 inches in diameter.
What you need
Shop on Amazon · As an Amazon Associate we earn from qualifying purchases. Links above are affiliate links — we may earn a commission at no extra cost to you.
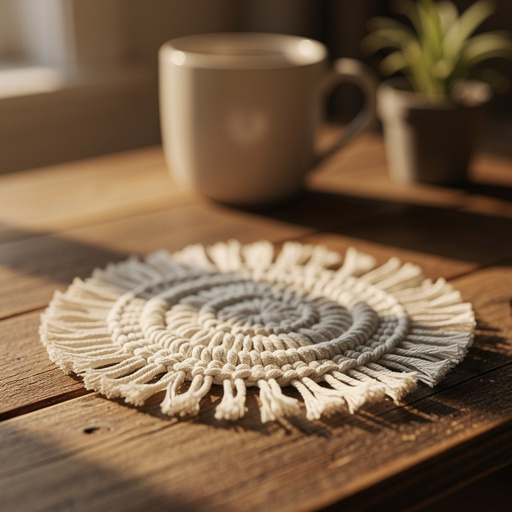
Embark on a delightful crafting journey with this easy macrame coaster tutorial! Macrame, with its intricate knotting and bohemian charm, is experiencing a wonderful resurgence, and what better way to dive in than with a project that’s both practical and beautiful? These macrame coasters are perfect for adding a touch of handmade warmth to your coffee table or as thoughtful, personalized gifts. They offer a fantastic opportunity for a screen-free family activity, fostering creativity and fine motor skills in crafters of all ages, especially children as young as eight with a little guidance.
On this page
Step-by-Step Instructions
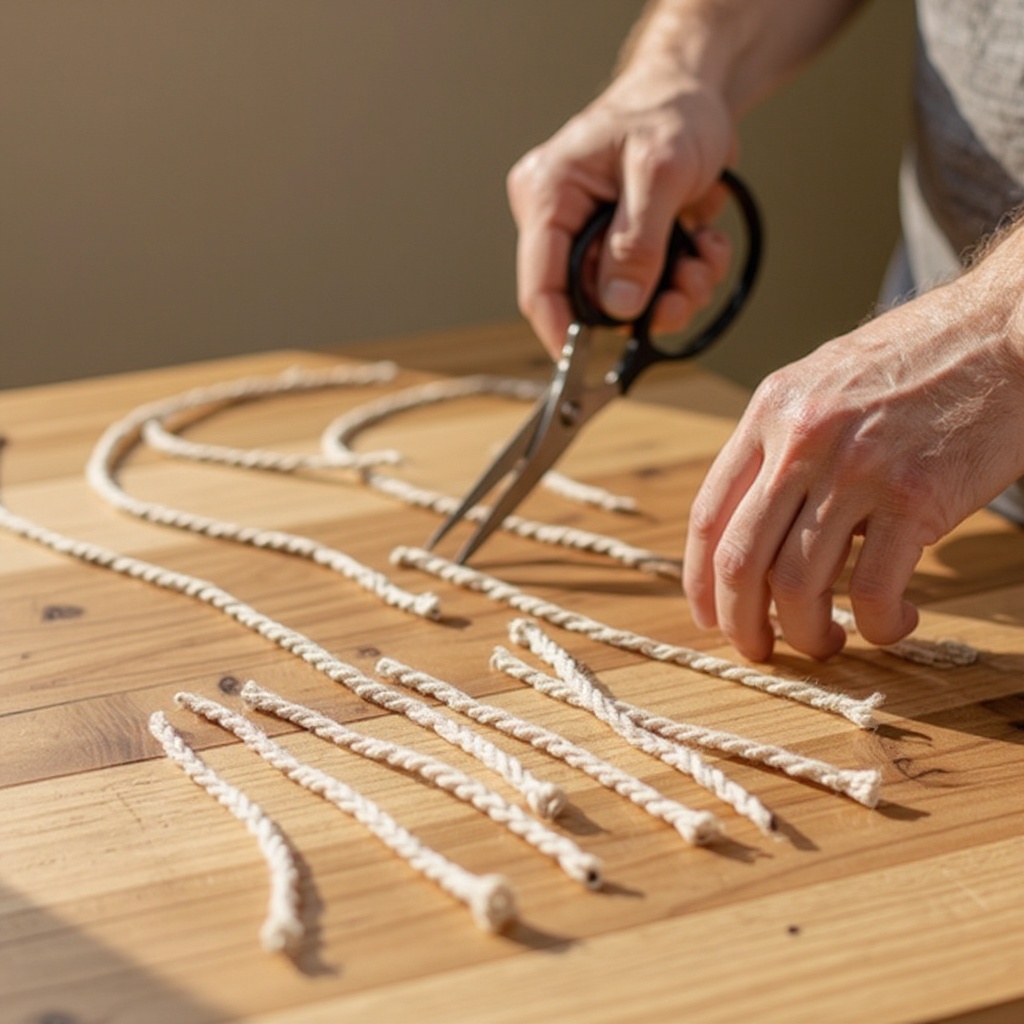
- 1
Cut 8 pieces of macrame cord, each 5 feet long. Ensure your cuts are clean and straight to prevent fraying.
- 2
Take all 8 cords and fold them in half, creating a loop at the top. This loop will be where your first gathering knot is tied, securing all the cords together.
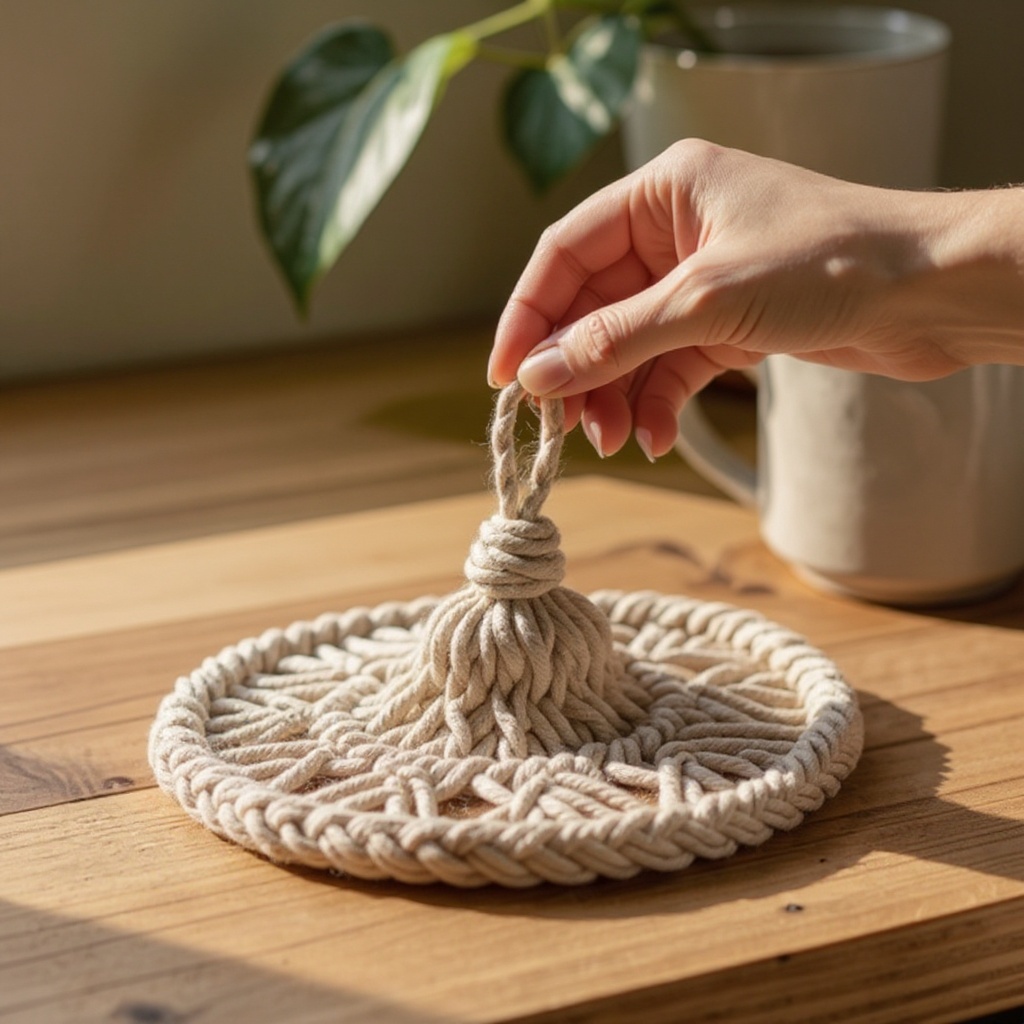
- 3
About 1 inch down from the loop, tie a Gathering Knot using all 8 cords together. To do this, take a separate piece of cord (about 12 inches long) and form a 'U' shape against the bundle of 8 cords, with the loop of the 'U' pointing downwards. Wrap the longer end of this separate cord tightly around the bundle and the 'U' shape, starting from the top and working your way down for 5-7 wraps. Then, thread the end of the working cord through the loop at the bottom of the 'U' shape. Finally, pull the top end of the working cord upwards, drawing the loop and the threaded end through the wraps, tightening the knot securely around the bundle.
- 4
Separate the 8 cords into two equal groups of 4 cords each. You will be working with these smaller groups to create the knotting pattern.
- 5
On the left group of 4 cords, tie a Square Knot. Take the leftmost cord (Cord 1) and bring it over the two middle cords (Cords 2 and 3), then under the rightmost cord (Cord 4).
- 6
Next, take the rightmost cord (Cord 4) and bring it under the two middle cords (Cords 2 and 3), then up through the loop created by the first cord (Cord 1).
- 7
Pull all four cords evenly and firmly to tighten the first half of the Square Knot. Ensure the knot is snug against the gathering knot above.
- 8
To complete the full Square Knot, you will now reverse the process. Take the rightmost cord of this group (which is now Cord 4) and bring it over the two middle cords (Cords 2 and 3), then under the leftmost cord (Cord 1).
- 9
Now, take the leftmost cord (Cord 1) and bring it under the two middle cords (Cords 2 and 3), then up through the loop created by the first cord (Cord 4).
- 10
Pull all four cords evenly and firmly again to tighten the second half of the Square Knot. This completes one full Square Knot, which should look flat and even.
- 11
Repeat the entire Square Knot process on the right group of 4 cords, ensuring you start with the leftmost cord of that group for the first half, and the rightmost cord for the second half, mirroring the left side.
- 12
Continue tying Square Knots, alternating which side you start with for each half-knot sequence (leftmost cord first, then rightmost cord first) on both groups of cords. This alternating pattern creates a flat, even surface. Work down the cords until the knotted section measures approximately 4 inches long. Aim for consistent tension in each knot for a professional look.
- 13
Once your knotted section has reached the desired length of about 4 inches, gather all 8 cords together again. Position this gathering point about 1 inch below the last row of Square Knots you tied.
- 14
Tie another Gathering Knot around all 8 cords, using a separate piece of cord just as you did in Step 3. This secures the end of your macrame pattern and creates a neat transition to the fringe.
- 15
Trim the excess cord below the final Gathering Knot to about 1 inch, creating a fringe. You can leave this fringe as is for a rustic look, or you can further embellish it.
- 16
Optional: For a softer, more uniform fringe, gently brush out the individual strands of cord with a comb or brush. This will create a fluffy, tassel-like effect.
- 17
Optional: For a very neat and uniform fringe, you can tie a simple overhand knot on each individual cord about 1 inch below the gathering knot before trimming the fringe to your desired length. This prevents the cords from unraveling further.
Tips & Troubleshooting
- 1If your knots appear loose or uneven, gently pull each cord individually to tighten them. Consistency in tension is key to achieving a professional and aesthetically pleasing macrame piece. Practice makes perfect, so don't be discouraged if your first few knots aren't flawless.
- 2Experiment with different knotting patterns to add variety to your coasters. Once you've mastered the Square Knot, explore the Half Square Knot (which creates a spiral effect) or even more complex knots like the Josephine Knot for a more intricate design. Many online resources and macrame books showcase various knotting techniques.
- 3To create a cohesive set, repeat the entire process for as many coasters as you desire. You can also introduce different colored cords for a vibrant and unique look, or even mix cord textures for added visual interest. Consider making a set of four or six for a complete table setting.
- 4If your fringe looks uneven after trimming, you can always go back and trim it again with sharp scissors to create a uniform length. For a perfectly straight fringe, you can use a ruler and mark the desired length before cutting.
- 5For a more finished and durable edge, consider tying a simple overhand knot on each individual cord about an inch below the final gathering knot before trimming the fringe. This adds a bit of weight and prevents the cords from fraying excessively over time.
- 6When working with macrame cord, it's helpful to secure your project to a stable surface. You can use a clipboard, a small table clamp, or even tape to keep the top of your work from shifting while you're tying knots, ensuring greater control and precision.
- 7Don't be afraid to adjust the length of your cords. If you prefer a longer fringe, simply cut your initial cords longer. Conversely, if you want a more compact coaster with less fringe, you can shorten the initial cord length or tie your gathering knots closer together.
- 8Consider using different types of cord for varied textures and looks. While cotton is excellent for beginners, you might later explore jute, hemp, or even synthetic cords to see how they affect the drape and feel of your macrame creations.
Related Activities You Might Enjoy
Frequently Asked Questions
What is the best macrame cord for beginners?
For beginners, 4mm or 5mm single-strand or 3-ply cotton cord is ideal. It's soft, easy to handle, and forgiving for practicing knots, making it less likely to cause hand fatigue. Single-strand cord is often a bit softer and easier to unravel for fringe, while 3-ply offers a good balance of structure and softness. Kits typically include the perfect type of cord for this project, ensuring you have a good starting point for learning the basic knots without frustration.
How long should macrame cord be for coasters?
For a coaster of this size, you'll need about 5 feet of cord per piece, and since we use 8 pieces, that's 40 feet total per coaster. This length provides enough cord to comfortably tie the Square Knots and still leave a substantial fringe. If you prefer a longer fringe or a more densely knotted coaster, you might want to increase the initial cord length to 6 or 7 feet per piece. Conversely, for a smaller, more compact coaster, you could reduce it to 4 feet per piece.
Can kids do macrame with a kit?
Yes! Macrame kits are excellent for kids and make this coaster project incredibly accessible. This specific coaster project is simple enough for children aged 8 and up with adult supervision. It helps develop fine motor skills, hand-eye coordination, and patience as they learn to manipulate the cords and tie the knots. The satisfaction of creating a functional item from scratch is also a great confidence booster for young crafters.
How do I clean macrame coasters?
Most cotton macrame coasters can be spot-cleaned with a damp cloth and a mild soap. For tougher stains, gently hand wash the coaster with cool water and a mild detergent, being careful not to aggressively scrub the knots. After washing, gently squeeze out excess water (do not wring) and lay the coaster flat to dry completely, reshaping it as needed. Avoid machine washing or drying, as this can damage the knots and the cord's texture.
What is the difference between a Square Knot and a Half Square Knot?
The Square Knot, as used in this tutorial, is a foundational knot that creates a flat, stable band when tied correctly. It consists of two halves: the first half is tying a knot starting from the left, and the second half is tying a knot starting from the right. A Half Square Knot is simply one half of the Square Knot. When you repeatedly tie only the first half of a Square Knot (always starting from the same side), the work will naturally twist and create a spiral effect, known as a Spiral Knot or Half Square Knot pattern. This is a great variation to explore after mastering the basic Square Knot.
How can I make my macrame coasters look more professional?
To achieve a more professional look, focus on consistent tension throughout all your knots. Ensure each knot is pulled snug and evenly. Keep your cords organized and untangled as you work. For the fringe, trimming it with sharp scissors to a perfectly uniform length is crucial. You can also use a comb to brush out the fringe for a softer, more finished appearance. Finally, consider tying a small overhand knot on each fringe cord before trimming to prevent unraveling and add a neat detail.
What Next?
Congratulations on creating your own beautiful macrame coasters! You've mastered the foundational Square Knot and Gathering Knot, opening the door to a world of macrame possibilities. Consider creating a matching placemat or a larger wall hanging using these same techniques. To display your coasters, simply stack them on a shelf or keep them readily available on your coffee table. For storage, ensure they are kept dry and away from direct sunlight to preserve the cord's color and integrity. This project is just the beginning of your macrame adventure!
Free: 10 Paper Crafts Anyone Can Make in 5 Minutes
Get our beginner guide + new craft ideas weekly.
No spam. Unsubscribe anytime.
Did you complete this activity?
Related