How to Knit for Beginners — Easy Step-by-Step Guide
Discover the joy of knitting with this beginner-friendly tutorial. Learn the essential stitches to create a practical and charming knit dishcloth. This project is perfect for anyone looking to pick up a new craft, offering a tangible and useful result with minimal frustration.
Quick answer
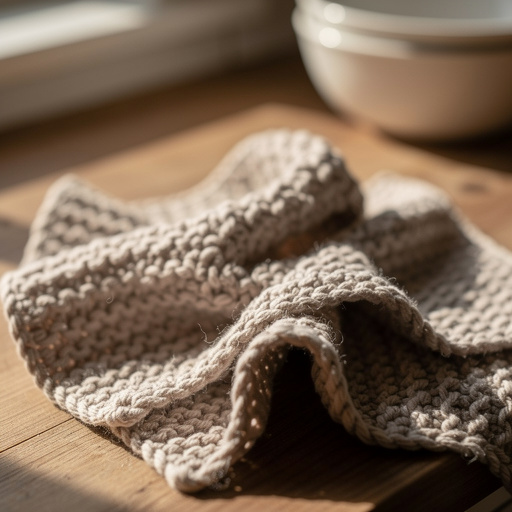
To knit a dishcloth, you need yarn, knitting needles, and scissors. Start by casting on stitches. This beginner-friendly activity has 10 steps and is perfect for families looking for screen-free crafts. You'll learn the knit stitch, casting on, and binding off to create a durable and absorbent dishcloth.
What you need
Shop on Amazon · As an Amazon Associate we earn from qualifying purchases. Links above are affiliate links — we may earn a commission at no extra cost to you.
Embarking on your knitting journey can feel daunting, but this beginner-friendly dishcloth project is designed to make it accessible and enjoyable. It's a fantastic way to learn the fundamental techniques of knitting in a low-stakes environment, resulting in a practical item you can use immediately. Perfect for families seeking engaging, screen-free activities or individuals wanting to cultivate a new, rewarding hobby, this project offers a satisfying sense of accomplishment with every stitch.
On this page
Step-by-Step Instructions
- 1
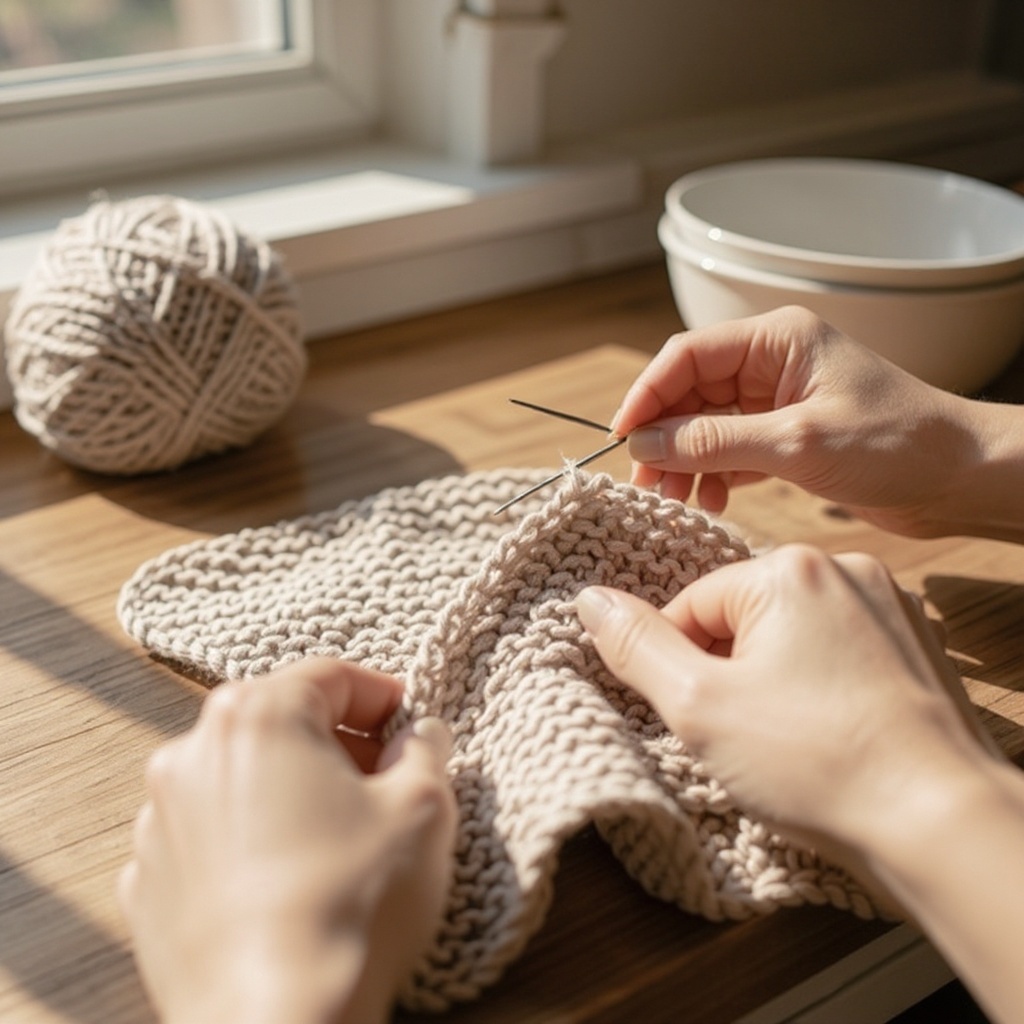
Cast on 30 stitches onto your right needle. This creates the foundation of your dishcloth. To do this, make a slip knot on your left needle, then wrap the yarn around your index finger and thumb to create a loop. Insert the right needle into the loop, catch the yarn, and pull a new loop through, placing it onto your right needle. Repeat this process 29 more times, ensuring your stitches are not too tight or too loose, which can make the next steps difficult.
- 2
Knit the first row by inserting your right needle into the first stitch on the left needle, wrapping the yarn around the right needle in a counter-clockwise direction. Then, carefully pull a loop of yarn through the original stitch, creating a new stitch on your right needle.
- 3
Slide the original stitch off the left needle, leaving the new stitch securely on your right needle. Repeat this knit stitch for all stitches across the row, moving from left to right, until you have worked every stitch from the left needle onto the right needle.
- 4
Turn your work so the needle with the stitches is now in your left hand, and the empty needle is in your right hand. This prepares you to work the next row from right to left, maintaining the correct orientation of your knitting.
- 5
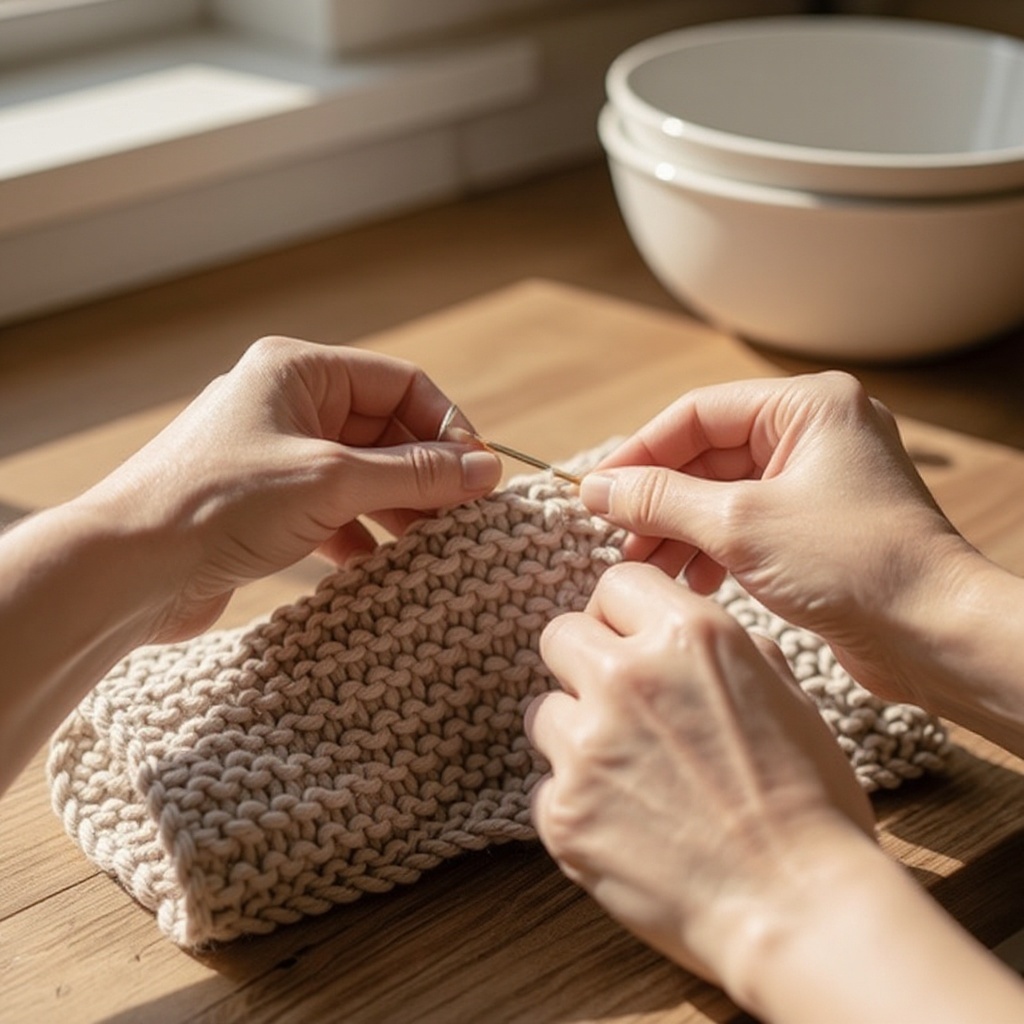
Repeat step 2 and 3 for the second row, and continue knitting every row until your piece measures approximately 8 inches long. This consistent knitting action will create a fabric known as 'garter stitch,' which is characterized by its bumpy, reversible texture and excellent elasticity, making it ideal for dishcloths.
- 6
To create a simple border, knit the first and last stitch of every row in garter stitch (knit every stitch). This means that for every row, you will knit the very first stitch and the very last stitch, even if you were to introduce another stitch pattern in the middle. This technique helps to prevent the edges from curling and gives the dishcloth a more finished appearance.
- 7
Continue knitting until your dishcloth is the desired length, ensuring you maintain the same stitch pattern throughout. For a standard dishcloth, this is typically around 8 to 10 inches, but you can adjust this based on your preference. The key is to keep your rows consistent in height and width.
- 8
When you're ready to finish your project, you will 'bind off' your stitches to secure the fabric. To begin, knit the first two stitches of the row as you normally would, leaving both stitches on your right needle.
- 9
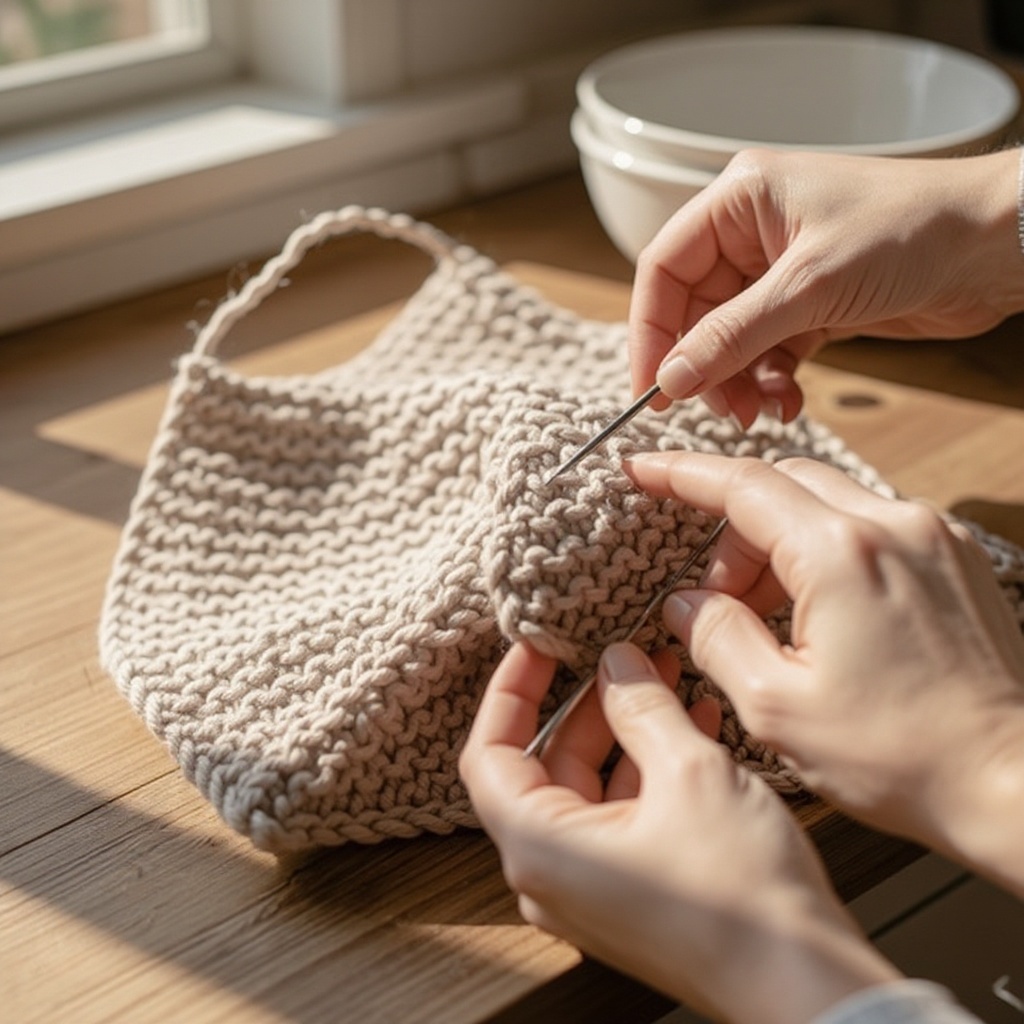
Using your left needle, gently lift the first stitch you knitted (the one furthest to the right on your right needle) up and over the second stitch, and then off the tip of the right needle. You will now have only one stitch remaining on your right needle, and the first two stitches from the row have been secured together.
- 10
Knit the next stitch from the left needle, adding it to your right needle. Now you have two stitches on your right needle again. Repeat step 9: using your left needle, lift the first stitch (the one furthest to the right) over the second stitch and off the right needle. Continue this process of knitting one stitch and then lifting the previous stitch over it until only one stitch remains on your right needle.
- 11
Once you have only one stitch left on your right needle, cut the yarn, leaving a tail of about 6 inches. This tail will be used to secure the final stitch. Carefully pull this yarn tail completely through the last loop remaining on your needle to create a knot and secure the bind-off edge.
- 12
Weave in the yarn tail using your tapestry needle or by threading it through several stitches on the back of your work to hide it securely. This prevents the tail from unraveling and gives your dishcloth a clean, professional finish. Trim any excess yarn close to the fabric once it's woven in.
Tips & Troubleshooting
- 1If your stitches feel too tight or too loose, try adjusting your grip on the needles or the yarn tension. Consistent tension is key to creating an even fabric; practice holding the yarn smoothly and consistently as you knit each stitch.
- 2Don't worry if your first few rows are a bit uneven or wobbly. This is completely normal for beginners! Keep practicing, and your stitches will become more uniform and consistent with each row you knit.
- 3You can easily change the size of your dishcloth by casting on more or fewer stitches (always an even number for this garter stitch pattern) and knitting for a longer or shorter duration. Aim for a square or a rectangle that suits your needs.
- 4Experiment with different yarn colors or even combine two colors for a striped effect by joining a new color when you start a new skein or at the beginning of a row. Simply tie the new yarn to the old yarn and continue knitting.
- 5To achieve a more defined edge, you can try a technique called 'slip stitch' for the first and last stitch of every row. This involves slipping the first stitch purlwise with the yarn in back, and knitting the last stitch. This creates a slightly raised, decorative border.
- 6If you find yourself dropping stitches, don't panic! You can often pick them up with a crochet hook. Gently hook the dropped stitch and loop it back onto the needle. It's a common occurrence for beginners and even experienced knitters.
- 7Consider using stitch markers to mark the beginning and end of your rows, especially if you decide to try a more complex stitch pattern later on. This can help you keep track of your place and prevent mistakes.
- 8When casting on, ensure you leave a long enough tail of yarn. This tail can be used for weaving in later, or if you decide to add fringe to your dishcloth, it provides the necessary material.
Related Activities You Might Enjoy
Frequently Asked Questions
What are the basic knitting stitches for beginners?
The most fundamental stitch for beginners is the 'knit stitch,' which you've learned in this tutorial. Mastering the knit stitch allows you to create basic fabrics like the one used in this dishcloth, known as garter stitch. In addition to the knit stitch, you'll also need to learn 'casting on' to create your initial row of stitches and 'binding off' to securely finish your project. These three techniques form the bedrock of most beginner knitting projects and are essential for creating any knitted item.
How do I hold knitting needles and yarn?
There are a few ways to hold knitting needles and yarn, and the best method is often what feels most comfortable and natural for you. A common beginner method is to hold one needle in each hand, with the needle holding the stitches in your left hand. To control yarn tension, many people wrap the yarn around their left index finger, allowing it to slide smoothly as they knit. Experiment with different grips and yarn placements to find a method that allows for relaxed hands and consistent stitch formation.
What kind of yarn is best for a beginner dishcloth?
Worsted weight cotton yarn is ideal for beginner dishcloths due to its excellent properties. It's durable, meaning it can withstand frequent washing and use, and it's highly absorbent, making it perfect for kitchen tasks. Cotton yarn is also relatively easy to work with, offering good grip on the needles and a clear stitch definition, which helps beginners see their progress. Avoid very fuzzy, splitty, or slippery yarns like some novelty yarns or very fine silks until you're more comfortable with basic stitches, as they can be more challenging to manage.
My stitches are falling off the needle, what should I do?
Stitches falling off the needle usually happens when your stitches are too loose, you're holding your needles too tightly, or you're turning your work too quickly. Ensure you're holding the needles firmly but not with excessive tension, and gently slide the stitches onto the right needle as you knit, rather than yanking them. If a stitch does fall off, don't panic! You can often pick it up with a crochet hook or even your fingers by carefully re-creating the loop and placing it back onto the needle. It's a common occurrence for beginners, so practice makes perfect.
How do I fix a mistake in my knitting?
Fixing mistakes in knitting is a skill that develops with practice. For a dropped stitch, as mentioned, a crochet hook is your best friend. For a stitch that's been knitted incorrectly (e.g., a purl stitch instead of a knit stitch), you can often 'tink' (knit backward) by carefully undoing the stitches until you reach the mistake. Then, you can re-knit the stitches correctly. For more complex errors, you might need to unravel a few rows. Don't be afraid to make mistakes; they are part of the learning process and offer valuable lessons.
What is the difference between garter stitch and stockinette stitch?
Garter stitch, which you've created with this dishcloth, is made by knitting every row. It results in a reversible fabric with a bumpy texture that lies flat and is very elastic. Stockinette stitch, on the other hand, is created by alternating rows of knit stitches and purl stitches (knitting one row, purling the next). Stockinette stitch creates a smoother, V-shaped texture on the front (the 'right side') and a bumpy texture on the back (the 'wrong side'). It's a very common stitch but has a tendency to curl at the edges, which is why garter stitch is often preferred for beginner projects like dishcloths.
What Next?
Congratulations on knitting your first dishcloth! This foundational project opens the door to a world of creative possibilities. Consider experimenting with different yarn colors for a vibrant kitchen accessory, or try combining two colors for a simple striped effect. Once you're comfortable with this pattern, you can explore larger projects like scarves or blankets. Display your handmade dishcloths proudly in your kitchen, or gift them to friends and family for a thoughtful, handmade present. Store them neatly in a drawer or hang them to dry after use.
Free: 10 Paper Crafts Anyone Can Make in 5 Minutes
Get our beginner guide + new craft ideas weekly.
No spam. Unsubscribe anytime.
Did you complete this activity?