How to Knit for Beginners — Easy Step-by-Step Guide
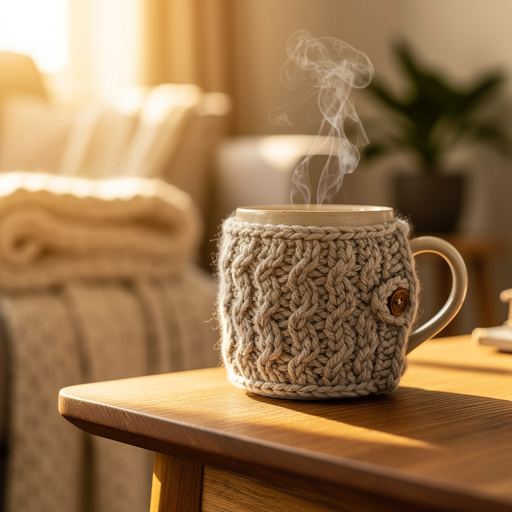
Discover the joy of knitting with this beginner-friendly tutorial. Learn to create charming mug hugs to keep your drinks warm and add a personal touch to your kitchen. This project is perfect for families looking for screen-free fun and makes a thoughtful handmade gift. With just a few basic materials and clear, step-by-step instructions, you'll be knitting in no time!

Quick answer
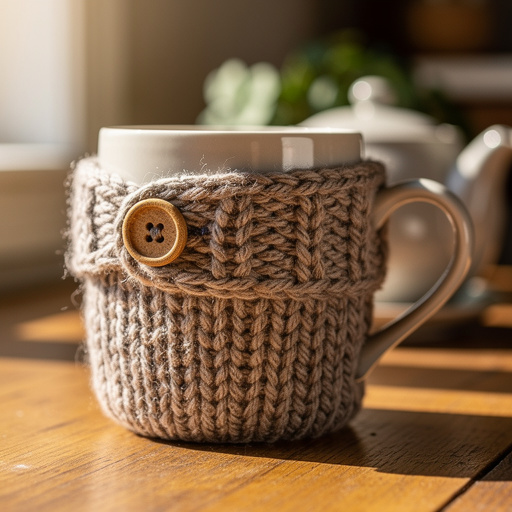
To make cozy knit mug hugs, you need yarn, knitting needles, and scissors, taking about 30-45 minutes. Start by casting on 15 stitches. This beginner-friendly activity has 12 steps and is perfect for families looking for screen-free fun, resulting in a delightful handmade accessory for your favorite mug.
What you need
Shop on Amazon · As an Amazon Associate we earn from qualifying purchases. Links above are affiliate links — we may earn a commission at no extra cost to you.
Embark on a delightful crafting journey with this beginner-friendly guide to knitting your very own cozy mug hugs! This project is more than just a way to keep your beverages warm; it's an introduction to a wonderfully relaxing and rewarding hobby. Perfect for families seeking engaging, screen-free activities or for anyone wanting to add a personal, handmade touch to their home, these mug hugs are a fantastic first knitting project. In just a short amount of time, you'll create a charming accessory that's both practical and beautiful, offering a sense of accomplishment with every stitch.
On this page
Step-by-Step Instructions
- 1
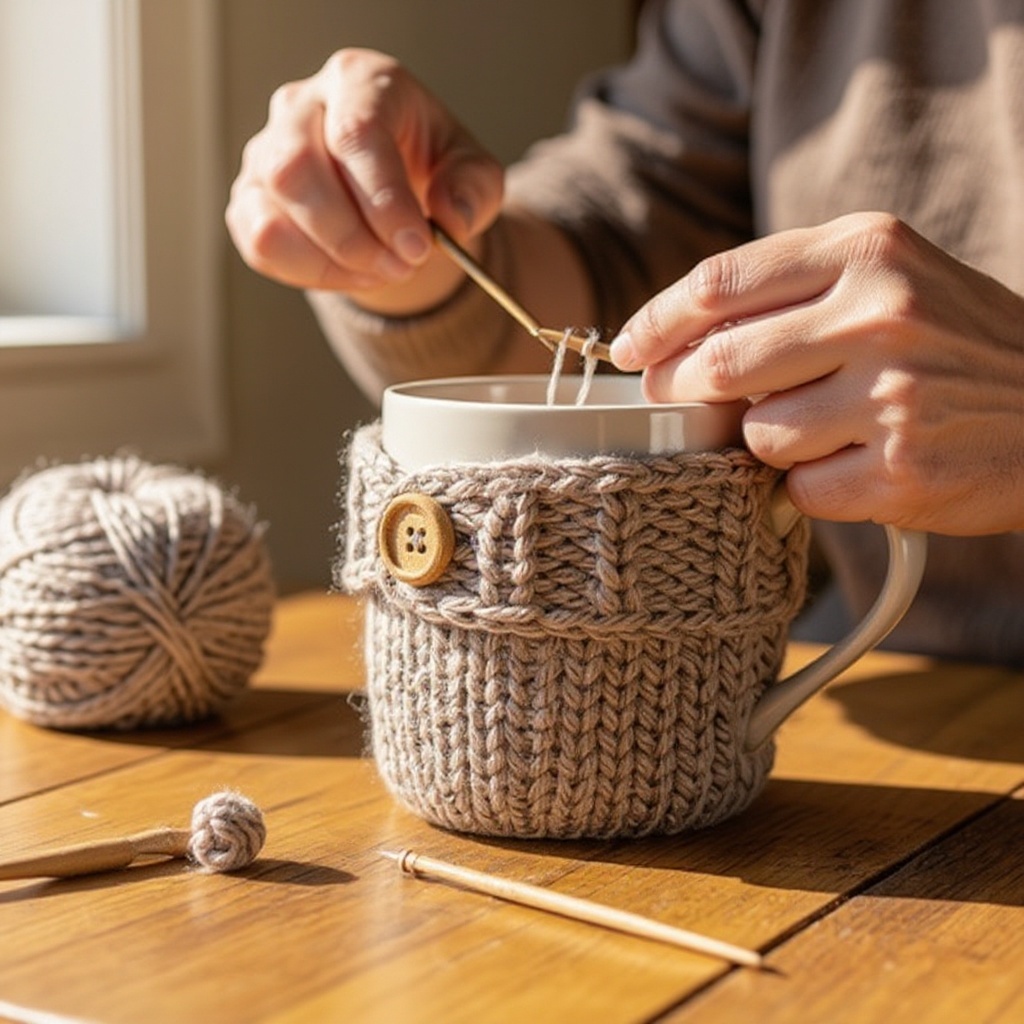
**Step 1: Prepare Your Yarn and Needles.** Gather your worsted weight yarn, knitting needles, and scissors. Ensure your needles are clean and free of any snags that could catch your yarn. Unravel a comfortable amount of yarn from your skein, about an arm's length, to avoid tangles as you begin.
- 2
**Step 2: Create a Slip Knot.** To begin casting on, you'll first need to make a slip knot. Form a loop with your yarn, then twist it so the working yarn crosses over the tail. Insert your needle through the loop, grab the working yarn, and pull it through to create a new loop on your needle. This is your first stitch.
- 3
**Step 3: Cast On 15 Stitches.** Place the slip knot onto your right needle. Now, hold the needle with the slip knot in your left hand. Wrap the working yarn around your left index finger to create a loop. Insert the tip of your right needle into this loop, grab the working yarn with the needle, and pull it through to create a new stitch on your right needle. Repeat this process until you have a total of 15 stitches on your right needle. Ensure your stitches are not too tight or too loose.
- 4
**Step 4: Position Your Needles for the First Knit Stitch.** Hold the needle with the 15 cast-on stitches in your left hand. The working yarn should be hanging from the last stitch you cast on. Insert the tip of your right needle into the first stitch on the left needle, from front to back.
- 5
**Step 5: Wrap the Yarn.** With the tip of your right needle inserted into the first stitch, take the working yarn (the yarn attached to the skein) and wrap it counter-clockwise around the tip of your right needle. Make sure the yarn wraps smoothly and doesn't snag.
- 6
**Step 6: Pull the Yarn Through.** Using the tip of your right needle, carefully pull the wrapped yarn through the stitch on the left needle. This creates a new loop on your right needle. Be gentle to avoid pulling the yarn too tightly.
- 7
**Step 7: Complete the First Knit Stitch.** Once you have pulled the new loop through, slide the original stitch off the tip of the left needle. You have now successfully completed your very first knit stitch! You should now have one stitch on your right needle and 14 stitches remaining on your left needle.
- 8
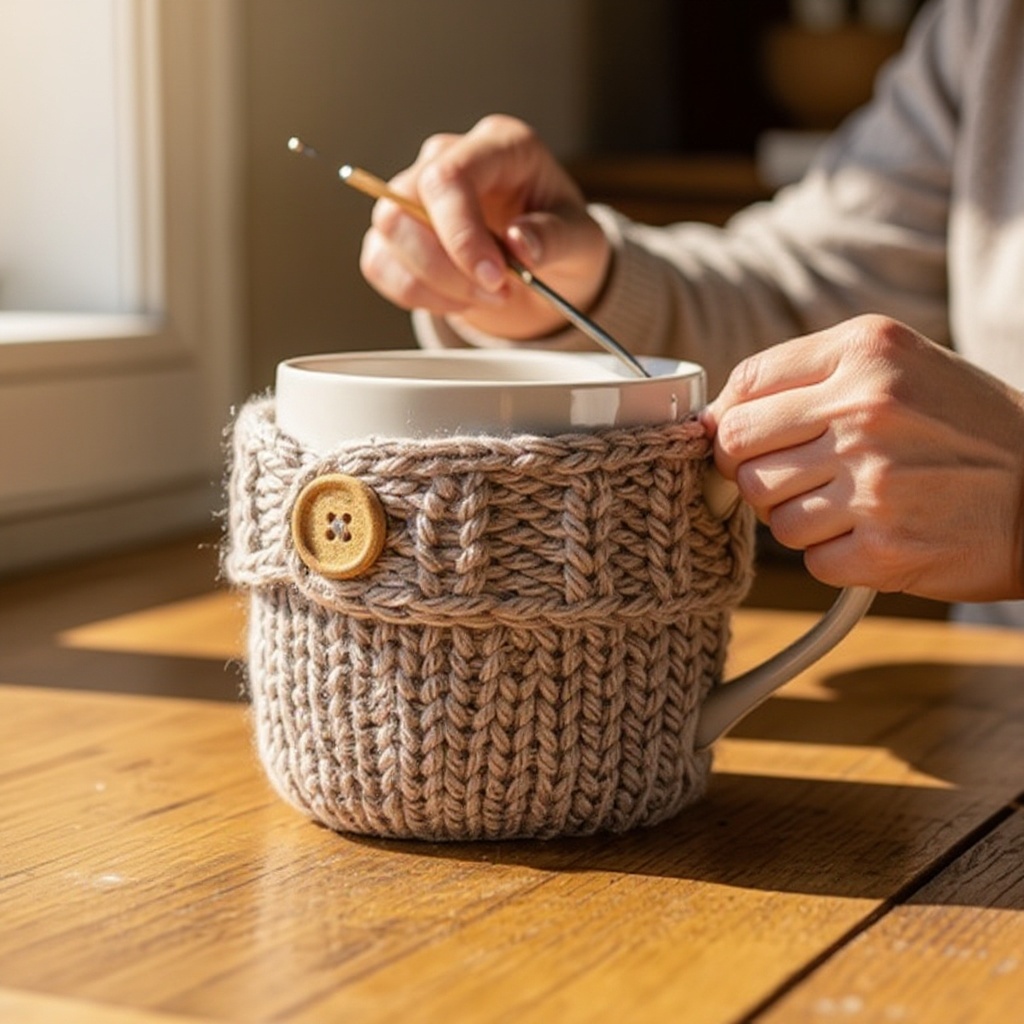
**Step 8: Knit the Remaining Stitches in the Row.** Repeat steps 4 through 7 for each of the remaining stitches on your left needle. Continue inserting the right needle, wrapping the yarn, pulling it through, and sliding the old stitch off. Once you've worked all 15 stitches, you will have 15 stitches on your right needle, and your first row is complete.
- 9
**Step 9: Begin the Second Row.** To start your second row, simply transfer the needle with the 15 stitches to your left hand. Now, repeat the entire process from Step 4: insert the right needle into the first stitch on the left needle, wrap the yarn, pull it through, and slide the old stitch off. Continue knitting across all 15 stitches.
- 10
**Step 10: Continue Knitting in Garter Stitch.** Keep knitting row after row, always transferring the needle with the stitches to your left hand after completing a row. This consistent back-and-forth knitting creates a fabric known as garter stitch, which is characterized by its bumpy texture and is very forgiving for beginners. It also means your fabric won't curl at the edges.
- 11
**Step 11: Knit to the Desired Length.** Continue knitting until your piece measures approximately 10 inches (25 cm) in length. This length is generally sufficient to wrap comfortably around most standard-sized mugs, providing a snug fit. Use your measuring tape or ruler to check the length periodically.
- 12
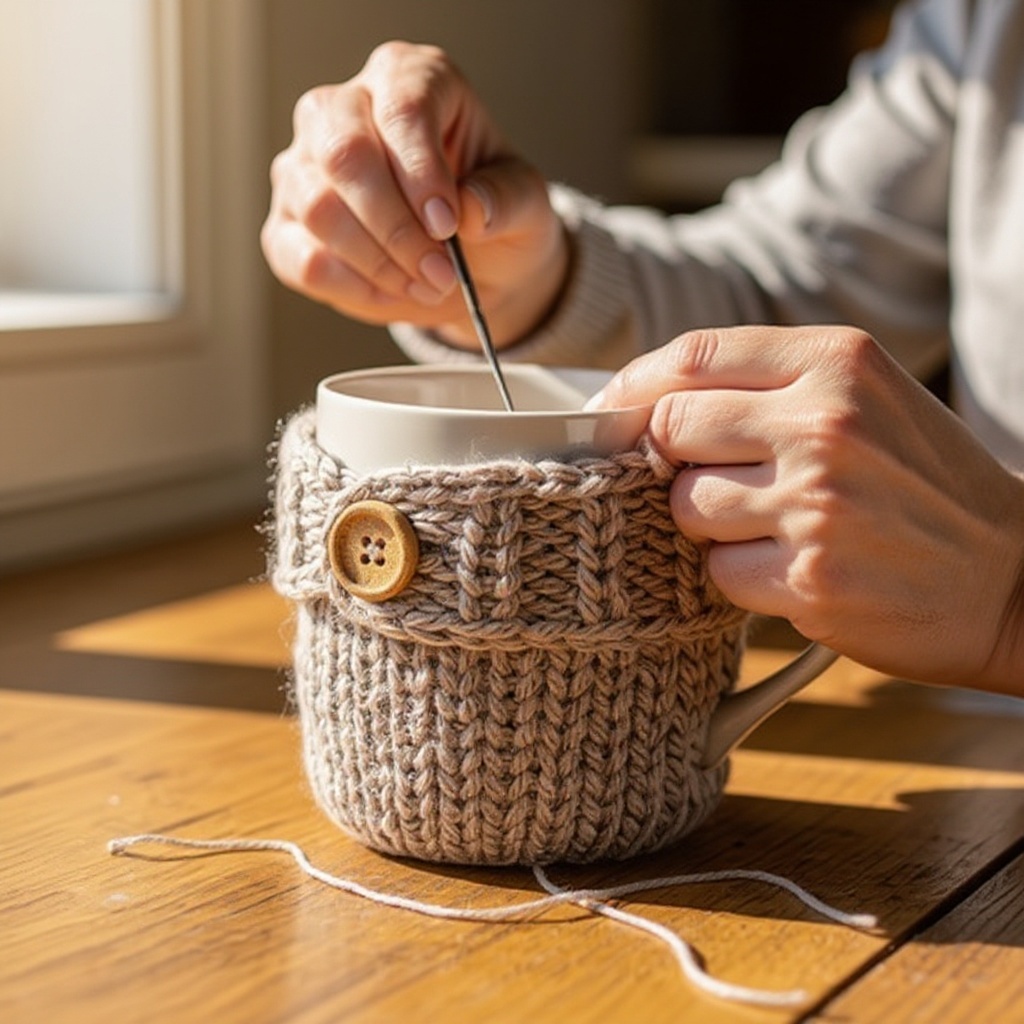
**Step 12: Prepare to Bind Off.** Once your piece has reached the desired length, you'll need to bind off the stitches to prevent them from unraveling. To begin, knit the first two stitches of the row as you normally would. You should now have two stitches on your right needle.
- 13
**Step 13: Bind Off the First Stitch.** Using the tip of your left needle, carefully lift the first stitch you knitted (the one furthest to the right on your right needle) up and over the second stitch, and then off the tip of the right needle. This secures the first stitch and reduces the number of stitches on your right needle to one.
- 14
**Step 14: Continue Binding Off.** Knit the next stitch on the left needle, so you again have two stitches on your right needle. Repeat the process from Step 13: lift the first stitch over the second stitch and off the right needle. Continue this pattern of knitting one stitch, then lifting the previous stitch over it, until only one stitch remains on your right needle.
- 15
**Step 15: Cut the Yarn and Secure the Final Stitch.** Once only one stitch remains on your right needle, cut the working yarn, leaving a tail of about 6 inches. Carefully pull this yarn tail completely through the last remaining loop on your needle. Tug gently to secure the stitch and create a knot.
- 16
**Step 16: Weave in the Yarn Tails.** Thread one of the yarn tails (from the beginning or the end of your knitting) onto your tapestry needle. Weave the needle back and forth through the stitches along the edge of your knitting for about an inch or two to secure the tail. Trim any excess yarn close to the fabric.
- 17
**Step 17: Secure the Second Yarn Tail.** Repeat Step 16 for the other yarn tail. This ensures that both ends of your yarn are neatly tucked away, preventing your mug hug from coming undone. Your cozy knit mug hug is now complete and ready to use!
Tips & Troubleshooting
- 1**Tension Control is Key:** If your stitches feel too tight, try holding the needles a little looser and allowing the yarn to flow more freely. Conversely, if your stitches are too loose and creating large gaps, try holding the needles a bit firmer and maintaining consistent yarn tension. Consistent tension is crucial for an even fabric.
- 2**Embrace Imperfection:** Don't worry if your first few rows aren't perfectly even or if you make a mistake. Knitting takes practice, and your tension will naturally improve over time as you become more comfortable with the movements. Every knitter started somewhere, and these early projects are part of the learning process.
- 3**Customize Your Size:** You can easily make your mug hug wider by casting on more stitches (e.g., 18 or 20 stitches) or longer by knitting more rows until it reaches your desired circumference. Experiment with different yarn colors for a unique look or to create a set for different mugs.
- 4**Explore Yarn Options:** While worsted weight is great for beginners, don't be afraid to try other yarn weights once you're comfortable. Lighter yarns will create a more delicate mug hug, while bulkier yarns will knit up faster and create a thicker, cozier feel. Always check the yarn label for recommended needle sizes.
- 5**Adding a Button or Tie:** For a more secure fit or a decorative touch, consider adding a button to one end and creating a buttonhole in the opposite end during the binding-off process, or simply sewing on a button after completion. Alternatively, you could knit a few extra rows and create a simple tie by braiding strands of yarn.
- 6**Blocking for a Polished Look:** Once your mug hug is finished and the ends are woven in, you can 'block' it to give it a more professional and even appearance. This involves lightly wetting the knitted piece and pinning it to shape on a flat surface, allowing it to dry. This can help even out stitches and open up the fabric.
- 7**Reading Your Knitting:** As you practice, try to observe how your stitches look. Notice the 'V' shapes of the knit stitches. This will help you identify when you've made a mistake and also understand the structure of your knitting, which is essential for more complex patterns later on.
Related Activities You Might Enjoy
Frequently Asked Questions
What is the easiest thing to knit for a beginner?
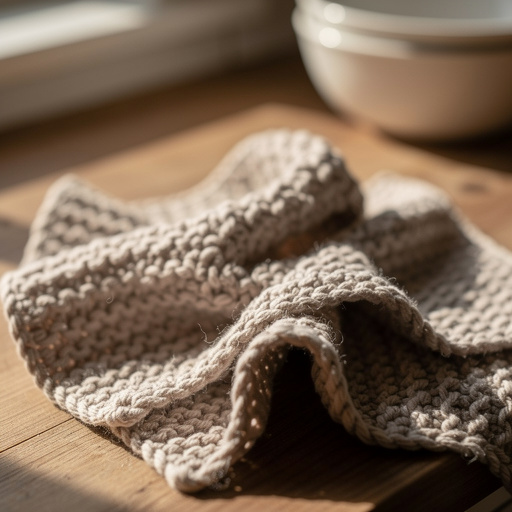
The easiest thing to knit for a beginner is a simple rectangle using only the knit stitch, also known as garter stitch. This allows you to focus entirely on mastering the fundamental movements of casting on, knitting, and binding off without the added complexity of different stitch patterns or shaping. Projects like dishcloths, simple scarves, or these charming mug hugs are perfect starting points. They provide a tangible result quickly, which is very encouraging for new knitters, and help build confidence for tackling more intricate projects down the line.
How many stitches should I cast on for a beginner knitting project?
For a beginner project like a mug hug, casting on between 15-25 stitches is a good starting point. This creates a manageable width that's easy to work with and quickly forms a noticeable piece, allowing you to see your progress without the project becoming too unwieldy. For a mug hug, 15 stitches is ideal for a standard mug, but if you want a wider or narrower hug, you can adjust this number. Always consider the yarn weight and needle size, as these will also affect the final width of your knitted piece.
What yarn is best for learning to knit?
For learning to knit, worsted weight yarn in a light or medium color is best. The worsted weight (medium thickness) is comfortable to handle and works well with common beginner needle sizes, making it easy to see your stitches clearly. A light or medium color is crucial because it allows you to easily distinguish individual stitches and identify any mistakes you might make, which is essential for learning. Avoid very dark colors, novelty yarns with excessive texture, or very fine yarns, as these can make it difficult to see your work and can be frustrating for beginners.
How do I fix a dropped stitch when knitting?
If you drop a stitch, the best course of action is to address it immediately before it has a chance to unravel further. You can often pick it up with your needle by carefully reaching down to the loop that has slipped off and scooping it back onto the needle. If the stitch has unraveled a bit, creating a 'ladder' effect, you can use a crochet hook to loop the yarn back up through the ladder of stitches, essentially re-creating the dropped stitch. There are many helpful online videos demonstrating these techniques visually, which can be incredibly useful.
What is the difference between knitting and purling?
The fundamental difference between knitting and purling lies in the way the yarn is manipulated and the resulting appearance of the stitch. A knit stitch, as you've learned in this tutorial, creates a 'V' shape on the right side of your fabric and a bumpy texture on the wrong side. A purl stitch, on the other hand, creates a horizontal bump on the right side of the fabric and a 'V' shape on the wrong side. By alternating knit and purl stitches, you can create a vast array of textures and patterns, such as ribbing and cables. For this mug hug, we're sticking to just the knit stitch (garter stitch) for simplicity.
How long will it take to knit a mug hug?
For a beginner, knitting a cozy mug hug typically takes about 30 to 45 minutes. This timeframe can vary depending on your individual knitting speed, how quickly you grasp the steps, and whether you encounter any minor setbacks. As you become more proficient with the knit stitch and your tension becomes more consistent, you'll likely find yourself completing these projects even faster. It's a wonderfully satisfying project because you can see the finished result in a single crafting session, offering immediate gratification.
What Next?
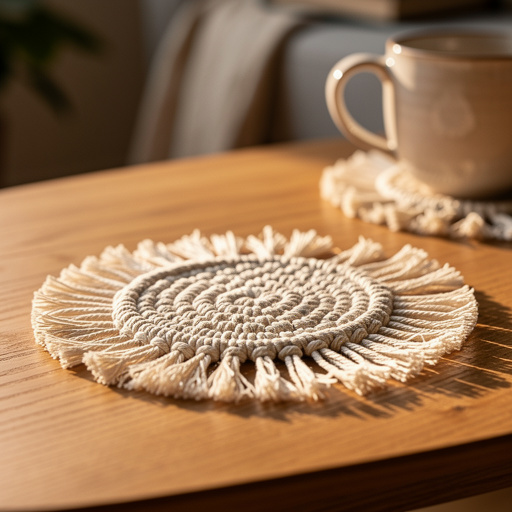
Congratulations on creating your first cozy knit mug hug! This simple project opens the door to a world of creative possibilities. You can experiment with different yarn weights and colors, or even try adding simple stripes by changing yarn colors every few rows. For your next project, consider knitting a matching coaster or a small washcloth to further hone your skills. Once complete, your mug hug can be displayed proudly on your favorite mug, adding a touch of handmade warmth to your daily routine. Store it neatly when not in use to keep it looking its best.
Free: 10 Paper Crafts Anyone Can Make in 5 Minutes
Get our beginner guide + new craft ideas weekly.
No spam. Unsubscribe anytime.
Did you complete this activity?