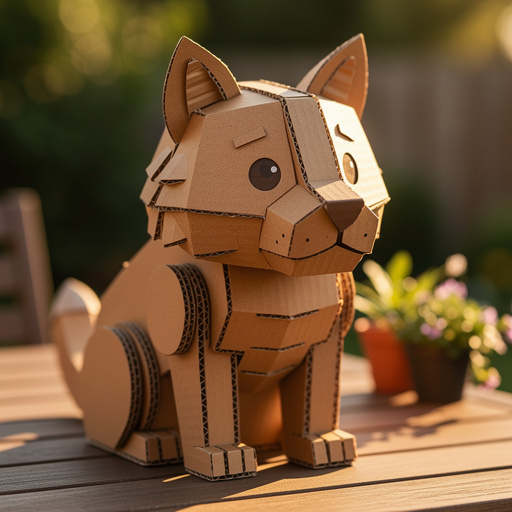
The Best Way to Make Egg Carton Critter Homes — Methods, Materials & Tips Compared
Transform ordinary egg cartons into adorable homes for imaginary creatures with this fun and easy craft project for young children.

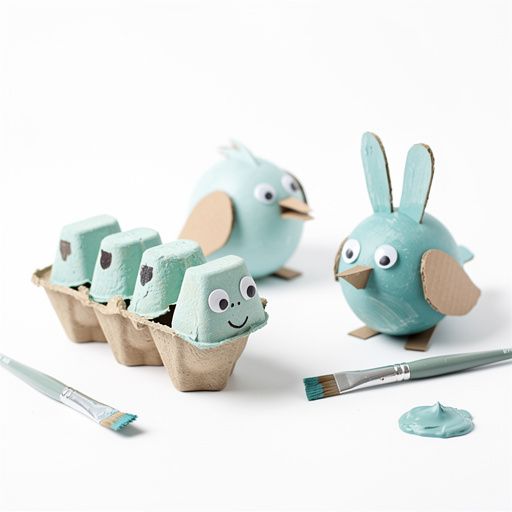
Quick answer
To make egg carton critter homes, you need an empty egg carton, scissors, glue, paint, and decorative items, taking about 45-60 minutes. This method is accessible and yields delightful results for 5-year-olds.
What you need
Shop on Amazon · As an Amazon Associate we earn from qualifying purchases. Links above are affiliate links — we may earn a commission at no extra cost to you.
When embarking on egg carton crafts for 5-year-olds, the possibilities are as vast as a child's imagination. While some approaches might involve complex cutting or intricate painting, we've found the most engaging and accessible method for this age group is the 'Egg Carton Critter Homes' project. This approach prioritizes simple assembly, vibrant decoration, and imaginative play, making it ideal for developing fine motor skills and fostering creativity without overwhelming young children. It’s a fantastic way to repurpose materials and create something truly special that little ones will cherish.
On this page
Step-by-Step Instructions
- 1
Step 1: Prepare the Egg Carton. Carefully cut the lid off the egg carton using child-safe scissors. If the carton has a central divider that is very tall, you can trim it down slightly to create a more open feel for the critter homes, but ensure the individual cups remain intact. This step might require adult assistance depending on the child's scissor skills.
- 2
Step 2: Divide and Conquer. Decide how many individual critter homes you want to create. You can use each cup as a separate home, or cut larger sections of the carton to make bigger dwellings. For 5-year-olds, using each cup individually is often the easiest and most manageable approach, allowing for quick completion and immediate satisfaction.
- 3
Step 3: Base Coat Painting. Using washable tempera paints and assorted brushes, have your child paint the inside and outside of each egg carton cup. Encourage them to use bright, cheerful colors. Let them experiment with mixing colors or creating patterns. Ensure they cover all the cardboard surfaces they intend to decorate.
- 4
Step 4: Drying Time. Allow the painted egg carton cups to dry completely. This is a crucial step to prevent colors from smudging and to ensure the glue adheres properly in the next stages. This can take anywhere from 30 minutes to an hour, depending on the thickness of the paint and humidity.
- 5
Step 5: Adding Windows and Doors. Once the paint is dry, use scissors to carefully cut out small window and door shapes from the sides or fronts of the egg carton cups. You can draw the shapes lightly with a pencil first as a guide. Alternatively, children can use crayons or markers to draw these features directly onto the painted surface.
- 6
Step 6: Gluing on Googly Eyes. Apply a small dab of craft glue to the back of googly eyes and press them onto the egg carton homes. You can place them above the 'door' to give the home a face, or scatter them around the exterior for a whimsical look. Let the glue set for a minute before moving on.
- 7
Step 7: Decorating with Pom-Poms. Use craft glue to attach small pom-poms to the egg carton homes. These can be used as decorative accents, like flowers growing outside the door, or as doorknobs. Encourage creativity in placement and color combinations.
- 8
Step 8: Glittery Touches (Optional). If using glitter glue, have your child draw simple patterns or outlines around windows and doors, or add a sparkly roof. If using loose glitter, apply a thin layer of craft glue to the desired areas and then sprinkle the glitter over the wet glue. Shake off any excess glitter.
- 9
Step 9: Creating Roofs and Accessories. Cut small squares or triangles from construction paper or cardstock to create roofs for the critter homes. Glue these onto the top edges of the cups. You can also cut out small shapes like flowers, signs, or even tiny furniture to glue around the homes.
- 10
Step 10: Adding Pipe Cleaner Details (Optional). For an extra touch, twist pipe cleaners into shapes like tiny fences, ladders, or even little flags. Glue these onto the critter homes. For example, a short, twisted pipe cleaner can serve as a tiny mailbox next to the door.
- 11
Step 11: Personalizing Each Home. Encourage your child to give each critter home a unique personality. They can use markers to draw details like bricks, roof tiles, or even tiny curtains in the windows. This step allows for maximum individual expression.
- 12
Step 12: Assembling a Village. Once all the individual critter homes are decorated, arrange them together on a table or a piece of cardboard to create a charming critter village. This allows children to see their creations as a cohesive project.
- 13
Step 13: Adding Natural Elements (Optional). For a more immersive experience, you can gather small natural items like twigs, leaves, or pebbles to place around the critter village. This adds an outdoor feel and further encourages imaginative play.
- 14
Step 14: Reinforce Decorations. Gently check if any glued-on decorations are loose. Add a tiny bit more glue if needed and hold in place for a few seconds until secure. This ensures the critter homes will last longer for play.
- 15
Step 15: Final Review and Play. Admire the completed critter homes! Encourage your child to invent stories about the creatures that live in each home. This is the culmination of the craft, where imagination takes over.
Tips & Troubleshooting
- 1Protect your workspace by covering the table with newspaper or a plastic tablecloth. Egg carton crafts, especially painting, can get a little messy, so preparation is key to a stress-free crafting session.
- 2Pre-cut the egg carton if needed. For younger children who are still developing their scissor skills, an adult can pre-cut the egg carton into individual cups or sections before the crafting session begins.
- 3Embrace imperfection! For 5-year-olds, the process of creating is more important than a perfectly polished end product. Encourage their unique artistic choices, even if they differ from your expectations.
- 4Incorporate sensory elements. Beyond paint and glitter, consider adding textures like cotton balls for fluffy clouds, small fabric scraps for cozy rugs, or even a sprinkle of dried herbs for a 'garden' effect.
- 5Extend the play value by creating small 'critters' to inhabit the homes. These could be made from small pom-poms, felt scraps, or even drawn on paper and cut out.
- 6Discuss the purpose of each part of the home. Ask questions like, 'What do you think this window is for?' or 'Who might live in this cozy little house?' This encourages critical thinking and imaginative storytelling.
Related Activities You Might Enjoy
Frequently Asked Questions
What are the best types of paint to use for egg carton crafts for 5-year-olds?
For egg carton crafts with 5-year-olds, washable tempera paints are the ideal choice. They are non-toxic, water-based, and most importantly, easy to clean up from hands, clothes, and surfaces. This significantly reduces the stress for parents and allows children to explore their creativity freely. Avoid permanent markers or paints that are difficult to remove, as spills and drips are common at this age. Ensure the paint is applied in a thin to medium layer to allow for quicker drying times, which is essential for maintaining a child's attention span.
How can I make egg carton crafts less messy for a 5-year-old?
Minimizing mess in egg carton crafts for 5-year-olds involves a few strategic steps. First, always cover your work surface with newspaper, a plastic tablecloth, or an old sheet. Provide children with an apron or old t-shirt to wear. Using washable paints and glues is paramount. Consider using paint sticks or crayons for some decorating tasks as they are generally less messy than traditional brushes and liquid paints. Pre-portioning glue into small containers or using glue sticks can also help control the amount applied. Finally, have wet wipes or a damp cloth readily available for immediate clean-up of any spills or sticky fingers.
What are some other creative ideas for egg carton crafts for 5-year-olds besides critter homes?
Beyond critter homes, egg cartons offer a wealth of creative opportunities for 5-year-olds. They can be transformed into colorful flower bouquets by cutting individual cups, painting them, and attaching them to pipe cleaner stems. Another popular idea is creating animal masks by cutting out sections of the carton and decorating them to resemble various creatures like owls, lions, or bugs. They can also be used to make miniature vehicles, such as cars or boats, by adding wheels made from bottle caps or paper. For a more abstract art project, children can use the cups as paint palettes or stampers to create unique patterns and designs on paper.
How long does it typically take for egg carton crafts to dry?
The drying time for egg carton crafts can vary significantly depending on several factors. If you're using washable tempera paints, a thin coat might dry within 30 to 60 minutes in a well-ventilated area. However, thicker applications of paint, especially if multiple layers are applied, can take several hours. If you're using craft glue, it usually takes about 15-30 minutes to become tacky enough to handle, but full curing can take up to 24 hours for maximum strength. Adding embellishments like glitter glue or heavier items might also extend the drying time. It's always best to allow ample drying time, ideally overnight for complex projects, to ensure everything is secure before play.
What Next?
Exploring egg carton crafts for 5-year-olds offers a spectrum of creative avenues. Simple painting and gluing, like in our recommended 'Critter Homes' method, are excellent for beginners, promoting ease of execution and immediate gratification. For those seeking more complexity, adding elements like pipe cleaner furniture or fabric scraps for roofing could elevate the design, though this might require more adult supervision. The pros of the Critter Homes approach are its low mess, high engagement, and adaptability. The cons are minimal, perhaps that the structures are not intended for heavy play. For beginners, starting with the straightforward decoration of individual egg carton cups as tiny homes is the perfect entry point. Experienced makers can then experiment with combining multiple cartons or adding more elaborate details.
Free: 10 Paper Crafts Anyone Can Make in 5 Minutes
Get our beginner guide + new craft ideas weekly.
No spam. Unsubscribe anytime.
Did you complete this activity?
Related
You might also like
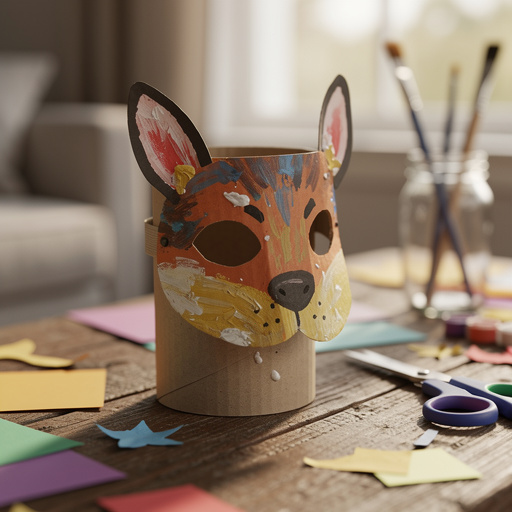
Cardboard Tube Animal Masks
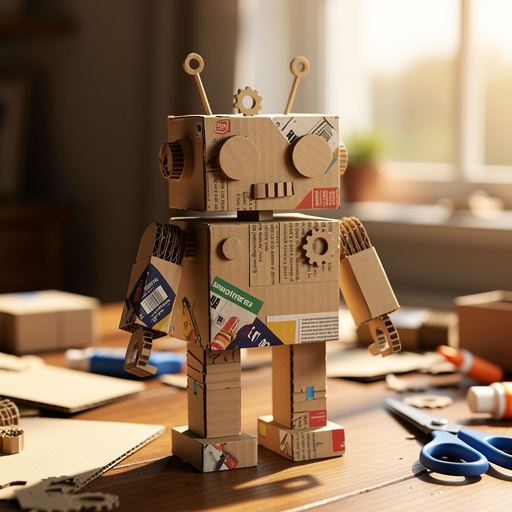
Recycled Cardboard Robot Sculptures
Toilet Paper Roll Animal Puppets
Egg Carton Critters & Creations
Cardboard Critter Masks