Simple Sewn Coin Purse: A Beginner Sewing Project for 7 Year Olds
Ready to introduce your 7-year-old to the wonderful world of sewing? This tutorial walks you through making a super cute coin purse, a fantastic first project that builds confidence and fine motor skills. We'll cover everything from fabric choices to troubleshooting common beginner hiccups, all in a fun, encouraging tone. This project is a great starting point for young sewers, building foundational skills for more complex creations.
Quick answer
To make this simple coin purse, you'll need two fabric scraps (approx. 15cm x 10cm each), a 12cm zipper, needle, thread, and scissors. It's a great beginner project for a 7-year-old, taking about 45-60 minutes with a little adult help.
What you need
Shop on Amazon · As an Amazon Associate we earn from qualifying purchases. Links above are affiliate links — we may earn a commission at no extra cost to you.
Hey there, fellow crafters! Are you looking for a fantastic, hands-on activity to share with your 7-year-old? Sewing is such a rewarding skill, and this simple coin purse project is the perfect place to start. It’s not just about making something cute; it’s about building confidence, developing those crucial fine motor skills, and having some quality screen-free time together. This project is ideal for a 7-year-old's developing dexterity and attention span, offering a tangible sense of accomplishment. I remember my first sewing project – a bit wobbly, but oh-so-satisfying! Let's get stitching!
On this page
Step-by-Step Instructions
- 1
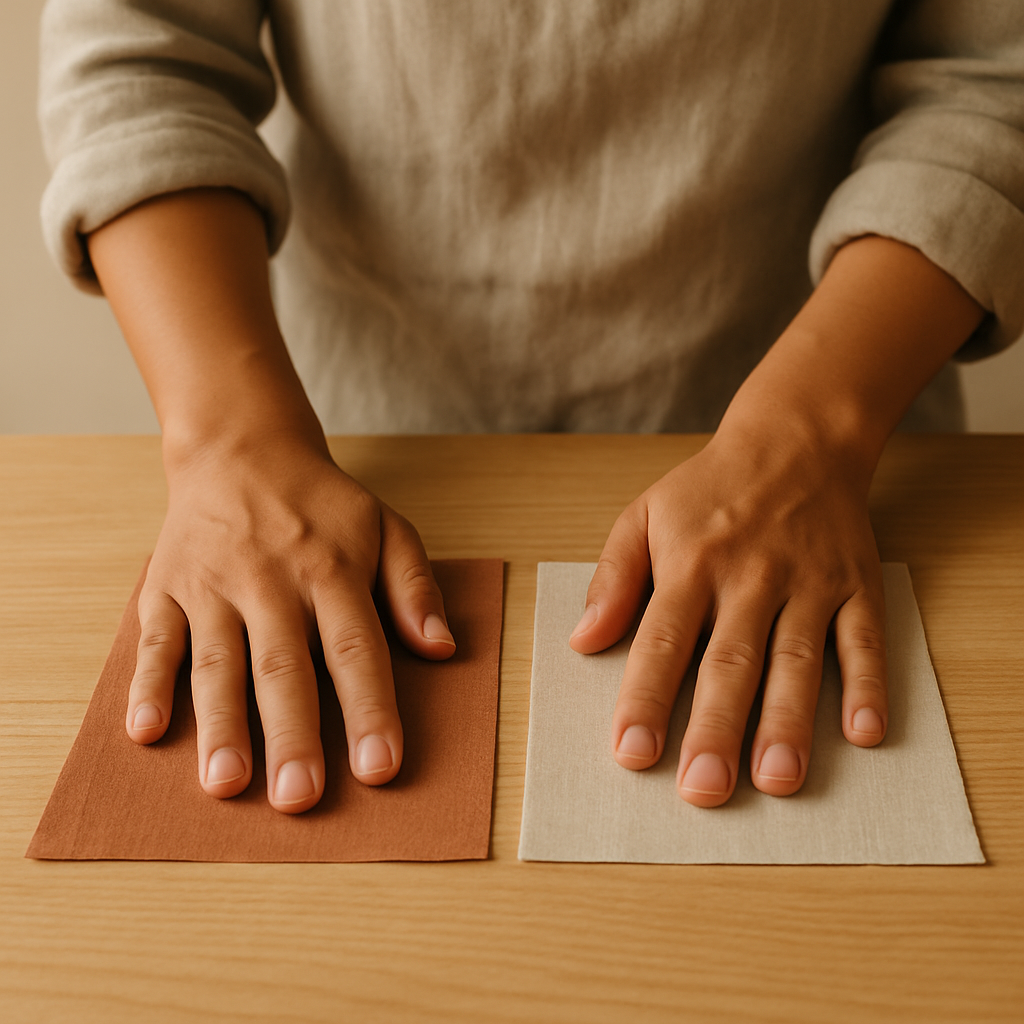
Step 1: Get your fabric ready! Take your two fabric pieces, each measuring 15cm wide by 10cm tall. Smooth them out – if they're a bit crinkly, ask an adult to give them a quick press with the iron on a medium setting. This makes sewing much easier and ensures your seams are straight.
- 2
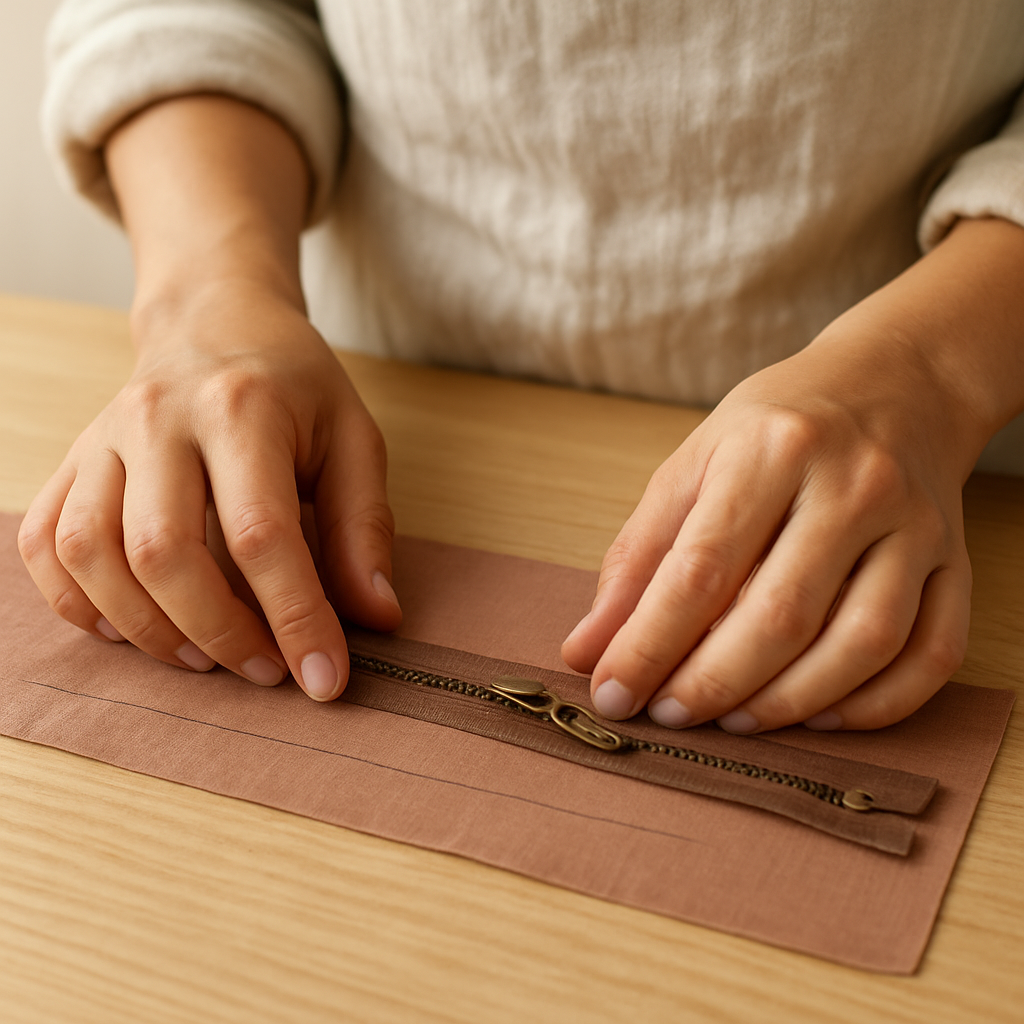
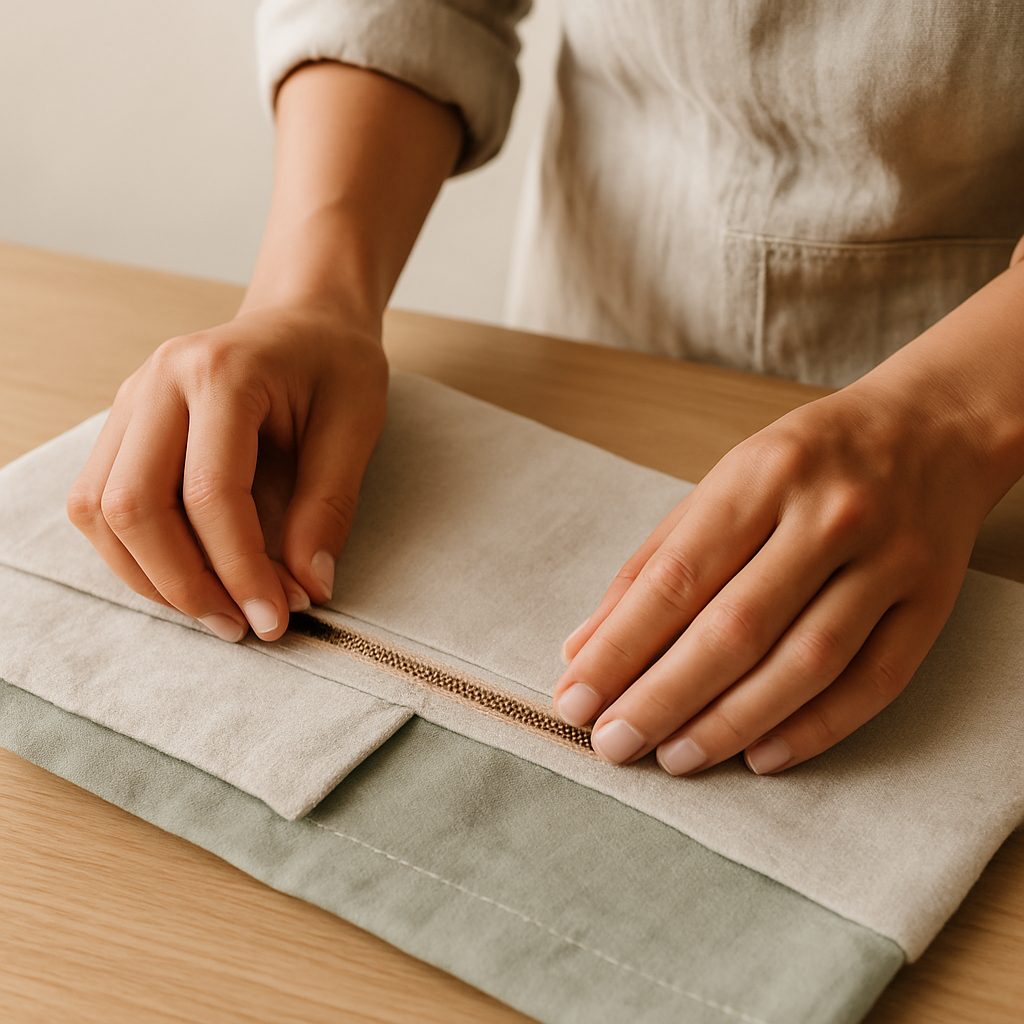
Step 2: Mark where the zipper will go. On one of the 15cm edges of *each* fabric piece, measure and draw a line 1.5cm in from the edge using your fabric marker or chalk. This line is your guide for sewing the zipper on straight, ensuring a consistent seam allowance.

- 3
Step 3: Position the zipper for the first side. Place one fabric piece right-side up. Now, lay the zipper face down along the marked line, with the zipper pull towards the middle of the fabric. The zipper teeth should be right on top of that 1.5cm line you drew.
- 4
Step 4: Pin that zipper in place! Carefully use your straight pins to attach the zipper tape to the fabric along the marked line. Use a few pins to keep it from shifting – this is super important for neat stitching. Make sure the zipper tape lies flat against the fabric.

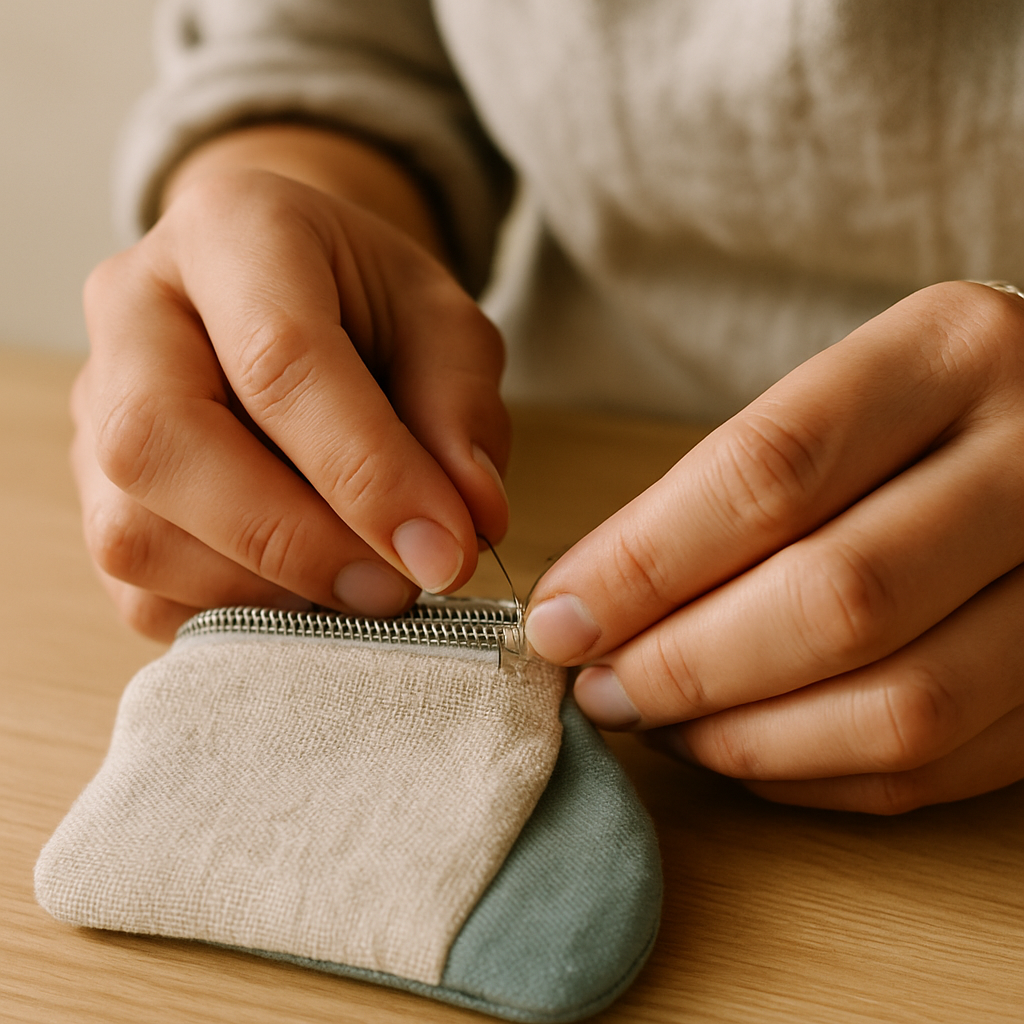
- 5
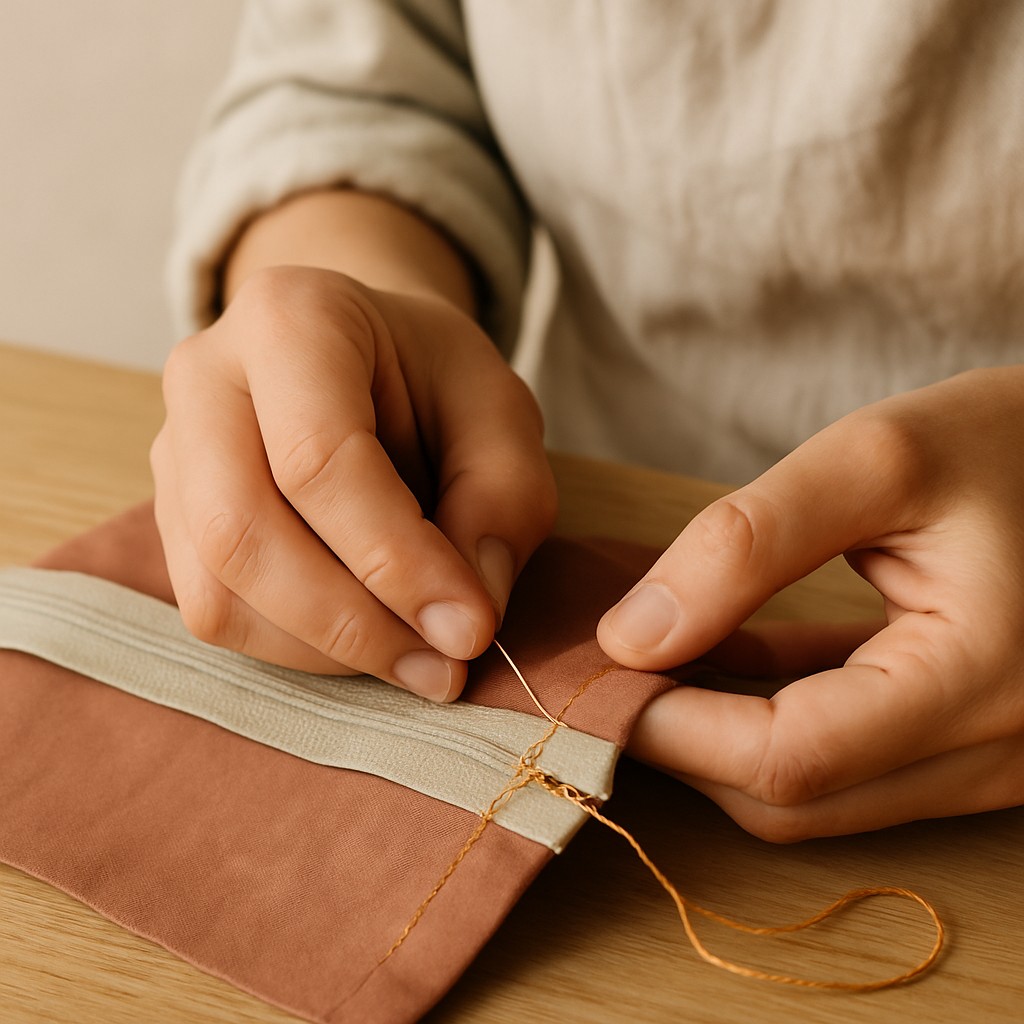
Step 5: Time to sew the first zipper side! Thread your needle with about 40cm of thread (that's roughly your arm's length) and tie a knot at the end. Using a simple running stitch (imagine sewing a dashed line, with equal spaces between stitches and the thread showing) or a backstitch (imagine sewing a solid line, where each new stitch goes back to meet the previous one and is stronger), sew right along the marked line, securing the zipper tape. Aim for stitches about 0.5cm long.
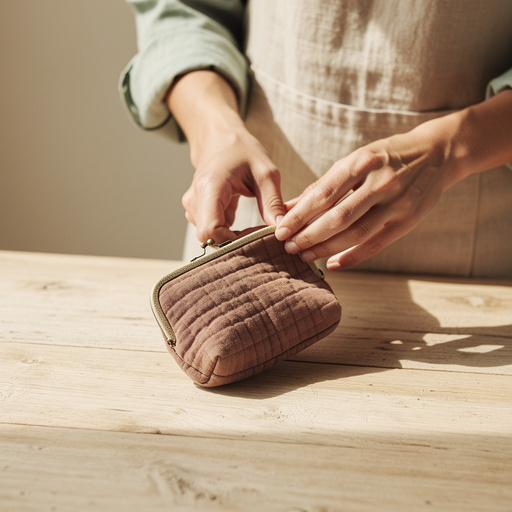
- 6
Step 6: Let's do the other side! Take your second fabric piece and place it right-side down on top of the first piece, lining up those 15cm edges. The zipper should now be sandwiched between the two fabric pieces, right-side up.

- 7
Step 7: Pin the second side of the zipper. Now, pin the second fabric piece to the *other* side of the zipper tape, again lining it up with that 1.5cm seam allowance line you marked. Make sure the fabric edges are perfectly even with the first piece.
- 8
Step 8: Sew the second zipper side. Using the same stitch you chose before (running or backstitch), sew along the marked line to attach the second fabric piece to the zipper. You should now have a fabric 'sandwich' with the zipper neatly in the middle.
- 9
Step 9: Quick zipper check! Gently open the fabric pieces a little to see how the zipper looks. Is it sewn on straight? If it looks a bit wonky, don't panic! You can carefully unpick a few stitches with your needle and try again. If the stitches are uneven, gently pull the thread to snug them up.
- 10
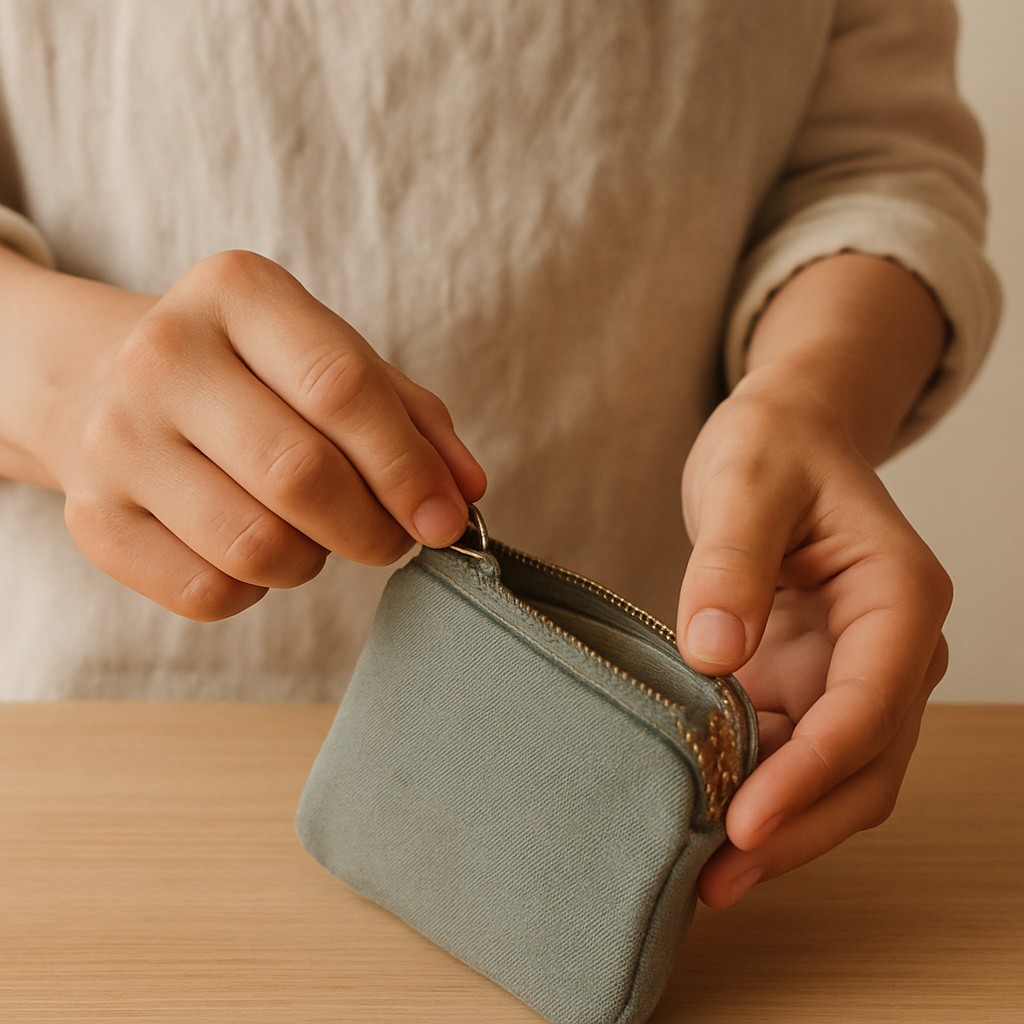
Step 10: Crucial step: Open the zipper! Partially unzip the coin purse about halfway. Seriously, don't forget this bit! If you sew it all up with the zipper closed, you won't be able to turn it right-side out later. If you forget, you'll have to carefully unpick your stitches to open it.
- 11
Step 11: Get ready to sew the purse body. Now, flip the whole thing over so the right sides of the fabric are facing *each other*, with the zipper sandwiched in between. The zipper pull should be on the outside, ready to be opened.
- 12
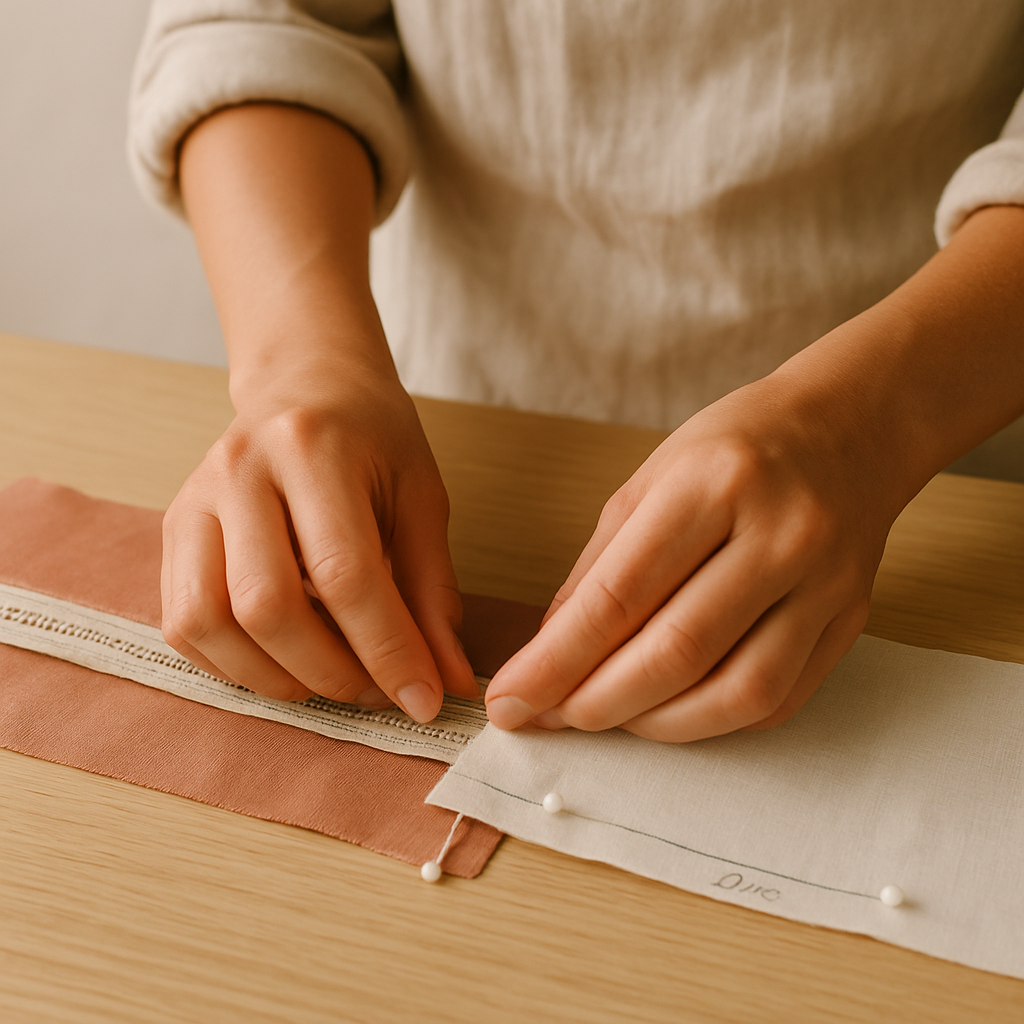
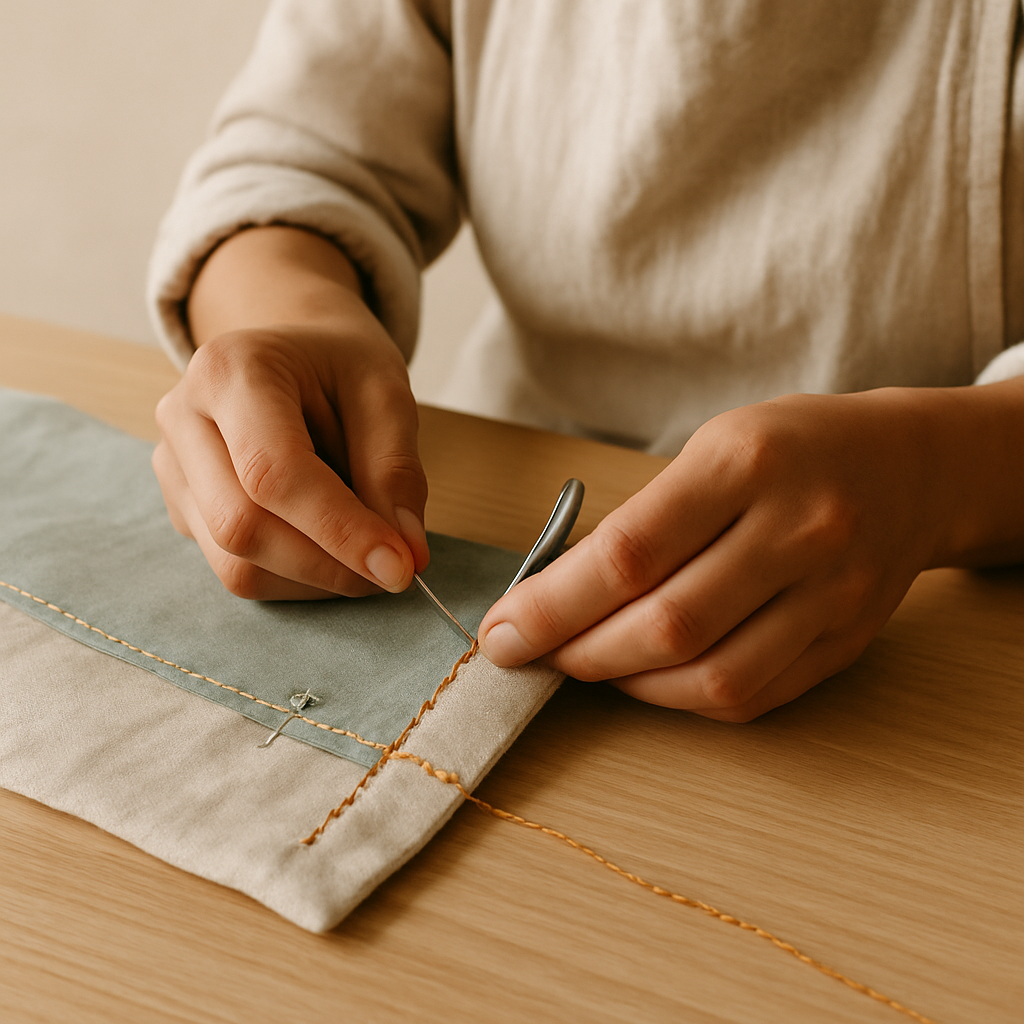
Step 12: Pin the sides together. Line up the raw edges of the two fabric pieces all the way around. Pin them securely, especially along the edges where the zipper is sewn. Leave the two short 10cm ends completely open – these are where we'll turn the purse out.

- 13
Step 13: Sew the purse body. Starting at one of the open 10cm ends, begin sewing along the long edge, then pivot and sew along the other long edge, stopping at the other open 10cm end. Leave the two short 10cm ends completely open. Use your running stitch or backstitch, keeping that 1.5cm seam allowance consistent all the way around. If your stitches are a bit uneven, just gently pull the thread to snug them up.
- 14
Step 14: Reinforce those corners! Where the side seams meet the zipper, sew a few extra stitches back and forth. This little bit of reinforcement helps prevent the corners from fraying or pulling apart later, making your purse last longer. If the corners feel loose, add a few more stitches.
- 15
Step 15: Trim the corners. Carefully snip off the fabric at the corners diagonally, getting close to your stitches but *not* cutting through them. This trick helps the corners lie nice and flat when you turn the purse right-side out. If you cut too close, the seam might unravel, so be careful!
- 16
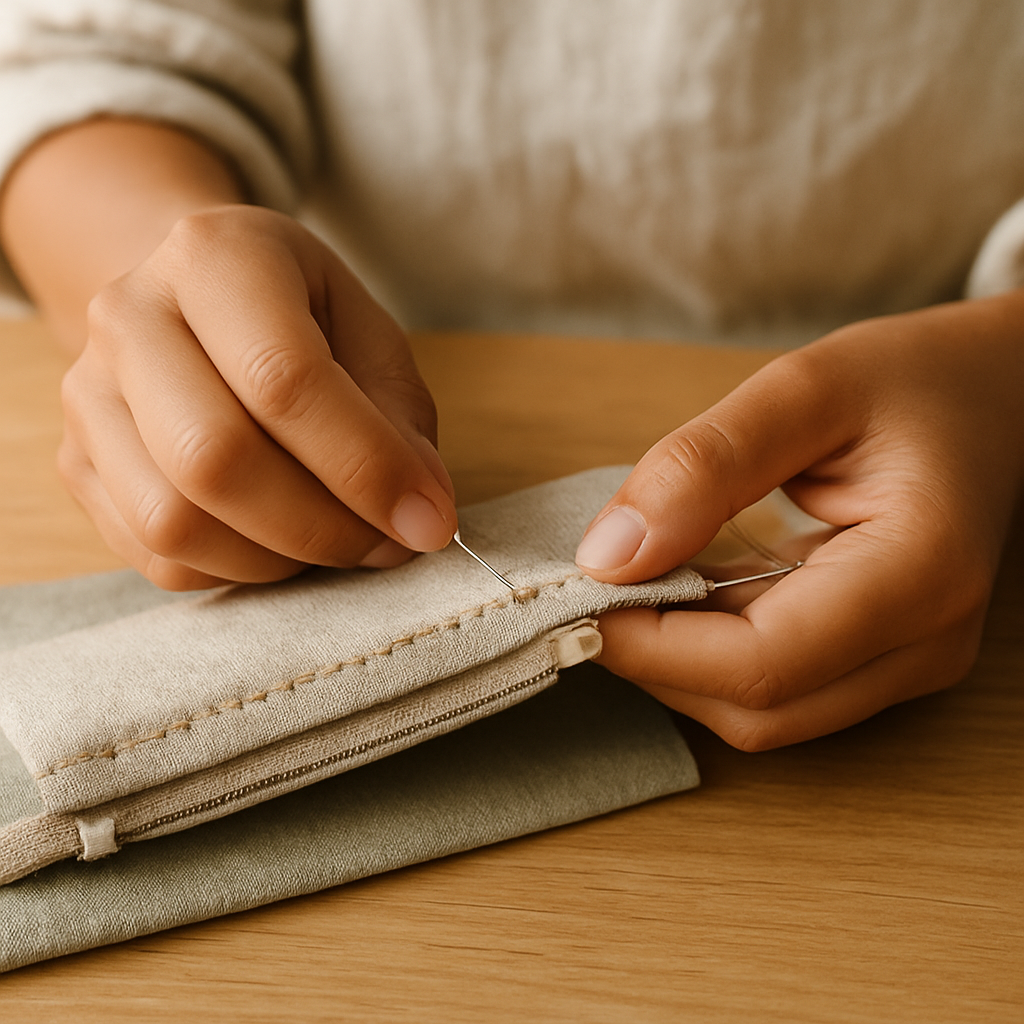
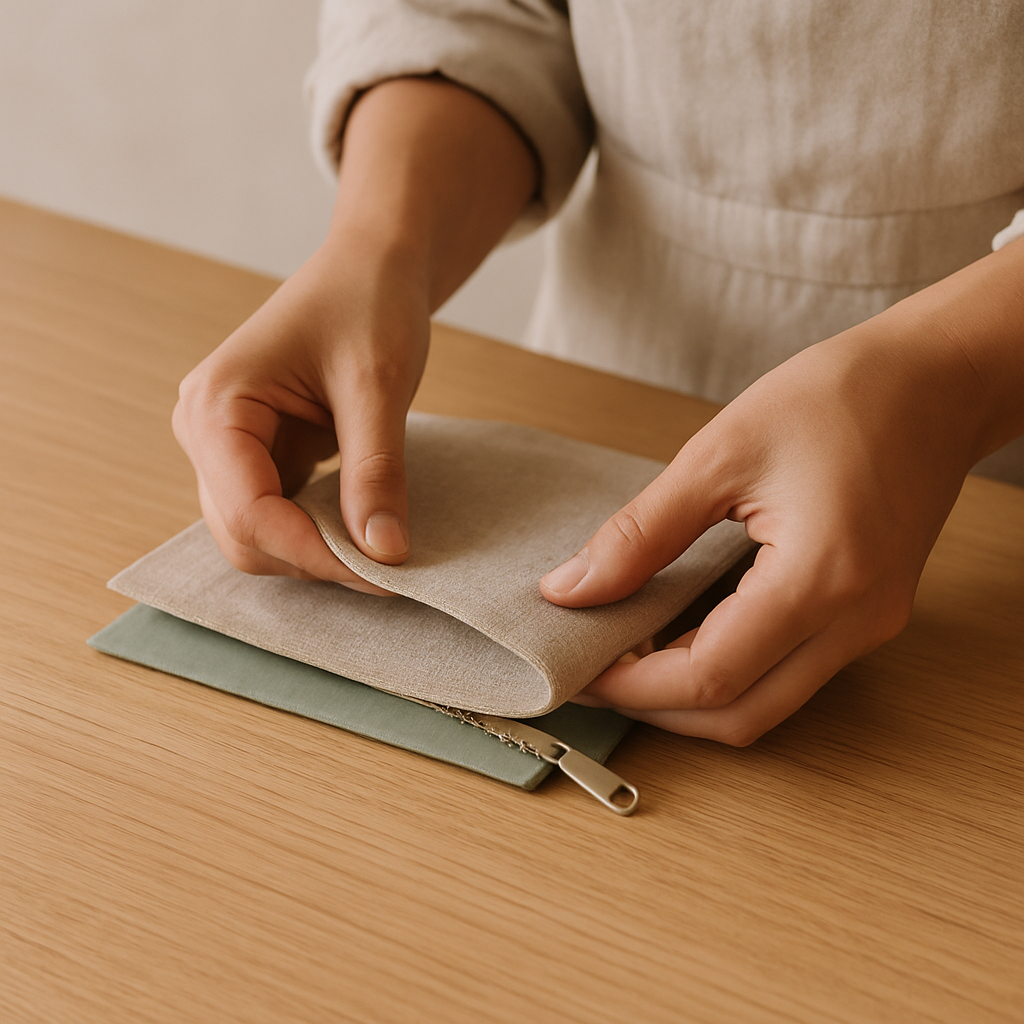
Step 16: Turn it inside out! Reach through the opening you left in the zipper and gently pull the fabric through. Use your fingers or a blunt tool, like the eraser end of a pencil or a chopstick, to carefully push out the corners so they are nice and defined. If the corners are stubborn, gently work them out with your tool.

- 17
Step 17: Check the shape and seams. Give your coin purse a good look. Are the corners pushed out nicely? Do the seams look secure? If any part feels a bit loose, you can always go back and add a few extra stitches for reinforcement. If the fabric is bunching, ensure your stitches were consistent.
- 18
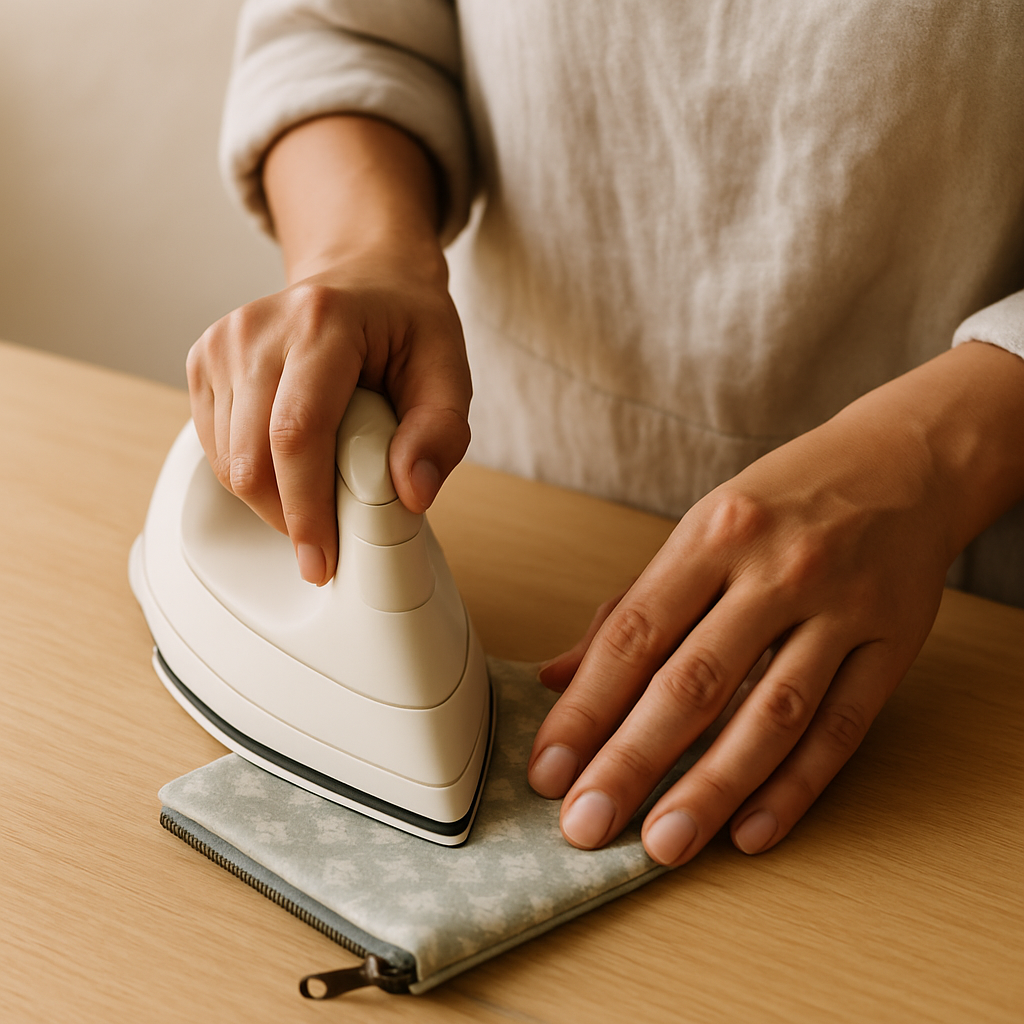
Step 18: A final press (optional, but nice!). For a really professional finish, ask an adult to carefully iron the seams flat. Be super careful to iron *around* the zipper, not directly on the plastic or metal parts, as they can melt. If the fabric puckers, try ironing with the fabric flat and smooth.
- 19
Step 19: Ta-da! You did it! Look at that amazing coin purse you and your 7-year-old created! It’s perfect for stashing coins, tiny treasures, or even a special little note. How proud are you! This project is a fantastic introduction to sewing, and you can even adapt it for younger children by pre-cutting the fabric and focusing on just the stitching. For older kids, you could try adding decorative stitches or even a small applique before sewing the sides together.
Tips & Troubleshooting
- 1Fabric Fun: Quilting cotton is brilliant for beginners because it's stiff enough not to stretch and easy to handle. Plus, the sheer variety of fun prints means you can make a purse that's totally unique! Avoid anything too stretchy or slippery for your first few projects. For a more advanced variation, try a slightly heavier weight cotton or a linen blend.
- 2Thread Smarts: Keep your thread length to about 40-50cm (arm's length). Any longer and it's a recipe for tangles! Always tie a secure knot at the end of your thread before you start sewing. If your thread keeps tangling, try using a slightly shorter length or a good quality thread.
- 3Stitch Practice: The running stitch is your best friend when starting out – it's simple and effective. If you want a stronger seam, the backstitch is fantastic, but it does take a bit more practice. Encourage your child to try both and see which they prefer! If stitches are consistently loose, remind them to gently pull the thread taut after each stitch.
- 4Tangled Thread Troubles: Oh, the dreaded knot! If the thread gets tangled, stop immediately. Gently try to tease the knot apart. If it's a really stubborn one, it's often quicker and less frustrating to cut the tangled bit off and start again from the knot. If tangles are frequent, check that the needle is threaded correctly and the thread isn't catching on anything.
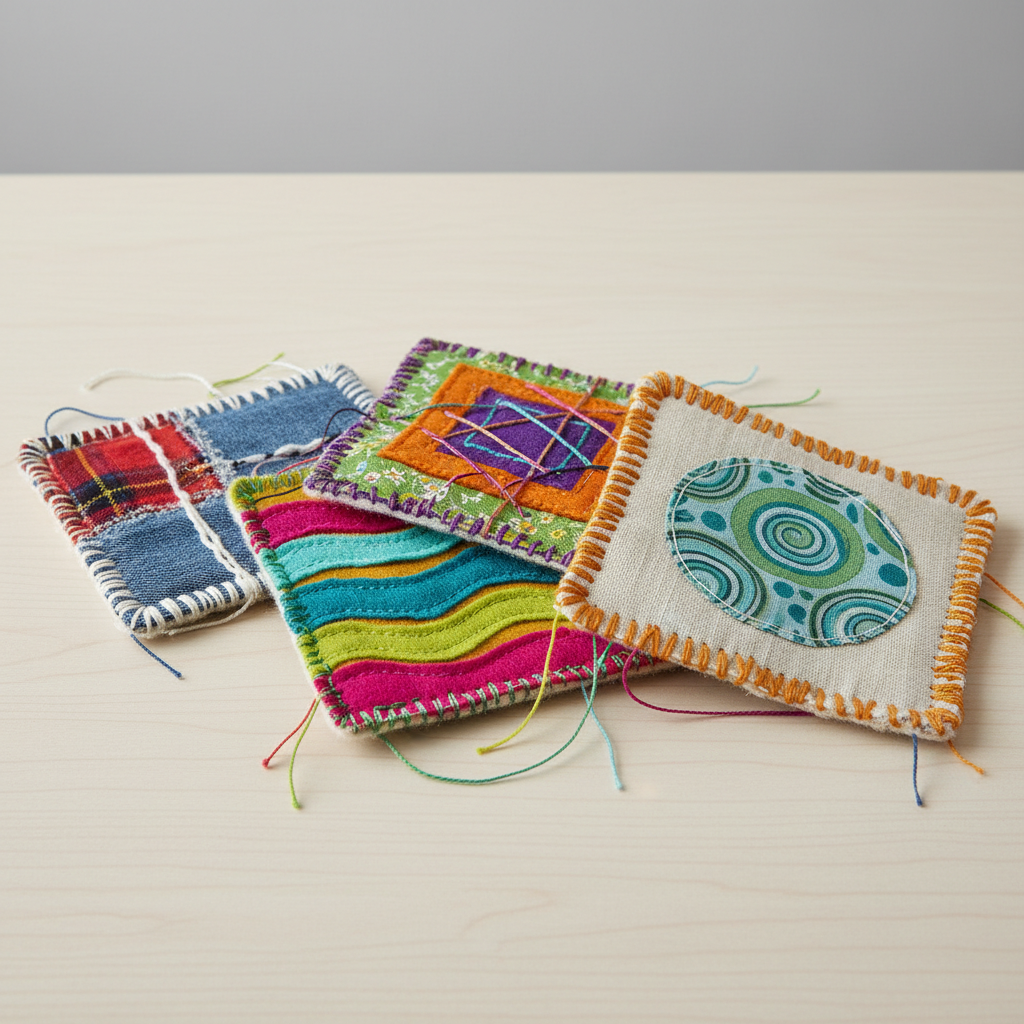
- 5Make it Yours!: This is where the real fun begins! Before you sew the sides together (Step 13), encourage your child to decorate the fabric pieces. They could draw on them with fabric markers, add some simple embroidery stitches, or even glue on small fabric scraps or felt shapes. This personal touch makes the project extra special. For a unique variation, try adding a small applique of a contrasting fabric before sewing.
- 6Your Guiding Role: Your job is to be the cheerleader and helper! Let your child do as much of the sewing as possible. Offer guidance, demonstrate techniques, and help with tricky bits like threading the needle or ironing, but let them be the main stitcher. It's their creation! If they're struggling with a particular step, break it down into smaller, more manageable actions.
Related Activities You Might Enjoy
Frequently Asked Questions
What are the safest needles and scissors for a 7-year-old to use?
For needles, blunt-tipped embroidery needles are a great starting point because they're less likely to cause accidental pricks. Always supervise closely when needles are out! For scissors, child-safe ones with rounded tips and comfy grips are ideal. Make sure they're still sharp enough to cut fabric cleanly, as dull scissors can be frustrating and lead to slips. When you're not using them, store all sharp tools safely out of reach. For a more advanced child, you might introduce a slightly sharper pair of fabric scissors for their exclusive use under supervision.
How can I help my 7-year-old learn basic stitches like the running stitch?
Grab a large needle, some chunky yarn or embroidery floss, and a piece of scrap fabric (felt works great!). Show them the 'in and out' motion of the running stitch, aiming for stitches and gaps that are roughly the same size. For a 7-year-old, about 0.5cm to 1cm stitches are a good target. You can even draw dots on the fabric as guides. Remind them that it's okay if it's not perfect; the goal is to get the feel for it! If they're struggling with consistency, try using a ruler to mark out the stitch and gap lengths initially.
My child's stitches are uneven and loose. How can we improve this?
That's super common for beginners! First, encourage them to use a consistent thread length and to gently pull the thread taut after each stitch to snug it up. If the stitches are too loose, it might be that the thread isn't being pulled tight enough, or the stitch length is a bit too long. Practicing on scrap fabric, focusing on making each stitch feel similar in tension and size, can really help build consistency. You can also try using a slightly thicker thread or a smaller needle to help create tighter stitches.
What other simple sewing projects are good for a 7-year-old's skill level?
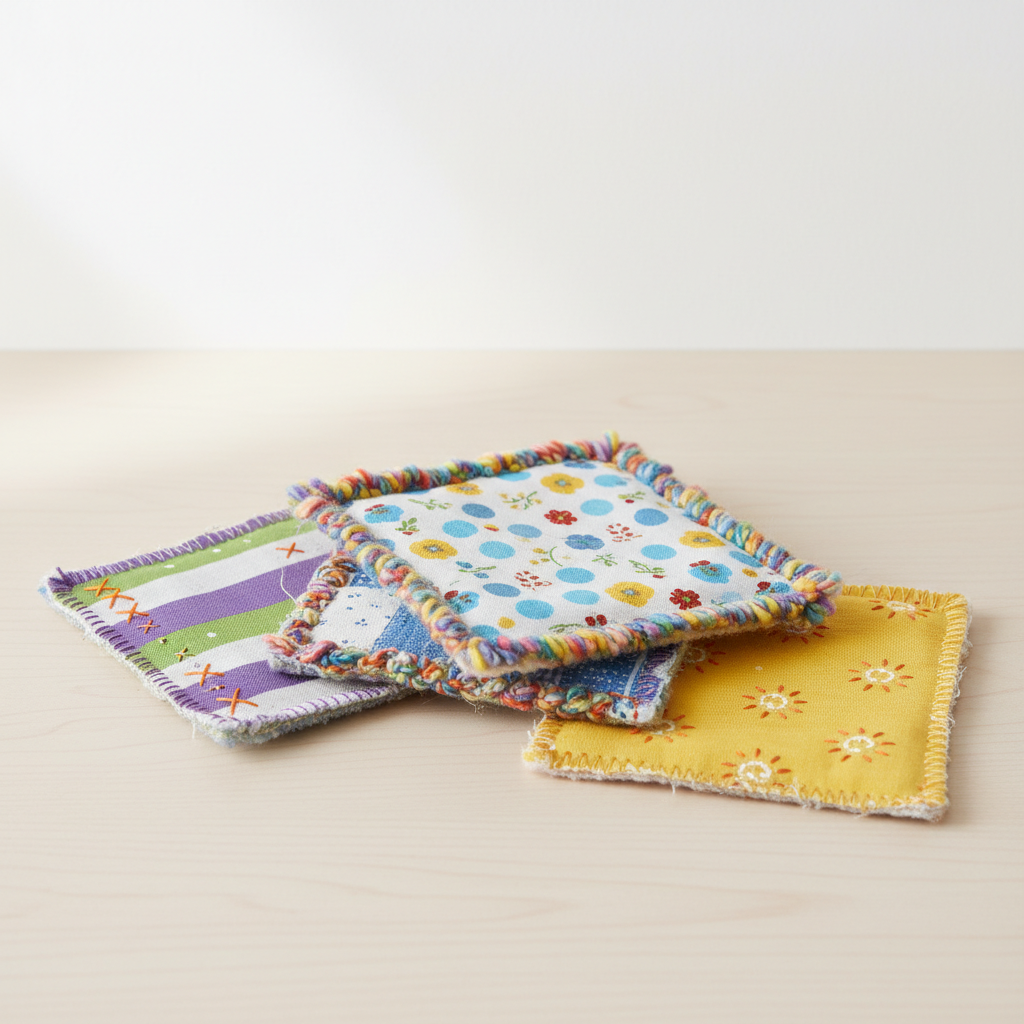
This coin purse is a fantastic start! Other great options include a simple felt bookmark (just sew two felt rectangles together around the edges), a basic drawstring bag (two fabric rectangles sewn into a tube with a channel for the string), or a small pincushion. These projects reinforce essential skills. For a slightly bigger accomplishment, a simple elastic waistband skirt made from a large fabric rectangle is also very doable and incredibly satisfying! For a no-sew option, consider a fabric-glue project like a simple felt pouch.
What Next?
And there you have it – your very own handmade coin purse! How awesome is that?! This project is a brilliant stepping stone into the world of sewing for your 7-year-old, proving that they can absolutely create wonderful things with their own two hands. It’s perfectly sized for little hands to manage and offers a satisfying completion within a reasonable timeframe. Don't worry if the stitches aren't perfectly straight the first time; that's all part of the learning process! Embrace the wobbly bits, celebrate the successes, and most importantly, have fun. Keep practicing, and you'll be amazed at what you both can create together. Happy sewing!
Free: 10 Paper Crafts Anyone Can Make in 5 Minutes
Get our beginner guide + new craft ideas weekly.
No spam. Unsubscribe anytime.
Did you complete this activity?