The Ultimate Envelope Pillow Cover Guide: From Beginner to Pro
Transform your living space with a handmade touch! This guide teaches you to create beautiful envelope pillow covers, covering everything from choosing the perfect fabric to achieving a professional finish, with options for all skill levels.
Quick answer
To make a custom envelope pillow cover, you need 1 yard of medium-weight fabric, a sewing machine, thread, scissors, pins, and an iron. The project takes about 60-90 minutes for a sewn version, resulting in a stylish, removable cover for your pillow inserts.
What you need
Shop on Amazon · As an Amazon Associate we earn from qualifying purchases. Links above are affiliate links — we may earn a commission at no extra cost to you.
Welcome to Endless Fold, fellow makers! There's something incredibly satisfying about creating textiles for your home, and a DIY pillow cover is the perfect entry point. While there are many ways to approach this, from simple no-sew methods to intricate zippered designs, we're diving into the versatile *envelope style*. I recommend this method because it's wonderfully accessible for beginners, yet offers plenty of room for advanced finishing techniques, yielding beautiful, professional-looking results without the fuss of zippers or buttons.
On this page
Step-by-Step Instructions
- 1
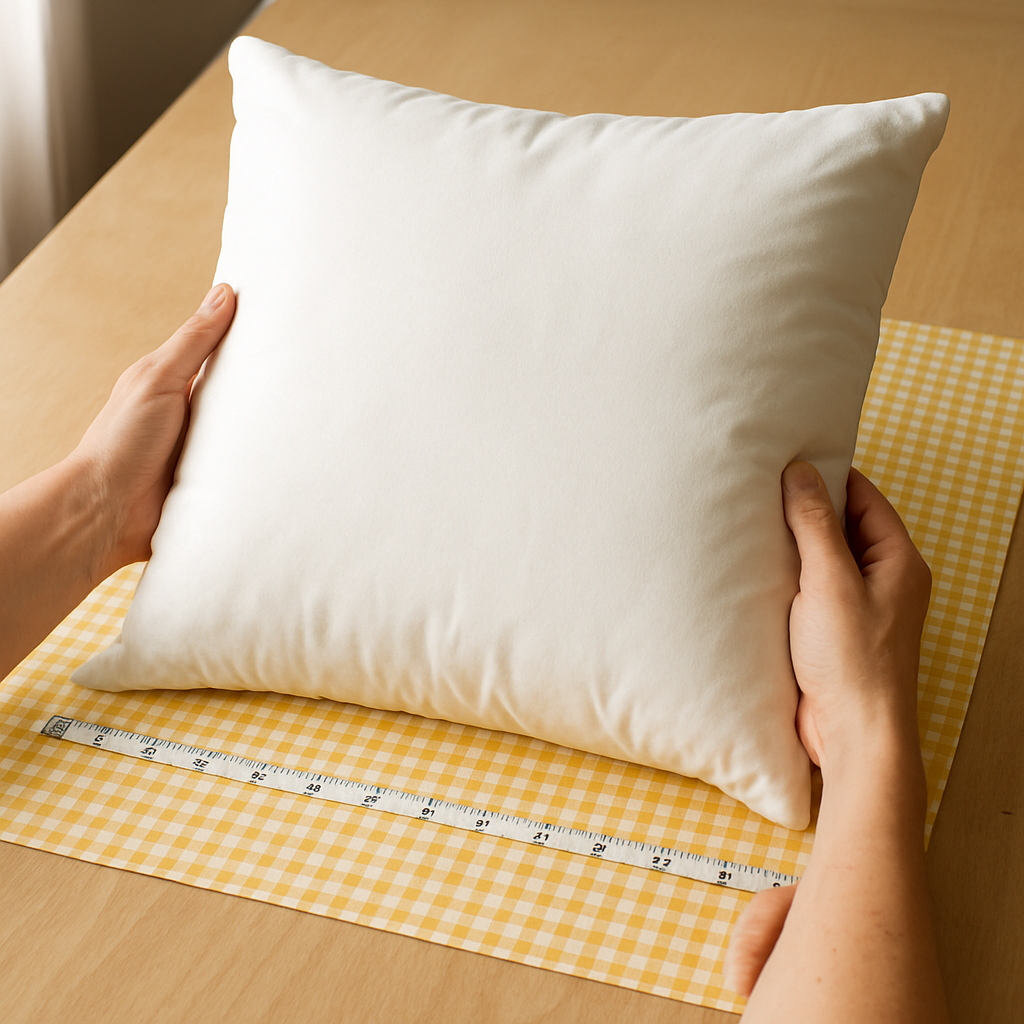
**Measure Your Pillow Insert:** Begin by accurately measuring your pillow insert. For an 18x18 inch (45x45 cm) insert, you'll need a fabric piece that is 19 inches (48 cm) wide and 44 inches (112 cm) long. This accounts for a 1/2 inch (1.25 cm) seam allowance on the sides and a generous 6-inch (15 cm) overlap for the envelope back, plus hem allowances. If your measurements are off, your cover will be too tight, too baggy, or the overlap won't be secure. Always measure twice!
- 2
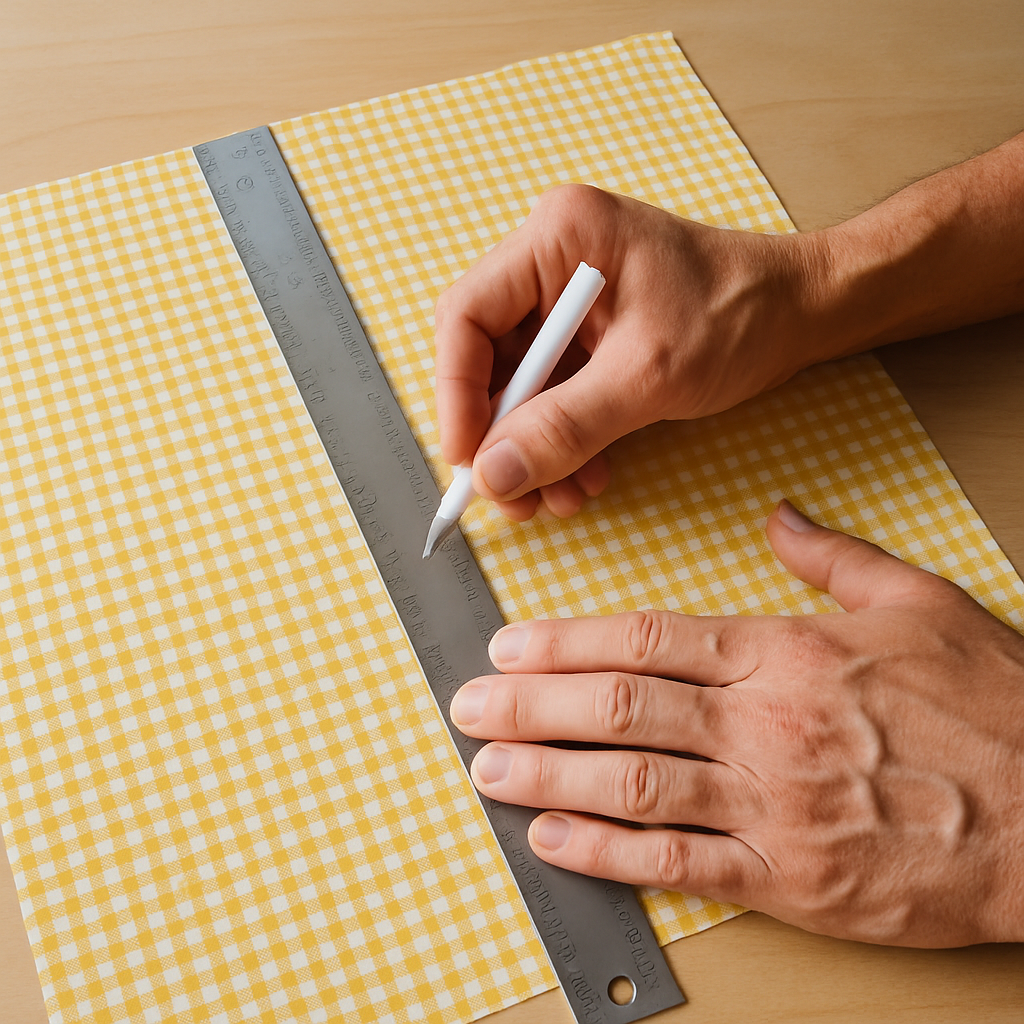
**Calculate & Cut Your Fabric:** Lay your fabric flat and smooth. For an 18x18 inch (45x45 cm) insert, cut one rectangle of fabric measuring 19 inches (48 cm) wide by 44 inches (112 cm) long. Use your fabric marker and ruler to draw precise lines before cutting to ensure straight edges. For younger crafters (10-12), pre-cut the fabric or provide clear cutting lines for them to follow with supervision.
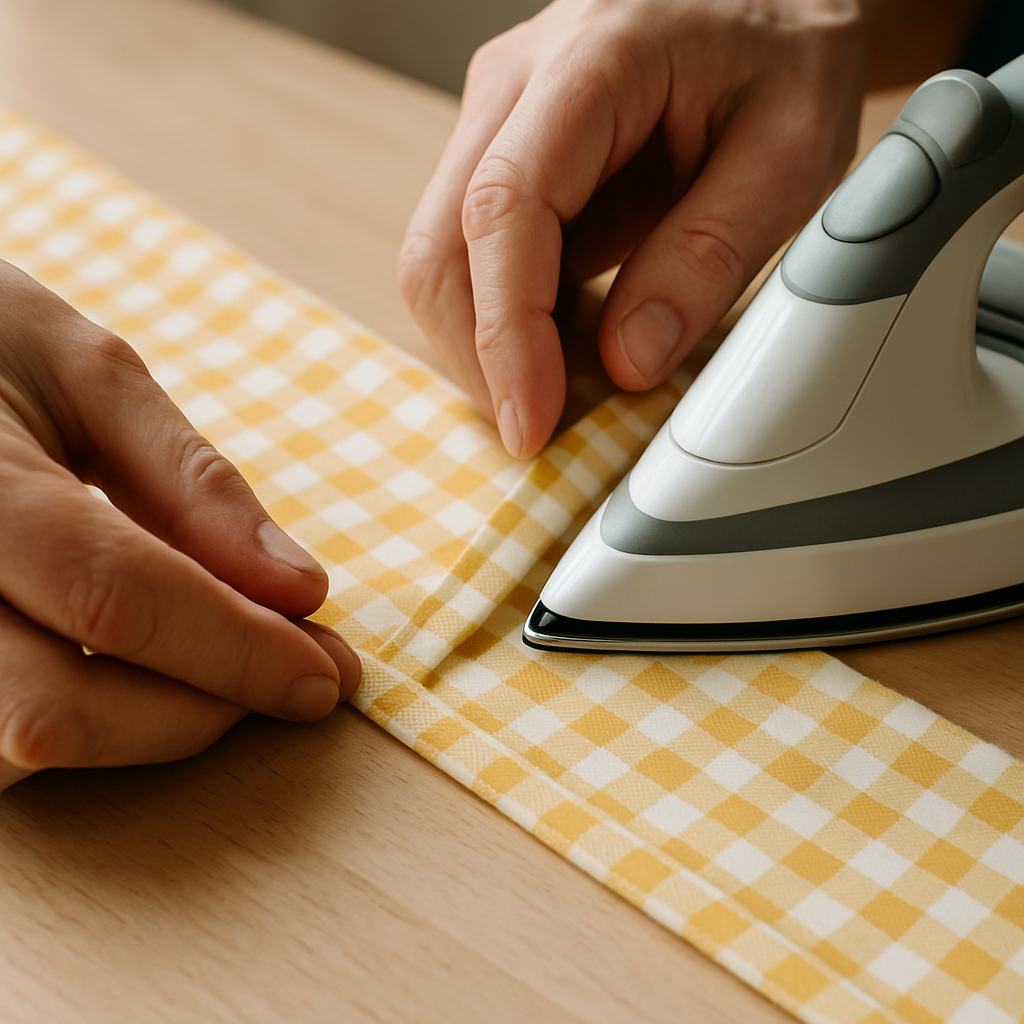
- 3
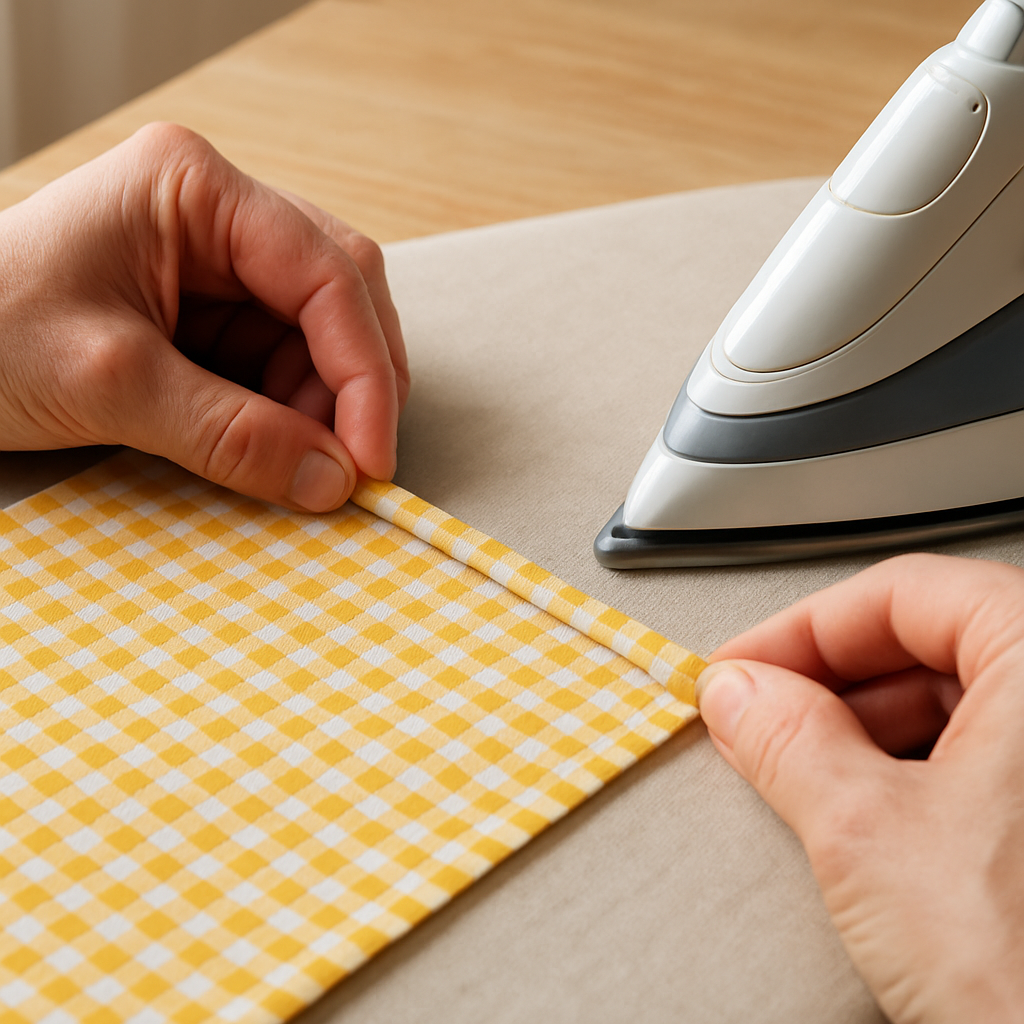
**Prepare the Short Edges (First Hem Fold):** Take one of the 19-inch (48 cm) short edges of your fabric. Fold the raw edge over by 1/2 inch (1.25 cm) towards the wrong side of the fabric and press firmly with a hot iron. This creates a neat, crisp fold that will be the first step of your double-fold hem. If the fold isn't perfectly straight, your final hem will be wavy. Use a ruler to ensure an even fold along the entire edge.
- 4
**Create the Double-Fold Hem (Second Fold):** Now, fold that same edge over *again* by another 1/2 inch (1.25 cm) towards the wrong side, completely enclosing the raw edge. Press this second fold firmly. This creates a clean, durable double-fold hem, essential for a professional finish. If the fabric is thick, this second fold might be bulky; press extra firmly, or trim the initial 1/2 inch fold slightly if it's too much.
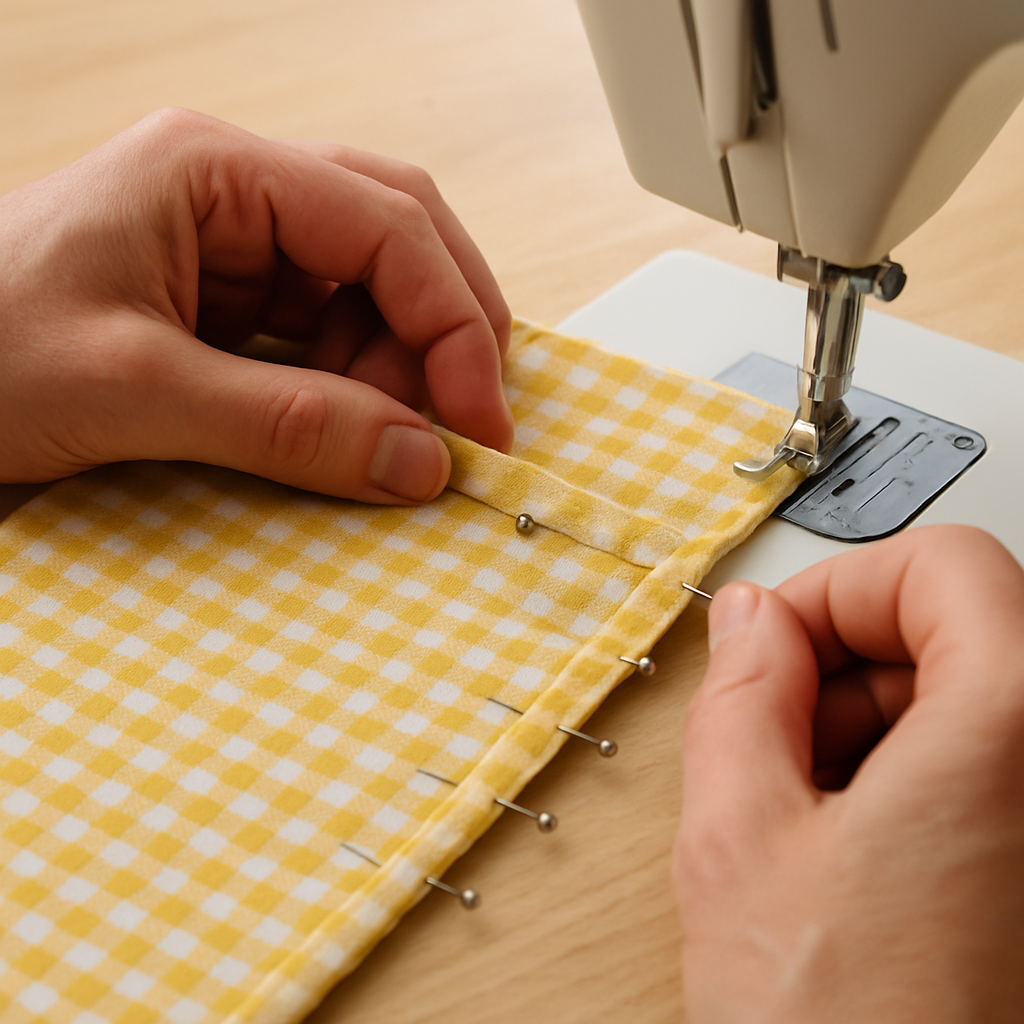
- 5
**Pin and Stitch the First Hem:** Secure your double-folded hem with pins, placing them perpendicular to the edge every 2-3 inches (5-7.5 cm). Stitch along the inner folded edge, about 1/8 inch (0.3 cm) from the fold, using a straight stitch on your sewing machine. Backstitch at the beginning and end to secure the seam. Stitching too close to the edge can cause the fabric to unravel, while stitching too far in looks less professional; aim for that 1/8 inch mark.
- 6
**Repeat for the Second Short Edge:** Repeat steps 3, 4, and 5 for the *other* 19-inch (48 cm) short edge of your fabric. You should now have two neatly hemmed short edges, which will form the opening of your envelope pillow cover. Pressing after each stitch line helps set the stitches and keeps your fabric flat and manageable.
- 7
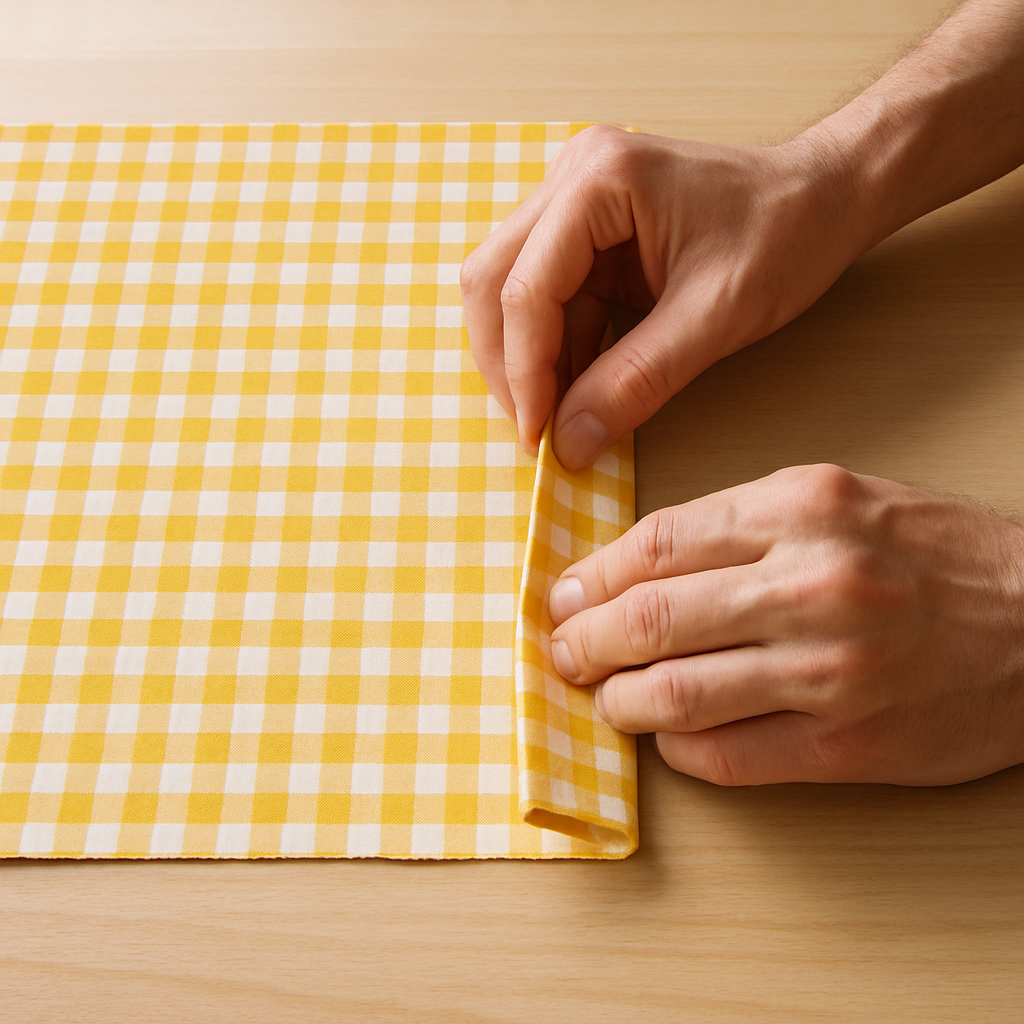
**Lay Out for Overlap:** Lay your fabric rectangle right side up on a flat surface. Imagine your 18x18 inch (45x45 cm) pillow insert. You need to create an overlap that covers the back securely and neatly.
- 8
**Fold for the First Back Panel:** Take one of the hemmed short edges and fold it towards the center of the fabric, right sides together, so that the raw long edge of the fabric aligns with the 18-inch (45 cm) mark from the *opposite* hemmed edge. This will create one of the back panels. Folding the wrong way will result in the wrong side of the fabric showing on the outside; ensure right sides are together for the side seams.
- 9
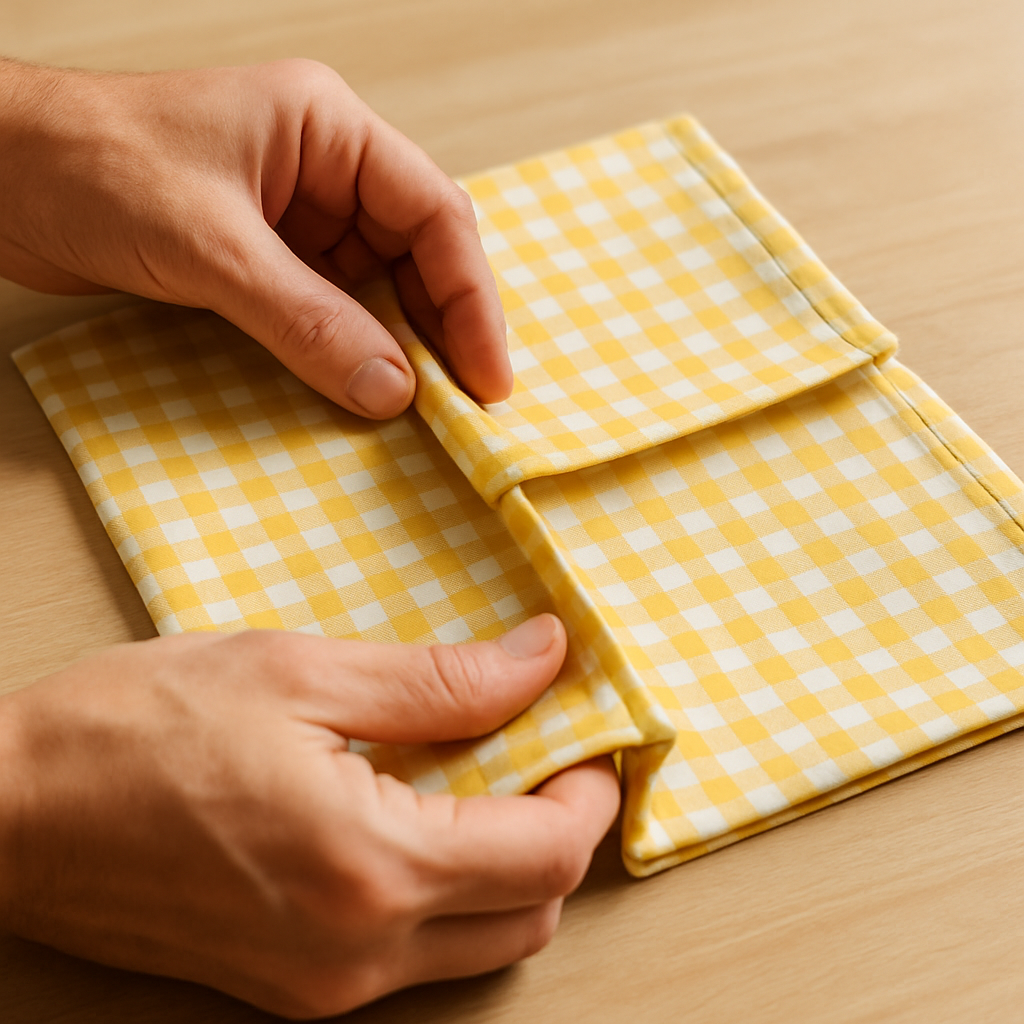
**Fold for the Second Back Panel & Create Overlap:** Now, take the *other* hemmed short edge and fold it over the first folded panel, right sides together, so that the raw long edges align perfectly. Adjust the folds until the total width of the folded fabric (from one raw long edge to the other) measures exactly 18.5 inches (47 cm). This creates your envelope overlap. If the overlap seems too small (less than 4 inches / 10 cm), your pillow might peek out; if it's too large, it can be difficult to insert the pillow. Aim for a 4-6 inch (10-15 cm) overlap.
- 10
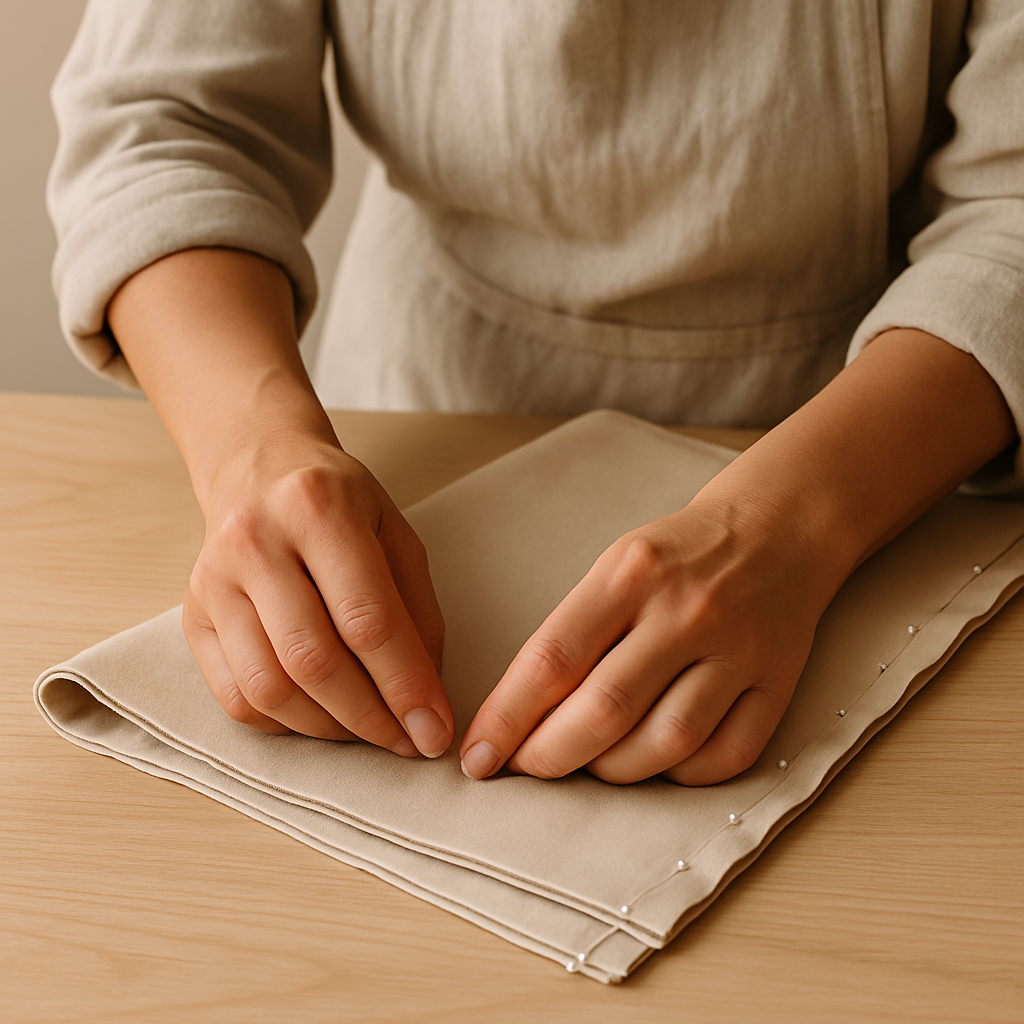
**Pin the Side Seams:** With the fabric folded and the overlap created, pin along both raw long edges. Place pins every 1-2 inches (2.5-5 cm), ensuring all layers of fabric are securely held together. These will be your side seams. Younger kids can help with pinning, but ensure they understand to go through all layers and keep pins away from the sewing machine needle path.
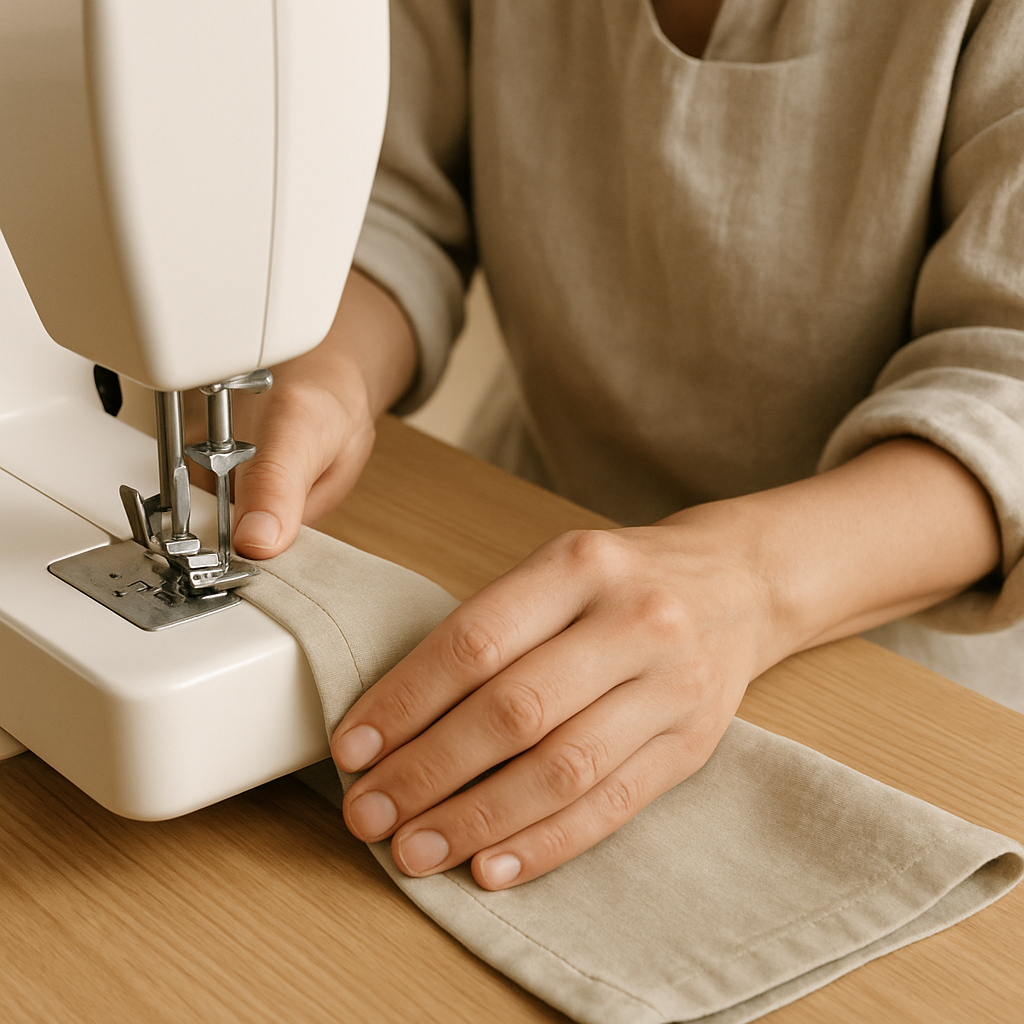
- 11
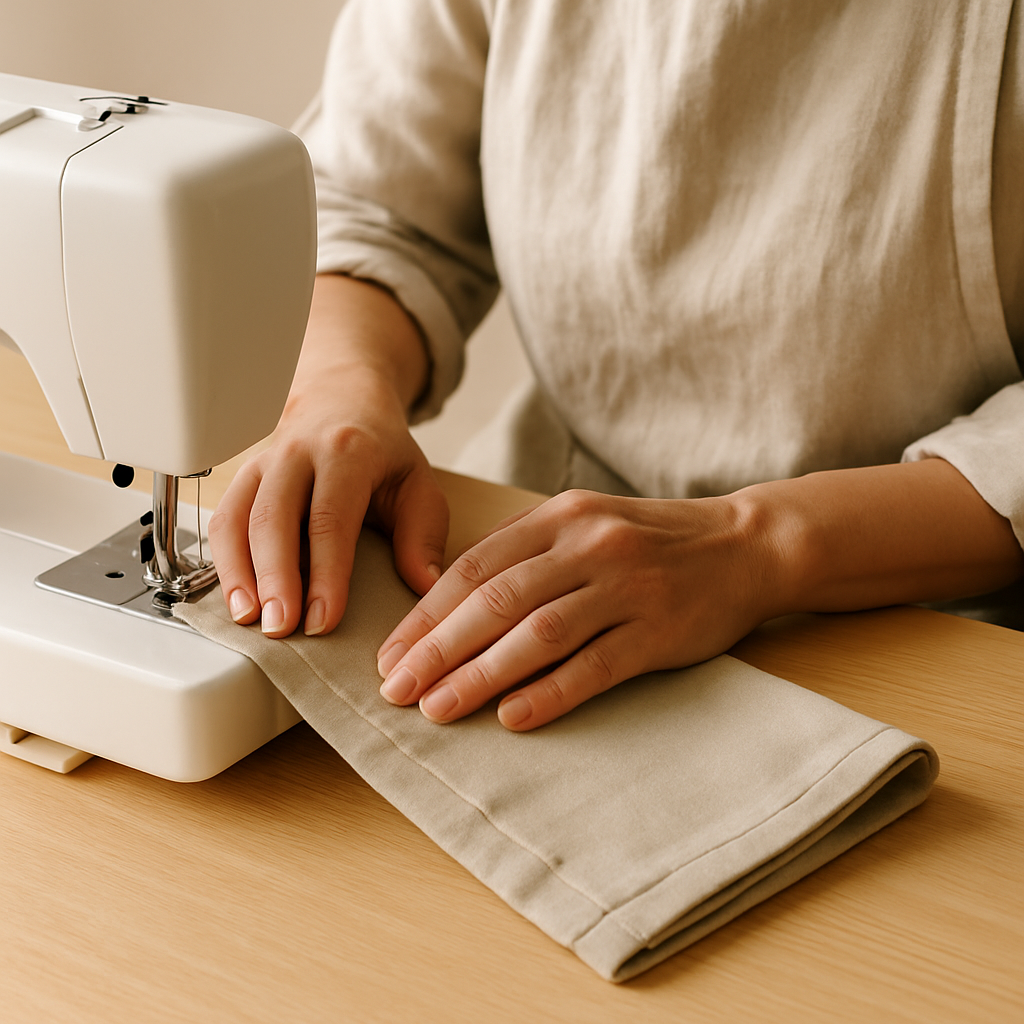
**Stitch the Side Seams:** Using your sewing machine, stitch a straight seam along both pinned long edges with a 1/2 inch (1.25 cm) seam allowance. Backstitch at the beginning and end of each seam for reinforcement. Uneven seam allowances can make your pillow cover crooked; use the seam allowance guide on your machine's needle plate. If your machine doesn't have one, mark a 1/2 inch line with tailor's chalk.
- 12
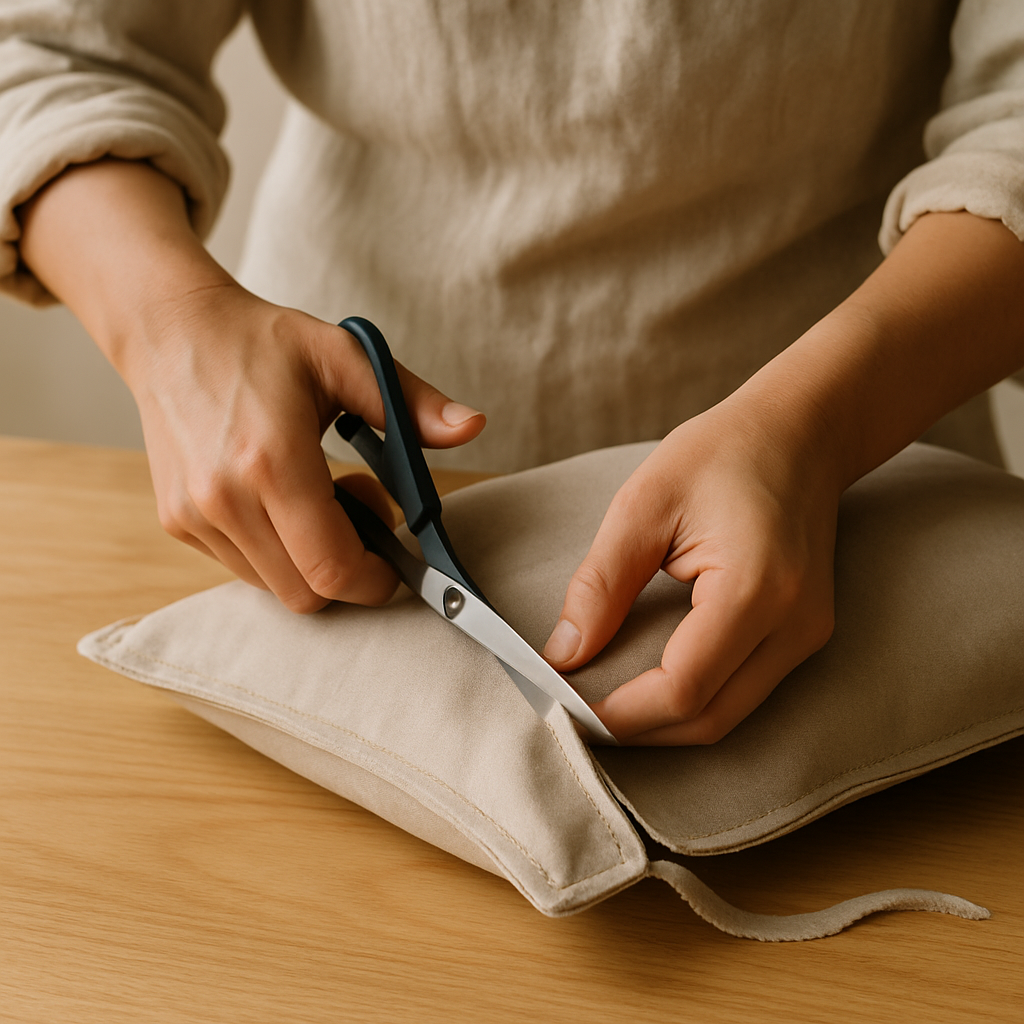
**Trim Seam Allowances & Clip Corners:** Trim the seam allowances down to 1/4 inch (0.6 cm) to reduce bulk. At each of the four corners, carefully clip the corner diagonally, close to the stitching but *without cutting through the stitches*. This will help your corners turn out sharply. For extra durability and to prevent fraying, you can finish these raw seam edges with a zigzag stitch or a serger if you have one.
- 13
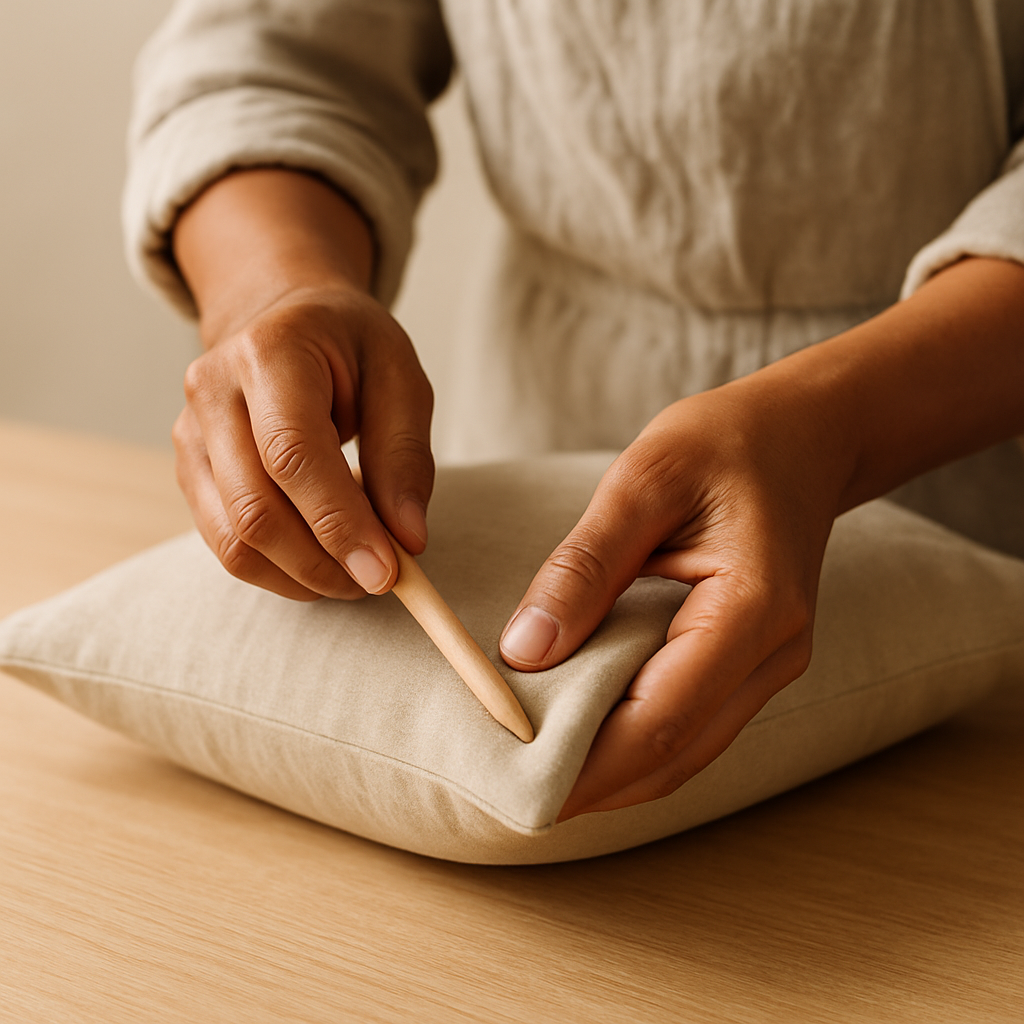
**Turn Right Side Out & Poke Corners:** Carefully turn your pillow cover right side out through the envelope opening. Use a blunt tool, like a chopstick or a point turner (not scissors!), to gently push out the corners from the inside. This creates crisp, defined corners. Pushing too hard with a sharp object can poke a hole through your fabric; be gentle and patient.
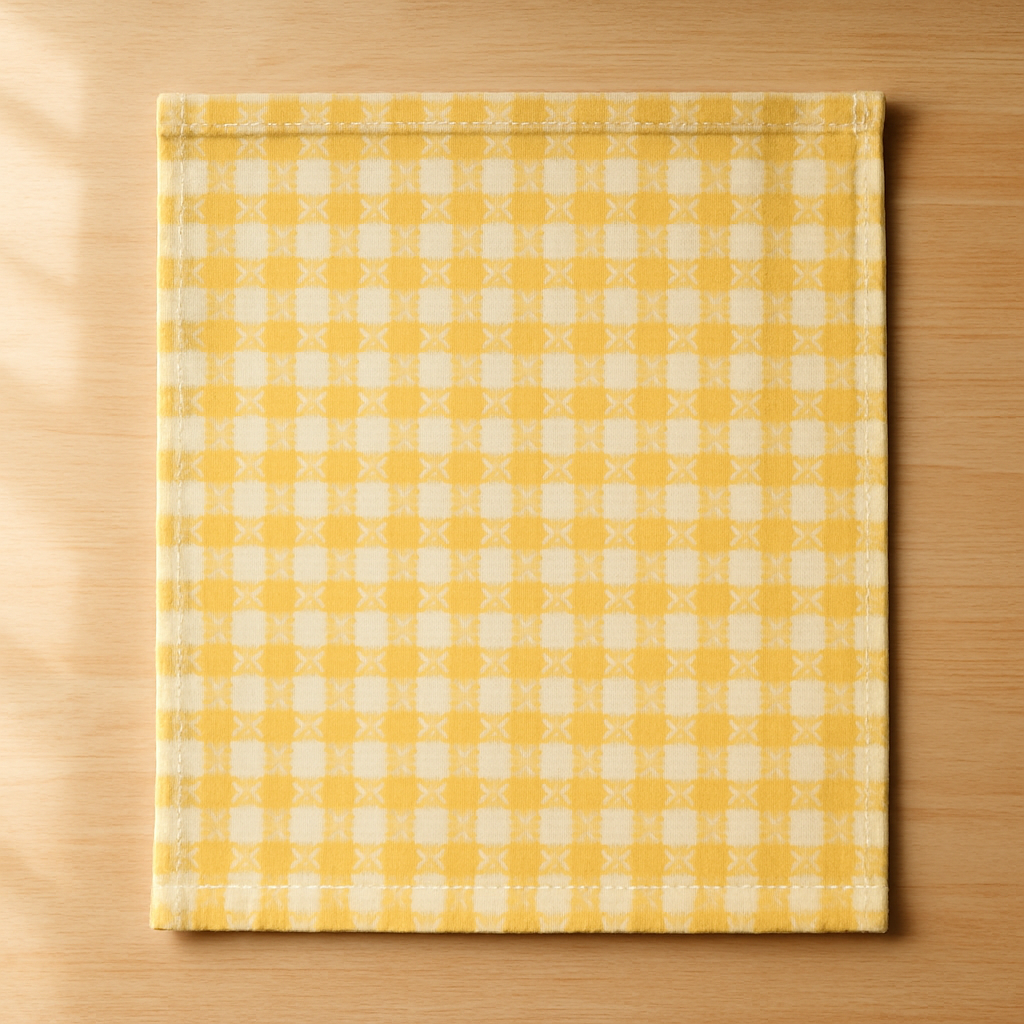
- 14
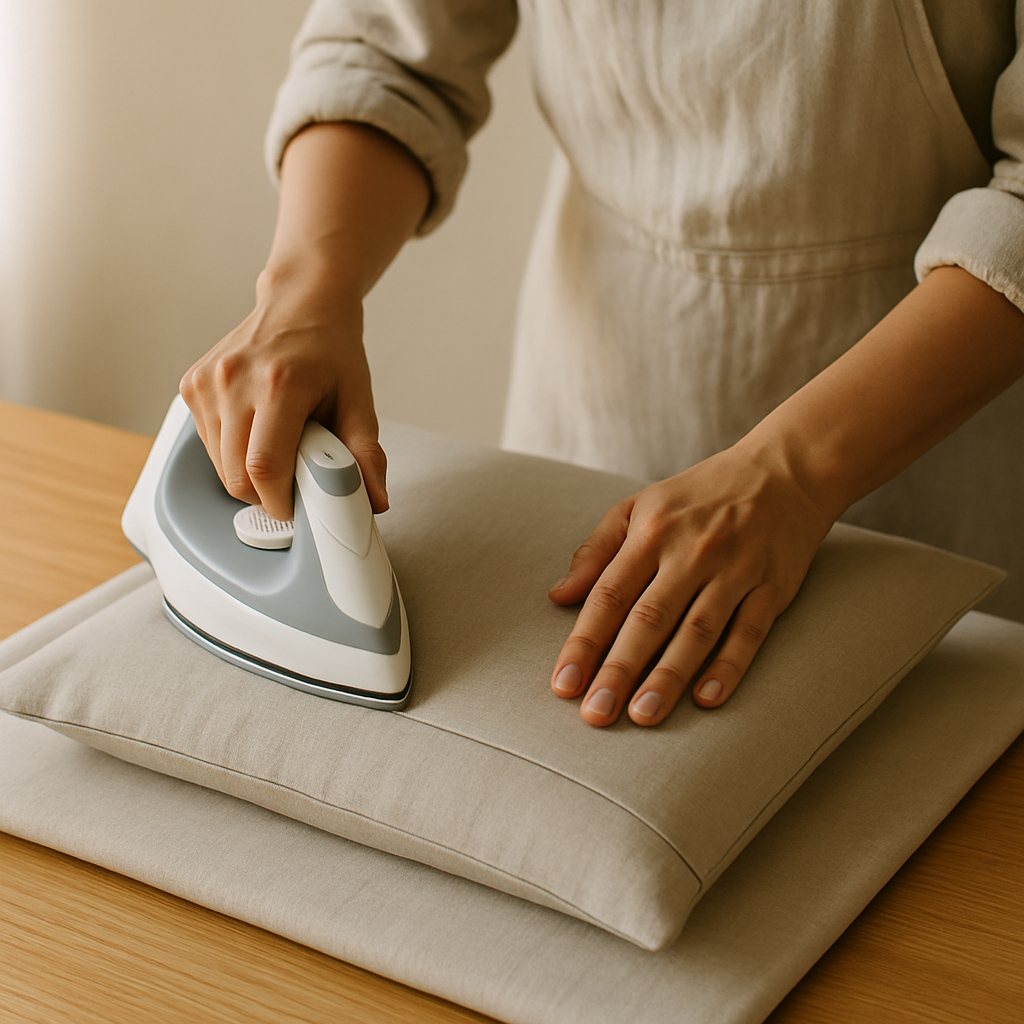
**Final Pressing:** Give your finished pillow cover a good, thorough press with a hot iron. This will smooth out any wrinkles, flatten the seams, and give your cover that professional, store-bought finish. Pressing is often overlooked but makes a huge difference in the final appearance of any sewn project.
- 15
**Insert Your Pillow:** Now for the satisfying part! Gently insert your pillow form into the new cover through the envelope opening. Arrange the pillow inside, fluff it up, and admire your beautiful, handmade creation!
Tips & Troubleshooting
- 1**Fabric Selection Masterclass:** For durability and ease of sewing, choose medium-weight woven fabrics like quilting cotton, duck cloth, or linen blends (150-250 gsm). Avoid very stretchy knits or slippery silks for your first project. Consider the aesthetic: a crisp cotton for a modern look, a textured linen for farmhouse charm, or a soft velvet for luxury. Always pre-wash and dry your fabric the way you intend to wash the finished pillow cover to prevent future shrinkage and color bleeding.
- 2**Troubleshooting Puckering & Uneven Seams:** If your seams are puckering, try increasing your stitch length slightly (e.g., from 2.0 to 2.5). Ensure you're not pulling or pushing the fabric through the machine; let the feed dogs do the work. Uneven seams often come from not watching your seam allowance guide. Practice sewing straight lines on scrap fabric first, focusing on keeping your fabric edge aligned with the guide.
- 3**No-Sew Alternative for Quick Covers:** If a sewing machine isn't available, you can still make an envelope pillow cover! Instead of stitching, use a strong fabric glue (like Fabri-Tac) or iron-on hem tape for all the hems and side seams. Apply glue sparingly along the folds and press firmly, or follow the hem tape instructions. This is a fantastic option for younger kids (8+) with supervision, allowing them to focus on fabric choice and design.
- 4**Achieving a 'Store-Bought' Finish:** The secret is in the pressing! Press every seam flat *before* crossing it with another seam. Press your hems before stitching. After stitching, press the seam allowances open or to one side. A final, thorough press of the entire cover will make it look incredibly polished. Also, consider using a serger or zigzag stitch on raw edges to prevent fraying, especially if the cover will be washed frequently.
- 5**Calculating Fabric Yardage for Any Size:** To calculate fabric length: (Pillow Insert Length x 2) + Overlap Amount (6-8 inches / 15-20 cm) + Hem Allowances (1 inch / 2.5 cm per hem x 2 hems). To calculate fabric width: Pillow Insert Width + Seam Allowances (1 inch / 2.5 cm total for two 1/2-inch seams). For example, a 20x20 inch pillow needs (20x2 + 8 + 2) = 50 inches long, and (20 + 1) = 21 inches wide. Convert inches to yards/meters as needed. Always buy a little extra, just in case!
- 6**Styling Your New Pillow Covers:** Don't just plop them down! Layer different sizes and textures for visual interest. For a sofa, use an odd number (3 or 5) for a more organic look. Mix solid colors with patterns, or combine different fabric textures like linen and velvet. Arrange larger pillows at the back, smaller ones in front. Don't be afraid to "karate chop" the top of the pillow for a designer look!
- 7**Varying Overlap for Security:** The 6-inch (15 cm) overlap we used is a good standard. For very fluffy or frequently used pillows, you might increase the overlap to 7-8 inches (18-20 cm) for extra security, ensuring the pillow insert stays completely hidden. For purely decorative pillows that won't see much use, a 4-5 inch (10-12.5 cm) overlap can be sufficient and slightly easier to insert.
Related Activities You Might Enjoy
Frequently Asked Questions
How do I choose the right fabric for my DIY pillow cover?
Choosing the right fabric is key to a successful pillow cover! For durability and ease of sewing, I recommend medium-weight woven fabrics like quilting cotton, duck cloth, linen blends, or even light upholstery fabric. These fabrics are stable, hold their shape well, and are forgiving for beginners. Consider the pillow's purpose: a decorative pillow might use a delicate velvet, while a family room pillow needs a sturdy cotton canvas. Always check the fabric's care instructions; if you plan to wash the cover, pre-wash your fabric before cutting to account for any shrinkage. Avoid very stretchy or slippery fabrics for your first project, as they can be challenging to sew straight.
Can I make an envelope pillow cover without a sewing machine?
Absolutely! A sewing machine makes the process quicker and creates very durable seams, but it's not strictly necessary. For a no-sew envelope pillow cover, you can use strong fabric glue (like Fabri-Tac or Liquid Stitch) or iron-on hem tape. For the hems, apply a thin line of glue or place the hem tape along the folded edges, then press firmly according to the product's instructions. For the side seams, apply glue or hem tape along the raw edges after folding the fabric to create the overlap, then press to secure. This is a fantastic option for crafters without sewing experience or for involving younger children (with supervision for the iron/glue).
My sewing machine keeps jamming or skipping stitches. What should I do?
Don't panic! This is a common issue. First, check your needle: is it bent, dull, or the wrong type for your fabric? A fresh, sharp needle (universal 80/12 or 90/14 for most pillow fabrics) can solve many problems. Next, re-thread your entire machine, top thread and bobbin, ensuring the thread is correctly seated in all tension discs. Sometimes, a simple re-threading fixes everything. Also, check your bobbin: is it wound evenly and inserted correctly? If issues persist, clean out any lint from your bobbin case area and under the needle plate. These steps resolve most common sewing machine frustrations.
How much fabric do I need for different pillow sizes?
Calculating fabric yardage is simple once you know the formula! For a standard 44-inch (112 cm) wide fabric, you'll generally need about 1 yard (0.9 meters) for an 18x18 inch (45x45 cm) or 20x20 inch (50x50 cm) pillow. To be precise: **Length:** (Pillow Insert Length x 2) + 8 inches (20 cm) for overlap + 2 inches (5 cm) for hem allowances = Total Fabric Length. **Width:** Pillow Insert Width + 1 inch (2.5 cm) for seam allowances = Total Fabric Width. For example, a 20x20 inch pillow needs (20x2 + 8 + 2) = 50 inches (127 cm) long and (20 + 1) = 21 inches (53 cm) wide. Convert inches to yards/meters as needed. Always buy a little extra, just in case!
What's the difference between a single-fold and double-fold overlap for the envelope back?
The envelope back is formed by two overlapping fabric panels. A **single-fold overlap** means each back panel's edge is simply folded over once and stitched. This is quicker and uses slightly less fabric, but the raw edge of the fabric is still exposed on the inside, making it prone to fraying over time, especially with washing. A **double-fold overlap** (as taught in this tutorial) involves folding the raw edge over twice before stitching. This completely encloses the raw edge, creating a much cleaner, more durable, and professional-looking finish that resists fraying and holds up better to wear and washing. It's worth the extra step for longevity and appearance.
How can I make my DIY pillow cover look more professional, like store-bought ones?
Several techniques elevate your pillow cover from handmade to high-end. First, **pressing is paramount**; iron every seam and hem as you go, not just at the end. This sets stitches and creates crisp lines. Second, **finish your raw edges**; use a zigzag stitch on your sewing machine or a serger on the side seams to prevent fraying. Third, **clip your corners** before turning the cover right side out to ensure sharp, defined points. Fourth, **use matching thread** that blends seamlessly with your fabric. Finally, **accurate measuring and cutting** are fundamental – even slight discrepancies can lead to a crooked or ill-fitting cover. Attention to these details makes all the difference!
What Next?
We've explored the journey of crafting a custom envelope pillow cover, from selecting the perfect fabric to mastering professional finishing touches. While the sewn method offers unparalleled durability and a polished aesthetic, remember that no-sew alternatives like fabric glue or iron-on hem tape provide a fantastic, quick solution for those with limited equipment or time. For beginners, focus on mastering the double-fold hems and straight side seams. Experienced makers can experiment with decorative stitches, piping, or even patchwork panels. No matter your skill level, the joy of creating a personalized, functional piece for your home is truly rewarding.
Free: 10 Paper Crafts Anyone Can Make in 5 Minutes
Get our beginner guide + new craft ideas weekly.
No spam. Unsubscribe anytime.
Did you complete this activity?