How to Create Beautiful Napkin Art Wooden Trays — Easy Step-by-Step Guide
Transform plain wooden trays into vibrant works of art using colorful paper napkins and simple decoupage techniques. A fun, screen-free activity for the whole family!

Quick answer
To make napkin art wooden trays, you need wooden trays, paper napkins, Mod Podge, and brushes, taking about 60 minutes. Start by preparing your tray and napkin. This beginner-friendly activity has 10 steps and is perfect for families with kids aged 6+.
What you need
Shop on Amazon · As an Amazon Associate we earn from qualifying purchases. Links above are affiliate links — we may earn a commission at no extra cost to you.
Discover the magic of transforming ordinary wooden trays into personalized works of art with the simple yet captivating technique of napkin decoupage. This project is not only incredibly rewarding but also a fantastic way to inject personality and color into your home decor. It’s a screen-free activity that’s perfect for a relaxing afternoon, a creative family bonding session, or even a thoughtful handmade gift. With minimal materials and a straightforward process, anyone can achieve stunning results, making it an ideal craft for beginners and experienced DIYers alike.
On this page
Step-by-Step Instructions
- 1
Begin by thoroughly cleaning your chosen wooden tray. Use a damp cloth or sponge to wipe away any dust, dirt, or debris from the surface and allow it to air dry completely. A clean surface is crucial for the Mod Podge to adhere properly.
- 2
If you desire a colored base for your napkin design to pop against, now is the time to paint. Apply a thin, even coat of acrylic paint to the entire surface of the tray, ensuring full coverage. Allow this base coat to dry completely according to the paint manufacturer's instructions.
- 3
For a smoother finish, especially if your tray has a rough surface, lightly sand it with fine-grit sandpaper after the paint has dried. Wipe away any sanding dust with a dry cloth before proceeding to the next step.
- 4
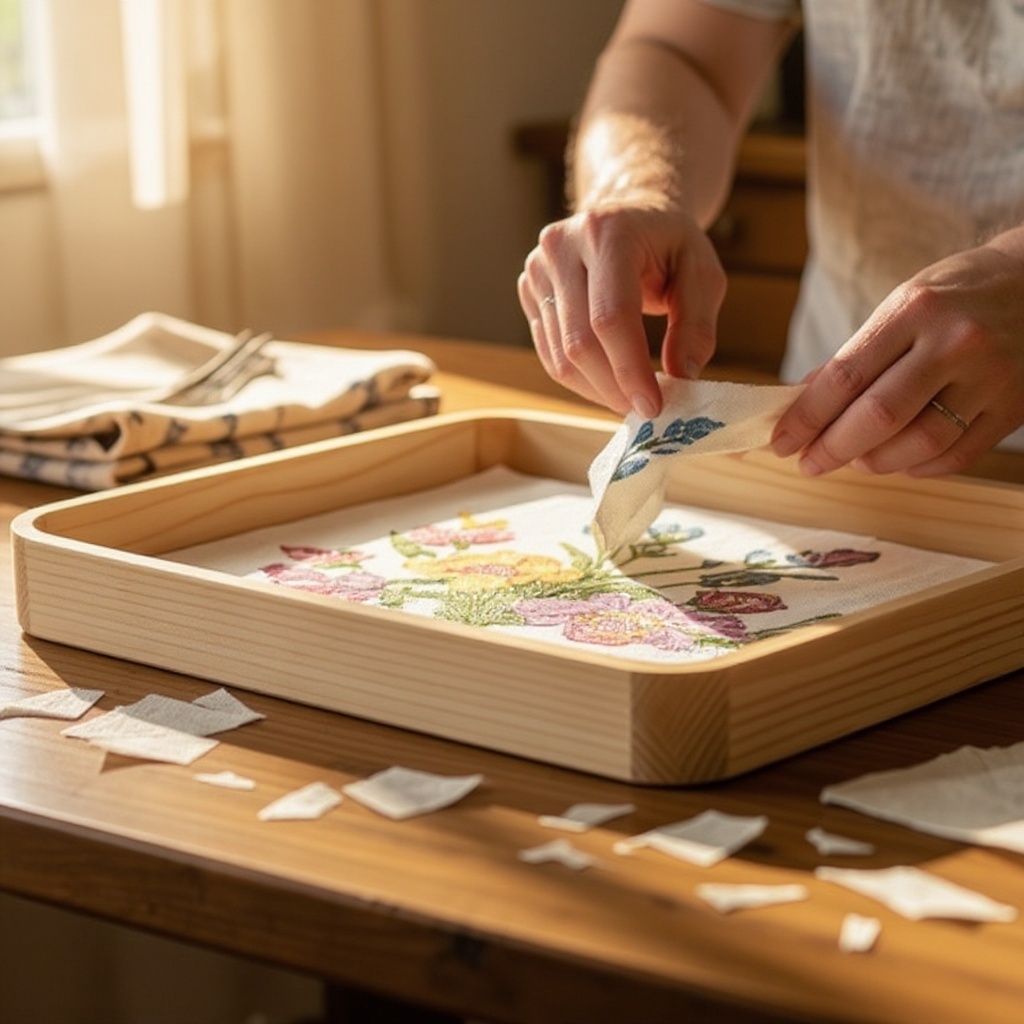
Carefully select your decorative paper napkin and gently peel apart the layers. Most decorative napkins have a printed top layer and one or two plain white backing layers; you only need the printed layer for decoupage.
- 5
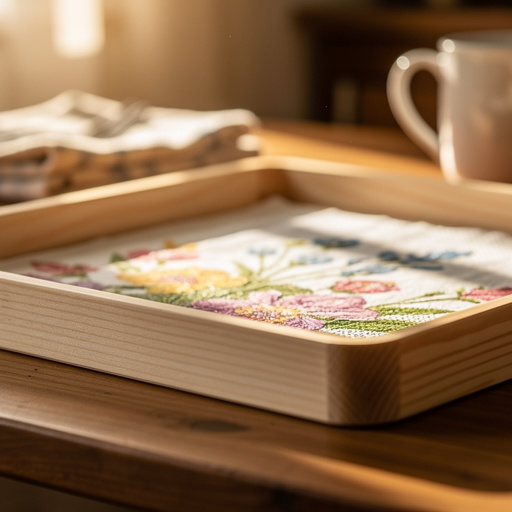
Plan your design by positioning the printed napkin layer on the tray. You can cut or tear the napkin to fit the specific area you want to decorate, such as the bottom of the tray or the sides. Don't strive for perfect edges; organic, slightly irregular borders can add a charming, handmade feel to your finished piece.
- 6
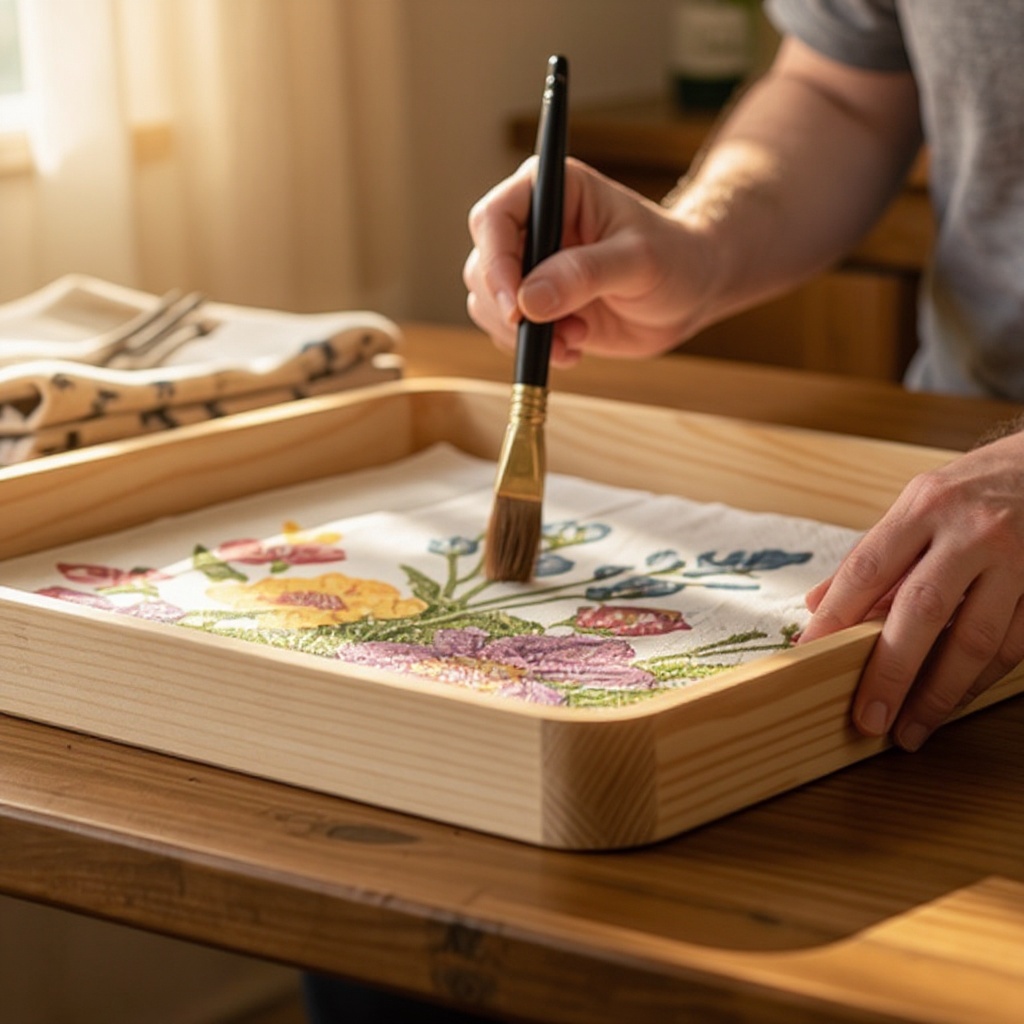
Using your foam brush or paintbrush, apply a thin, even layer of Mod Podge to the exact area of the tray where you intend to place your napkin design. Ensure the Mod Podge covers the entire section without being too thick, as excess glue can cause the napkin to tear or become overly saturated.
- 7
With extreme care, gently lay the prepared napkin design onto the wet Mod Podge. Start from the center of the design and slowly work your way outwards, using your fingertips or a soft, dry brush to smooth out any wrinkles or air bubbles. Patience here is key to achieving a seamless look.

- 8
Once the napkin is positioned and smoothed, apply another thin, even layer of Mod Podge over the entire surface of the napkin design. This layer acts as the adhesive, sealing the napkin to the tray and protecting the delicate paper. Ensure you cover all edges of the napkin to prevent lifting.
- 9
Allow the first coat of Mod Podge to dry completely. This typically takes about 20-30 minutes, but drying times can vary depending on humidity and the thickness of the application. The surface should feel dry to the touch and no longer tacky.
- 10
For enhanced durability and a more professional, finished appearance, apply a second coat of Mod Podge over the entire tray surface, including the decoupaged areas and any un-decorated sections. This seals the design and provides a protective barrier against wear and tear.
- 11
Let the second coat of Mod Podge dry thoroughly. Again, this may take 20-30 minutes or longer. Ensure the entire tray feels completely dry and no longer tacky before moving to the final sealing step.
- 12
For maximum protection, especially if your tray will be used frequently or exposed to moisture, consider applying a final sealant spray once the Mod Podge is completely dry. Follow the manufacturer's instructions for application, usually involving light, even coats held at a specific distance.
- 13
Allow the sealant spray to cure fully according to the product's directions before handling or using the tray. This final step ensures your beautiful napkin art will last for years to come.
Tips & Troubleshooting
- 1If you notice small wrinkles or air bubbles while the Mod Podge is still wet, gently try to smooth them out with your fingertip or a soft, dry brush. Often, these minor imperfections will become less noticeable or disappear entirely once the Mod Podge dries completely.
- 2Don't be afraid to experiment with different napkin patterns, colors, and tray sizes to create a unique collection. You can also layer multiple napkin designs, perhaps using a solid color napkin as a base and then adding a patterned napkin on top for a more complex and visually interesting effect.
- 3For a truly professional and polished finish, consider painting the entire tray a solid, complementary color before applying the napkin design. This base color can make the napkin pattern truly 'pop' and provide a cohesive backdrop for your artwork.
- 4Always apply Mod Podge in thin, even coats. Applying too much Mod Podge at once can make the napkin tear easily, lead to a sticky or clumpy finish, and prolong drying times. It's better to apply multiple thin coats than one thick one.
- 5Ensure each layer of Mod Podge is allowed to dry thoroughly before applying the next. Rushing this process can cause the napkin to become soggy, tear, or lift, compromising the integrity of your design and potentially requiring you to start over.
- 6When cutting or tearing your napkin designs, consider the overall composition. Think about how the pattern will flow across the tray and if any specific elements of the design should be highlighted. Sometimes, strategically placed tears can create a more artistic and less 'cut-out' look.
- 7If you are using a very intricate napkin design, a craft knife or precision scissors can be helpful for cutting out small details or creating clean edges. However, for a more rustic or bohemian look, torn edges are perfectly acceptable and often add character.
- 8Protect your work surface with wax paper or parchment paper, especially when working with Mod Podge and acrylic paints. This will prevent accidental sticking and make cleanup much easier, allowing you to focus on the creative process.
Related Activities You Might Enjoy
Frequently Asked Questions
What kind of napkins work best for decoupage on wooden trays?
Thin, decorative paper napkins with vibrant and clear patterns are ideal for decoupage projects. Look for napkins that are specifically designed for crafts or have a good quality print. Avoid thick, textured, or multi-ply napkins that have a lot of bulk, as these can be difficult to smooth out without wrinkles and are more prone to tearing during the application process. The thinner the napkin layer, the more seamlessly it will adhere to the tray surface, giving a painted-on appearance once sealed.
Can I use any glue for decoupage napkins on wooden trays?
While other glues might adhere paper, Mod Podge is the recommended adhesive for decoupage napkins because it's specifically formulated for this purpose. It functions as both an adhesive and a sealant, ensuring that the napkin design sticks firmly to the wood and is protected from damage. Other craft glues may not offer the same level of sealing properties, potentially leading to the napkin fading, peeling, or becoming damaged over time. Mod Podge dries clear and flexible, making it the superior choice for a durable and beautiful finish.
How do I avoid wrinkles and bubbles when decoupaging napkins onto a wooden tray?
The key to avoiding wrinkles and bubbles is a combination of careful application and technique. First, ensure you apply a thin, even layer of Mod Podge to the tray surface before placing the napkin. Then, gently lay the napkin onto the wet glue, starting from the center and slowly smoothing it outwards with your fingers or a soft brush. Work methodically to push out any trapped air. If small wrinkles appear, try to gently coax them flat while the Mod Podge is still wet; often, they will become less noticeable as it dries.
Do I need to seal decoupage napkin projects like wooden trays?
Yes, sealing your decoupage napkin projects is highly recommended for longevity and durability. Mod Podge itself acts as a sealant when applied as the final coat, but an additional layer or a dedicated spray sealant can provide extra protection, especially for items that will be handled frequently or exposed to moisture. This extra step helps prevent the napkin from peeling, fading, or becoming damaged over time, ensuring your beautiful artwork remains intact and vibrant for years to come.
What is the best way to prepare the wooden tray before decoupaging?
Proper preparation is essential for a successful decoupage project. Start by cleaning the wooden tray thoroughly with a damp cloth to remove any dust or debris, and let it dry completely. If you plan to paint the tray a base color, do so now and allow it to dry fully. For a smoother finish, a light sanding with fine-grit sandpaper can be beneficial, followed by wiping away any dust. A clean, smooth, and dry surface ensures the Mod Podge adheres well and the napkin lays flat without imperfections.
Can I use different types of Mod Podge, like gloss or matte?
Absolutely! Mod Podge comes in various finishes, including matte and gloss, and you can choose the one that best suits your desired aesthetic. A matte finish offers a more subtle, natural look, while a gloss finish provides a shiny, lacquered appearance. Both will effectively adhere and seal your napkin design. For added protection, especially on a tray that might get wet or be handled frequently, consider using a dishwasher-safe Mod Podge formula or a separate spray sealant for extra durability, regardless of the finish you choose.
How long does it take for the Mod Podge to dry completely on a wooden tray?
The drying time for Mod Podge can vary depending on several factors, including the thickness of the application, humidity levels, and temperature. Generally, each thin coat of Mod Podge will take approximately 20-30 minutes to dry to the touch. However, for the project to be considered fully dry and cured, especially before applying a sealant or using the tray, it's best to allow at least 24 hours. Rushing the drying process can lead to a sticky finish or damage to the napkin design.
What Next?
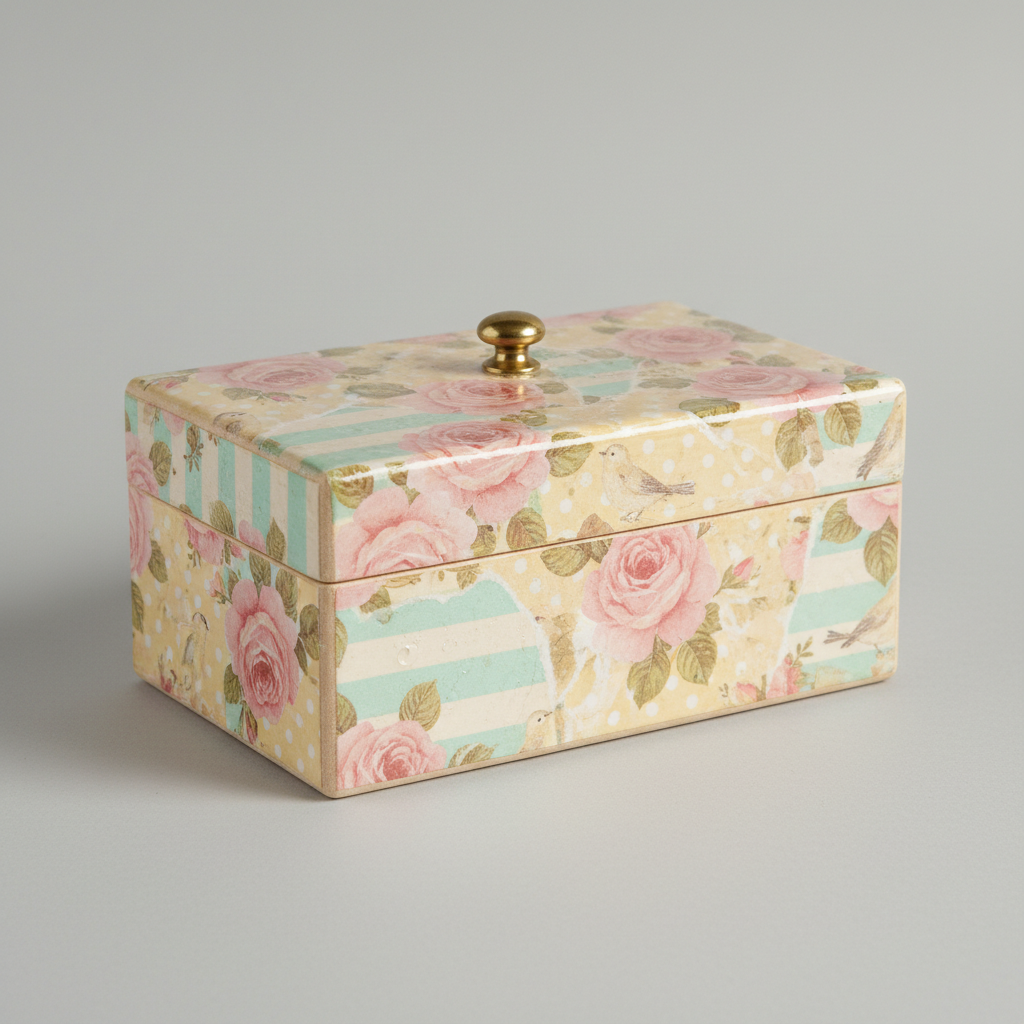
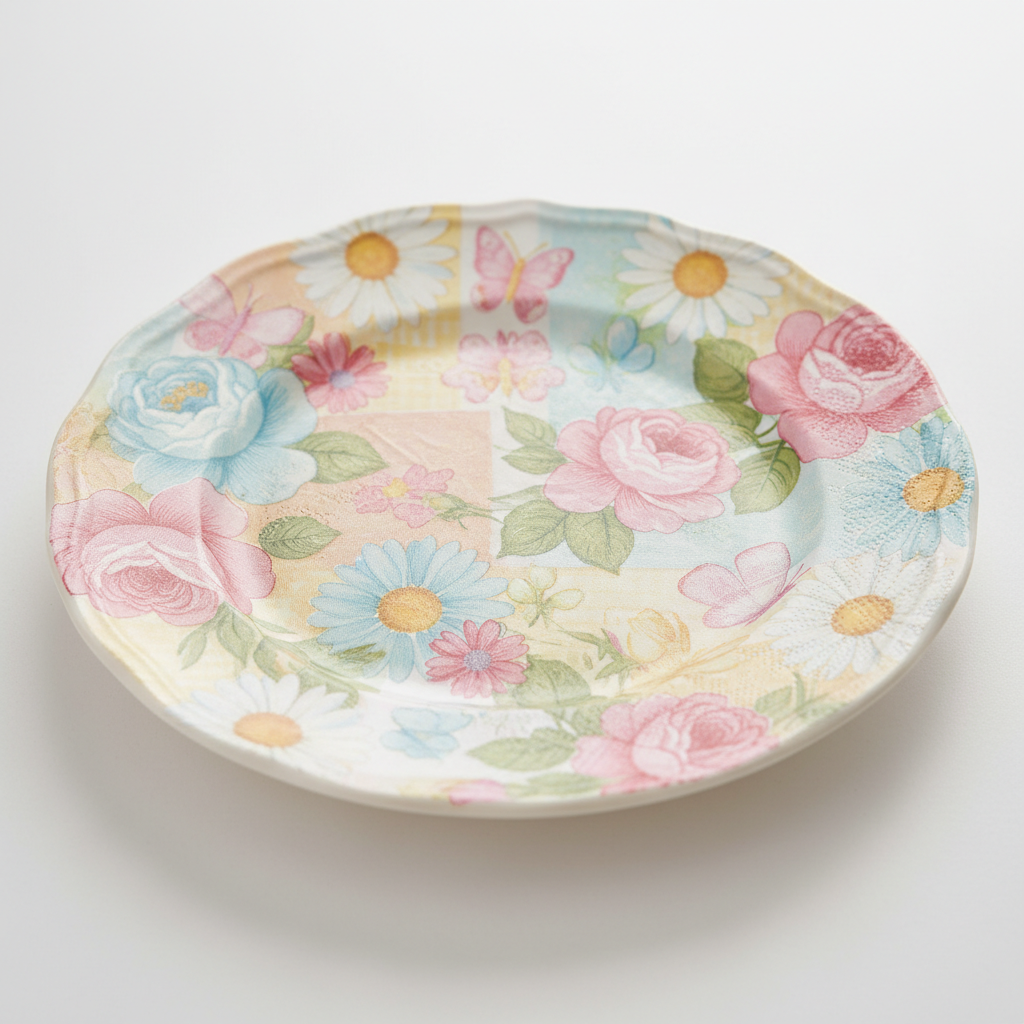
Once your beautiful napkin art wooden trays are fully dry and sealed, they are ready to be displayed and used! These trays are perfect for serving drinks and snacks, organizing your entryway, or showcasing decorative items. For variations, consider using different types of wooden surfaces like small boxes or coasters, or even layering multiple napkin designs for a more complex and artistic look. To store them, simply place them on shelves or in cabinets, ensuring they are kept away from excessive moisture. This project opens the door to endless creative possibilities, so don't hesitate to experiment and let your imagination run wild!
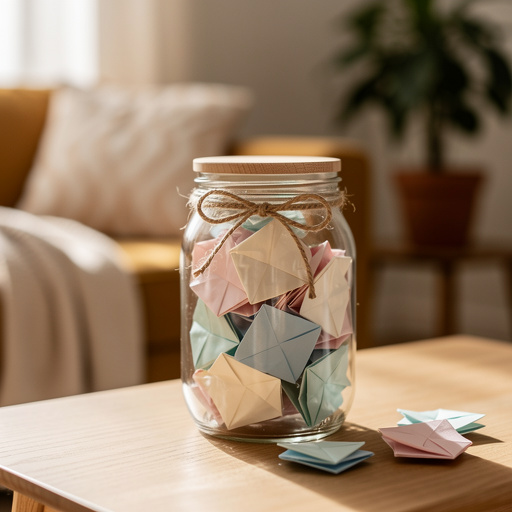
Free: 10 Paper Crafts Anyone Can Make in 5 Minutes
Get our beginner guide + new craft ideas weekly.
No spam. Unsubscribe anytime.
Did you complete this activity?