How to Make Easy Beaded Coil Bracelets — Step-by-Step Guide
Create beautiful, flexible beaded coil bracelets with this simple tutorial. Perfect for adding a pop of color and sparkle to any outfit! This beginner-friendly activity has 7 steps and is perfect for families and kids aged 6+.
Quick answer
To make easy beaded coil bracelets, you need memory wire, beads, and pliers, taking about 15-20 minutes. Start by cutting the memory wire. This beginner-friendly activity has 7 steps and is perfect for families and kids aged 6+.
What you need
Shop on Amazon · As an Amazon Associate we earn from qualifying purchases. Links above are affiliate links — we may earn a commission at no extra cost to you.
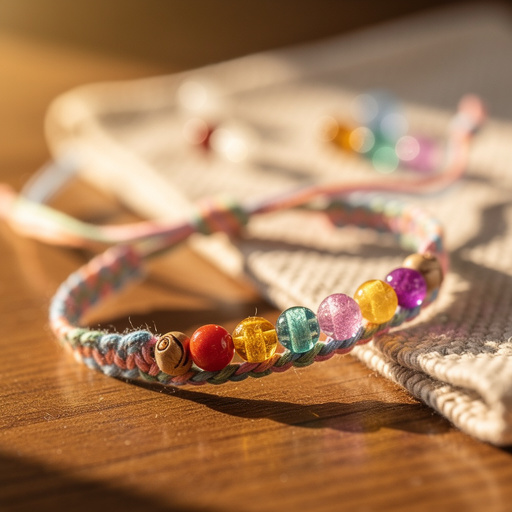
Unleash your inner jewelry designer with the incredibly simple yet stunning beaded coil bracelet! This project is a fantastic entry point into the world of DIY accessories, offering a satisfyingly quick creation process with beautiful, wearable results. The inherent flexibility of memory wire means these bracelets are comfortable for almost anyone, and the endless bead possibilities allow for complete personalization. Whether you're looking for a fun family craft, a way to use up leftover beads, or a speedy way to make unique gifts, these beaded coil bracelets are an absolute winner.
On this page
Step-by-Step Instructions
- 1
Cut a piece of memory wire approximately 6-8 inches long using wire cutters. This will form one bracelet. Ensure you're using sturdy wire cutters designed for jewelry making to achieve a clean, flat cut, which is crucial for creating secure loops later on. A length of 6-8 inches typically creates a standard bracelet that coils into 2-3 loops, but you can adjust this based on your desired bracelet fullness.
- 2
Using round-nose pliers, create a small loop at one end of the memory wire to prevent beads from falling off. Grip the very tip of the wire with the round-nose pliers and gently roll your wrist to form a small, neat loop. This loop should be just large enough to catch your smallest beads.
- 3
Secure the looped end. You can either place a bead right up against the loop to act as a stopper, or use a bead stopper tool, or even a small piece of tape wrapped around the wire just beyond the loop. This prevents your carefully chosen beads from accidentally sliding off as you thread them.
- 4
Begin threading your chosen beads onto the memory wire, sliding them towards the looped end. Start with your first bead, pushing it gently against the secured loop. Continue adding beads one by one, allowing them to rest against each other.
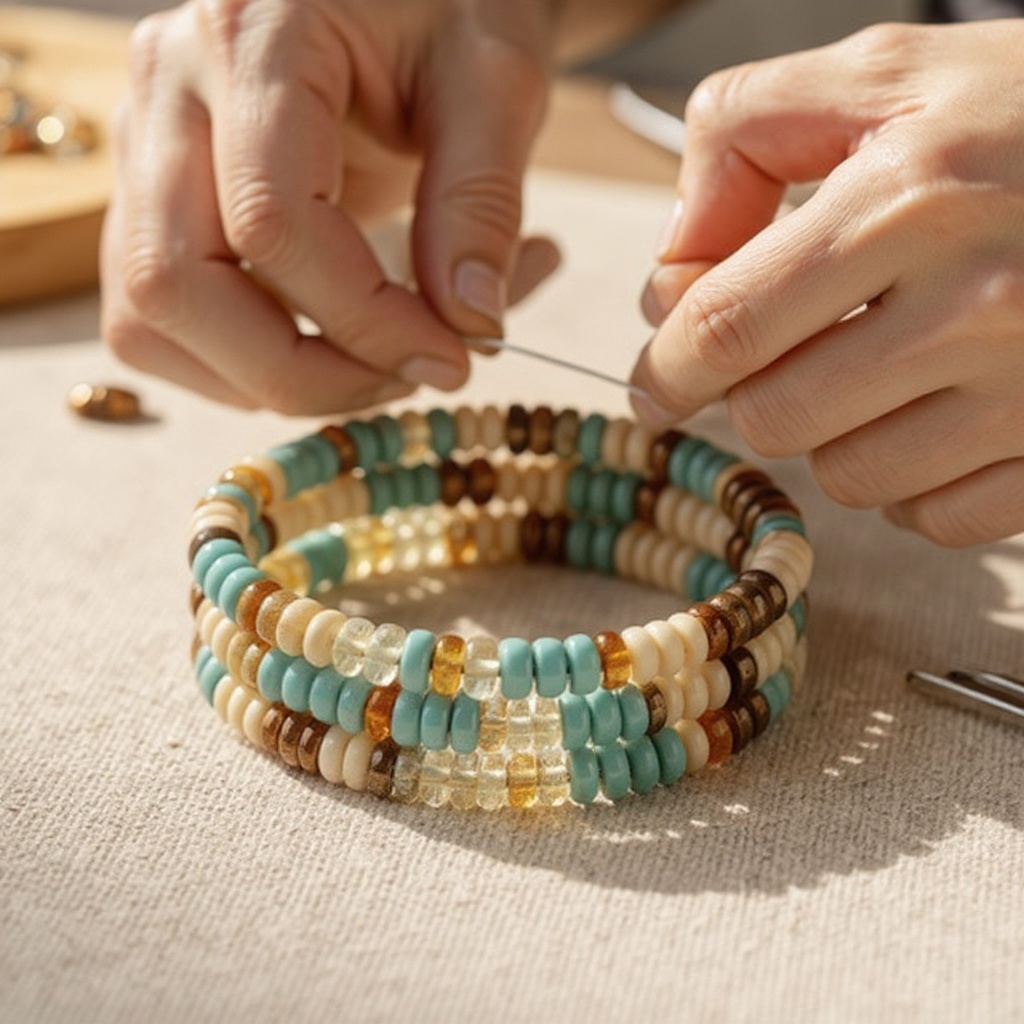
- 5
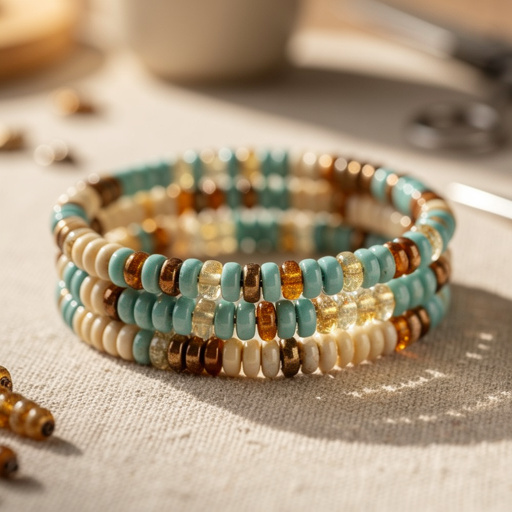
Continue adding beads, mixing colors, sizes, and textures to create your desired pattern. This is where your creativity shines! Don't be afraid to experiment with different color combinations, alternating between small seed beads and larger accent beads, or incorporating faceted beads for extra sparkle. Aim for a visually appealing arrangement that flows nicely.
- 6
Fill the wire with beads until you are happy with the fullness of the bracelet, leaving about 1/2 inch of wire at the end. As you add beads, periodically check the length and how it's starting to coil naturally. Leave a small amount of un-beaded wire at the end, approximately 1/2 inch, to accommodate the final loop.
- 7
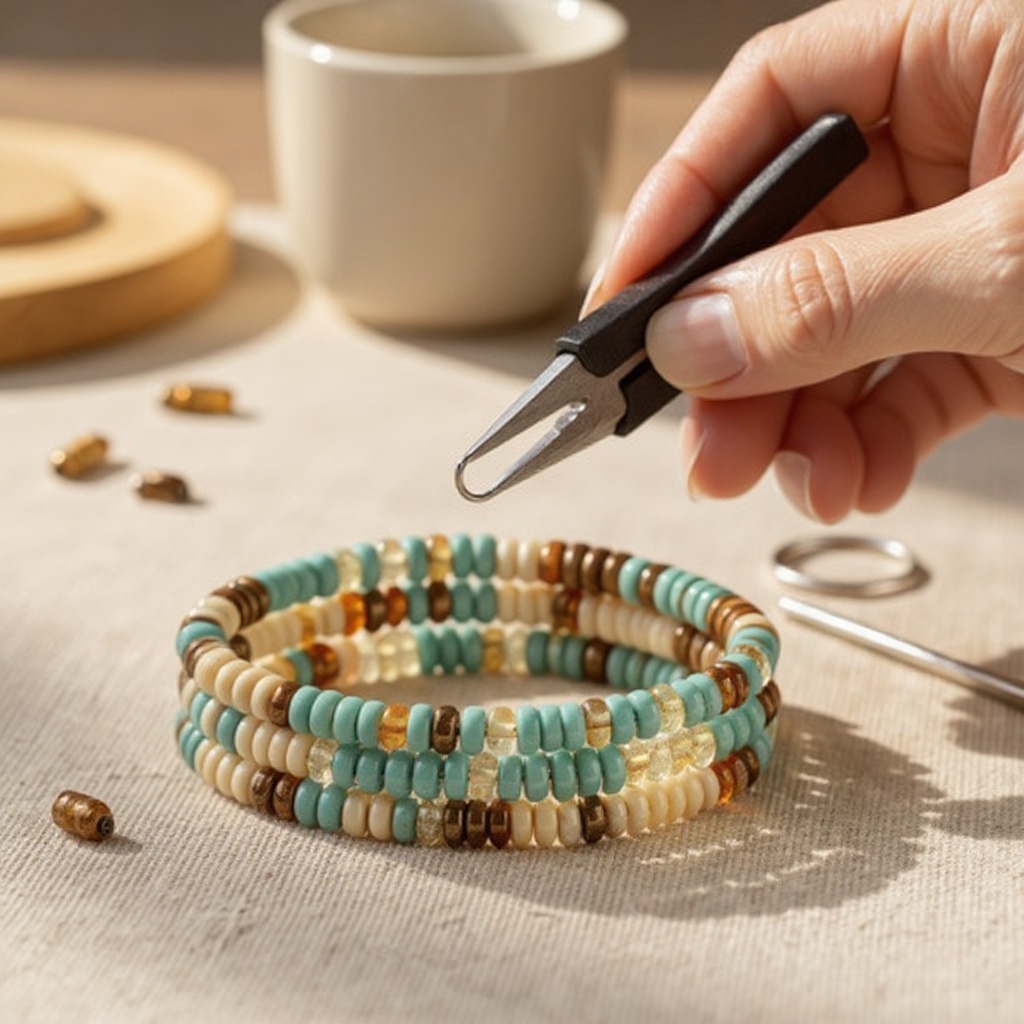
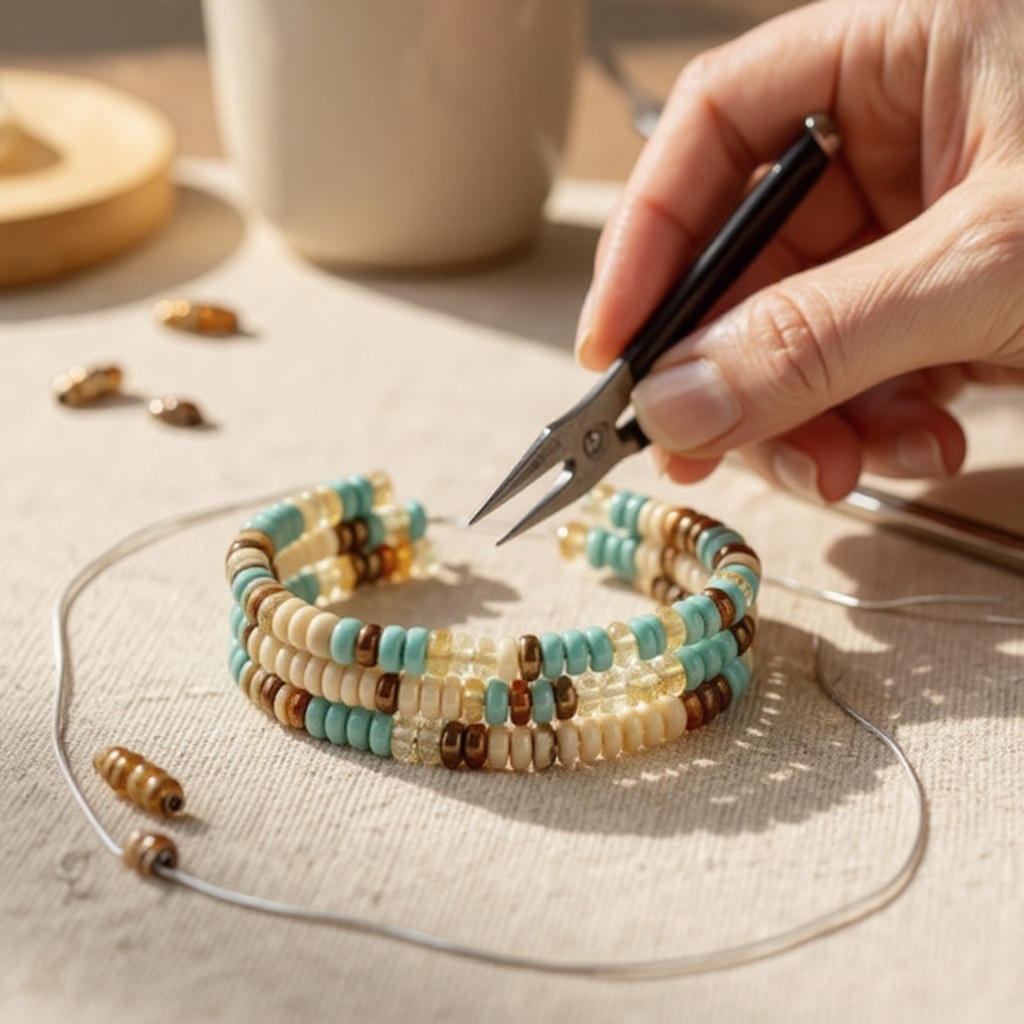
Using round-nose pliers, create another small loop at the open end of the memory wire, securing the beads. Similar to the first loop, grip the end of the wire with your round-nose pliers and gently roll to form a loop. Ensure this loop is snug against the last bead to prevent any from escaping.
- 8
Gently coil the beaded memory wire into a bracelet shape, ensuring the loops are tucked in. Carefully take the beaded wire and begin to shape it into a circular bracelet. The memory wire will naturally want to coil; guide it gently with your hands. Ensure the end loops are tucked inwards so they don't snag on clothing or skin.
- 9
Refine the coil. Once the basic coil is formed, you can gently adjust the spacing between the coils to achieve your desired look. If the coil is too tight, you can gently pull the loops apart slightly. If it's too loose, you can encourage it to coil more tightly by gently pressing the loops together.
- 10
Check for sharp edges. After coiling, run your fingers lightly along the inside of the bracelet to ensure there are no sharp wire ends or rough edges from cutting. If you find any, use your round-nose pliers to gently tuck them in or smooth them out.
- 11
Add a final polish. If you used flat-nose pliers to help secure your loops, ensure they are closed neatly and don't have any sharp points. A quick visual inspection of the entire bracelet will ensure it's ready to wear or gift.
Tips & Troubleshooting
- 1If your memory wire is too stiff to coil easily, gently bend it around a cylindrical object like a marker before beading. This pre-bending can help the wire relax and make it more pliable, making the coiling process smoother and preventing frustration. You can also try using a larger diameter dowel or even a small jar for a more pronounced curve.
- 2Experiment with different bead combinations! Try monochromatic themes, rainbow patterns, or adding charms between beads. The possibilities are truly endless. Consider using beads with different finishes like matte, shiny, or iridescent to add depth and visual interest. Charms can add a personal touch, making each bracelet unique.
- 3For a tighter coil, use a shorter piece of memory wire. For a looser, more open coil, use a longer piece. The length of the memory wire directly influences how many loops your bracelet will have and how spread out they are. Experiment with different lengths to find your preferred style.
- 4Ensure your loops are secure but not too large, so they don't snag on clothing. A loop that is too open can catch on delicate fabrics, causing pulls or tears. Aim for a loop that is just big enough to contain the beads without any gaps.
- 5Store finished bracelets in a small jewelry box or on a bracelet stand to keep them organized and tangle-free. Memory wire bracelets can sometimes spring back into their coiled shape, so proper storage prevents them from becoming a tangled mess with other jewelry.
- 6Consider using a bead board or a tray with shallow grooves to plan your bead pattern before threading. This allows you to visualize your design and make adjustments without having to thread and unthread beads, saving you time and effort.
- 7If you're using very small seed beads, a needle threader can be a helpful tool to get them onto the memory wire more easily. This is especially useful for children or those with dexterity challenges, making the beading process more enjoyable.
- 8Don't be afraid to mix materials! While this tutorial focuses on beads, you can also incorporate small metal findings, alphabet beads to spell out names or words, or even tiny polymer clay charms for a truly custom look.
Related Activities You Might Enjoy
Frequently Asked Questions
What kind of beads work best for coil bracelets?
Seed beads and pony beads are excellent choices for coil bracelets due to their size and affordability, creating a dense and intricate look. However, don't limit yourself! Smaller glass beads, faceted crystals, or even small metal accent beads can add significant sparkle and texture. The key is to choose beads that have a hole large enough to easily thread onto the memory wire. Consider the overall aesthetic you're aiming for; smaller beads create a more delicate and detailed appearance, while slightly larger beads can provide pops of color and a more substantial feel. Experimenting with a mix of bead types and sizes is highly encouraged to discover unique and eye-catching combinations.
How do I make the bracelet fit my wrist?
The beauty of memory wire is its inherent flexibility and ability to retain its shape, making it naturally adaptable to most wrist sizes. To create a bracelet that fits comfortably, you'll primarily adjust the length of the memory wire you cut. For a tighter coil with fewer loops, use a shorter piece of wire (around 6 inches). For a looser, more open coil with more loops, opt for a longer piece (around 8-10 inches). You can also gently expand or compress the finished coil to fine-tune the fit. Always ensure you leave enough wire at each end to create secure loops, preventing beads from falling off.
Can kids make these beaded coil bracelets?
Absolutely! With adult supervision for using the pliers and wire cutters, children aged 6 and up can easily create their own beautiful beaded coil bracelets. This project is a fantastic way to develop fine motor skills, hand-eye coordination, and creativity. The memory wire is forgiving, and the threading process is straightforward. Ensure you provide age-appropriate beads that are easy to handle and supervise the use of tools to guarantee safety. It's a wonderful activity for parties, rainy days, or simply as a fun and rewarding craft for kids to express themselves.
What if my memory wire is hard to cut?
Memory wire is designed to be strong and hold its shape, which can sometimes make it challenging to cut. Ensure you are using sturdy wire cutters specifically designed for jewelry making; these typically have sharper blades and a more robust construction. If the wire is still resistant, try making a small nick in the wire first with the cutters, then applying firm pressure to cut through the nick. You can also try gripping the wire firmly with flat-nose pliers and then cutting with the wire cutters, providing extra leverage. Avoid using household scissors or weak cutters, as they can damage your tools and result in a messy cut.
How do I ensure the loops I make are secure?
Creating secure loops is crucial to prevent your beads from unraveling. When using your round-nose pliers, grip the very end of the memory wire. Gently roll your wrist to form a small, tight loop that is just large enough to catch your smallest bead. For an extra secure loop, you can overlap the end of the wire slightly with the main coil before forming the loop, or even use flat-nose pliers to gently press the loop closed against the wire. The goal is a neat, closed loop that won't snag but will effectively hold all your beads in place.
Can I add charms or other embellishments to my coil bracelet?
Yes, absolutely! Adding charms, small pendants, or even decorative bead caps can elevate your beaded coil bracelet from simple to spectacular. When adding charms, ensure they have a loop or hole that can be threaded onto the memory wire along with your beads. You can strategically place them within your bead pattern for visual interest. For charms with a jump ring, you might need to open the jump ring with two pairs of pliers and attach it to the memory wire before threading beads, or attach it to a bead with a loop. This is a fantastic way to personalize your bracelet and make it truly unique.
What Next?
You've now mastered the art of creating charming beaded coil bracelets! The beauty of this craft lies in its adaptability. Consider adding charms, tassels, or even small metal spacers for extra flair. For a more advanced project, explore multi-strand memory wire or experiment with different wire gauges. Display your finished creations proudly on a jewelry stand or in a decorative box, ready to add a touch of handmade sparkle to any ensemble. These bracelets also make thoughtful, personalized gifts that are sure to be cherished.
Free: 10 Paper Crafts Anyone Can Make in 5 Minutes
Get our beginner guide + new craft ideas weekly.
No spam. Unsubscribe anytime.
Did you complete this activity?
Related