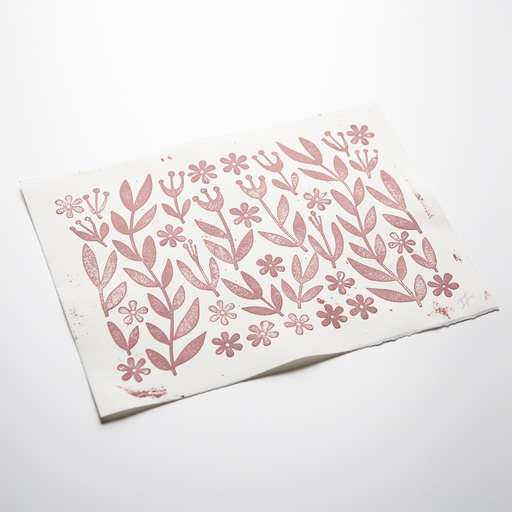
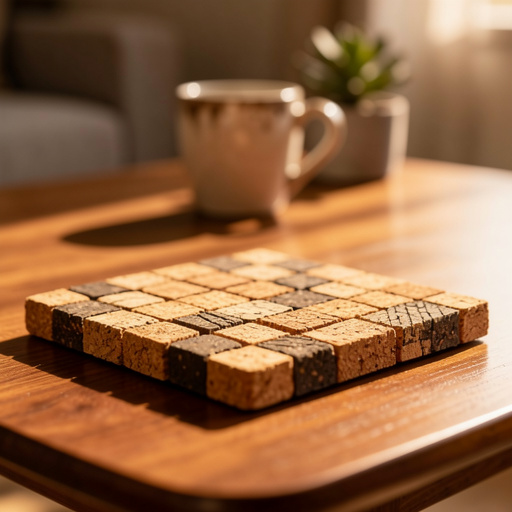
How to Create Fabric Block Prints on a Tote Bag — Easy Step-by-Step Guide
Transform a plain tote bag into a unique work of art with the ancient craft of block printing. This screen-free activity is perfect for families looking for a creative and rewarding project. Discover how to carve your own stamps and apply fabric paint for a custom design that's both stylish and functional.

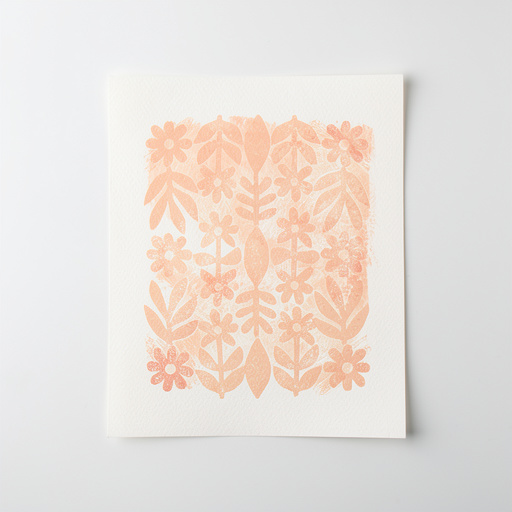
Quick answer
To make fabric block prints on a tote bag, you need fabric paint, carving tools, a block material, and a tote bag, taking about 60-90 minutes for the printing process, plus drying time. Start by carving your design into the block. This beginner-friendly activity has 10 main steps and is perfect for families with children aged 8+ with supervision.
What you need
Shop on Amazon · As an Amazon Associate we earn from qualifying purchases. Links above are affiliate links — we may earn a commission at no extra cost to you.
Unleash your inner artist and transform a humble tote bag into a personalized masterpiece with the timeless technique of block printing. This engaging and screen-free craft offers a wonderfully tactile experience, allowing you to create intricate patterns or bold designs with your own hand-carved stamps. It's an ideal project for families seeking a creative outlet, a unique gift-making opportunity, or simply a way to add a personal touch to everyday items. Get ready to discover the satisfaction of bringing your artistic vision to life on fabric!
On this page
Step-by-Step Instructions
- 1
**1. Prepare Your Workspace:** Begin by covering your work surface with newspaper, a drop cloth, or an old sheet to protect it from ink or paint. Ensure you have good lighting and ventilation, especially if using solvent-based inks. Having all your materials laid out and within easy reach will make the process smoother and more enjoyable.
- 2
**2. Protect Your Tote Bag:** Slide a piece of sturdy cardboard or thick paper inside the tote bag, ensuring it lies flat and extends to the edges of the area you intend to print on. This crucial step prevents ink or paint from bleeding through to the other side of the fabric, ensuring a clean and crisp print on both the front and back of your design.
- 3
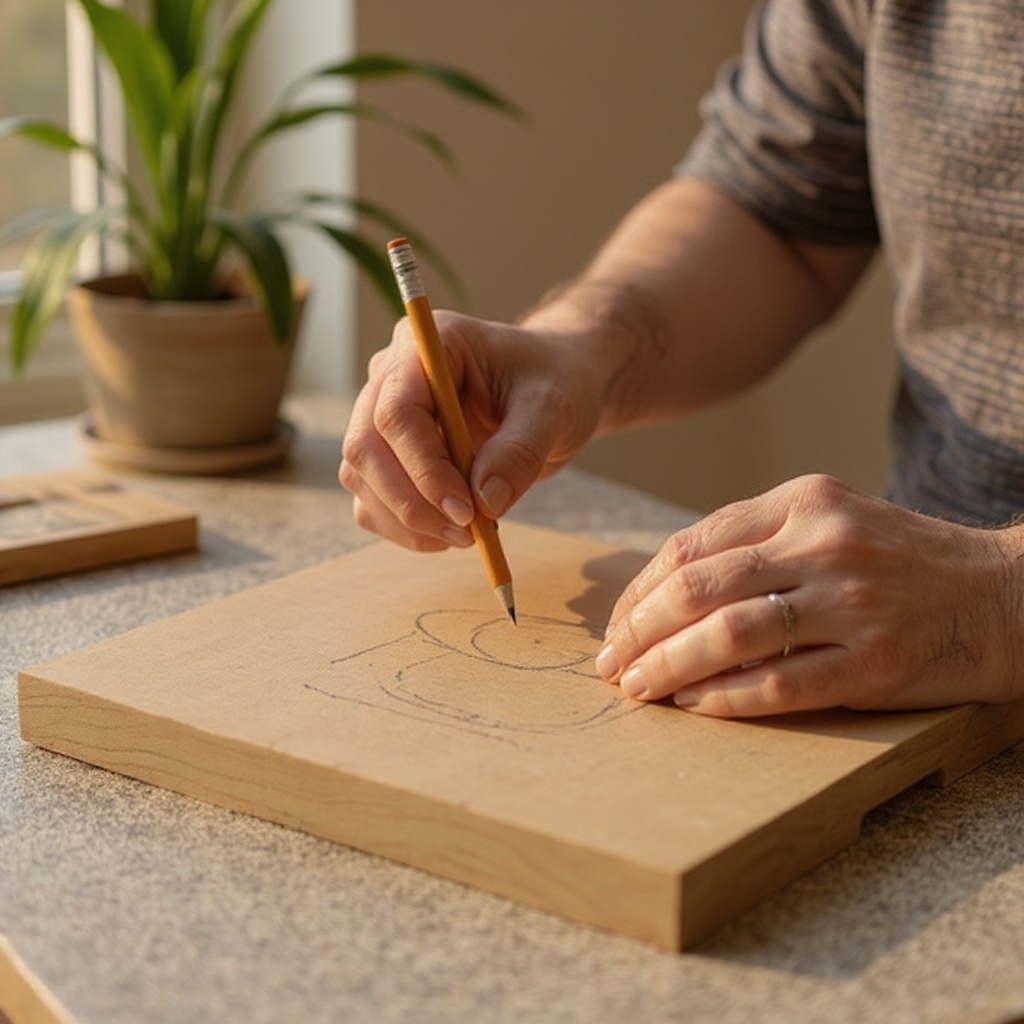
**3. Design Your Block:** Lightly sketch your desired design onto the surface of the carving block material using a pencil. For your first attempt, it's best to choose a simple, bold design with clear lines, such as a geometric shape, a single flower, or a simple initial. Remember that the areas you carve away will be the white spaces in your final print, so visualize your design in reverse.
- 4
**4. Transfer Your Design (Optional):** If you're not confident drawing directly onto the block or have a more complex design, you can sketch it on paper, then use tracing paper or carbon paper to transfer it. Place the tracing paper design face down on the block and rub over the back with a pencil, or place the carbon paper between your design and the block, then trace over your drawing with a pencil to transfer the lines.
- 5
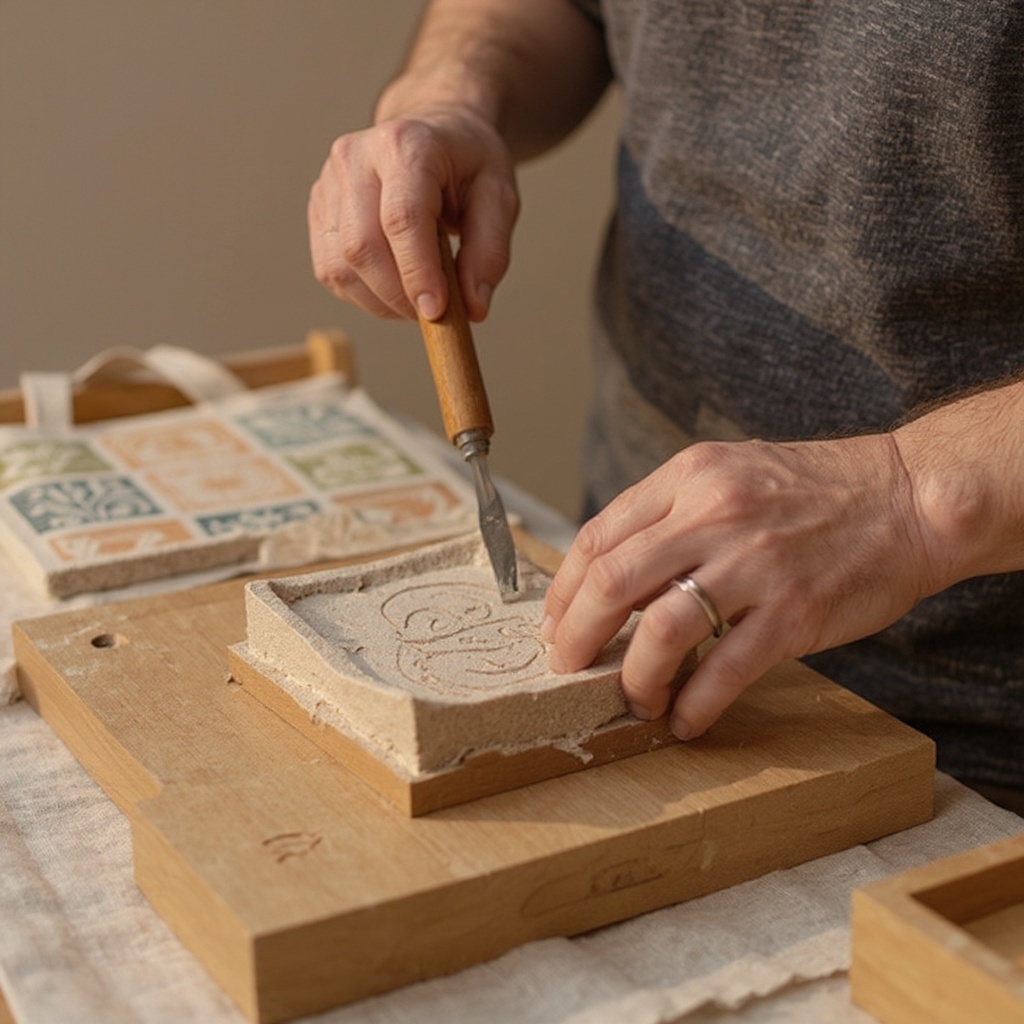
**5. Begin Carving Your Block:** Using your linoleum cutter or carving tool set, carefully begin to carve away the areas of the block that you do NOT want to print. Hold the tool firmly and always carve away from your body and fingers to prevent accidental cuts. Start with a V-shaped tool for outlines and a U-shaped tool for clearing larger areas. The raised areas of the block are what will hold the ink and transfer to your fabric.
- 6
**6. Refine Your Carving:** Continue carving until you are satisfied with the raised areas of your design. Take your time to ensure clean lines and smooth surfaces on the parts that will be inked. You can use a softer tool to gently shave away excess material or to create subtle textures if desired. The goal is to have a well-defined relief of your design.
- 7
**7. Clean the Carved Block:** Once your carving is complete, use a soft brush or a dry paper towel to gently remove any dust, debris, or small shavings from the surface of the block. Any residual particles can interfere with ink adhesion and result in a less clean print. Ensure the raised surfaces are completely clear and smooth.
- 8
**8. Prepare Your Ink/Paint:** Squeeze a small amount of fabric printing ink or fabric paint onto your palette or disposable plate. Start with a modest amount; you can always add more. If using acrylic paint, ensure it's a type that remains flexible after drying and can be heat-set for permanence. Avoid using too much paint, as this can lead to muddy prints.
- 9
**9. Ink the Block with the Brayer:** Load your brayer by rolling it back and forth in the ink/paint on the palette until it has a thin, even, and consistent layer. Then, roll the inked brayer over the raised surface of your carved block. Ensure all the raised areas are covered with a uniform layer of ink. Avoid over-inking, which can cause the ink to seep into the carved areas and create blurry prints.
- 10
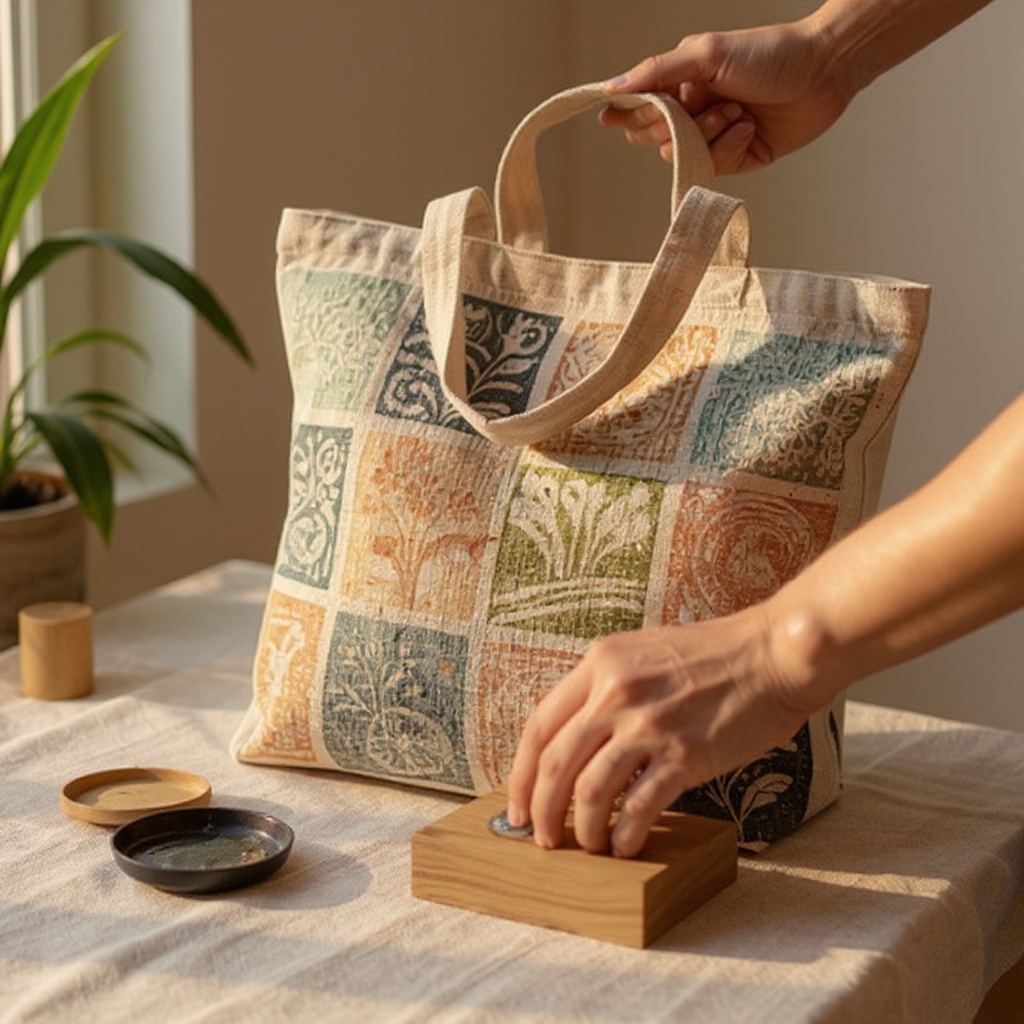
**10. Position and Print:** Carefully align the inked block onto the fabric of the tote bag where you want your design to appear. Use a ruler if precise placement is important. Once positioned, press down firmly and evenly across the entire surface of the block. You can use your hands or even gently roll over the back of the block with the brayer for even pressure.
- 11
**11. Reveal Your Print:** Gently lift the block straight up from the fabric. Avoid wiggling or sliding the block, as this can smudge the ink. Take a moment to admire your first print! If the print is too light, you may need to apply more ink to the block or apply more pressure during the printing step. If it's too dark or smudged, you may have used too much ink or applied uneven pressure.
- 12
**12. Repeat and Create Your Pattern:** Continue the inking and printing process to create your desired pattern. You can create a repeating motif, a scattered design, or a single focal point. Clean your block and brayer between color changes or if you notice ink buildup. Experiment with different arrangements and spacing to achieve a unique look for your tote bag.
- 13
**13. Allow Ink to Dry Completely:** Once you have finished printing, let the ink or paint dry completely according to the manufacturer's instructions. This typically takes at least 24 hours, but some fabric paints may require longer. Resist the urge to touch the prints before they are fully dry, as this can easily cause smudging and ruin your hard work.
- 14
**14. Heat-Set the Print:** After the ink has dried thoroughly, it's time to heat-set the print to make it permanent and washable. Place a piece of scrap fabric or a pressing cloth over the printed areas to protect your iron. Iron over the printed sections for 3-5 minutes on a medium-hot setting (without steam), following the specific instructions provided by your fabric paint or ink manufacturer. Ensure you move the iron constantly to avoid scorching the fabric.
- 15
**15. Final Inspection and Care:** Once heat-set, your block print should be permanent. Inspect your tote bag for any areas that may need touch-ups or additional prints. Allow the bag to cool completely before handling it further. Your custom block-printed tote bag is now ready to be used and enjoyed!
Tips & Troubleshooting
- 1If your design is complex, consider sketching it on paper first and then transferring it to the block. You can also use carbon paper for easier transfer, ensuring you press firmly when tracing to get a clear impression on the carving material.
- 2Experiment with different colors of fabric paint or ink to create a vibrant and unique tote bag. Try layering colors, using contrasting hues, or even mixing your own custom shades for a truly personalized effect.
- 3For a more textured look, try dabbing the ink onto the block with a sponge instead of using a brayer. This can create a softer, more organic feel to your prints, especially for backgrounds or subtle shading.
- 4Wash your carved block and tools thoroughly with soap and water immediately after each use to maintain them. Dried ink or paint can be difficult to remove and can damage your tools over time, affecting their performance for future projects.
- 5Always carve away from yourself and keep your fingers clear of the carving tool to prevent injuries. If you're new to carving, start with softer carving materials like rubber blocks, which are generally safer and easier to work with.
- 6Consider the scale of your design in relation to the tote bag. A large, bold design can make a statement, while a series of smaller, repeating motifs can create a more intricate and delicate pattern.
- 7Test your print on a scrap piece of fabric before committing to your tote bag. This allows you to check the ink coverage, pressure, and overall appearance, giving you a chance to make adjustments if needed.
- 8Don't be afraid to embrace imperfections! The beauty of handmade items often lies in their slight irregularities. These unique characteristics are what make your block-printed tote bag truly one-of-a-kind.
Related Activities You Might Enjoy
Frequently Asked Questions
What kind of paint should I use for block printing on fabric?
For the best and most durable results, it is highly recommended to use specialized fabric printing inks or fabric paints. These formulations are designed to adhere to textiles, withstand washing, and remain flexible after drying. Brands like Speedball Fabric Block Printing Ink or Jacquard Textile Color are excellent choices. While standard acrylic paints can be used, ensure they are of a good quality that remains flexible and can be successfully heat-set for permanence and washability. Avoid oil-based paints or standard craft acrylics that might crack or wash out easily. Always check the product's suitability for fabric and its heat-setting requirements.
How do I make sure my block print doesn't smudge?
Preventing smudges is key to a clean block print. Firstly, ensure you apply a thin, even layer of ink to your carved block using the brayer; too much ink can bleed into the carved areas and cause smearing. Secondly, press firmly and evenly onto the fabric, ensuring all inked areas make good contact. After printing, allow the ink to dry completely, which can take up to 24 hours or more, before touching or moving the fabric. Finally, heat-setting the print with an iron, as per the paint manufacturer's instructions, is crucial for making the design permanent and resistant to smudging during use and washing.
Can kids do block printing on fabric?
Absolutely, block printing on fabric is a fantastic screen-free activity that children can enjoy, with appropriate adult supervision. Younger children (around ages 6-8) can participate by helping to design simple shapes, applying ink to the block using sponges or rollers under guidance, or pressing the block onto the fabric. Older children (9+) can often manage the carving tools with close supervision and instruction on safe carving techniques. It's a wonderful way to foster creativity, fine motor skills, and a sense of accomplishment. Always ensure safety precautions are strictly followed, especially when using carving tools.
How do I clean my block printing tools?
Prompt cleaning of your block printing tools is essential for their longevity and performance. For fabric printing inks and water-based paints, wash your brayer, carving tools, and palette with warm water and soap immediately after use. Use an old toothbrush or rag to help remove stubborn ink from the brayer's roller and the crevices of your carving tools. For solvent-based inks, you may need to use a specific solvent recommended by the ink manufacturer. Ensure all tools are thoroughly dried before storing them to prevent rust or damage. Clean your carved blocks as well, gently wiping away excess ink.
What are the best carving materials for beginners?
For beginners, soft carving block materials are highly recommended as they are easier to cut and require less pressure, reducing the risk of injury and making the carving process more enjoyable. Speedball Speedy-Carve blocks are a popular choice; they are soft, easy to cut, and produce clean lines. Rubber carving blocks are another excellent option, offering a similar ease of use. While traditional linoleum blocks are durable and produce crisp prints, they can be harder to carve and may require more effort, making them better suited for those with some carving experience. Always start with a material that suits your skill level.
Can I reuse my carved block for multiple prints?
Yes, your carved blocks are reusable! As long as the carved areas are clean and the raised surfaces remain intact, you can use your block for countless prints. After each printing session, it's important to clean the block thoroughly to remove any residual ink or paint. This prevents dried ink from hardening on the surface, which could affect the clarity of future prints or even damage the block over time. Storing your clean blocks properly will ensure they remain in good condition for future creative endeavors.
What Next?
Congratulations on creating your unique block-printed tote bag! This project opens the door to endless creative possibilities. Consider experimenting with different block shapes, layering colors for depth, or even creating a repeating pattern across the entire bag. Your finished tote can be used for groceries, books, or as a stylish accessory. To preserve your artwork, store it flat or loosely folded when not in use. For future projects, explore printing on t-shirts, tea towels, or even stationery for a truly personalized touch.
Free: 10 Paper Crafts Anyone Can Make in 5 Minutes
Get our beginner guide + new craft ideas weekly.
No spam. Unsubscribe anytime.
Did you complete this activity?
Related