How to Make Clay Pet Paw Print Keepsakes — Easy Step-by-Step Guide
Capture your beloved pet's paw print forever with this simple and heartwarming air dry clay project. A beautiful keepsake you'll cherish.

Quick answer
To make clay pet paw print keepsakes, you need air dry clay, a rolling pin, and a pet! Start by rolling out the clay and gently pressing your pet's paw into it. This beginner-friendly activity has 7 steps and is perfect for families with pets.
What you need
Shop on Amazon · As an Amazon Associate we earn from qualifying purchases. Links above are affiliate links — we may earn a commission at no extra cost to you.
There's nothing quite like the unconditional love of a pet. As they grow and change, it's natural to want to hold onto tangible reminders of their presence in our lives. This air dry clay paw print keepsake project offers a wonderfully simple and deeply personal way to do just that. It’s a heartwarming craft that’s perfect for pet parents of all ages, allowing you to immortalize those precious paws that bring so much joy. Whether you have a playful puppy, a cuddly cat, or any beloved animal companion, this project is a beautiful way to create a lasting memento.
On this page
Step-by-Step Instructions
- 1
Lay out a sheet of wax paper or parchment paper on a clean, flat, and stable surface. This will prevent the clay from sticking and make cleanup easier.
- 2
Open your air dry clay and knead it for a minute or two until it's smooth, pliable, and free of any cracks. This process warms the clay and makes it easier to work with, ensuring a better final result.
- 3
Place the kneaded clay onto the prepared wax paper. Use your rolling pin to flatten the clay into an even disc. Aim for a thickness of about 1/4 to 1/2 inch, ensuring there are no thin spots that could easily break.
- 4
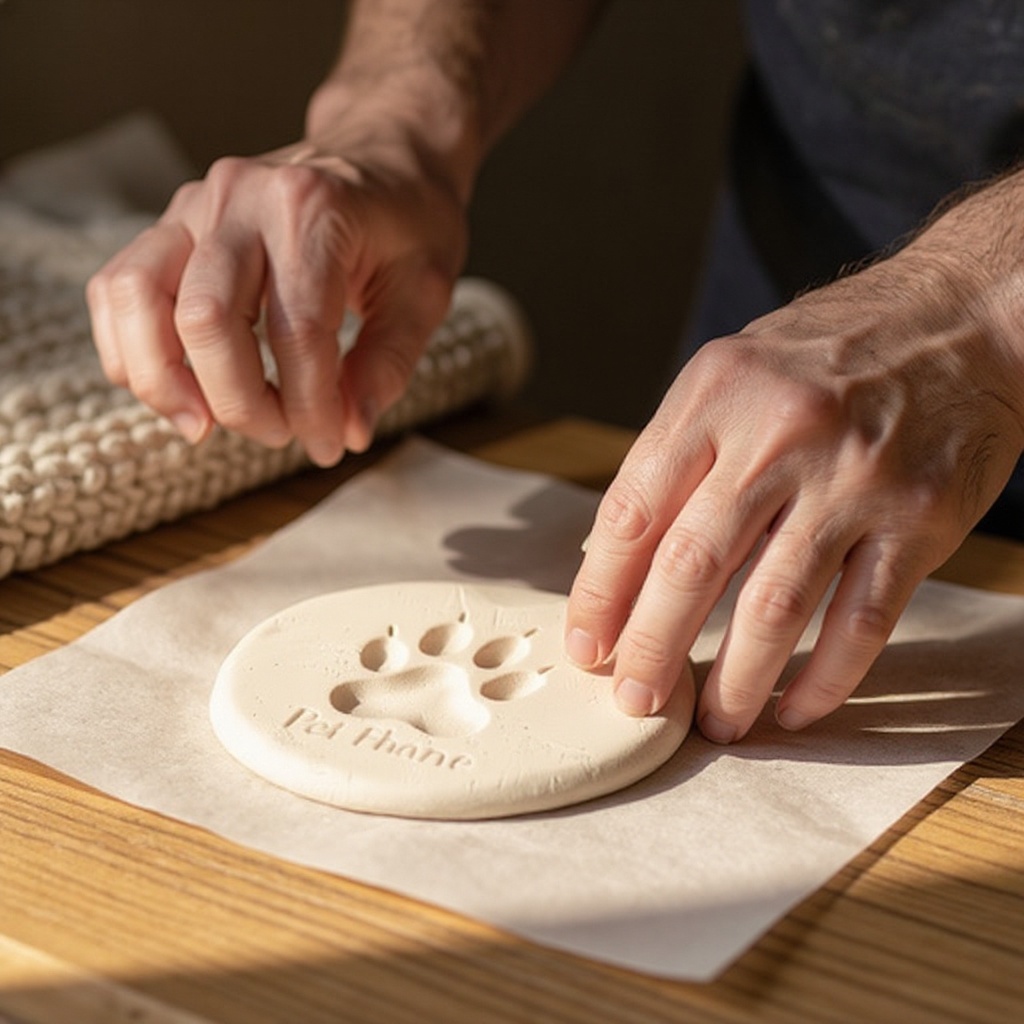
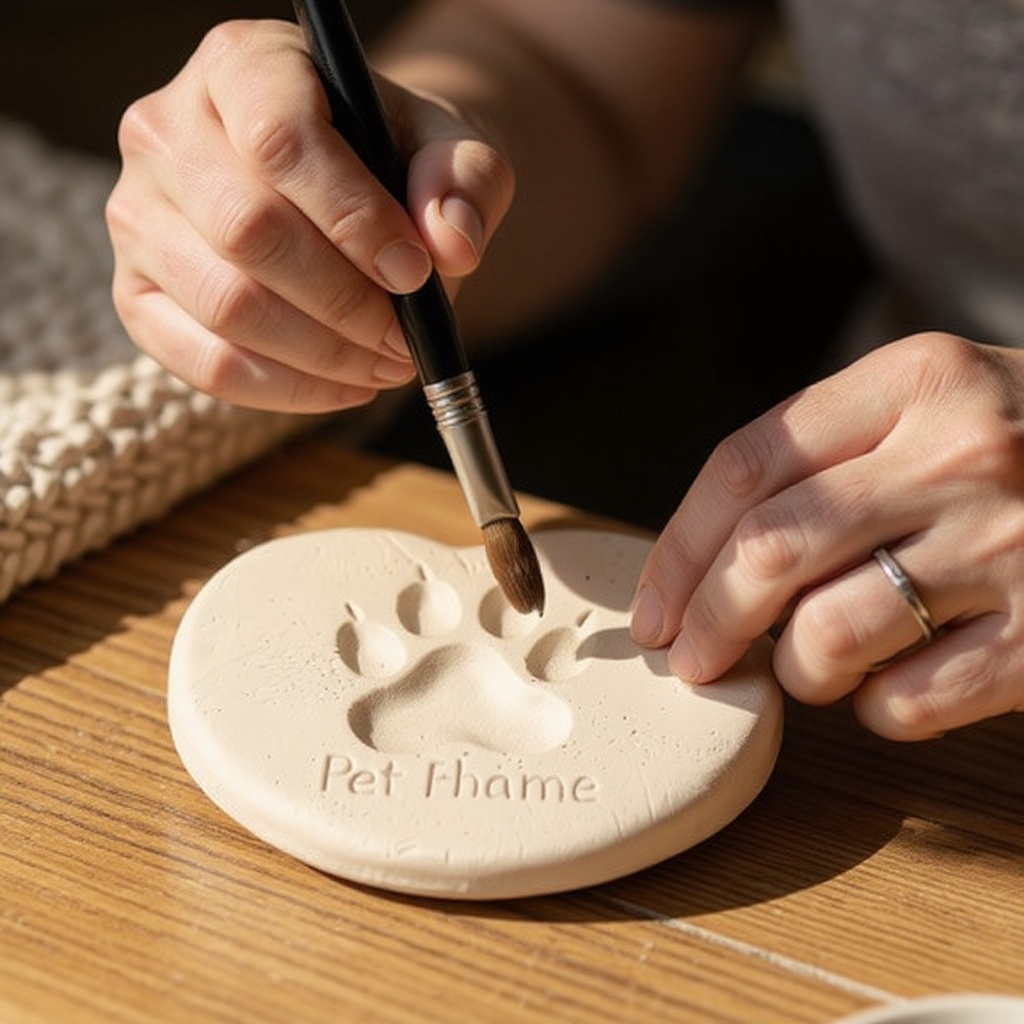
Gently press your pet's paw into the center of the clay disc. Ensure your pet is comfortable and relaxed before proceeding; you might want to have treats or a distraction ready. Apply even, gentle pressure to get a clear imprint of the paw pads and toes.
- 5
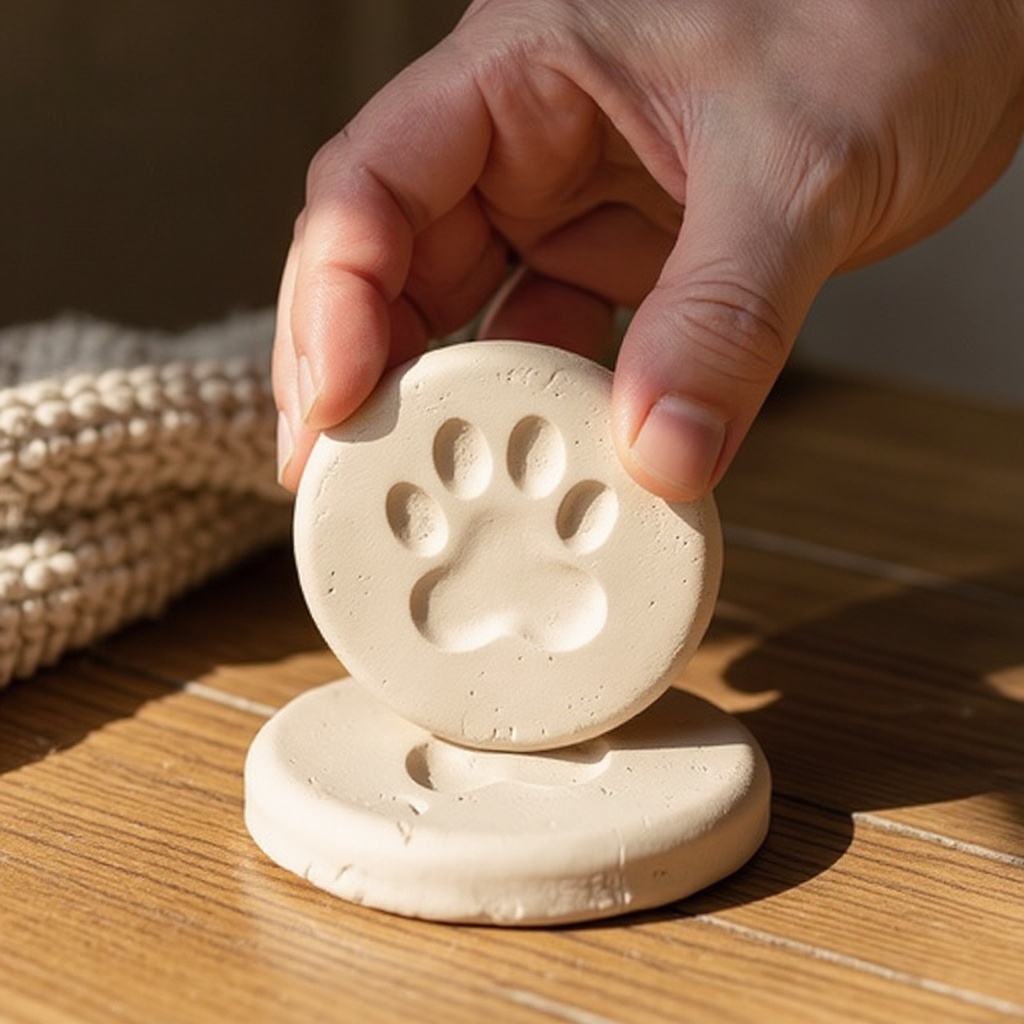
Carefully lift your pet's paw straight up from the clay. Lifting vertically helps to avoid smudging or distorting the delicate paw print impression you've just made.
- 6
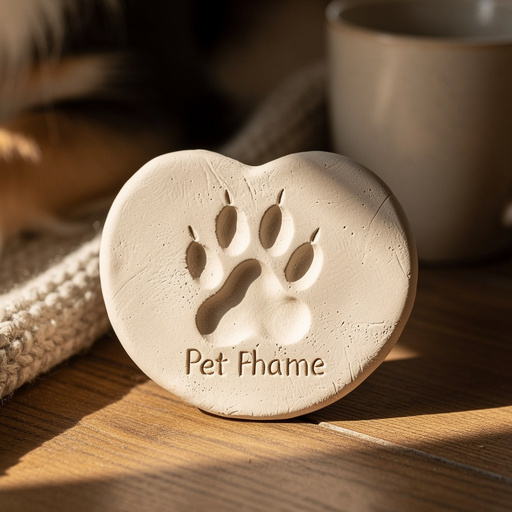
Use a butter knife or craft stick to carefully trim the edges of the clay disc into your desired shape. Popular choices include a circle, heart, or even an organic, irregular shape that mimics the natural outline of the paw.
- 7
If you plan to hang your keepsake, use the craft stick or a similar tool to carefully poke a hole near the top edge of the clay disc. Make sure the hole is large enough for your chosen ribbon or string to pass through easily.
- 8
Allow the clay to air dry completely according to the manufacturer's instructions. This typically takes 24 to 72 hours, but can vary depending on the thickness of your piece and the humidity in your environment. Avoid moving the keepsake during this drying period.
- 9
Once the clay is completely dry and hard to the touch, you can begin the fun part of decorating. Use acrylic paints to add color and personality to your keepsake. Let the paint dry thoroughly between coats and before moving to the next step.
- 10
If desired, apply a clear sealant or varnish over the painted (or unpainted) clay. This will protect the paint from chipping and the clay from moisture, ensuring your keepsake lasts for years to come. Allow the sealant to dry completely.
- 11
If you created a hole, thread a ribbon, twine, or string through it. Tie the ends securely to form a loop for hanging.
- 12
Your pet paw print keepsake is now ready to be displayed and cherished as a beautiful reminder of your furry friend!
Tips & Troubleshooting
- 1If your pet is hesitant or a bit wiggly, try offering a small treat or engaging them with a favorite toy as a distraction while you gently press their paw into the clay. Have the clay prepared and ready to go so you can act quickly when your pet is cooperative.
- 2For a cleaner and more defined paw print, gently wipe your pet's paw with a pet-safe wipe or a slightly damp cloth before pressing it into the clay. This removes any excess dirt or mud that could mar the imprint and ensures a crisper result.
- 3Don't worry if your first attempt isn't perfect! Air dry clay is very forgiving. If the paw print is smudged or the shape isn't quite right, you can gently re-roll the clay and try again until you achieve a print you're happy with.
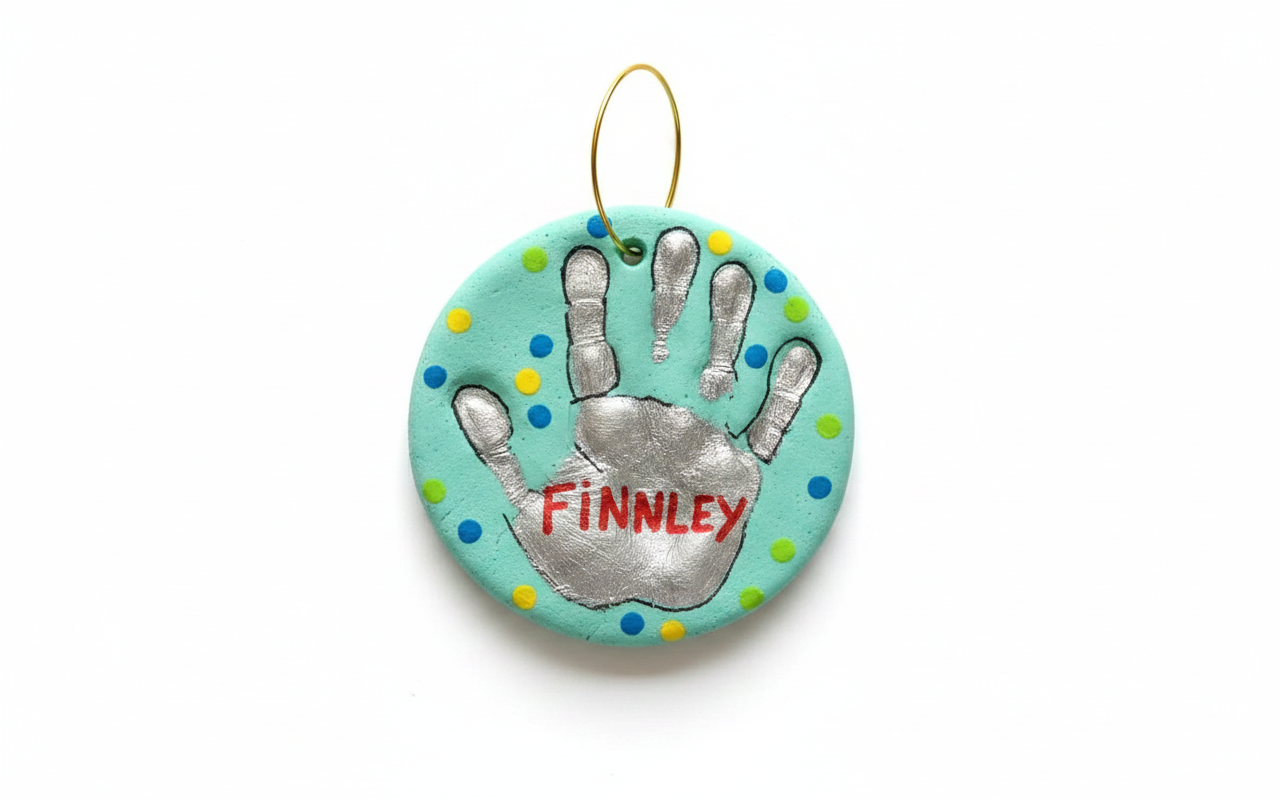
- 4Consider adding a personal touch by inscribing your pet's name or the date onto the back of the keepsake. You can do this using a fine-tip permanent marker once the clay is dry, or by lightly etching the details into the clay with a stylus or craft stick before it dries.
- 5If you don't have a rolling pin readily available, don't fret! A sturdy, smooth glass bottle, a clean can of soup, or even a large, smooth jar can work just as well to flatten the clay to the desired thickness.
- 6To ensure the best possible paw print, make sure the clay is at the right consistency – not too sticky and not too dry. If it feels a bit stiff, knead in a tiny bit of water; if it's too wet, let it sit out for a few minutes to dry slightly.
- 7When pressing your pet's paw into the clay, aim for a consistent depth. You want to press firmly enough to get a good impression of all the pads and toes, but not so hard that you push the clay up around the edges of the paw, which can obscure the print.
- 8If you're making multiple paw prints or working with a very active pet, consider making a few test impressions on a scrap piece of clay first. This helps you get a feel for the pressure needed and how your pet reacts before committing to your final keepsake.
Related Activities You Might Enjoy
Frequently Asked Questions
Can I use any type of clay for pet paw prints?
For this project, air dry clay is the best and most recommended choice because it hardens on its own without the need for a kiln or oven baking. This makes it incredibly accessible and safe for a home craft. It's crucial to ensure that the air dry clay you select is non-toxic and specifically labeled as pet-safe. Many craft clays contain chemicals that could be harmful if ingested or if they irritate your pet's skin. Always check the product packaging for safety certifications and ingredients before using it with your beloved animal companion. Other types of clay, like polymer clay, require baking, which is not suitable for this project, and modeling clay often remains soft and is not durable for a keepsake.
How long does air dry clay take to dry?
Air dry clay typically takes between 24 to 72 hours to dry completely, but this timeframe can be influenced by several factors. The thickness of your clay piece is a significant determinant; thicker pieces will naturally take longer to dry than thinner ones. Environmental conditions also play a role; higher humidity levels in your home will slow down the drying process, while a dry environment will speed it up. It's essential to be patient and allow the clay to dry thoroughly before attempting to paint, seal, or handle it extensively. Trying to paint or seal it before it's fully dry can lead to cracking, peeling, or an uneven finish, compromising the longevity and appearance of your cherished keepsake.
How do I get a clear paw print?
Achieving a clear paw print is all about technique and preparation. First, ensure your pet's paw is clean and dry, as excess dirt or moisture can create smudges. Gently press your pet's paw into the clay with even, consistent pressure, making sure all the pads and toes make contact. Avoid wiggling the paw once it's in the clay. The key to lifting the paw is to do so straight up, perpendicular to the clay surface, to prevent any dragging or smearing of the imprint. Having the clay at the right consistency – pliable but not sticky – also greatly aids in getting a crisp impression. If the first attempt isn't perfect, don't worry; air dry clay allows for re-rolling and trying again.
Can I bake air dry clay?
No, air dry clay is not designed to be baked in an oven, and attempting to do so can actually damage the material. Air dry clay hardens through a natural chemical reaction with the air as moisture evaporates from it. Baking it will disrupt this process and can cause the clay to crack, crumble, or even explode due to trapped moisture. The beauty of air dry clay is its simplicity; it requires no special equipment like kilns or ovens. It will harden on its own over a period of 24-72 hours, becoming a durable keepsake. Always follow the manufacturer's instructions for drying times and handling to ensure the best results for your project.
What if my pet is nervous about having their paw in the clay?
It's completely understandable that some pets might be hesitant about having their paws pressed into a new material. The best approach is to make the experience as positive and stress-free as possible. Start by letting your pet sniff and investigate the clay while it's still on the wax paper. Offer small, high-value treats and praise them for their curiosity. You can also try gently massaging their paw beforehand to get them accustomed to touch. If they remain anxious, don't force it. Try a brief, gentle press and immediately reward them. Having a second person to gently hold and distract your pet with a toy or treat while you make the imprint can also be very effective. Patience and positive reinforcement are key.
How can I make the paw print keepsake more durable?
To enhance the durability of your air dry clay paw print keepsake, there are a couple of key steps you can take. Firstly, ensure the clay is completely dry before proceeding with any further decoration or sealing. This allows the clay to reach its maximum hardness. Once dry, applying a good quality clear sealant or varnish is highly recommended. Look for water-based, non-toxic sealants that are suitable for craft projects. A sealant will protect the clay from moisture, prevent chipping, and preserve any paintwork you've applied. For added strength, especially if you've made a thinner piece, consider embedding a small piece of mesh or fabric into the clay while it's still wet, though this is an advanced technique and not essential for most keepsakes.
What Next?
Once your beautiful paw print keepsake is complete, the possibilities for display and enjoyment are endless! You can tie a decorative ribbon through the hole and hang it on a Christmas tree, a rearview mirror, or even a special pet memorial shelf. Alternatively, if you opted not to add a hole, the keepsake can be proudly displayed on a small easel or nestled amongst cherished photographs. For those who love to personalize further, consider creating a set with multiple prints from different pets or even adding a small, pet-safe charm alongside the paw print. This project is a gateway to many other pet-themed crafts, such as painted pet portraits or DIY pet toys, making it a rewarding starting point for any animal lover's creative journey.
Free: 10 Paper Crafts Anyone Can Make in 5 Minutes
Get our beginner guide + new craft ideas weekly.
No spam. Unsubscribe anytime.
Did you complete this activity?
Related
You might also like
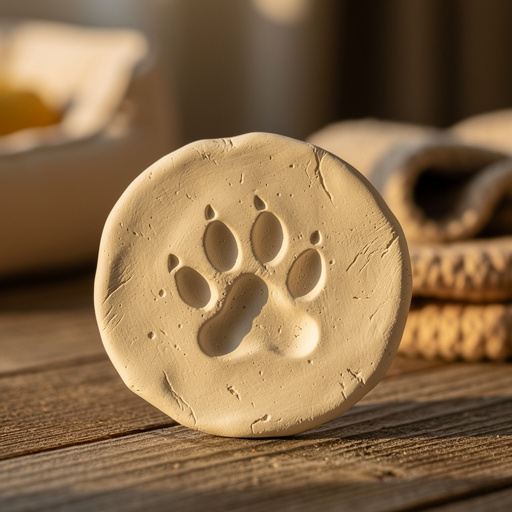
Air Dry Clay Pet Paw Prints
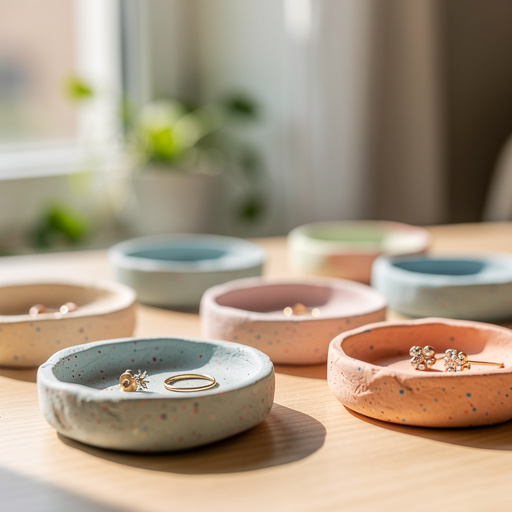
Air Dry Clay Trinket Dishes
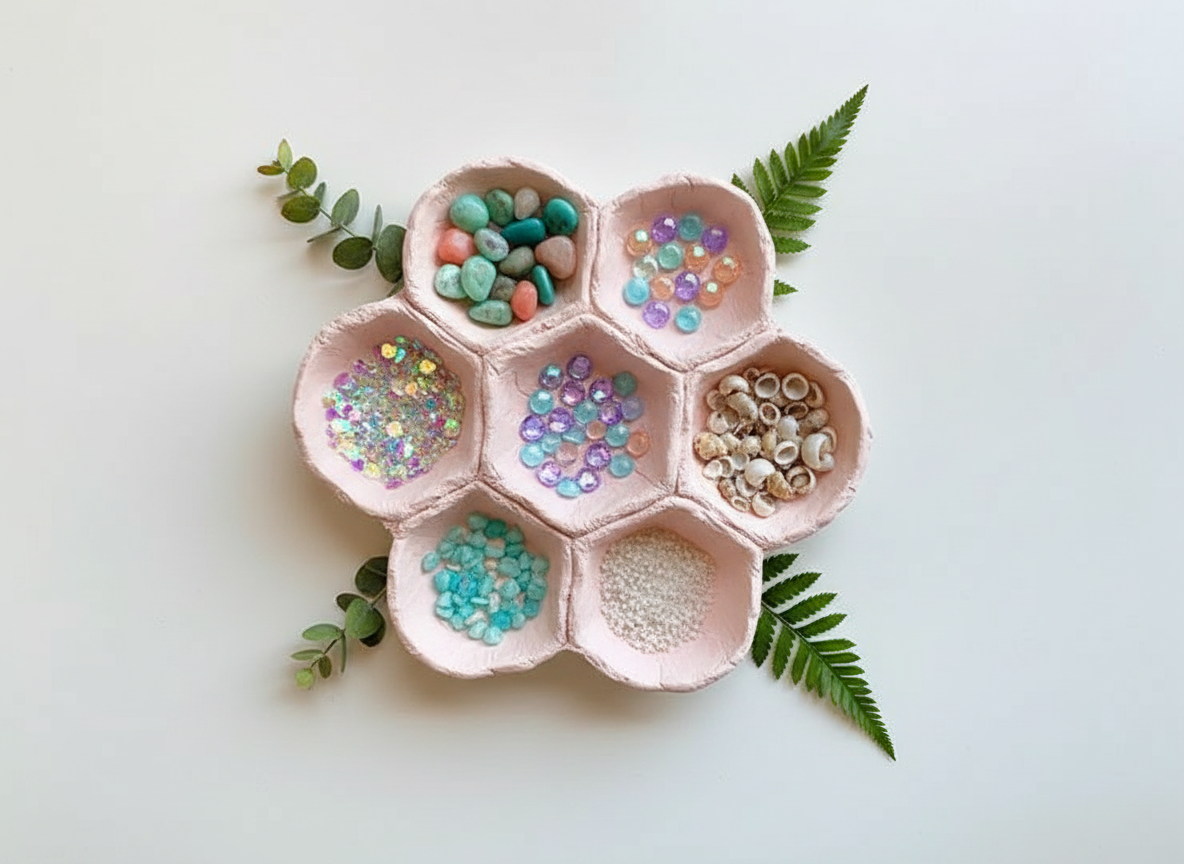
Air Dry Clay Geometric Trinket Dish
Wholesale Charm Bracelet Creation
Polymer Clay Jewelry Dishes